
A Splash of Red Magic
Let’s talk about that bright red color. It feels like a party. I always use the liquid food coloring. It makes the dough such a fun, deep crimson. Doesn’t that smell amazing? It’s like cocoa and vanilla had a meeting.
Mixing it turns your hands a little pink. I still laugh at that. My grandson once called them “superhero cookies.” Why this matters is simple. Food should be joyful. A little color wakes up your eyes before the taste even hits your tongue.
The Secret in the Sour Cream
Now, sour cream in cookies might seem odd. But trust this old kitchen grandma. It is the magic trick. It makes the cookie so very soft. They stay tender for days.
I learned this from my neighbor Ida years ago. Her cookies were always the best. She whispered her secret to me. That sour cream makes all the difference. It adds a tiny tang you can’t quite name. *Fun fact: The acid in sour cream helps activate the baking soda!* This gives our cookies a perfect little rise.
Patience is a Cookie Virtue
Here is the hard part. You must let them cool. I know, I know. They smell so good. But if you frost a warm cookie, the frosting will melt right off. It becomes a puddle.
So set them on the rack. Have a cup of tea. Watch the birds outside the window. This waiting time matters. It teaches us that good things take a moment. The reward is a perfect, creamy topping that stays put. What’s your favorite thing to do while cookies cool?
The Cloud-Like Frosting
The frosting is just cream cheese, butter, and sugar. But you must beat it well. Let the mixer run for a full two minutes. You will see it change. It becomes light and fluffy, like a sweet cloud.
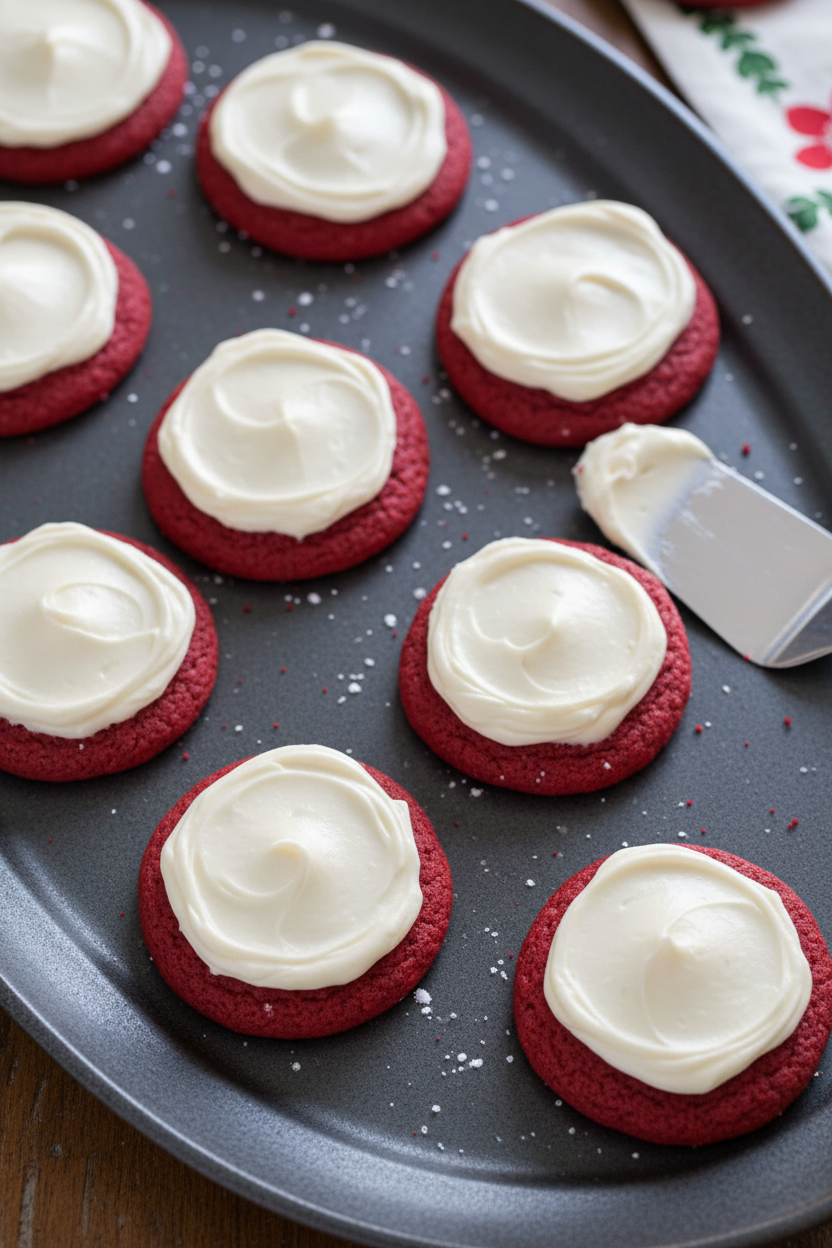
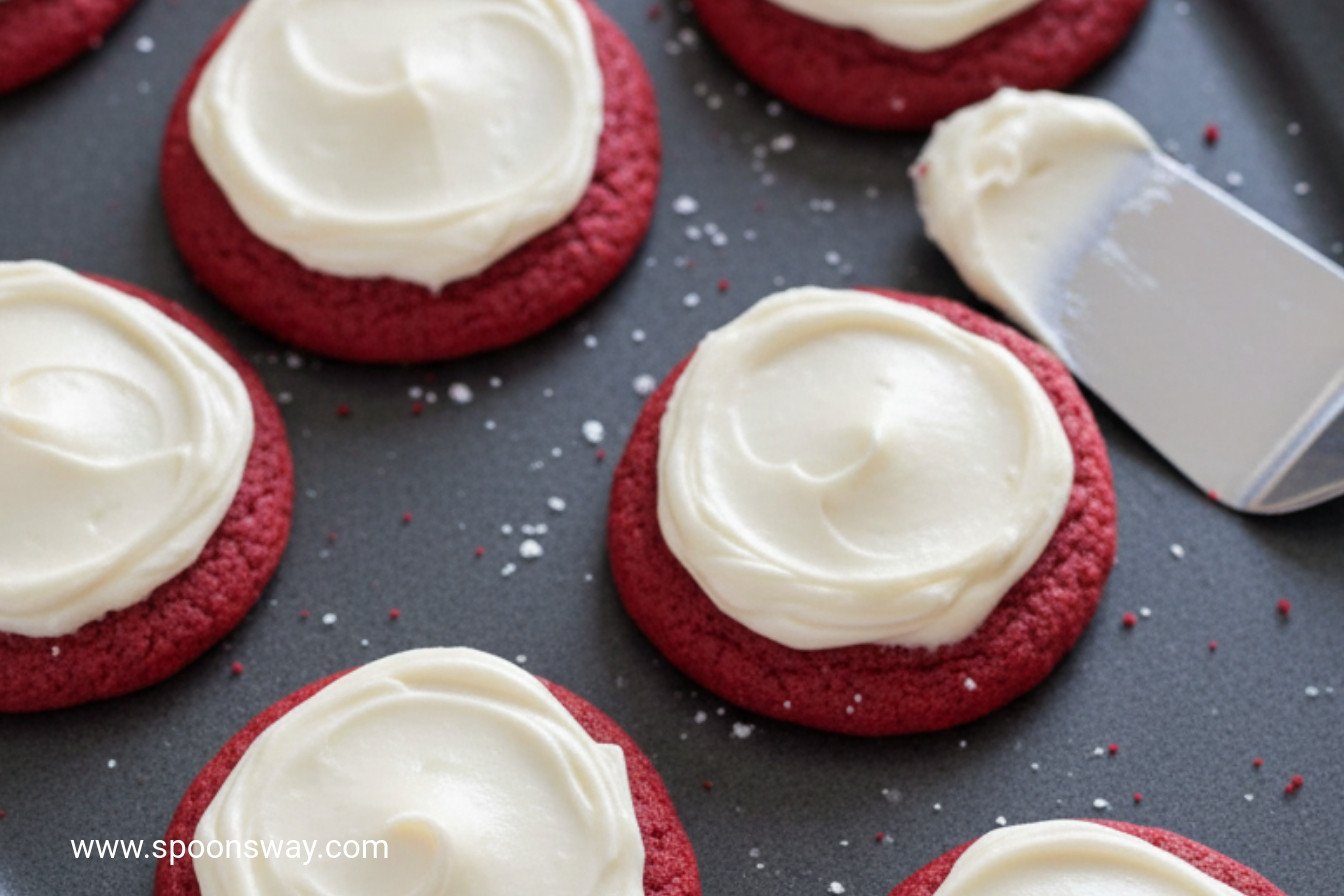
Spreading it is my favorite step. A nice, thick tablespoon on each one. No skimping! That creamy, cool frosting with the soft red cookie underneath is pure happiness. Do you like a lot of frosting or just a little?
Sharing the Bites of Joy
These are not big, heavy cookies. They are just little bites. That is the point. You can have one without feeling too full. They are perfect for a holiday plate. Or for a quiet afternoon with a book.
I always make a double batch. One for home, and one to give away. Sharing food is sharing love. That is the most important lesson my kitchen ever taught me. Who will you share your first batch with? Tell me about them.
Ingredients:
| Ingredient | Amount | Notes |
|---|---|---|
| All-purpose flour | 1 ¾ cups (8 ¾ ounces/248 grams) | |
| Natural unsweetened cocoa powder | 1 tablespoon | |
| Baking soda | ½ teaspoon | |
| Salt | ¼ teaspoon | |
| Unsalted butter, softened | 12 tablespoons | Divided: 8 tbsp for dough, 4 tbsp for frosting |
| Granulated sugar | 1 cup (7 ounces/198 grams) | |
| Large egg | 1 | |
| Red food coloring | 1 tablespoon (½ ounce) | |
| Vanilla extract | 1 ½ teaspoons | Divided: 1 tsp for dough, ½ tsp for frosting |
| Sour cream | ¼ cup | |
| Cream cheese, softened | 4 ounces (113 grams) | For frosting |
| Confectioners’ sugar | 1 ¼ cups (5 ounces/142 grams) | For frosting |

Velvet Frosted Holiday Cookie Bites
Hello, my dear! Come sit at the counter. I want to tell you about these cookies. They are my little red velvet hugs. I first made them for my grandson’s school play. He was a very nervous snowflake. A plate of these cheered up the whole cast. Doesn’t that smell amazing? The cocoa and vanilla mixing together. It just feels like a holiday.
Now, let’s get our hands busy. I’ll walk you through it. It’s like a little dance in the kitchen. Just follow the steps. I still laugh at that time I used salt instead of sugar. What a mess! So let’s do it right.
Step 1: First, get your oven ready. Move the racks to the middle spots. Heat it to 350 degrees. Line your baking sheets with parchment paper. This little paper is a lifesaver. It stops the cookies from sticking. No more broken cookies! Then, whisk your dry things in a bowl. Flour, cocoa, baking soda, and salt. It looks like a little dusting of snow.
Step 2: Now for the fun part. Beat the soft butter and sugar together. Use your mixer if you have one. Beat it until it’s pale and fluffy. It takes about two minutes. Then add the egg, red coloring, and vanilla. It will become a bright, shocking red! It makes me smile every time. (Hard-learned tip: scrape the bowl sides with a spatula halfway through. This mixes everything evenly.)
Step 3: Turn the mixer to low. Add half the flour mix. Then all the sour cream. Then the rest of the flour. The dough will be soft and beautiful. Drop big spoonfuls onto your sheets. Give them room to grow. They are shy and need space. Why do we space them out? Share below!
Step 4: Bake them for about 17 minutes. Switch the tray spots halfway. This helps them bake evenly. They are done when the centers look set. Let them cool on the sheet for five minutes. Then move them to a rack. Patience is hard, I know. But warm cookies melt the frosting!
Step 5: Finally, the frosting! Use a clean bowl. Mix the soft cream cheese and butter. Add a splash of vanilla. Then slowly add the powdered sugar. Beat it until it’s light as a cloud. Spread a big spoonful on each cool cookie. There. You made something wonderful.
Cook Time: 16–18 minutes
Total Time: About 1 hour
Yield: About 18 cookies
Category: Dessert, Cookies
Three Fun Twists to Try
These cookies are perfect as they are. But sometimes, it’s fun to play. Here are three little ideas. They feel like putting on a different holiday sweater.
Peppermint Swirl: Add a drop of peppermint extract to the frosting. Crush a candy cane on top. It’s so fresh and chilly!
Chocolate Chip Joy: Mix a handful of mini chocolate chips into the dough. They give you little melty surprises in every bite.
Orange Dream: Use orange zest in the cookie dough. Frost as usual. It tastes like a chocolate orange from your stocking.
Which one would you try first? Comment below!
Serving Them Up With Style
These cookies deserve a nice spot. I love to stack them on my grandmother’s cake stand. It makes any table look special. You could also pack them in a little box. Tie it with a ribbon for a friend. That’s a gift from the heart.
What to drink? For a cozy night, a glass of cold milk is classic. The creaminess is just right. For the grown-ups, a small glass of ruby port is lovely. It’s sweet and rich, like the cookies. Which would you choose tonight?
Keeping Your Cookie Bites Bright and Bite-Sized
Let’s keep these little red treats tasting fresh. First, cool them completely. I once frosted a warm cookie. The frosting melted right off! Store them in a single layer in a container. Use wax paper between layers. They will last three days on the counter.
You can freeze the unfrosted cookies for later. Place them in a freezer bag. They keep for one month. Thaw them on the counter before frosting. This batch-cooking trick saves time during busy weeks.
Storing them right matters. It keeps the texture soft and the frosting perfect. It means you always have a sweet bite ready for a friend. Have you ever tried storing cookies this way? Share below!
Little Fixes for Perfect Cookie Bites
Sometimes cookies spread too thin. Your butter might be too soft. I remember when my kitchen was too warm. My cookies turned into flat pancakes! Chill your dough for 30 minutes before baking. This helps them keep their shape.
Is your frosting too runny? Your cream cheese was likely too warm. Make sure it is just softened. If it’s runny, chill the bowl for ten minutes. Then mix it again. Getting this right makes your cookies look lovely.
Do your cookies taste dry? You might have measured the flour wrong. Spoon it into the cup. Then level it off with a knife. This small step makes a big difference. It gives you a soft, tender cookie every time. Which of these problems have you run into before?
Your Quick Cookie Questions, Answered
Q: Can I make these gluten-free? A: Yes! Use a good gluten-free flour blend. Make sure it has xanthan gum.
Q: Can I make the dough ahead? A: Absolutely. You can refrigerate the dough for two days. Or freeze it for one month.
Q: What if I don’t have sour cream? A: Plain yogurt works just fine. It adds the same nice tang and moisture.
Q: Can I double the recipe? A: You can. Just mix in two separate batches. This prevents over-mixing the dough.
Q: Any fun extra tips? A: A tiny sprinkle of edible glitter makes them sparkle! *Fun fact: Red velvet was originally a fancy cake flavor from the 1800s.* Which tip will you try first?
From My Kitchen to Yours
I hope you love making these festive bites. Baking is about sharing joy. It is about creating sweet memories with your hands. I would love to hear about your baking adventure.
Tell me all about it. Did you add a special sprinkle? Did your family gobble them up? Have you tried this recipe? Share your experience in the comments. Your stories are my favorite thing to read.
Happy cooking!
—Grace Ellington
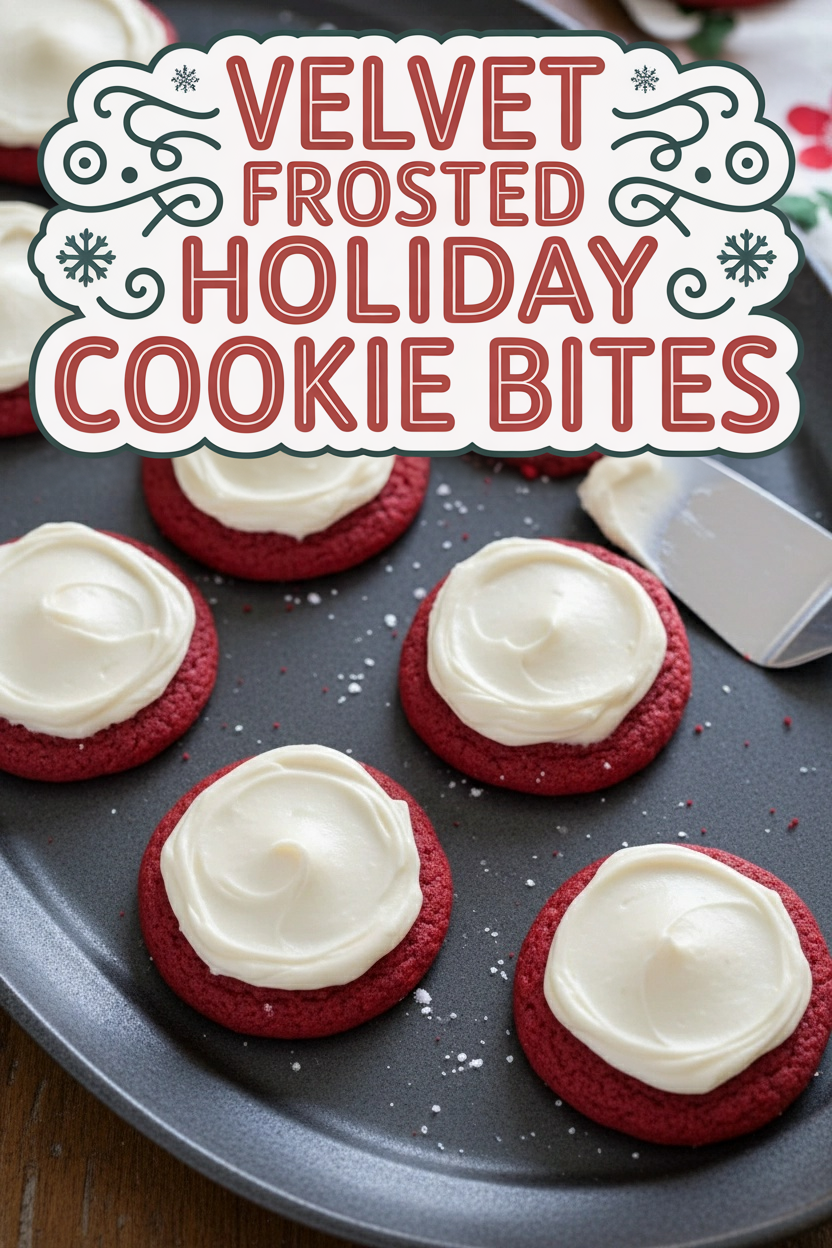
Velvet Frosted Holiday Cookie Bites
Description
Frosted Red Velvet Cookies
Ingredients
Instructions
- Adjust oven racks to upper-middle and lower-middle positions and heat oven to 350 degrees. Line 2 baking sheets with parchment paper.
- Whisk flour, cocoa, baking soda, and salt together in bowl. Using stand mixer fitted with paddle, beat 8 tablespoons butter and granulated sugar on medium-high speed until pale and fluffy, about 2 minutes. Add egg, food coloring, and 1 teaspoon vanilla and beat until combined, about 30 seconds. Reduce speed to low and add half of flour mixture, followed by sour cream, then remaining flour mixture until combined. Drop 2-tablespoon mounds of dough onto prepared sheets, spacing them about 2 inches apart.
- Bake cookies until centers are set, 16 to 18 minutes, switching and rotating sheets halfway through baking. Let cookies cool on sheets for 5 minutes, then transfer to wire rack. Let cookies cool completely.
- Using clean, dry mixer bowl and paddle, mix cream cheese, remaining 4 tablespoons butter, and remaining ½ teaspoon vanilla on medium-low speed until combined, about 30 seconds. Reduce speed to low, slowly add confectioners’ sugar, and mix until smooth, about 1 minute. Increase speed to medium-high and beat until light and fluffy, 1 to 2 minutes. Spread 1 tablespoon frosting evenly on each cookie before serving.
Notes
- Store frosted cookies in an airtight container in the refrigerator for up to 3 days. For best texture, let them come to room temperature for about 15 minutes before serving.