The Secret to a Fudgy Brownie
Let me tell you about my first brownie disaster. I was so eager. I baked them too long. They turned out dry as a cracker. My grandson called them “chocolate bricks.” I still laugh at that.
The secret is knowing when to stop baking. You want a few moist crumbs on your toothpick. That gives you a brownie that is soft and fudgy inside. This matters because texture is just as important as taste. A perfect brownie should feel like a hug.
A Little Chocolate History
Did you know brownies are an American invention? They started in hotel kitchens over a century ago. Cooks wanted a small, portable chocolate dessert. So they created the brownie. Isn’t that clever?
Fun fact: The first brownie recipe ever printed called for a whole pound of chocolate! Can you imagine how rich that was? Our recipe today is much more balanced. It gives you deep chocolate flavor without being too much.
Why We Melt Chocolate Slowly
I always use my old saucepan and bowl for melting. The steam from the simmering water gently warms the butter and chocolate. You must stir it occasionally. Doesn’t that smell amazing? It fills the whole kitchen.
This gentle melting matters. It keeps the chocolate smooth and prevents it from burning. Burnt chocolate tastes bitter. We want it sweet and mellow. Do you prefer melting chocolate on the stove or in the microwave? I’d love to know.
The Magic of Toasted Nuts
Nuts are optional here. But if you use them, toasting is the key. Just five minutes in the oven wakes them up. It makes them fragrant and crispy. They add a wonderful crunch against the fudgy brownie.
I always choose pecans. They have a sweet, buttery flavor. Walnuts are lovely too. Which nut do you think belongs in a brownie? Pecans, walnuts, or no nuts at all? Tell me your favorite.
The Hardest Part: Waiting
This is the true test of patience. You must let the brownies cool completely. I know it’s hard. They smell so good. But cutting them warm makes a messy, crumbly square.
Waiting two hours lets them set. Then you get those perfect, clean edges. It’s worth it, I promise. What’s your best trick for waiting while something bakes? I usually go water my plants.
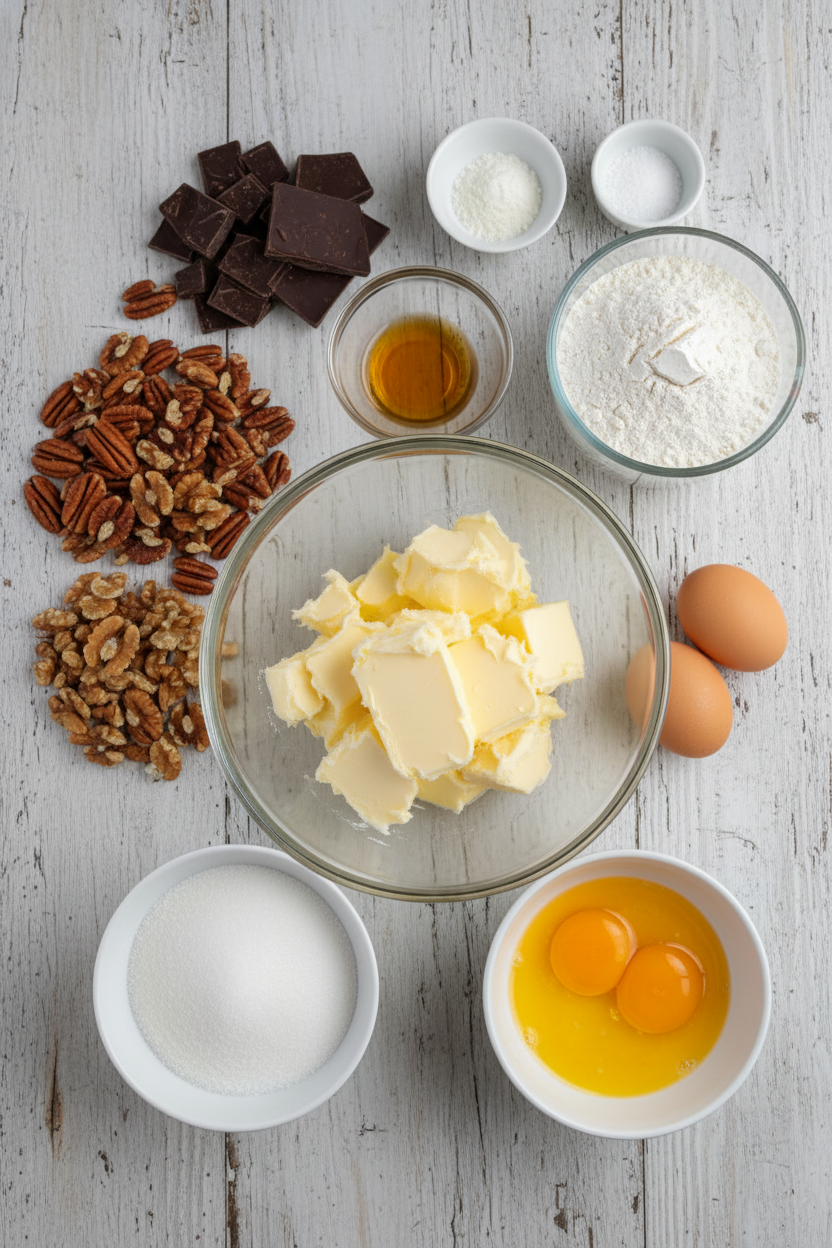
Ingredients:
| Ingredient | Amount | Notes |
|---|---|---|
| Pecans or walnuts | 1 cup (4 oz / 113 g) | Chopped medium; optional |
| Plain cake flour | 1 ¼ cups (5 oz / 142 g) | |
| Table salt | ½ teaspoon | |
| Baking powder | ¾ teaspoon | |
| Unsweetened chocolate | 6 oz (170 g) | Chopped fine |
| Unsalted butter | 12 tbsp (1 ½ sticks) | Cut into six 1-inch pieces |
| Sugar | 2 ¼ cups (15 ¾ oz / 447 g) | |
| Large eggs | 4 | |
| Vanilla extract | 1 tablespoon |
My Gooey, Can’t-Eat-Just-One Brownies
Hello, my dear. Come sit at the counter. I’m making my famous brownies. The smell of melting chocolate is pure happiness, isn’t it? My grandson calls these “crackly-top, fudge-bottom wonders.” I still laugh at that. Making them is like a little kitchen dance. It’s simple, I promise. Let’s start our dance together.
First, we must prepare our stage. That means lining the baking pan with foil. This is my secret for easy cleanup. No stuck-on brownie bits! (My hard-learned tip: spray the foil well. A stuck brownie is a sad brownie.) Then, if you’re using nuts, we toast them. Toasting wakes up their flavor. It makes them taste warm and cozy.
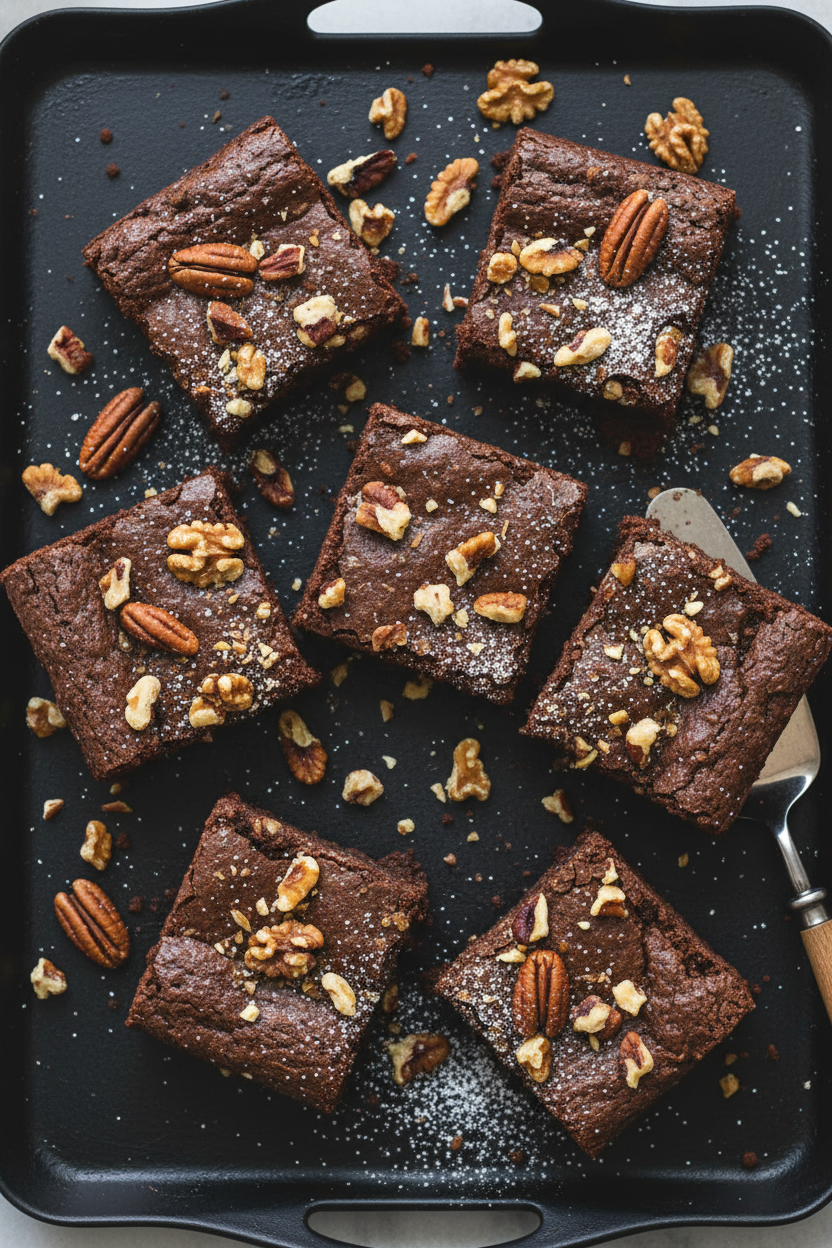
Step 1: Heat your oven to 325 degrees. Line your 13×9 inch pan with foil. Make sure some foil hangs over the edges. This creates little handles. Spray the foil all over. Now your pan is ready for the good stuff. Step 2: Spread your nuts on a baking sheet. Pop them in the warming oven. Let them toast for 5 to 8 minutes. You’ll know they’re done when you smell that nutty perfume. Set them aside to cool. Do you like nuts in your brownies? Share below! Step 3: Grab a medium bowl. Whisk your flour, salt, and baking powder together. Just a few whisks will do. Set this bowl aside. This is our dry team. They are waiting to join the chocolate party later. Step 4: Now, the magic. Melt the butter and unsweetened chocolate together. I use a bowl over a pot of steaming water. Stir until it’s a smooth, dark pool. Be careful, it’s hot! Take the bowl off the heat. Whisk in the sugar. It will look grainy, that’s okay. Step 5: Crack in the eggs, one at a time. Whisk well after each one. This makes the batter shiny. Now, a big splash of vanilla. Doesn’t that smell amazing? Finally, gently fold in your flour mixture. Mix just until you see no more white streaks. Step 6: Pour that beautiful, thick batter into your pan. Spread it gently to the corners. Sprinkle your toasted nuts on top, if using. Bake for 30 to 35 minutes. A toothpick should come out with a few sticky crumbs. Not wet batter, just crumbs! Step 7: This is the hardest part. You must let them cool completely. I know, it’s torture! Wait about 2 hours. Then, use the foil handles to lift the whole slab out. Cut into squares. The first bite is always the best. Cook Time: 30–35 minutesTotal Time: About 3 hours (with cooling)
Yield: About 24 brownies
Category: Dessert, Baking
Let’s Get Creative With Your Batch
Once you master the classic, try a twist! It’s fun to play with flavors. Here are three of my favorite ideas. They are all simple and delicious.
Sea Salt Sparkle: Right after baking, sprinkle the top with flaky sea salt. It makes the chocolate taste even deeper.
Peppermint Patty: Stir 1 cup of crushed peppermint candies or chocolate mint chips into the batter. So refreshing!
Cookie Swirl: Drop big spoonfuls of peanut butter or cookie butter onto the batter. Swirl it with a knife for a marbled look.
Which one would you try first? Comment below!
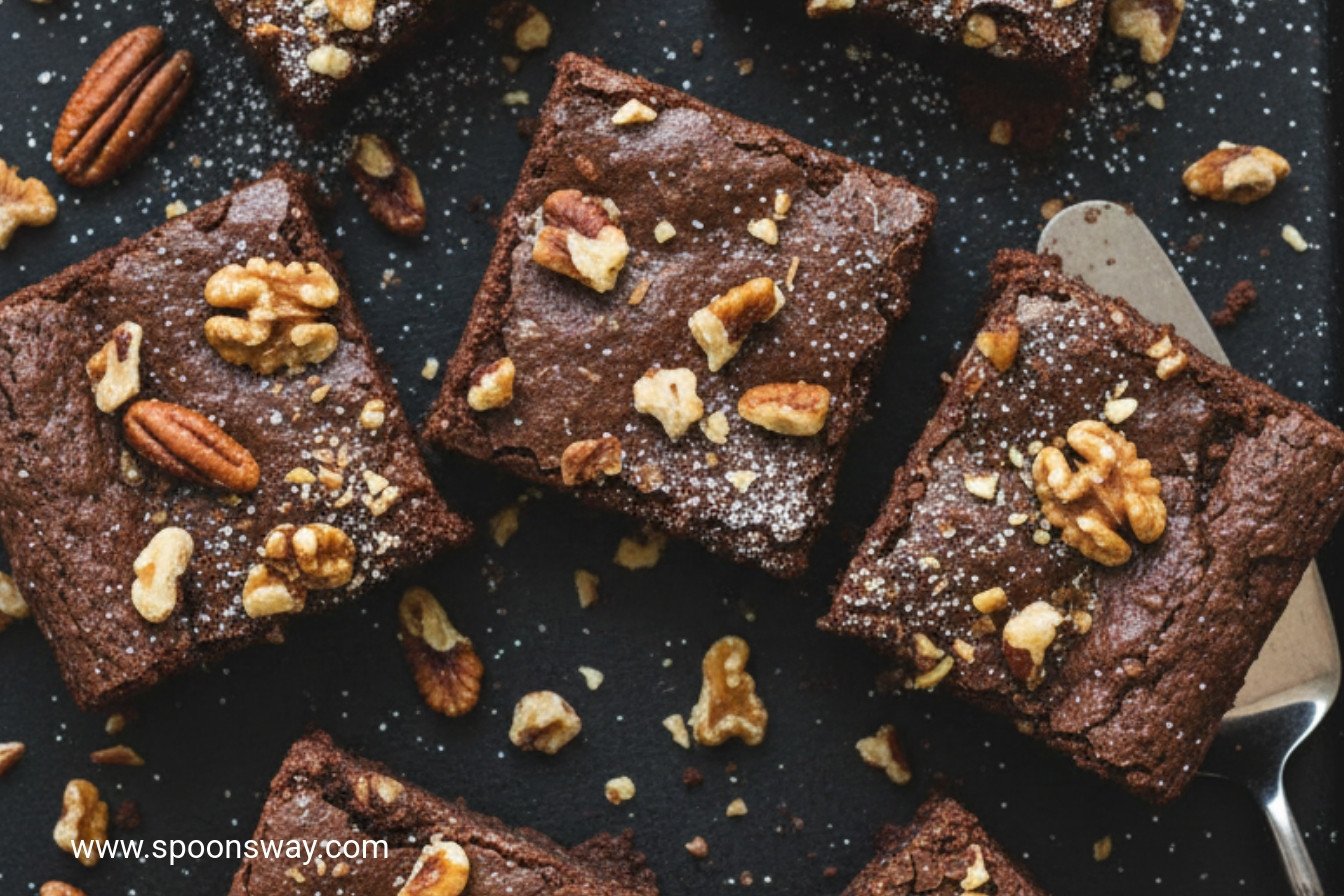
The Perfect Way to Serve Them Up
A brownie is wonderful alone. But it can be a real celebration with a friend. For a special treat, serve one warm in a bowl. Top it with a scoop of vanilla ice cream. The ice cream will melt into all the cracks. It’s a classic for a reason!
For a pretty plate, dust the squares with powdered sugar. Add a few raspberries on the side. The bright, tart berry is perfect with sweet chocolate. Now, what to drink? A cold glass of milk is always the right choice. For the grown-ups, a small glass of ruby port wine is lovely. It sips like liquid berries and chocolate.
Which would you choose tonight?
Keeping Your Brownies Happy and Fresh
Let’s talk about keeping these treats perfect. Cool brownies completely first. Then store them in an airtight container. They will stay fudgy for three days on the counter.
You can freeze them for a sweet surprise later. Wrap squares tightly in plastic wrap. Then pop them into a freezer bag. They keep for three months.
I once reheated a frozen brownie in the microwave. It was like a warm, gooey hug! Ten seconds is usually enough. This matters because a good treat should never go to waste.
You can also bake a double batch. Freeze one pan for a busy day. It makes a future you very happy. Have you ever tried storing it this way? Share below!
Brownie Troubles and Easy Fixes
Sometimes brownies don’t turn out right. Here are simple fixes. First, if they are too cakey, you might have over-mixed. Just fold the flour in until it disappears.
Second, if they stick to the pan, the foil liner is key. I remember when I skipped it once. What a sticky mess! Spraying the foil well prevents this.
Third, if your brownies are dry, you baked them too long. Start checking at 30 minutes. A few moist crumbs on the toothpick is perfect.
Getting this right builds your cooking confidence. It also guarantees that deep, fudgy flavor we all love. Which of these problems have you run into before?
Your Brownie Questions, Answered
Q: Can I make these gluten-free? A: Yes! Use a gluten-free flour blend made for baking.
Q: Can I make them ahead? A: Absolutely. Bake them a day before you need them. The flavor gets even better.
Q: What if I don’t have cake flour? A: Use all-purpose flour. Your brownies will be just a bit chewier.
Q: Can I halve the recipe? A: You can. Just use an 8-inch square pan. Bake time will be a little shorter.
Q: Are the nuts important? A: They are optional. But toasting them adds a wonderful crunch. *Fun fact: Toasting nuts wakes up their yummy oils!* Which tip will you try first?
From My Kitchen to Yours
I hope you love baking these brownies. Sharing food is one of life’s great joys. I would love to hear about your baking adventure.
Tell me if your family loved them. Or share your own special twist. Your stories make my day. Have you tried this recipe? Give your experience in the comments.
Happy cooking!
—Grace Ellington.
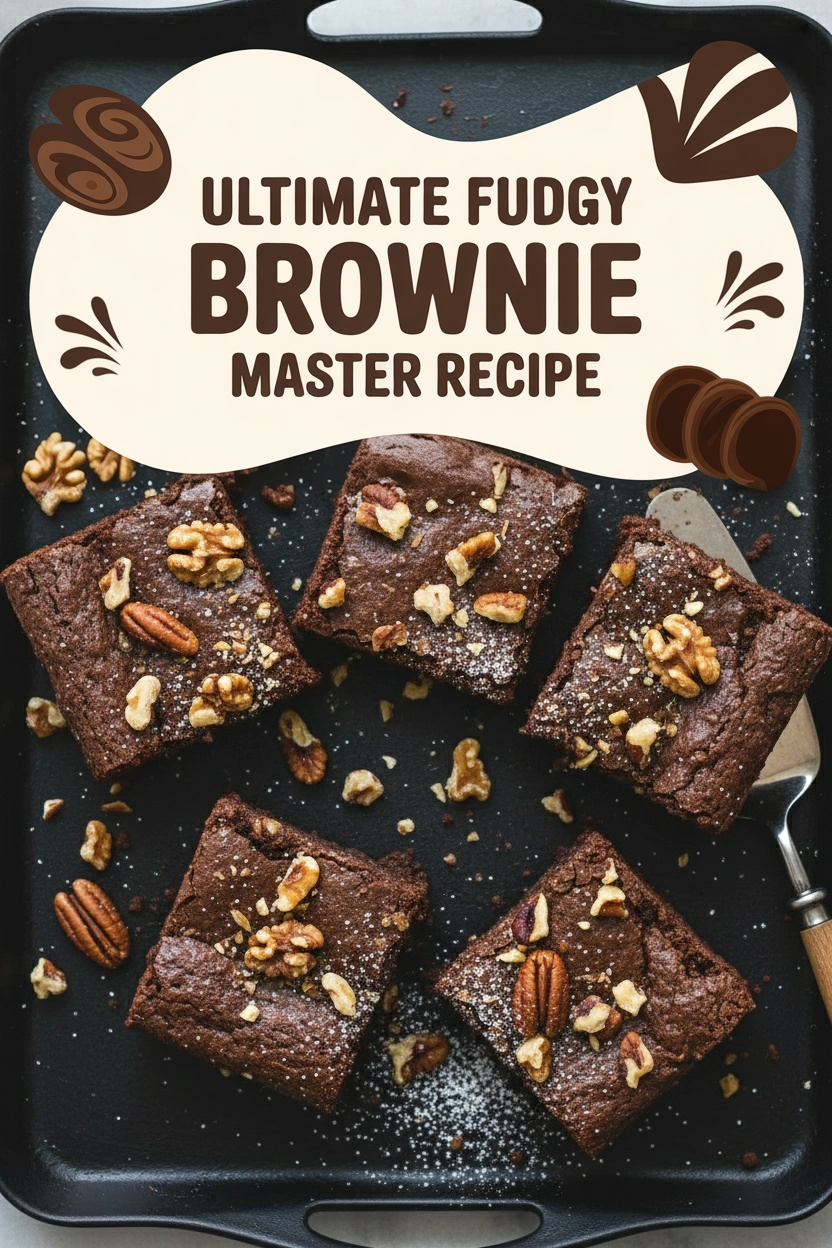
Ultimate Fudgy Brownie Master Recipe
Description
The ultimate recipe for rich, fudgy, and decadent classic brownies.
Ingredients
Instructions
- Adjust oven rack to middle position; heat oven to 325 degrees. Line a 13×9-inch baking dish with foil, leaving an overhang. Spray with nonstick cooking spray.
- If using nuts, spread on a baking sheet and toast in the oven for 5-8 minutes until fragrant. Set aside to cool.
- In a medium bowl, whisk together the flour, salt, and baking powder. Set aside.
- Melt the chocolate and butter together in a heatproof bowl set over a saucepan of simmering water, stirring until smooth. Remove from heat and gradually whisk in the sugar. Whisk in the eggs one at a time, then the vanilla.
- Add the flour mixture in three additions, folding with a spatula until the batter is smooth and homogeneous.
- Transfer batter to the prepared pan, spread into corners, and smooth the top. Sprinkle toasted nuts evenly over the batter if using.
- Bake for 30-35 minutes, until a toothpick inserted into the center comes out with a few moist crumbs attached. Cool completely in the pan on a wire rack for about 2 hours.
- Lift the brownies out of the pan using the foil overhang. Cut into 2-inch squares and serve. Store leftovers in an airtight container at room temperature for up to 3 days.
Notes
- Nutritional information is an estimate per brownie (1 of 18), calculated without optional nuts.