

My First Tuna Melt
I made my first tuna melt when I was twelve. I was so proud of myself. I remember the cheese bubbled over the side of the pan.
My dad said it was the best sandwich he ever had. I still laugh at that. He was just being kind, but it made me feel like a real cook. That is why this matters. Cooking for someone is a way to show you care.
Why We Mix First
Let’s talk about that tuna mixture. You mix the tuna, mayo, and onion in a bowl first. This is a very important step. It lets all the flavors get to know each other.
Give it a good stir. Taste it with a clean spoon. Does it need a little more salt? You are the boss of your tuna. What is your favorite cheese to use in a sandwich? I would love to know.
The Secret to a Golden Crust
The secret is the butter and a patient heart. You must butter the outside of the bread. Then, cook it on medium-low heat.
Do not rush it. Let the pan get warm first. You will hear a soft sizzle. That is the sound of a perfect crust being born. *Fun fact*: That golden brown color is called the Maillard reaction. It just means tasty science!
Making It Your Own
This is where you can have fun. I love adding a slice of tomato from my garden. It makes the sandwich juicy. My grandson loves sliced avocado in his.
You can try different things. Maybe you like a different cheese. Or a little bit of pickle. What is one special thing you would add to your perfect tuna melt?
A Little Note on Good Food
This sandwich is more than just lunch. It is a warm, happy meal. It fills your belly and makes you feel good.
That is why this matters. Simple food made with your own hands is a special kind of magic. It connects us to good memories. Does your family have a favorite simple recipe they always make?

Ingredients:
| Ingredient | Amount | Notes |
|---|---|---|
| Canned albacore white tuna | 12 ounces | Packed in water, drained |
| Mayonnaise | 1/3 cup | More to taste, or substitute half mayo, half plain Greek yogurt |
| Red onion | 2 Tablespoons | Finely chopped |
| Fresh lemon juice | 2 teaspoons | |
| Dried oregano | 1 pinch | |
| Salt and pepper | To taste | |
| Thick cut white sandwich bread | 4 slices | |
| Cheese (cheddar, provolone, swiss, etc.) | 4 slices | |
| Avocado | Optional | Sliced |
| Tomato | Optional | Sliced |
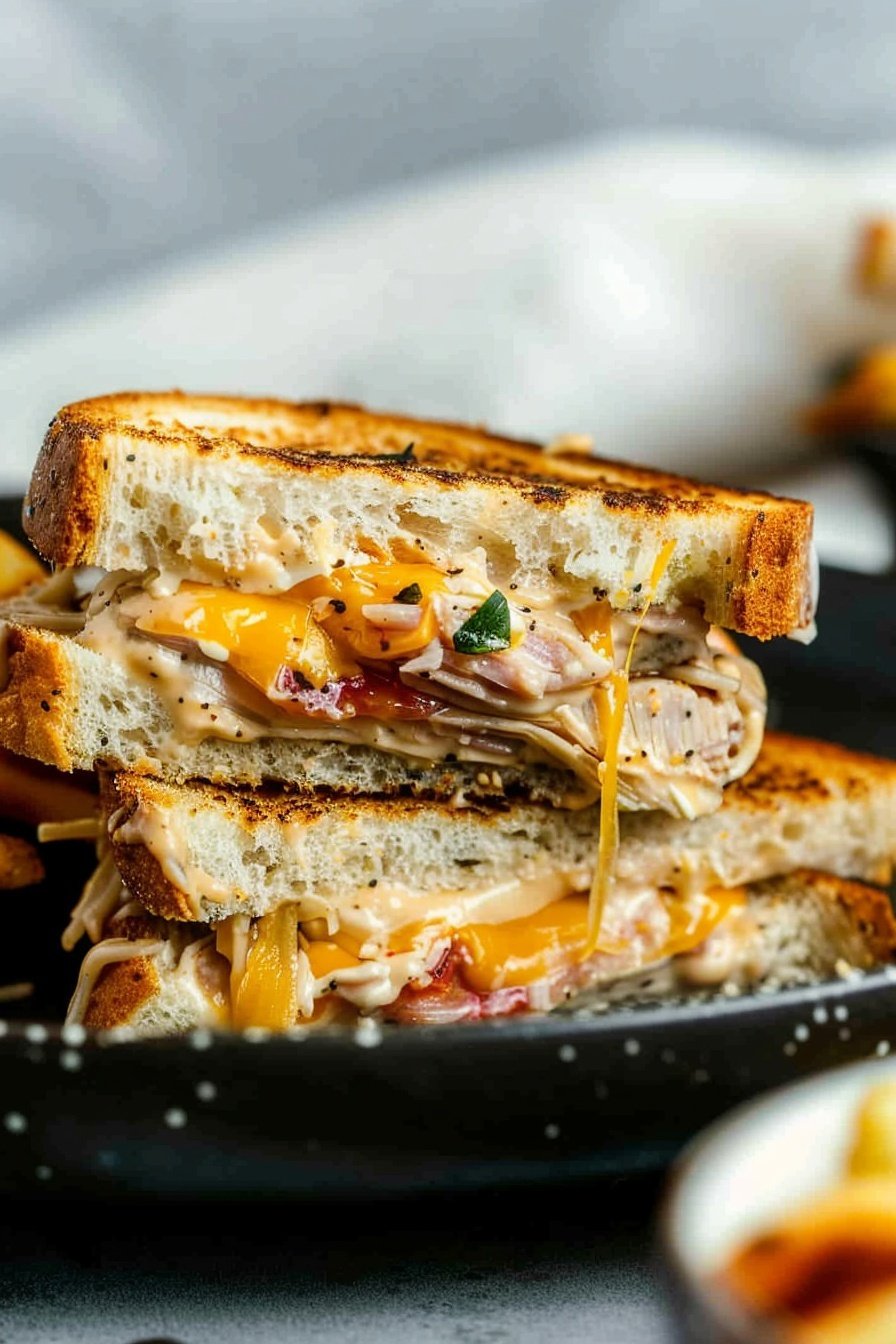
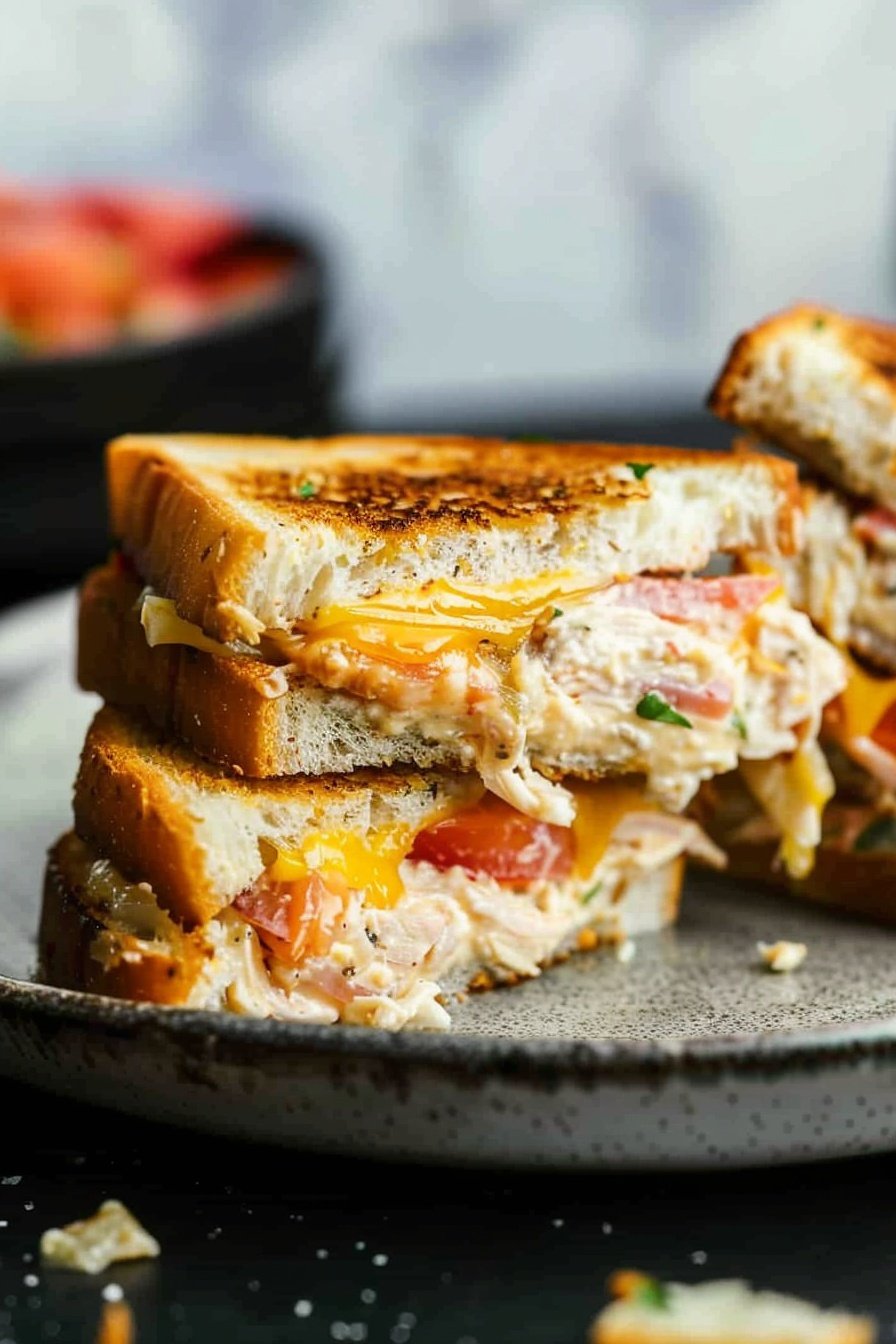
A Tuna Melt Just Like Grandma Used to Make
Oh, the humble tuna melt. It always reminds me of my own grandkids. They would rush in from school, their backpacks hitting the floor. The first thing they’d ask for was my “fancy grilled cheese.” I still laugh at that. It’s such a simple, cozy meal. It fills your belly and warms your heart. Let’s make one together, shall we?
- Step 1: Let’s get our tuna mixture ready. Find a medium-sized bowl. Put your drained tuna in it. Add the mayonnaise, chopped red onion, and lemon juice. Don’t forget that little pinch of oregano. It makes all the difference. Mix it all up until it’s happy and combined. (A hard-learned tip: If you want it creamier, add one more spoonful of mayo. It’s your sandwich, after all!)
- Step 2: Now, let’s build our sandwich. Butter the outside of each slice of bread. This gives us that perfect golden crust. On the inside, pile on your tuna mixture. Then add a slice of cheese. This is where you can get creative. Would you like some tomato or avocado? Add them now. Top it with another piece of cheese. This double-cheese trick keeps everything from falling out. Finally, place the other slice of bread on top, butter-side out.
- Step 3: Time to cook! Warm a skillet over medium-low heat. We don’t want to rush this. A slow cook makes the cheese wonderfully gooey. Place your sandwiches in the pan. Cook until the bottom is a toasty golden brown. Then, carefully flip it over. Doesn’t that smell amazing? Cook the other side until it’s just as golden and the cheese is melted. What’s your favorite cheese for a melt? Cheddar or Swiss? Share below!
Cook Time: 10-15 minutes
Total Time: 20 minutes
Yield: 2 servings
Category: Lunch, Quick Meal
Three Fun Twists on the Classic
Once you know the basics, you can play with your food! I love trying little changes. It keeps things exciting in the kitchen. Here are three of my favorite twists. They are all so simple and tasty.
- The Pizza Lover’s Melt: Use mozzarella cheese. Add a spoonful of pizza sauce right into the tuna mix.
- The Garden Fresh Melt: Mix in finely chopped celery and carrots. It adds a nice little crunch.
- The Zesty Ranch Melt: Swap the mayo for ranch dressing. It gives it a real tangy kick.
Which one would you try first? Comment below!
The Perfect Plate for Your Tuna Melt
A good sandwich deserves good company on the plate. I always think about what goes well with it. A simple side can turn lunch into a lovely little meal. It makes the whole table look happier.
I love serving my tuna melt with a handful of potato chips for a classic crunch. A small bowl of tomato soup is perfect for dipping. Or, a simple green salad with a light vinaigrette makes it feel fancy. For a drink, a cold glass of lemonade is so refreshing. For the grown-ups, a crisp lager beer is a nice match. Which would you choose tonight?
Keeping Your Tuna Melts Tasty Later
Let’s talk about storing these sandwiches. You can keep the tuna mix in the fridge for two days. Just put it in a sealed container.
I do not recommend freezing the mixed tuna. It gets watery when it thaws. But you can assemble the whole sandwich and freeze it.
Wrap it tightly in foil first. My grandson loves when I do this for his lunches. He just toasts it straight from the freezer.
To reheat, use your skillet on low heat. This keeps the bread crispy. Microwaving makes the bread soggy.
Making a double batch saves so much time. It means a good meal is always close by. This matters on busy school nights.
Have you ever tried storing it this way? Share below!
Fixing Common Tuna Melt Troubles
Is your bread burning before the cheese melts? Your heat is too high. Cook on medium-low for a golden brown finish.
I remember my first tuna melt. The outside was black. The cheese inside was still cold. We all have to start somewhere.
Is your tuna mix too dry? Add one more tablespoon of mayonnaise. Stir it in and check the texture. This makes it creamy and delicious.
Is the sandwich falling apart when you flip it? Press down gently with your spatula. This helps everything stick together. Getting the flip right builds your cooking confidence.
*Fun fact: Adding a slice of tomato? Pat it dry with a paper towel first. This little step stops sogginess.
Which of these problems have you run into before?
Your Tuna Melt Questions Answered
Q: Can I make this gluten-free?
A: Yes. Use your favorite gluten-free bread. It toasts up just as nicely.
Q: Can I make the tuna ahead?
A: Absolutely. Mix it the night before. The flavors get even better.
Q: What can I use instead of mayo?
A: Plain Greek yogurt works great. It adds a nice little tang.
Q: Can I make just one sandwich?
A: Of course. Just use a quarter of the tuna mix. Save the rest for tomorrow.
Q: Are the avocado and tomato needed?
A: No, they are optional. But they add a fresh, yummy crunch.
Which tip will you try first?
Thank You for Cooking With Me
I hope you love this recipe as much as my family does. It is a simple, comforting classic. I have made it for years.
It makes me so happy to share my kitchen stories with you. I would love to see your own creations. Your version might give me a new idea.
Have you tried this recipe? Tag us on Pinterest! I always look for your photos. It feels like we are cooking together.
Happy cooking!
—Grace Ellington.

Tuna Melt Recipe Tastes Better From Scratch
Description
A classic and comforting sandwich featuring a creamy tuna salad and melted cheese, grilled to perfection.
Ingredients
Instructions
- In a medium bowl, combine tuna, mayonnaise, onion, lemon juice, and oregano and stir until thoroughly combined. Add more mayo if you want mixture wetter. Season with salt and pepper, to taste.
- Butter outsides of bread slices. Layer tuna mixture on inside portion of bread. Add cheese, desired toppings, then another piece of cheese and top with bread.
- Heat a skillet over medium-low heat. Add sandwiches and cook until bottom bread is toasted, and cheese is warm. Flip and cook on the other side until bread is toasted and cheese has melted.
Notes
- For a lighter option, you can substitute half of the mayonnaise with plain Greek yogurt.