
My First Taste of Sunshine
I first had a bite like this years ago. My friend Mabel brought them to a summer picnic. They were in a little tin, all sticky and sweet. One bite took me right to a beach. I still laugh at that.
That’s the magic of coconut and lime. They work together like old friends. The coconut is sweet and cozy. The lime is bright and zippy. Doesn’t that smell amazing? It matters because food should make you feel things. It should bring a little joy.
Why These Bites Feel Special
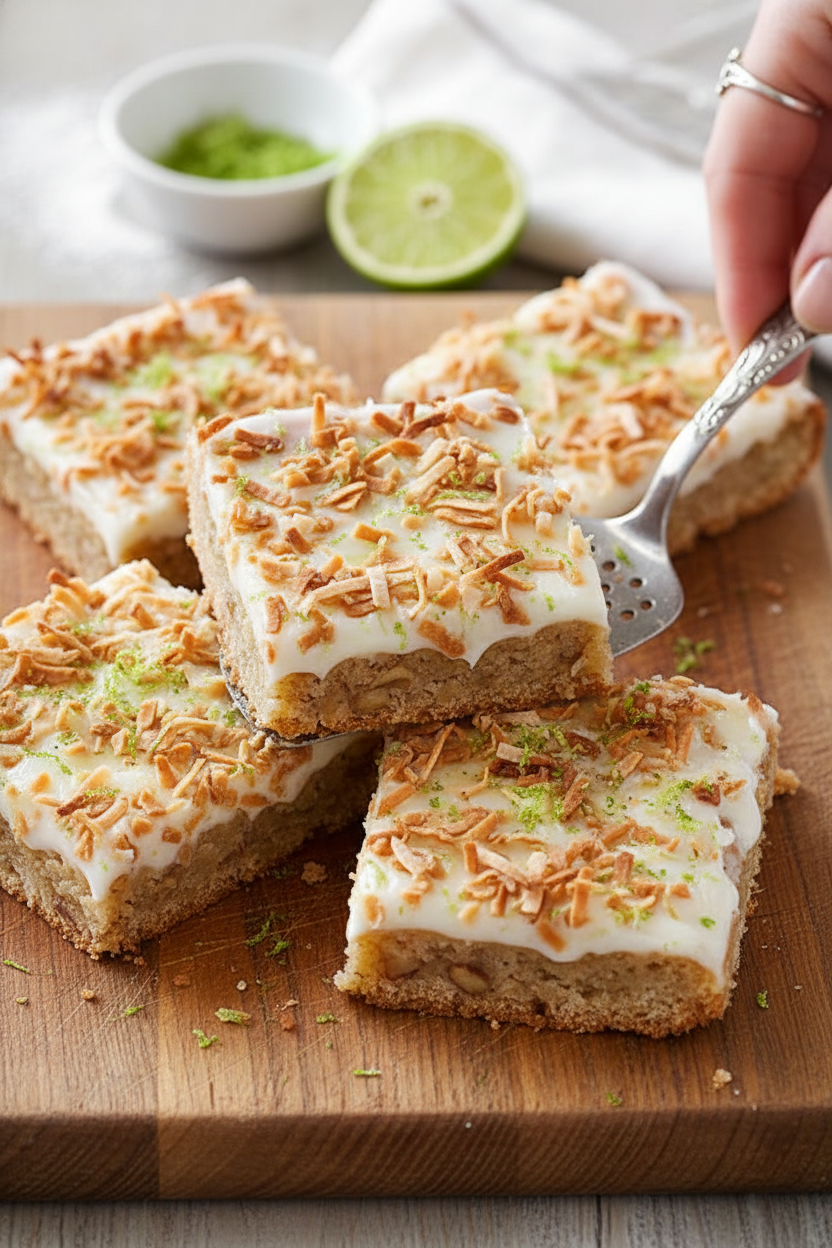
These are not your everyday cookie. They have three layers. A short, buttery crust comes first. It holds everything together. Then a rich, nutty filling sits on top. The final touch is a shiny lime glaze.
Each layer has a job. The crust gives a gentle crunch. The filling is soft and chewy. The glaze is a sweet, tangy kiss. It matters because texture is a secret ingredient. It makes eating more fun. What’s your favorite texture in a treat? I love something chewy.
A Little Kitchen Helper
Let me tell you a secret. The foil in the pan is your best friend. It seems like a funny step. But it lets you lift the whole batch out later. No stuck bits! It makes cutting so clean.
Another tip? Use your fingers. Pressing the crust into the pan is the best part. Feel it become even. Fun fact: The acid in lime juice reacts with the sugar. It makes the glaze extra shiny and smooth.
The Flavor Dance
Toasting the walnuts is key. It wakes up their flavor. It makes them taste warm and rich. They play so nicely with the sweet coconut.
And that lime sugar on top! Rubbing the zest with sugar is magic. It releases the lime’s beautiful oils. It makes the whole kitchen smell fresh. Do you have a smell that always makes you happy? For me, it’s citrus.
Sharing the Bliss
These bites need patience. Let them cool all the way. I know it’s hard to wait. But the glaze needs time to set. It will be worth it, I promise.
Then, cut them into squares. They are perfect for sharing. Put them on a pretty plate. Take them to someone you like. Or keep them all for yourself. I won’t tell! What’s your favorite treat to share with friends?
Ingredients:
| Ingredient | Amount | Notes |
|---|---|---|
| Cake flour | 1 ⅔ cups (6 ⅔ ounces/189 grams) | For the crust; sifted |
| Granulated sugar | ¼ cup (1 ¾ ounce/50 grams) | For the crust |
| Salt | ¼ teaspoon | For the crust |
| Unsalted butter | 11 tablespoons | For the crust; cut into ½-inch pieces and chilled |
| Light brown sugar | 1 cup packed (7 ounces/198 grams) | For the filling |
| Large eggs | 4 | For the filling |
| Vanilla extract | 1 teaspoon | For the filling |
| Salt | ½ teaspoon | For the filling |
| Baking powder | ¼ teaspoon | For the filling |
| Sweetened shredded coconut | 1 cup | For the filling |
| Walnuts | 1 cup | For the filling; toasted and chopped |
| Limes | 2 | For the glaze; for zest and juice |
| Granulated sugar | 1 tablespoon | For the glaze |
| Confectioners’ sugar | 2 cups (8 ounces/227 grams) | For the glaze; sifted |

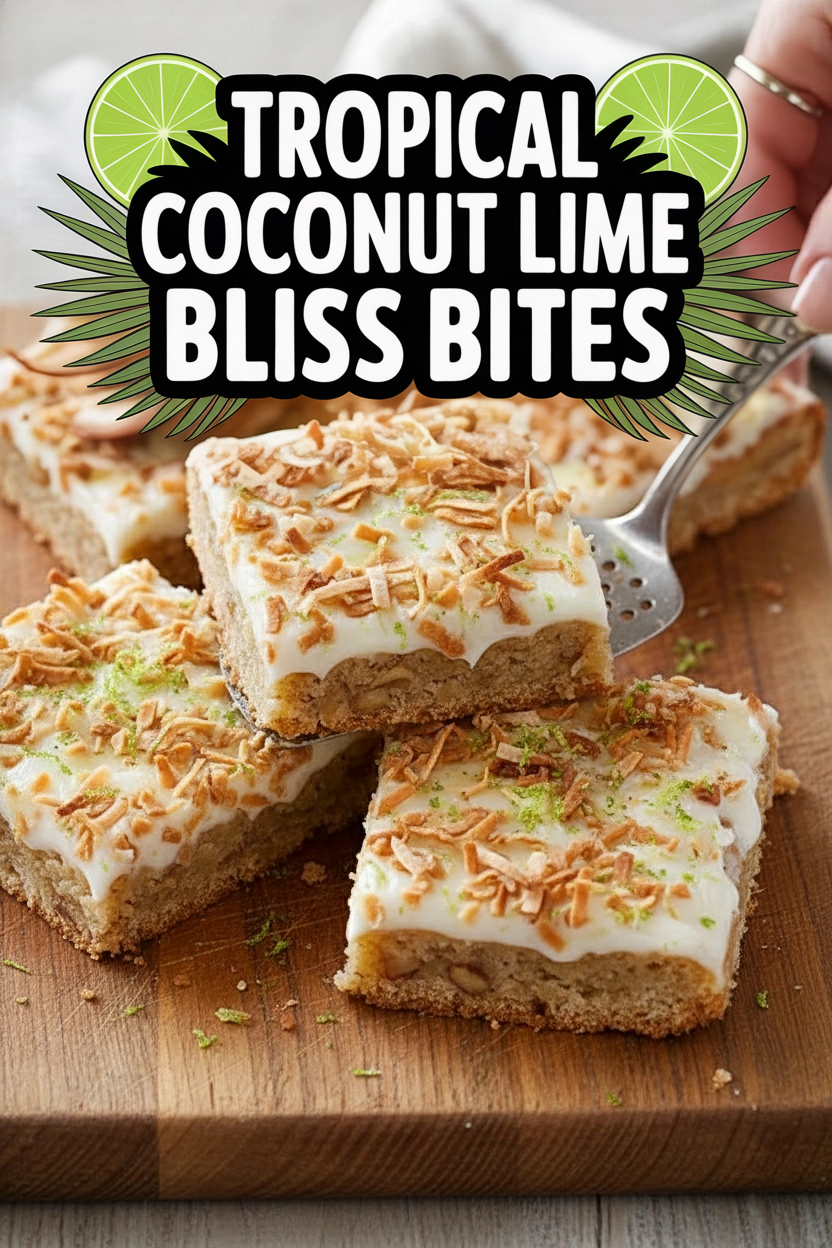
My Tropical Coconut Lime Bliss Bites
Hello, my dear. Come sit at the counter. I want to tell you about these little bites of sunshine. They remind me of a summer picnic with my grandpa. He always had a coconut in his hand. The smell of toasted coconut and zesty lime is pure joy. Doesn’t that smell amazing? Let’s make some memories together.
Ingredients
For the Crust:
- 1 ½ cups all-purpose flour
- ½ cup granulated sugar
- ¼ teaspoon salt
- ¾ cup cold unsalted butter, cubed
For the Filling:
- 1 cup packed brown sugar
- 2 large eggs
- 1 teaspoon vanilla extract
- ½ teaspoon baking powder
- ¼ teaspoon salt
- 1 ½ cups sweetened shredded coconut
- ½ cup toasted walnuts, chopped
For the Glaze & Topping:
- 1 ½ cups powdered sugar
- 3 tablespoons fresh lime juice
- 1 tablespoon lime zest
- 1 teaspoon granulated sugar
Instructions
Step 1: Heat your oven to 350°F (175°C). Line an 8×8 or 9×9 inch baking pan with foil, pushing it into all the corners. This makes cleanup so easy later. I still laugh at the time I forgot this step. What a sticky mess!
Step 2: Pulse the flour, sugar, and salt in your food processor. Add the cold butter pieces. Pulse until the mixture looks like wet sand. (My hard-learned tip: Your butter must be cold. Warm butter makes a greasy crust.) Press this mixture firmly and evenly into the bottom of your prepared pan. Bake for 18-20 minutes, until the edges are lightly golden.
Step 3: While the crust bakes, make the filling. Whisk the brown sugar and eggs together until smooth. Add the vanilla, baking powder, and salt. Stir in the sweet coconut and toasted walnuts. The toasting makes the walnuts taste so rich. Can you smell them? Pour this mixture over your warm crust and spread it evenly.
Step 4: Bake for 20-25 minutes, until the filling is set and puffed. Let it cool in the pan for about 30 minutes. While it’s still warm, make the glaze.
Step 5: In a small bowl, mix the lime zest with the teaspoon of granulated sugar. This is our special sprinkle. In another bowl, whisk the powdered sugar with the fresh lime juice until smooth. Quick quiz: What makes the glaze extra zingy—the juice or the zest? Share below!
Step 6: Pour the glossy glaze over the warm bars and spread it gently to the edges. Immediately sprinkle the lime sugar on top. Now, patience, my dear. Let the bars cool completely in the pan, about 2 hours. I know, it’s hard to wait! Finally, lift the bars out using the foil and cut them into squares. Each bite is a sweet, chewy, tangy hug.
Cook Time: About 40 minutes
Total Time: About 3 hours (with cooling)
Yield: 15-20 bliss bites
Category: Dessert, Snack
Three Fun Twists to Try
I love playing with recipes. It makes them your own. Here are some sunny ideas for our bliss bites. Sunshine Pineapple: Add a handful of crushed dried pineapple to the filling. It’s like a tropical vacation. Chocolate Drizzle: Skip the lime glaze. Drizzle melted dark chocolate over the cooled bars instead. So elegant. Ginger Zing: Add a teaspoon of grated fresh ginger to the filling. It gives a lovely little warm kick. Which one would you try first? Comment below!
Serving with a Smile
These bites are perfect all on their own. But for a special treat, try this. Serve them on a blue plate. It looks like the ocean. Add a tiny dollop of whipped cream on the side. A few fresh raspberries make it pretty. For drinks, I have two favorites. A cup of strong, hot tea is lovely. For a festive evening, a glass of chilled prosecco pairs beautifully. The bubbles cut through the sweetness. Which would you choose tonight?
Keeping Your Bliss Bites Blissful
These bites are best enjoyed fresh. But you can keep them happy for two days. Just cover the pan tightly at room temperature. I use a big cake dome or foil.
For longer storage, freeze them. Cut the bars first and wrap each one. Use plastic wrap or foil. They will keep for one month. Thaw them on the counter when you want one.
I once sent a whole batch to my grandson. I froze them solid for the trip. He said they tasted like I just baked them. Batch cooking like this saves time for busy weeks.
It matters because good food should be shared. Storing it right means you can always offer a sweet bite to a friend. Have you ever tried storing it this way? Share below!
Simple Fixes for Common Hiccups
Is your crust too crumbly? Your butter was probably too warm. Always use chilled butter pieces. Press the crust firmly into the pan before baking.
Did the filling not set? The oven might be off. Use an oven thermometer to check. I remember when my old oven ran cool. My bars were soupy in the middle!
Is the glaze too thick or thin? Adjust with a tiny bit more juice or sugar. Getting the texture right makes the bars look pretty. It also gives that perfect tangy lime punch.
Fixing small problems builds your kitchen confidence. You learn how ingredients work together. This knowledge makes everything you bake taste better. Which of these problems have you run into before?
Your Quick Questions, Answered
Q: Can I make these gluten-free? A: Yes. Use a gluten-free all-purpose flour blend for the crust.
Q: Can I make them ahead? A: Absolutely. Bake them a day before you need them. The flavors get even better.
Q: What if I don’t like walnuts? A: Try pecans or almonds. Or use more coconut for a chewier bite.
Q: Can I make a half batch? A: You can. Just use an 8-inch square pan. Watch the baking time closely.
Q: Any optional tips? A: A tiny pinch of cardamom in the filling is lovely. Fun fact: Cardamom and coconut are best friends in many tropical places. Which tip will you try first?
From My Kitchen to Yours
I hope you love making these sunny bites. They always remind me of summer picnics. The kitchen is my favorite place to make memories.
I would love to hear about your baking adventure. Tell me about your family’s favorite treat. Your stories are my favorite thing to read. Have you tried this recipe? Share your experience in the comments.
Happy cooking!
—Grace Ellington.

Tropical Coconut Lime Bliss Bites
Description
Experience a taste of the tropics with these Coconut-Lime Dream Bites, featuring a buttery crust, a rich coconut-walnut filling, and a zesty lime glaze.
Ingredients
Crust:
Filling:
Glaze:
Instructions
- For the crust: Adjust oven rack to middle position and heat oven to 350 degrees. Line a 13×9-inch pan with foil, leaving an overhang on all sides. Process flour, sugar, and salt in a food processor. Add butter and pulse until mixture resembles coarse meal. Press into the prepared pan and bake until edges are lightly browned, about 15 minutes. Let cool for 5 minutes.
- For the filling: Whisk brown sugar, eggs, vanilla, salt, and baking powder together. Stir in coconut and walnuts. Pour filling over the warm crust and bake until set, about 25 minutes. Cool bars in pan for 5 minutes.
- For the glaze: Combine lime zest and 1 tablespoon granulated sugar in a small bowl. In a separate bowl, whisk confectioners’ sugar and lime juice until smooth. Pour glaze over the warm bars and spread evenly. Sprinkle with the lime sugar.
- Let bars cool completely in the pan on a wire rack, about 2 hours. Using the foil overhang, lift the slab from the pan and cut into 15 pieces. Serve. Store at room temperature for up to 2 days.
Notes
- For best results, ensure the crust is fully chilled before baking and the bars are completely cool before cutting for clean edges.