The Magic of Browned Butter
Let me tell you about browned butter. It is pure kitchen magic. You cook butter until it turns a golden brown. It smells like toasted nuts and caramel.
I still laugh at that. The first time I did it, I thought I ruined it! But that nutty smell is the secret. It makes everything taste deeper and richer. Doesn’t that smell amazing? This matters because flavor starts in your nose. Good smells promise good tastes.
A Happy Little Accident
This cookie recipe came from a happy accident. One day, I was making my usual brown butter cookies. But I was out of regular butter! All I had was coconut butter.
I decided to brown it anyway. I was so nervous. But oh my, the kitchen filled with a sweet, toasty coconut smell. The cookies were chewy and wonderful. It taught me a good lesson. Don’t be afraid to try something new. The best things often start as mistakes.
Why the Little Steps Matter
These cookies have simple steps. But each one is important. Whisking the dry ingredients mixes them evenly. This stops little bitter clumps of baking soda.
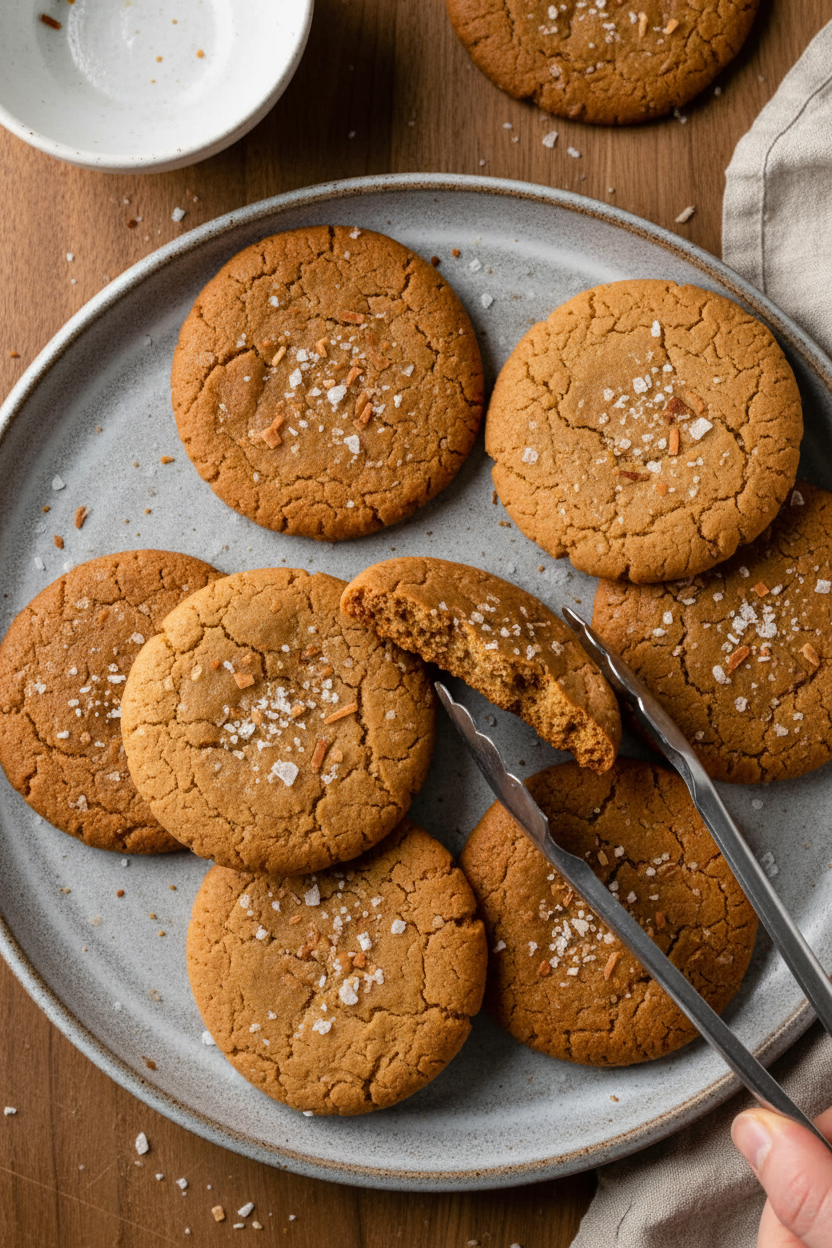
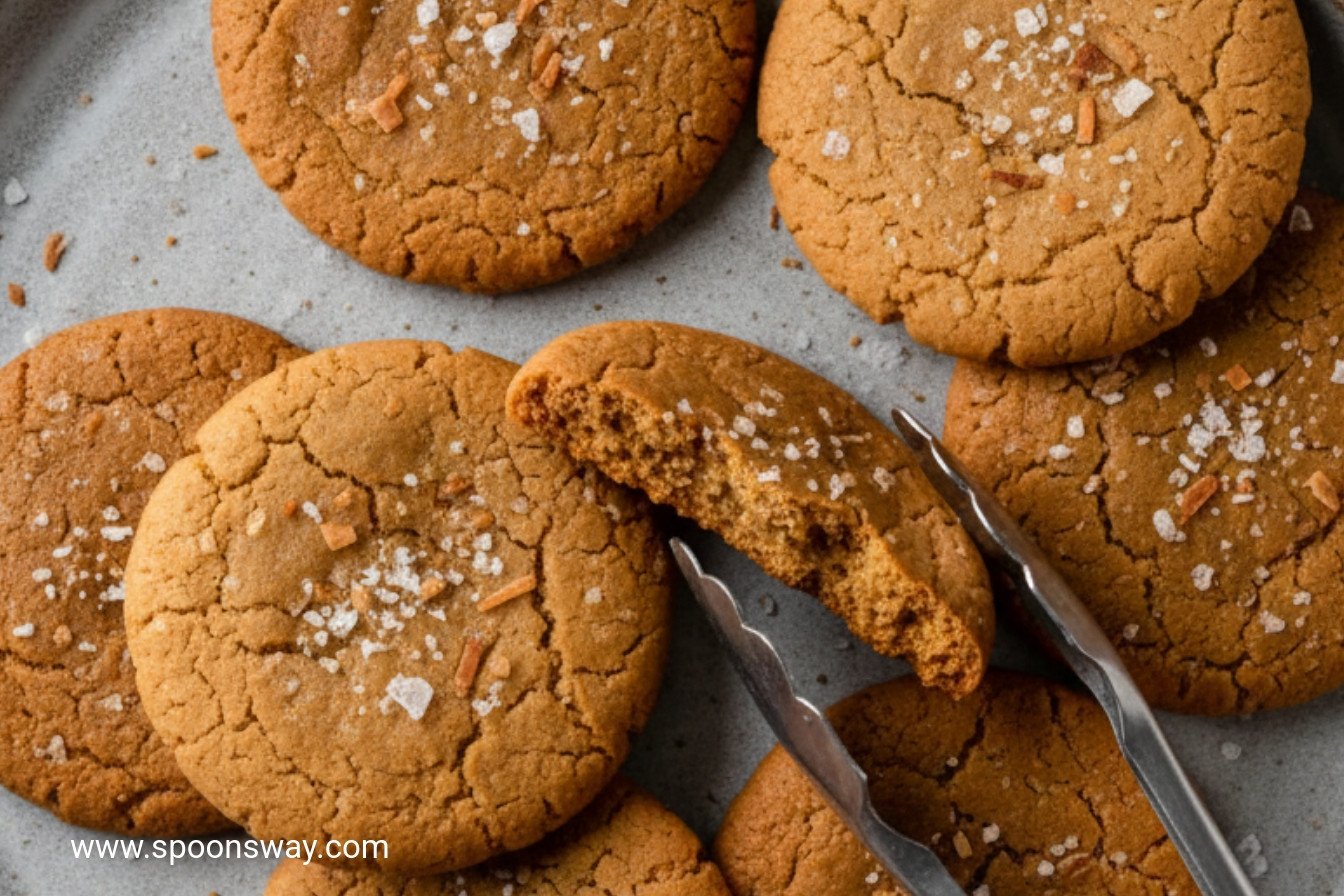
And flattening the dough balls? That gives you the perfect chewy shape. A thick ball stays too cakey. A flat one gets too crisp. We want chewy! Fun fact: The sprinkle of sea salt on top isn’t just pretty. It makes the sweet coconut flavor pop even more.
Let’s Talk About Texture
The word for these cookies is “chewy.” The edges get a tiny bit crisp. The middle stays soft and bends. That is the perfect cookie bite.
Getting that texture is easy. You just must not over-bake them. Take them out when the edges just begin to brown. They will look a little soft in the middle. That’s perfect! They firm up as they cool. Do you like your cookies more chewy or more crisp? I’d love to know.
Your Turn in the Kitchen
Now it’s your turn. Rolling the dough balls is fun. It’s like playing with edible playdough. Feel the warmth of the dough in your hands.
Use the bottom of a glass to flatten them. It works perfectly. What is your favorite cookie to bake with someone you love? Mine will always be these. Share your baking stories with me. I read every one.
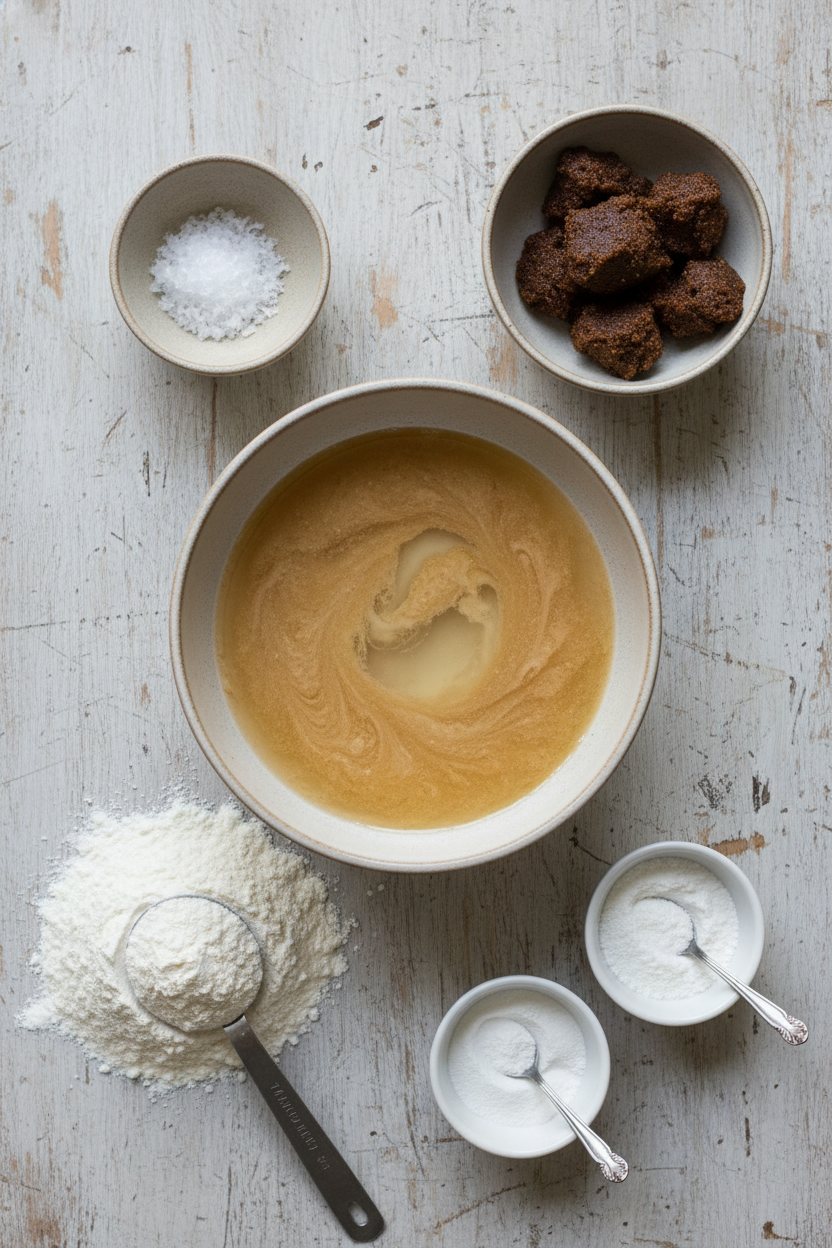
Ingredients:
| Ingredient | Amount | Notes |
|---|---|---|
| all-purpose flour | 1½ cups (7½ ounces/213 grams) | |
| baking powder | ¾ teaspoon | |
| baking soda | ½ teaspoon | |
| salt | ½ teaspoon | |
| brown sugar | 1⅓ cups packed (9⅓ ounces/265 grams) | |
| browned coconut butter | ¾ cup (6⅛ ounces/174 grams) | |
| water | 6 tablespoons plus 2 teaspoons | |
| Flake sea salt | for sprinkling |
The Story of My Toasted Coconut Brown Butter Cookies
Hello, dear. Pull up a chair. Let me tell you about these cookies. They smell like a tropical vacation in your kitchen. The secret is browning the coconut butter first. It turns golden and nutty. Doesn’t that smell amazing? My grandson calls them “sunshine cookies.” I still laugh at that. They are chewy and rich, with a little salty crunch on top. Perfect with a glass of cold milk. Making them is a cozy afternoon project. Let’s begin.
Step 1: Prepare the Dough
First, get your oven ready. Move the rack to the middle. Heat it to 350 degrees. Line your baking sheets with parchment paper. Now, mix the dry team in a bowl. That’s flour, baking powder, baking soda, and salt. In a bigger bowl, whisk the sugar, browned coconut butter, and water. Whisk until it’s all smooth and happy. Then, gently stir the dry mix into the wet. (A hard-learned tip: don’t overmix! Just until you see no more dry flour.)
Step 2: Shape the Cookies
Time to make the dough balls. Scoop about two tablespoons for each. Roll them between your palms. It feels like playdough, but tastier. Space them out on your sheets. Now, take a clean drinking glass. Use the bottom to flatten each ball. Press until it’s about two and a half inches wide. Sprinkle a tiny bit of flake sea salt on top. Gently press again with the glass. This helps the salt stick. Sweet or salty first? Share below!
Step 3: Bake & Cool
Bake just one tray at a time. This gives them room to breathe. They need about 15 to 17 minutes. Rotate the tray halfway through. You’ll know they’re done when the edges look set. They will be just barely golden. Let them cool right on the tray for five minutes. Then, move them to a rack. Waiting for them to cool is the hardest part. But it’s worth it. They firm up into the perfect chewy texture.
Cook Time: 15–17 minutes per batch
Total Time: About 1 hour
Yield: 16 cookies
Category: Dessert, Cookies
Three Fun Twists to Try
Once you master the basic recipe, you can play. Here are my favorite little changes. They make the cookies feel new again.
- Chocolate Chip Treasure: Fold in a handful of dark chocolate chips. The chocolate melts into the coconut. It’s a wonderful surprise.
- Lemon Zest Sparkle: Add the zest of one lemon to the dough. It makes the flavor bright and sunny. A little sparkle for your taste buds.
- Almond Joy Version: Press a whole almond into the top before baking. You could even add a few chocolate chips too. So good.
Which one would you try first? Comment below!
Serving Them Up Right
These cookies are stars all on their own. But I love making a little moment. For a special treat, place one on a small plate. Add a dollop of whipped coconut cream on the side. A few fresh raspberries look pretty, too. Or simply stack them high on a vintage cake stand. It feels so festive.
What to drink? For grown-ups, a cup of strong coffee or a glass of creamy sherry is lovely. For everyone, a tall glass of cold vanilla almond milk is perfect. It’s a cozy pairing. Which would you choose tonight?
Keeping Your Cookies Happy
These cookies stay chewy for days. Just pop them in an airtight container. They will be good for up to five days. You can also freeze the dough balls for later. Flatten them first, then freeze on a tray. Once frozen, bag them up. Bake straight from the freezer, adding a minute or two.
I once baked a double batch for my book club. I froze half the dough. A surprise visit from my grandkids was no problem. Warm cookies in minutes made me a hero! Batch cooking like this saves time and stress. It means you are always ready for a sweet moment.
Have you ever tried storing cookie dough this way? Share below!
Cookie Troubles? Easy Fixes Right Here
First, your cookies might spread too much. Make sure your browned coconut butter is not too hot. Let it cool a bit before mixing. This gives you a thicker, chewier cookie. I remember when my first batch turned into one giant cookie sheet! Getting the butter temperature right matters. It gives you control over your bake.
Second, the dough can seem too crumbly. Just add a teaspoon more water. Mix until it just comes together. Do not overwork it. Third, the edges might burn. Always rotate your tray halfway through baking. This ensures even cooking. Fixing small issues builds your kitchen confidence. You learn how ingredients work together.
Which of these problems have you run into before?
Your Quick Cookie Questions, Answered
Q: Can I make these gluten-free?
A: Yes! Use a good 1-to-1 gluten-free flour blend. The results are wonderful.
Q: Can I make the dough ahead?
A: Absolutely. Keep it covered in the fridge for up to two days.
Q: What if I don’t have brown sugar?
A: White sugar works, but the cookie will be less chewy. Brown sugar adds moisture.
Q: Can I double the recipe?
A: You can! Just mix in a very large bowl. Bake one tray at a time.
Q: Any optional tips?
A: A fun fact: browning the coconut butter deepens its nutty flavor. It is worth the extra few minutes!
Which tip will you try first?
From My Kitchen to Yours
I hope you love making these cookies. The smell of toasted coconut is pure joy. It fills your kitchen with warmth. I have shared this recipe with all my grandchildren. Now I am sharing it with you. Cooking is about making sweet memories, one batch at a time.
I would love to hear about your baking adventure. Have you tried this recipe? Share your experience in the comments. Tell me all about it.
Happy cooking!
—Grace Ellington.
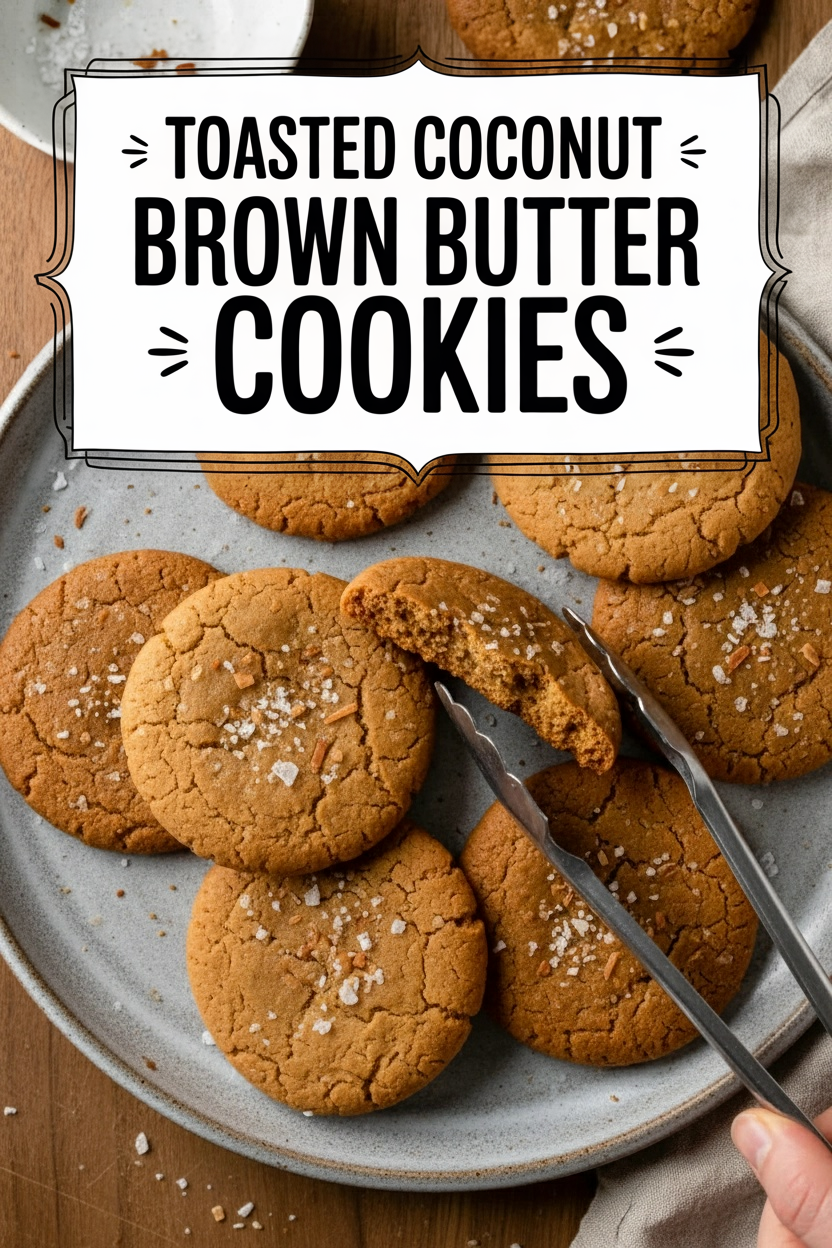
Toasted Coconut Brown Butter Cookies
Description
Chewy Browned Coconut Butter Cookies
Ingredients
Instructions
- Adjust oven rack to middle position and heat oven to 350 degrees F/177 degrees C. Line 2 rimmed baking sheets with parchment paper. Whisk flour, baking powder, baking soda, and salt together in medium bowl. Whisk sugar, coconut butter, and water in large bowl until well combined and smooth. Using rubber spatula, stir flour mixture into coconut butter mixture until just combined.
- Divide dough into 16 pieces (about 2 tablespoons; 1⅔ ounces; or 47g each) and, using your hands, roll into balls. Evenly space dough balls on prepared sheets. Using bottom of drinking glass, flatten dough balls until 2½ inches in diameter. Sprinkle with salt and gently press tops with bottom of drinking glass to help salt adhere.
- Bake, 1 tray at a time, until edges are set and just beginning to brown, 15 to 17 minutes, rotating tray after 7 minutes. Let cookies cool on sheets for 5 minutes. Using wide metal spatula, transfer cookies to wire rack and let cool completely. (Cooled cookies can be stored in airtight container for up to 5 days.)