
The Magic of Yeast
Let’s talk about the yeast. You mix it with warm water and sugar. Then you wait. It gets all foamy and bubbly. It’s like a little science project in your bowl.
I love watching it come to life. It makes me smile every time. This foam is what makes our breadsticks light and fluffy. If it doesn’t foam, your yeast might be sleepy. You’ll need fresh ones.
A Little Story About Kneading
My grandson once asked if kneading was like wrestling dough. I still laugh at that. You just push and fold the dough until it feels smooth. It’s a wonderful way to let go of a busy day.
Your hands learn what the dough needs. It should feel soft and a little sticky. This matters because kneading makes the bread chewy and good. Have you ever baked when you felt worried? Did it help you feel calm?
The Patient Rise
Now we let the dough rest. Cover it with a cozy dish towel. It needs to sit until it doubles in size. This takes about an hour and a half.
This waiting time is important. It teaches us to be patient. Good things take time. While you wait, tell me, what’s your favorite smell from a kitchen? Mine is baking bread.
Shaping Your Breadsticks
Punch the dough down! It’s the best part. Then divide it into twelve pieces. Roll each piece into a little rope. Place them all on a cookie sheet.
They don’t have to be perfect. My first ones were all different shapes. It gives them character. Fun fact: The word “breadstick” comes from Italy. They are called “grissini.”
The Final Touch
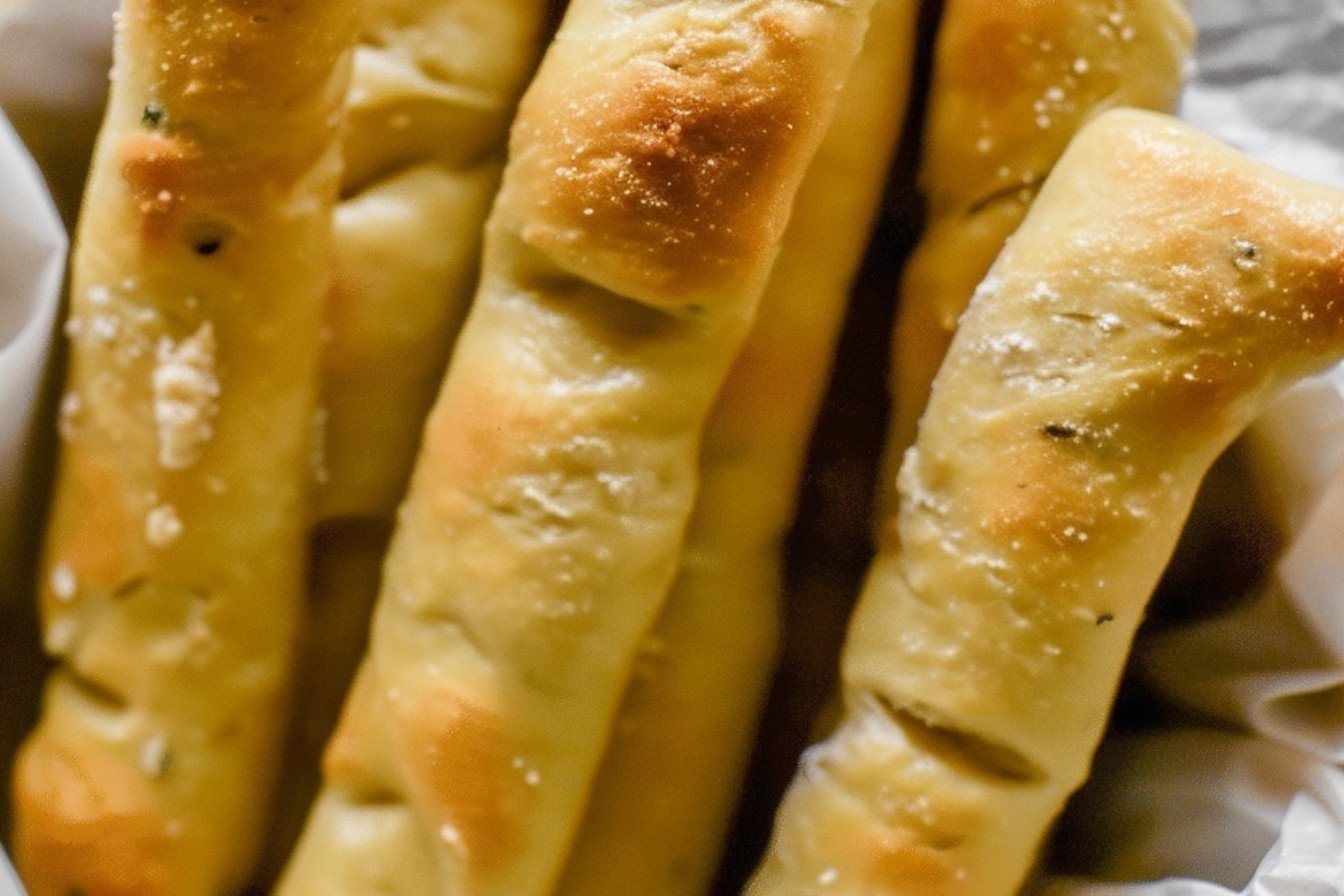
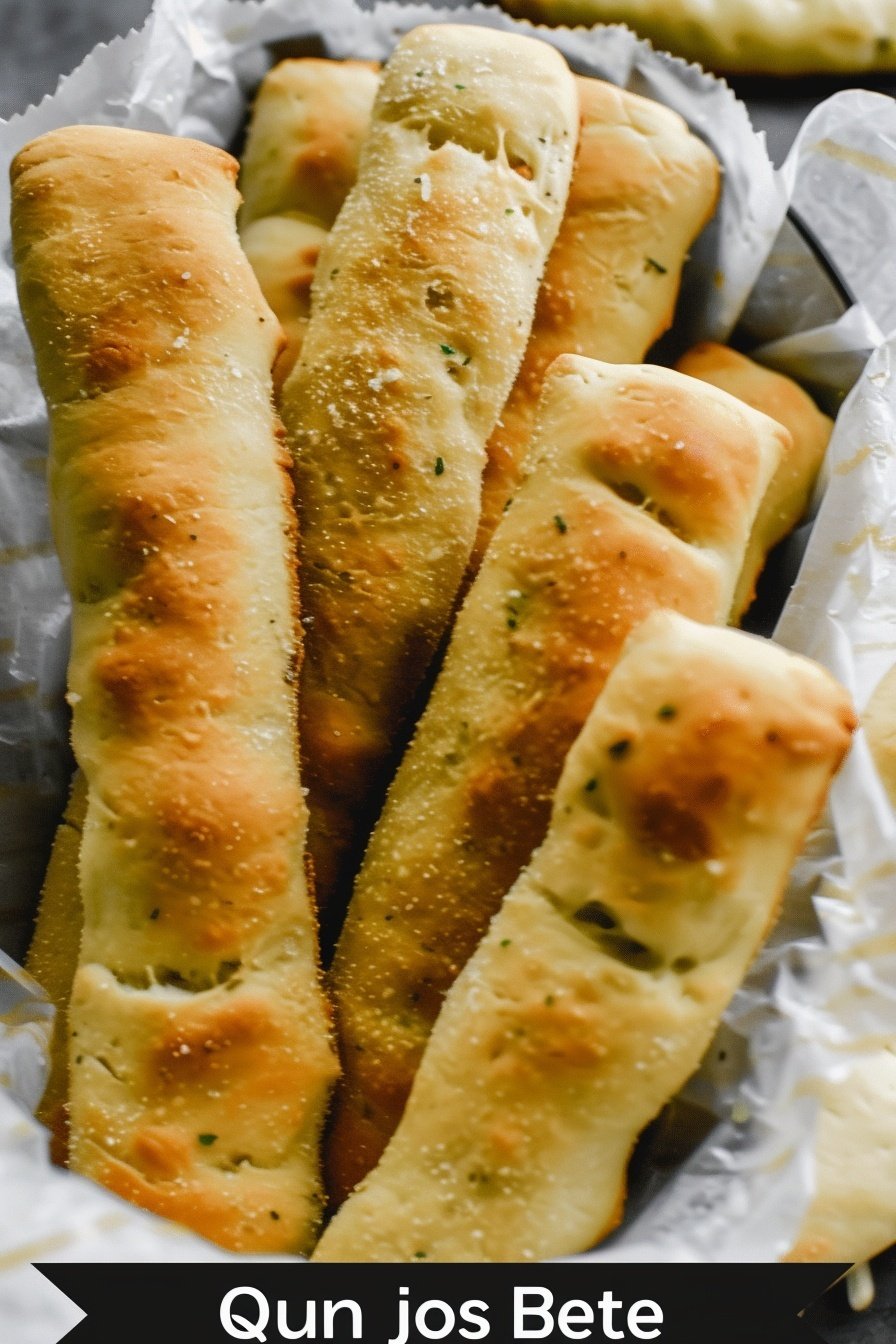
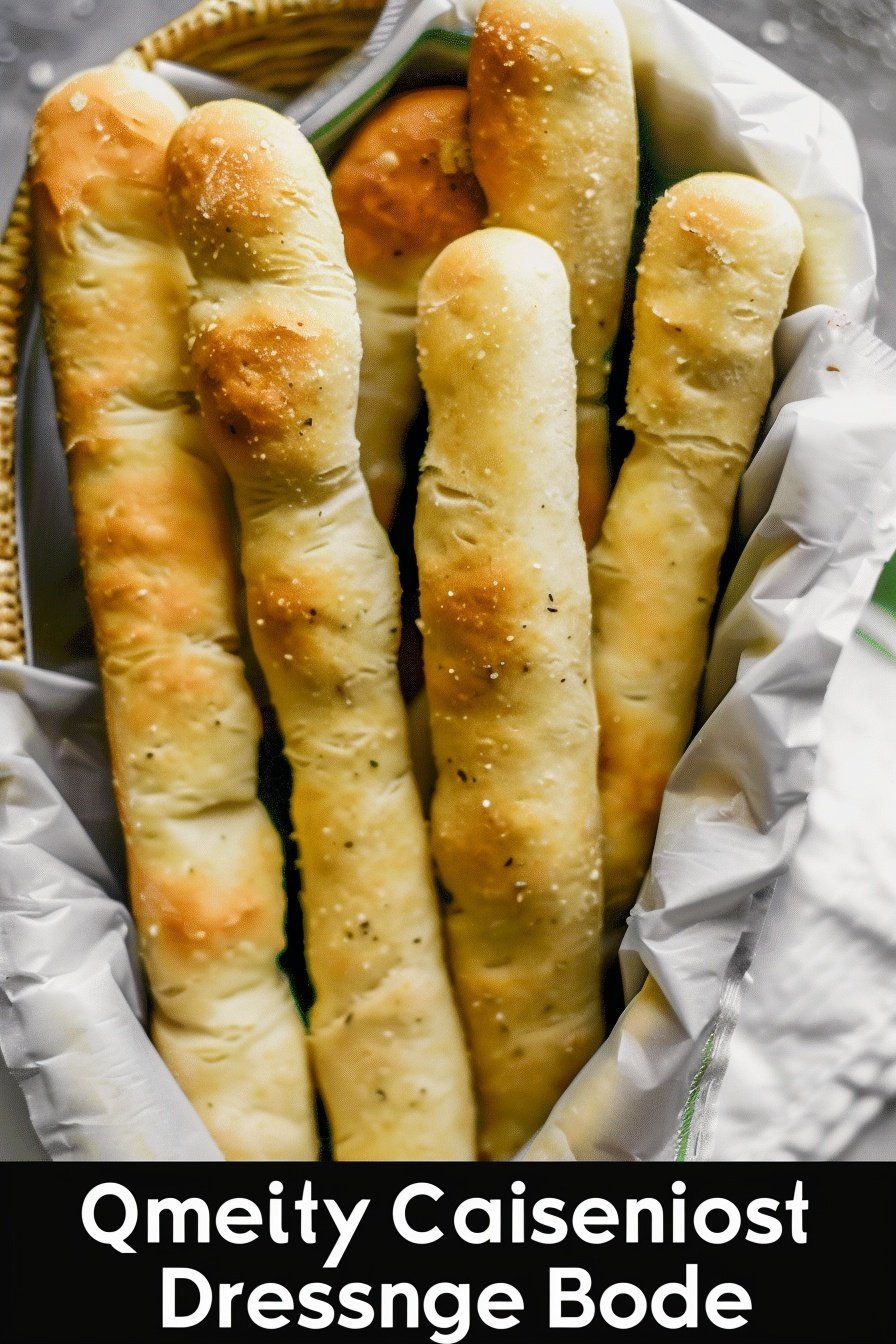
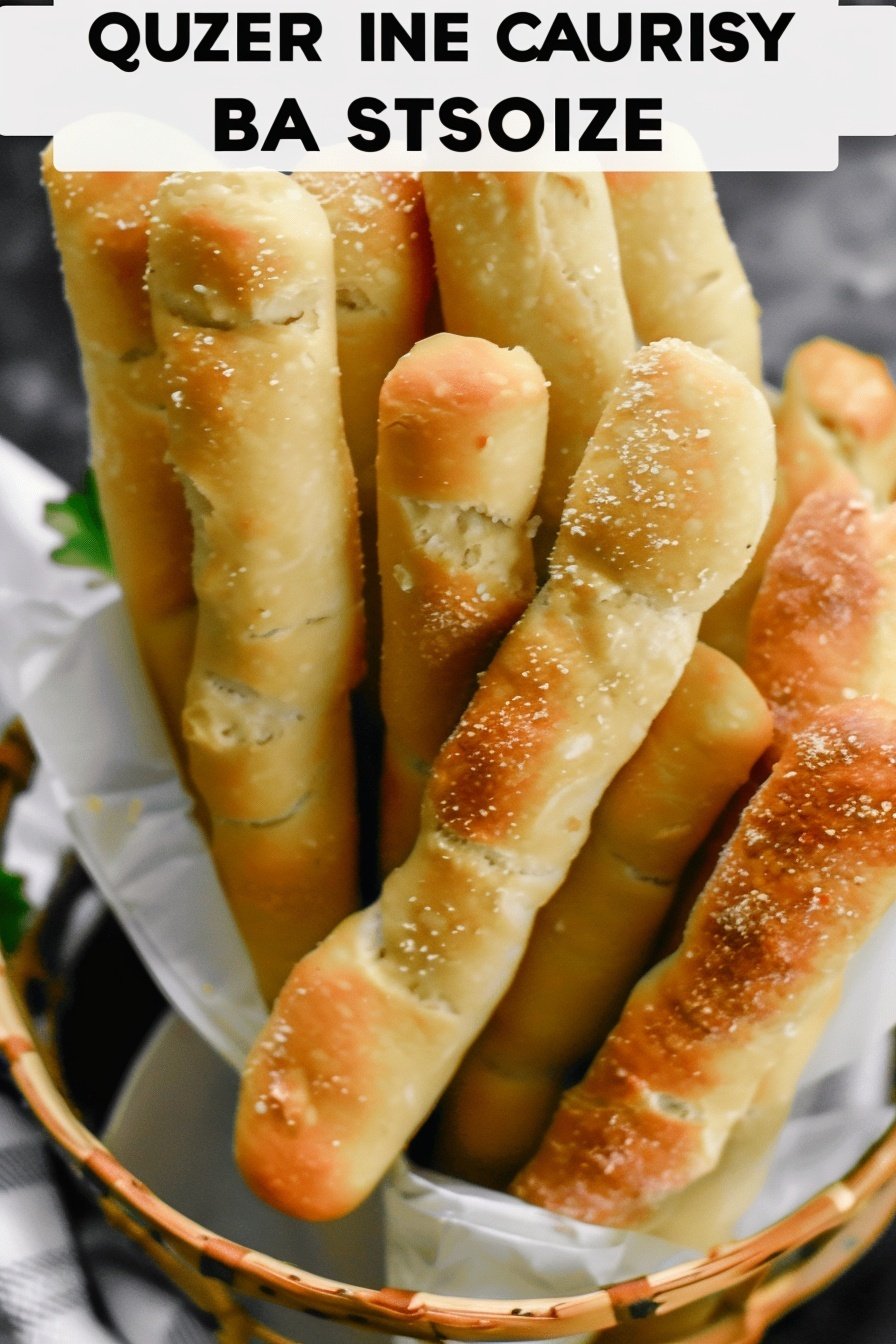
After they bake, you brush them with butter. Doesn’t that smell amazing? That butter gives them a lovely, golden color. It also makes them taste so rich.
Let them cool on a rack. This keeps the bottoms from getting soggy. This small step makes a big difference. It keeps your breadsticks perfect. What is your favorite thing to eat with a warm breadstick?
Ingredients:
| Ingredient | Amount | Notes |
|---|---|---|
| Warm water | 1 1/3 cups | |
| Active dry yeast | 1 1/2 teaspoons | |
| Granulated sugar | 2 Tablespoons | |
| All-purpose flour | 3 – 3 1/4 cups | |
| Salt | 1 1/2 teaspoons | |
| Oil or melted butter | 3 Tablespoons | |
| Butter | for brushing | Used after baking |
Let’s Make Some Cozy Breadsticks
There is nothing like the smell of fresh bread in the kitchen. It makes a house feel like a home. My grandkids always appear the moment these breadsticks come out of the oven. Their little faces light up with joy. I love that we can make this magic together.
This recipe is my go-to for a quick, happy project. The dough is soft and forgiving. You just mix it, let it rest, and shape it into little ropes. It feels like playing with clay, but you get to eat your creation! I still laugh at the funny shapes my grandson makes.
Here is how we make them. Step 1: First, we wake up the yeast. Mix the warm water, yeast, and sugar in a big bowl. Let it sit for five minutes. You should see a foamy layer on top. That means your yeast is happy and alive. Doesn’t that smell amazing already?
Step 2: Now, add 1 ½ cups of flour, the salt, and oil. Mix it all together until it’s smooth. It will look a bit shaggy at first. That is perfectly normal. Just keep mixing until it comes together. This part is always messy, but so much fun.
Step 3: Time to add another 1 ½ cups of flour. The dough will start to pull away from the bowl. It should feel a tiny bit sticky to your finger. (My hard-learned tip: only add that last bit of flour if the dough is truly wet. Too much flour makes tough breadsticks!). Knead the dough for five to seven minutes.
Step 4: Put your dough in a greased bowl. Cover it with a clean dish towel. Let it take a long nap until it doubles in size. This takes about an hour and a half. I use this time to tidy up. What’s your favorite thing to do while you wait? Share below!
Step 5: Punch the dough down! This is the best part. Divide it into twelve equal pieces. Roll each piece into a long, skinny rope. Place them all on a greased cookie sheet. Cover them again and let them rise for one more hour.
Step 6: Bake your breadsticks in a hot oven. They only need ten to twelve minutes. They will turn a beautiful golden brown. As soon as they come out, brush the tops with melted butter. That buttery shine makes them extra special. Let them cool just a little before you dig in.
Cook Time: 10–12 minutes
Total Time: About 3 hours
Yield: 12 breadsticks
Category: Side, Bread
Three Fun Twists to Try
Once you master the basic recipe, you can get creative. I love adding little surprises to the dough. It makes every batch a new adventure. Here are a few of my favorite ideas.
Garlic & Herb: Mix a teaspoon of garlic powder and some dried Italian herbs right into the flour. So cozy and savory.
Cinnamon Sugar: Roll your dough ropes in cinnamon and sugar before the second rise. They taste like a sweet, soft pretzel.
Everything Bagel: Brush the shaped breadsticks with an egg wash. Then sprinkle on that delicious “everything” seasoning. It gives them a wonderful crunch.
Which one would you try first? Comment below!
Serving Your Warm Breadsticks
These breadsticks are wonderful all on their own. But they also love to have friends. I like to serve them with a big bowl of tomato soup for dipping. It is the perfect lunch on a rainy day. A simple green salad makes a lovely side, too.
For drinks, a cold glass of milk is a classic choice. It is so refreshing. For the grown-ups, a crisp glass of white wine pairs beautifully. It cuts through the richness of the butter.
Which would you choose tonight?
Keeping Your Breadsticks Fresh and Ready
Let’s talk about keeping your breadsticks yummy. They are best eaten the day you make them. Just pop them in a container on the counter.
You can also freeze them for later. I once made a triple batch for my grandkids. We froze most of them for quick snacks.
To reheat, warm them in a 350-degree oven for five minutes. This brings back their fresh-baked magic. Batch cooking saves you time on busy days.
It means a warm, homemade treat is always close by. That matters more than you think on a crazy afternoon. Have you ever tried storing it this way? Share below!
Simple Fixes for Perfect Breadsticks
Sometimes, our baking has little problems. Do not worry. I have simple fixes for you.
First, if your yeast does not foam, it might be old. Your water could be too hot or cold. I remember when I used old yeast. My dough did not rise at all.
Second, if your dough is too sticky, add a little more flour. Go one tablespoon at a time. This keeps you in control of the texture.
Third, if your breadsticks are too hard, you may have over-baked them. Set a timer. Fresh yeast and proper baking build your confidence. They also make your food taste so much better. Which of these problems have you run into before?
Your Quick Breadstick Questions, Answered
Q: Can I make these gluten-free?
A: Yes. Use a good gluten-free flour blend. The texture will be a bit different but still tasty.
Q: Can I make the dough ahead?
A: Absolutely. Let it do its first rise in the fridge overnight. *Fun fact: A slow, cold rise can add more flavor!*
Q: What can I use instead of oil?
A: Melted butter works wonderfully. It gives the breadsticks a richer taste.
Q: Can I double the recipe?
A: You sure can. Just use a very large bowl for mixing.
Q: Any fun topping ideas?
A: Brush them with garlic butter after baking. You could also sprinkle on some Parmesan cheese. Which tip will you try first?
From My Kitchen to Yours
I hope you love making these breadsticks as much as I do. There is nothing like the smell of fresh bread in your home.
I would be so happy to see your creations. Share a picture of your golden breadsticks with me. Have you tried this recipe? Tag us on Pinterest!
Your stories and photos make my day. I love seeing your kitchen adventures. Keep baking and sharing the love.
Happy cooking!
—Grace Ellington.

Easy Homemade Breadsticks
Description
These quick and easy homemade breadsticks are soft, fluffy, and perfect for any meal.
Ingredients
Instructions
- Proof Yeast: Add warm water, yeast and sugar to the bowl of a stand mixer and stir gently. Rest for 5 minutes. The yeast should lightly foam on top. If it doesn’t, the yeast may not be fresh. (If using Instant Yeast, skip this step and add the yeast, water and sugar with the rest of the ingredients).
- Add 1 ½ cups flour, salt and vegetable oil then mix on medium speed to combine.
- Knead: Add another 1 ½ cups flour. The dough should pull away from the sides of the bowl but still be very slightly sticky to the touch. Add remaining ¼ cup of flour, only if needed. Knead mixture for 5-7 minutes.
- First Rise: Transfer dough to a large, greased bowl and cover with a dish towel. Allow to rest and rise until double in size, about 1.5 hours.
- Shape Breadsticks: Once risen, punch dough down and divide into 12 equal parts. Roll each piece of dough into a 9-inch rope and transfer to a greased cookie sheet.
- Second Rise: Cover with a dish towel and rise again for 1 hour.
- Bake breadsticks at 425 degrees F for 10-12 minutes. Remove from oven, brush tops with butter, and transfer to a wire cooling rack. Enjoy!
Notes
- Store leftover breadsticks in an airtight container on the counter for a day or two, or freeze them.