The Little Cookie That Holds Up a Cake
Let’s talk about ladyfingers. They look so simple, don’t they? Just a light, dry little cookie. But they are mighty. They hold up creamy tiramisu. They line fancy charlottes. They are the quiet heroes of the dessert world. I think the best things often are.
I learned to make them from my Aunt Rose. She was a tiny woman with strong hands. She would pipe the batter with such care. “Patience, Gracie,” she’d say. “They need to be just right.” I still laugh at that. She was right, of course. A good foundation matters, in baking and in life.
Separating Eggs with Confidence
Our recipe starts with eggs. We need the yolks and whites apart. This can feel tricky. My tip? Use three bowls. Crack the white into one bowl. Then put the yolk in another. Then move the white to your big mixer bowl. This way, if a yolk breaks, you don’t spoil a whole bowl of whites. It’s a small step that saves big heartache.
Why does this matter? Egg whites are magic. When we whip them with sugar, they puff up with air. They give our ladyfingers their famous lift. The yolks, whipped with vanilla, give them a rich, golden heart. Two parts of one egg, working together. Isn’t that nice?
The Gentle Fold
Now comes the secret. We have fluffy whites and creamy yolks. We sift the flour over the top. Then we fold. Use a big spatula. Cut down the middle, scoop under, and turn over. Be gentle. We want to keep all that air we worked so hard for.
This is where many folks rush. I get it. You want to get them in the oven. But folding is a quiet, kind motion. It brings everything together without force. Do you have a kitchen task that makes you slow down and breathe? I’d love to hear about it.
Piping and the Perfect Dusting
No fancy piping bag? A plastic bag with the corner snipped off works just fine. Pipe your strips about three inches long. Give them space to puff up. They will! Now, sift a little powdered sugar over them. This gives them a lovely, delicate crust.
Fun fact: That double dusting of sugar isn’t just for sweetness. The first bit goes into the meringue. The second, right before baking, creates a crisp shell. It helps the cookie hold its shape. See? Every step has a reason.
Watching Them Turn Golden
Into the oven they go. You’ll need to swap the trays halfway. This makes sure they bake evenly. Watch them through the window. The smell is amazing. Like sweet, toasted clouds. They are done when the edges are just golden.
Let them cool completely. They crisp up as they sit. This is important. A warm ladyfinger is soft and might bend. A cool one is strong. It’s ready for its big job, whether that’s being eaten plain or holding a cake together. What will you use your ladyfingers for? A classic tiramisu, or just with a cup of tea?
A Cookie Full of Lessons
Making these taught me more than baking. It taught me that strong things are often light. It taught me that gentle hands make the best results. And it taught me that even the simplest piece can be part of something wonderful.
Why does this matter? Because cooking is like that. We learn patience. We see how small steps build something great. We share what we make. Did you or your family have a special cookie that brings back memories? Tell me about it if you like.
Ingredients:
| Ingredient | Amount | Notes |
|---|---|---|
| Granulated sugar | ½ cup (3 ½ ounces/99 grams) | Divided, see instructions |
| Confectioners’ sugar | ¼ cup (1 ounce/28 grams) + 2 tablespoons | Divided |
| Large eggs | 4 | Separated |
| Salt | ⅛ teaspoon | |
| Vanilla extract | 1 teaspoon | |
| All-purpose flour | ¾ cup (3 ¾ ounces/106 grams) |

My Ladyfinger Story & How to Make Them
Hello, dear. Come sit at the counter. Let’s make ladyfingers. These delicate cookies are pure magic. They remind me of my own grandmother’s kitchen. She called them “cat’s tongues.” I still laugh at that.
They look fancy, but you can do this. We just need to be gentle. The secret is in the fluffy egg whites. Ready? Let’s begin.
Step 1: First, get your oven ready. Move your racks to the middle spots. Heat it to 350 degrees. Line two baking sheets with parchment paper. Give them a little spray with oil. This keeps our cookies from sticking. (A hard-learned tip: always spray the parchment. Trust me on this.)
Step 2: Now, let’s whip the egg whites. Mix the two sugars in a bowl. In your mixer, whip the whites and salt. Start on high until they get soft and foamy. Then, slowly add the sugar mix. Whip until the peaks are stiff and shiny. Doesn’t that look amazing? Gently scoop them into a big bowl.
Step 3: Next, the egg yolks. No need to wash the bowl! Beat the yolks, vanilla, and the rest of the sugar. Beat for a full five minutes. It will turn a beautiful pale yellow. It should be thick like ribbon. Pour this over your fluffy whites.
Step 4: This is the gentle part. Sift the flour right over the top. Now, fold it all together. Use a big spatula and a light hand. We want to keep all that lovely air inside. What’s the key to a light ladyfinger? Share below!
Step 5: Time to pipe. Fill a pastry bag halfway. Pipe 3-inch strips onto your sheets. Leave space between them. Give them a snowy dusting of powdered sugar. Bake for about 20 minutes. Switch the pans halfway. You’ll know they’re done when the edges turn gold.
Let them cool completely. They get crisper as they sit. The smell is just wonderful. Now you have perfect homemade ladyfingers.
Cook Time: 20–24 minutes
Total Time: About 1 hour
Yield: About 24 cookies
Category: Dessert, Baking
Three Fun Twists to Try
These cookies are a wonderful blank canvas. Once you master the classic, try a little twist. It’s how we make recipes our own. Here are three ideas I love.
Lemon Sunshine: Add a teaspoon of lemon zest to the yolk mixture. It gives a fresh, sunny little zing.
Almond Dream: Replace two tablespoons of flour with almond flour. It adds a lovely, nutty flavor.
Chocolate Dip: Once cooled, dip one end in melted dark chocolate. Let it set on wax paper. So elegant!
Which one would you try first? Comment below!
Serving Them Up With Style
Of course, they are perfect for tiramisu. But don’t stop there! I love to serve them with a simple bowl of berries. They are lovely with a dollop of whipped cream. Or just pile them on a plate for afternoon tea.
For a drink, a cup of strong espresso is my favorite pairing. The bitter coffee is perfect with the sweet cookie. For the little ones, a glass of cold milk is just right. It’s a classic for a reason.
Which would you choose tonight? A cozy espresso or a tall glass of milk? I think I can guess.

Keeping Your Ladyfingers Perfect
These cookies are best the day you bake them. But we all need to save some for later. Store them in a tight tin at room temperature for three days. For longer, freeze them. Place cooled cookies in a single layer in a freezer bag. They keep for one month. Let them thaw right in the bag. This stops them from getting soggy.
I once left a batch out overnight. They were sadly stale by morning. Now I always tuck them away. Batch cooking matters for busy weeks. A freezer stash means a sweet treat is always ready. Have you ever tried storing it this way? Share below!
Easy Fixes for Common Hiccups
First, flat cookies. This happens if the egg whites are not stiff enough. Whip them until peaks stand up straight. I remember when my first batch spread like pancakes. Proper whipping gives them lift. Second, tough ladyfingers. Do not overmix the batter. Fold gently just until combined. This keeps the air inside. That air is what makes them light.
Third, cookies sticking to the parchment. Always give that paper a light spray with oil. This simple step saves so much frustration. Fixing these issues builds your confidence. You learn how ingredients work together. It also ensures a delicate, sweet flavor in every bite. Which of these problems have you run into before?
Your Ladyfinger Questions, Answered
Q: Can I make these gluten-free?
A: Yes. Use a gluten-free flour blend made for baking. Results may be slightly more delicate.
Q: Can I make the batter ahead?
A: No. Bake it right after mixing. The batter will deflate if it waits.
Q: What if I don’t have a pastry bag?
A: Use a plastic bag with a corner snipped off. It works just fine.
Q: Can I double the recipe?
A: I do not recommend it. Bake in separate batches for the best rise.
Q: Any optional tips?
A: A fun fact: These cookies are called “ladyfingers” because they look like delicate fingers. For extra crunch, dust with sugar twice. Which tip will you try first?
Bake a Memory
I hope you enjoy making these. The kitchen is my favorite place for making memories. I love hearing your stories too. Tell me about your baking adventures. Did your cookies turn out tall and light? Have you tried this recipe? Give your experience in the comments. Your notes make my day. I read every single one. Now, go enjoy your lovely homemade treats.
Happy cooking!
—Grace Ellington.
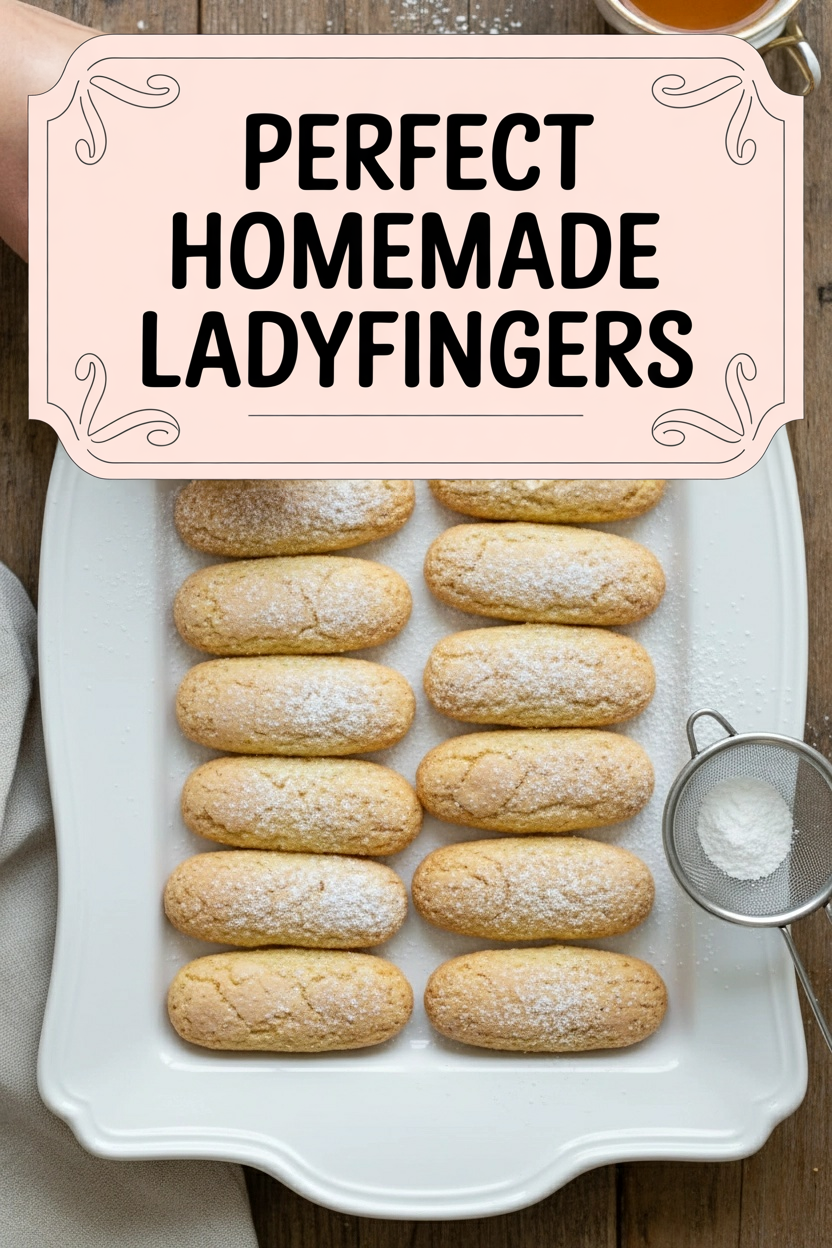

Perfect Homemade Ladyfingers
Description
Light, airy, and delicately sweet, these homemade ladyfingers are perfect for tiramisu or enjoyed on their own with coffee.
Ingredients
Instructions
- Adjust oven racks to upper-middle and lower-middle positions and heat oven to 350 degrees. Line 2 baking sheets with parchment paper and spray with vegetable oil spray.
- Whisk ¼ cup granulated sugar and 2 tablespoons confectioners’ sugar together in small bowl. Using stand mixer fitted with whisk attachment, whip egg whites and salt on high speed until very soft peaks form (peaks should slowly lose their shape when whisk is removed), 30 to 45 seconds. Reduce speed to medium and gradually add sugar mixture. Increase speed to high and whip until glossy, stiff peaks form, about 30 seconds. Gently transfer whites to large bowl.
- Fit stand mixer with paddle and beat egg yolks, vanilla, and remaining ¼ cup granulated sugar until thick and pale yellow, about 5 minutes. Pour yolk mixture on top of whites in bowl, then sift flour over top. Using rubber spatula, gently fold until combined.
- Fill pastry bag fitted with ½-inch plain tip halfway with batter. Pipe batter into 3-inch by 1-inch strips, spacing them 1 inch apart on prepared sheets. Sift remaining 2 tablespoons confectioners’ sugar over strips. Bake until edges are golden, 20 to 24 minutes, switching and rotating sheets halfway through baking. Let cookies cool on sheets for 5 minutes, then transfer to wire rack. Let cookies cool completely before serving.
Notes
- Store cooled ladyfingers in an airtight container at room temperature for up to 3 days. For longer storage, freeze for up to 1 month. Ensure eggs are at room temperature for maximum volume when whipping.