My First Biscuit Fiasco
Let me tell you about my first biscuits. They were like little rocks. I was so sad. My grandpa still ate two. He was very kind.
I learned a big lesson. Good food needs patience. It is not just a recipe. It is a feeling in your hands. That matters because cooking is a way to show love.
The Magic of Cold Butter
Here is the big secret. Your butter must be very cold. I keep mine in the freezer for a bit. Those cold flakes melt in the hot oven.
That steam makes little pockets. That is what makes biscuits fluffy and flaky. Working the dough with your fingertips is fun. You get to play with your food! *Fun fact: This method is called “cutting in” the fat. It’s the heart of a flaky biscuit.*
Why We Fold the Dough
The recipe says to fold the dough like a letter. It seems strange, right? But it builds layers. More layers mean more flaky goodness.
Do not skip this step. It is what makes them special. I think of it as giving the dough a little hug. Then it gives you a delicious hug back. What is your favorite part of baking? Is it mixing, or is it tasting?
The Smell of Home
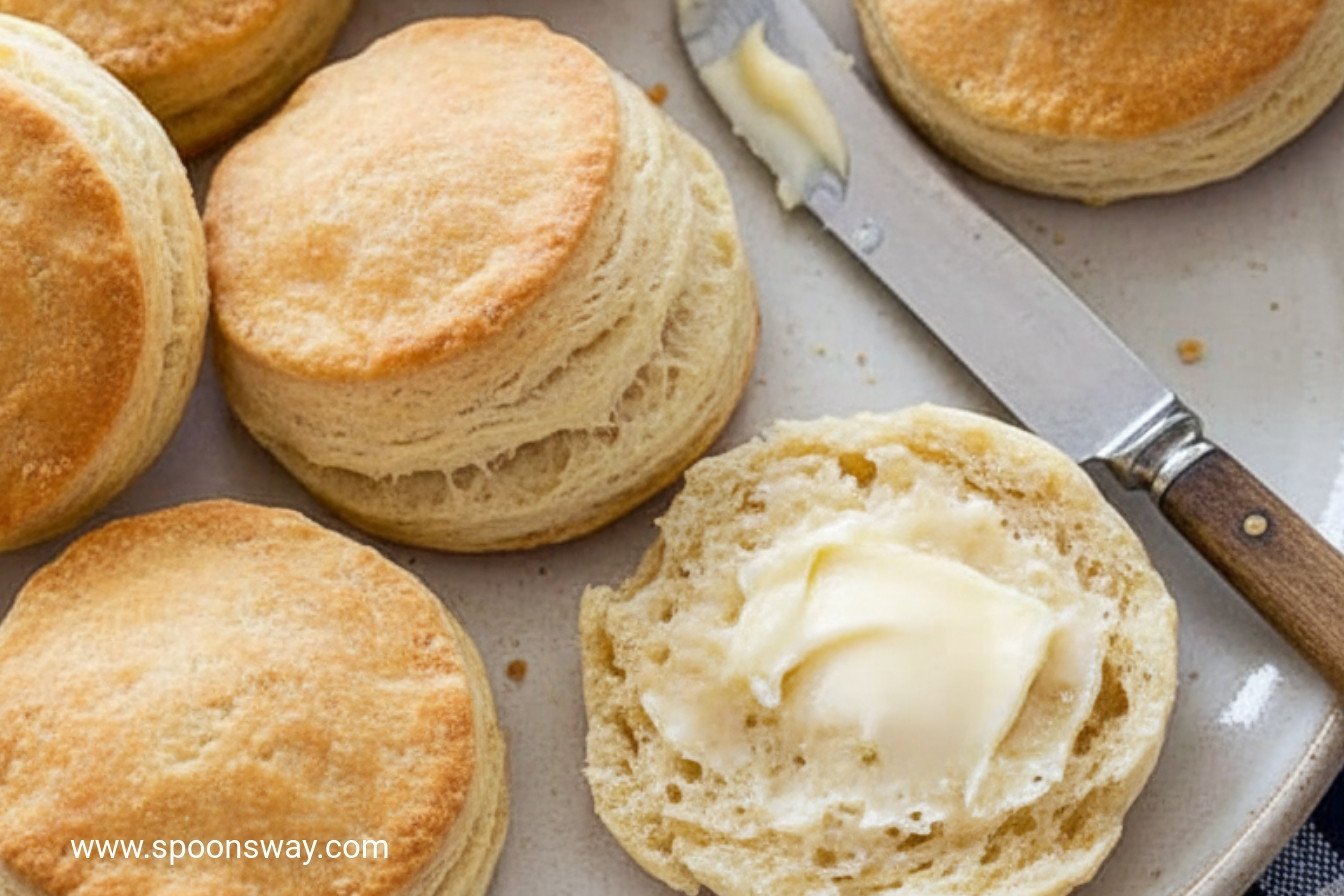
Nothing beats that baking smell. It fills the whole house. It smells like warm butter and comfort. Doesn’t that smell amazing?
That smell brings everyone to the kitchen. It gathers people together. That is why this matters. Food is more than eating. It is about sharing a moment. Tell me, what smell makes you think of home?
Your Turn to Bake
Do not worry if your first batch is not perfect. Mine were terrible! The important thing is to try. Your hands will learn the feel of good dough.
Use a glass to cut biscuits if you have no cutter. I still do that sometimes. What will you eat your biscuits with? Sweet jam or salty gravy? I love to hear your ideas.
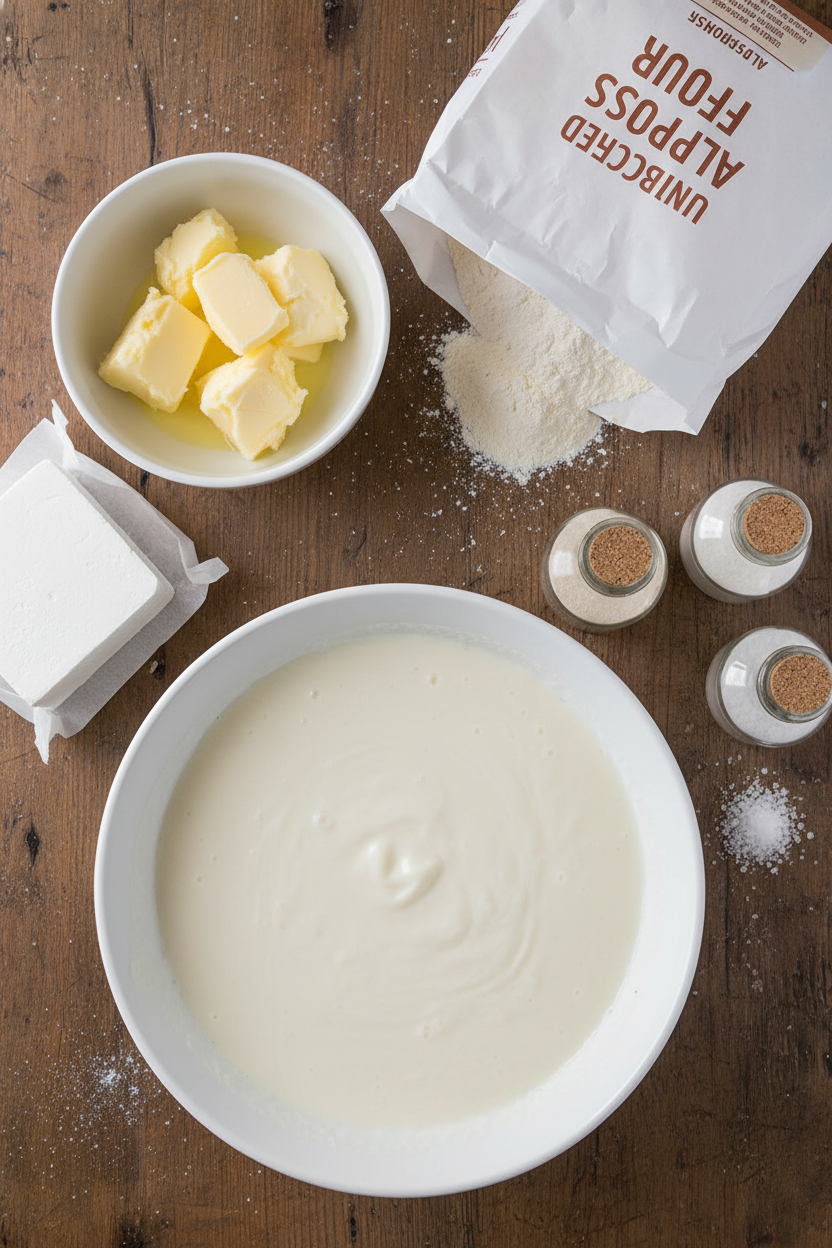
Ingredients:
| Ingredient | Amount | Notes |
|---|---|---|
| unbleached all-purpose flour | 2 ½ cups (12 ½ ounces/354 grams) | plus additional for work surface |
| baking powder | 1 tablespoon | |
| baking soda | ½ teaspoon | |
| table salt | 1 teaspoon | |
| vegetable shortening | 2 tablespoons | cut into ½-inch chunks |
| unsalted butter | 8 tablespoons (1 stick) | cold, lightly floured and cut into ⅛-inch slices |
| unsalted butter, melted | 2 tablespoons | for brushing tops |
| low-fat buttermilk | 1 ¼ cups | cold |
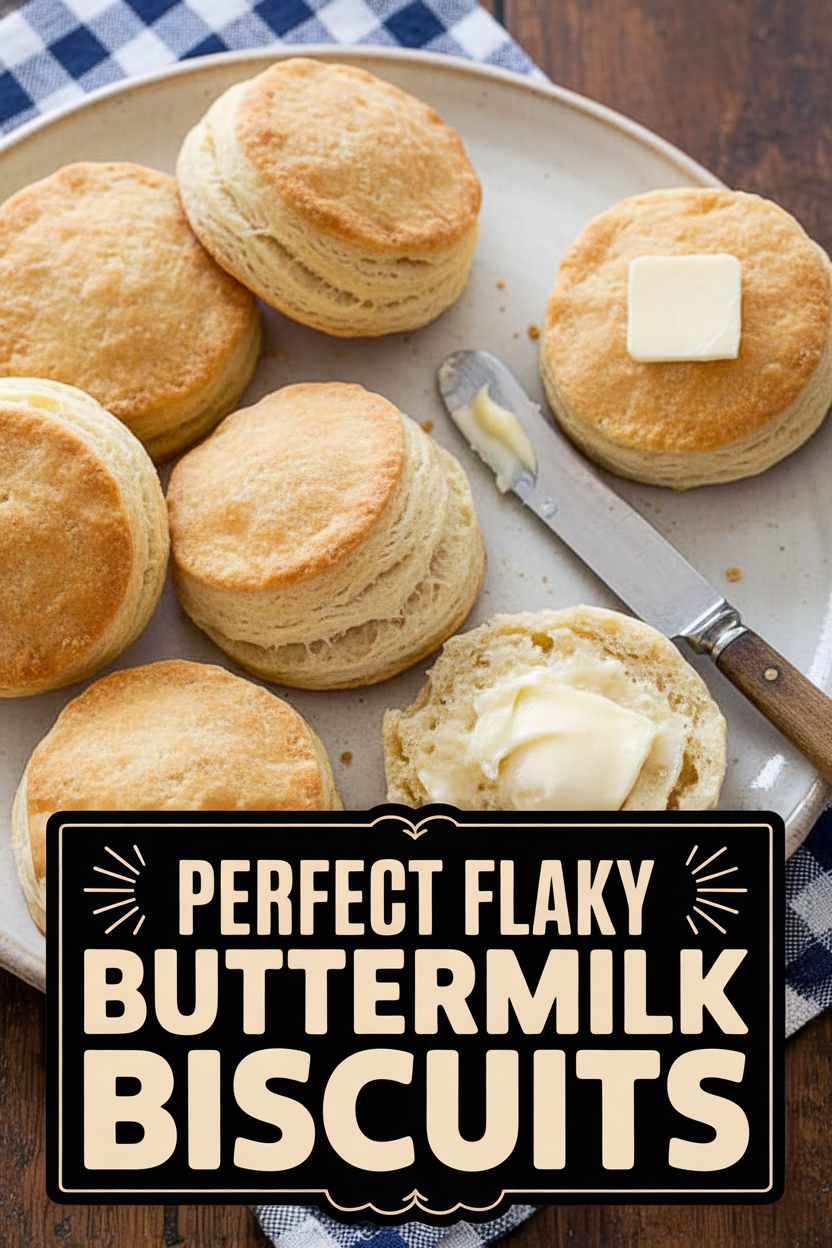
My Secret to Perfect Flaky Buttermilk Biscuits
Hello, my dear. Come sit at the counter. Let’s make biscuits. This recipe is my old friend. I’ve made it a thousand times. The secret is in the folds. They make magical, flaky layers. Doesn’t that sound wonderful?
We must keep everything very cold. That butter must stay firm. I even chill my bowl sometimes. My grandson once used soft butter. We got little hockey pucks! I still laugh at that. Let’s begin our step-by-step journey.
- Step 1: First, heat your oven to 450 degrees. Whisk the dry things in a big bowl. Flour, baking powder, soda, and salt go in. This mixes everything evenly. No one wants a salty bite!
- Step 2: Now, the fun part. Add the shortening chunks. Rub them with your fingers into tiny peas. Then, add the cold butter slices. Press each one flat between your fingers. This makes perfect flakes. (A hard-learned tip: work fast so the butter stays cold!).
- Step 3: Put the whole bowl in the freezer. Wait 15 minutes. This chills the fat again. Meanwhile, prepare your counter in a special way. Spray it, then wipe it with a towel. Sprinkle flour over it and pat it thin. This keeps the dough from sticking badly.
- Step 4: Pour in the cold buttermilk. Stir it fast with a fork until it’s shaggy. Dump it onto your prepared counter. Pat it into a square, then roll it out. Fold it like a letter. Then fold it again. This is how you build the layers, my dear.
- Step 5: Roll the dough out one last time. Cut your biscuits straight down. Don’t twist the cutter! Twisting seals the edges. Why do you think we avoid twisting the cutter? Share below! Gather the scraps gently. You can get a few more biscuits from them.
- Step 6: Brush the tops with melted butter. This gives them a golden, crispy crown. Bake them and do not peek! Let them get puffy and beautiful. The smell will drive you wild. Let them cool just a bit before eating.
Cook Time: 15–17 minutes
Total Time: About 1 hour
Yield: 12 biscuits
Category: Bread, Breakfast
Three Fun Twists to Try
Once you master the basic biscuit, try playing. It’s like a kitchen adventure. Here are three of my favorite simple twists. They each add a little surprise.
- Cheesy Chive: Add a handful of shredded cheddar cheese. Throw in some chopped fresh chives. The cheese gets all melty inside. It’s perfect for soup.
- Cinnamon Sugar: After brushing with butter, sprinkle cinnamon sugar. It makes a sweet, crackly top. These are amazing with afternoon tea.
- Everything Bagel: Brush tops with cream instead of butter. Sprinkle on everything bagel seasoning. You get a savory, oniony bite. So good!
Which one would you try first? Comment below!
How to Serve Your Masterpiece
A warm biscuit is a beautiful thing. It needs good friends on the plate. For breakfast, split one and drizzle it with honey. Add some scrambled eggs on the side. For dinner, serve them next to a big bowl of stew. They are perfect for soaking up the gravy.
What to drink? On a cozy morning, I love hot chocolate. It’s rich and sweet. In the evening, a glass of cold apple cider is lovely. For the grown-ups, a pale ale pairs nicely. It cuts through the butter. Which would you choose tonight?
Keeping Your Biscuits Happy and Fresh
Fresh biscuits are a special treat. But they are best eaten warm. Do you have leftovers? Let them cool completely first.
Then, pop them in a sealed bag. They will stay good on the counter for one day. For longer, freeze them! Wrap each biscuit tightly in plastic.
I once froze a whole batch for my grandson’s visit. He reheated them straight from the freezer. They tasted just-baked and made his morning.
To reheat, wrap a biscuit in foil. Warm it in a 300-degree oven for 10 minutes. This keeps them soft inside and flaky outside.
Batch cooking saves time for busy weeks. Making a double batch is easy. You get a head start on future breakfasts or snacks.
This matters because good food should never feel like a rush. Having a biscuit ready is a small gift to your future self. Have you ever tried storing them this way? Share below!
Biscuit Troubles? Let’s Fix Them Together
Even grandmas have biscuit troubles sometimes. Here are three common fixes. First, biscuits not rising? Your baking powder might be old.
Test it by mixing a teaspoon with hot water. It should bubble right away. I remember when mine didn’t bubble. My biscuits were flat as pancakes!
Second, dough too sticky? Use a light touch with extra flour. Pat it, don’t knead it. Overworking makes biscuits tough.
Third, butter melting before baking? Keep everything very cold. I even chill my bowl and cutter on hot days. Cold butter creates steam for flaky layers.
Getting these steps right builds kitchen confidence. It also makes your biscuits tender and tall. Good technique turns simple ingredients into something magical. Which of these problems have you run into before?
Your Biscuit Questions, Answered
Q: Can I make these gluten-free? A: Yes! Use a good gluten-free flour blend. Add a teaspoon of xanthan gum too.
Q: Can I make the dough ahead? A: Absolutely. Mix the dry ingredients and butter the night before. Keep it chilled in the fridge.
Q: What if I don’t have buttermilk? A: Make your own. Mix one cup milk with one tablespoon lemon juice or vinegar. Let it sit for five minutes.
Q: Can I make a smaller batch? A: You can cut the recipe in half. Just use a smaller baking sheet.
Q: Any optional tips? A: For extra flavor, add a teaspoon of honey to the buttermilk. *Fun fact: Buttermilk was originally the liquid left after churning butter!* Which tip will you try first?
From My Kitchen to Yours
I hope you love making these biscuits. Sharing food is one of life’s great joys. I would love to see your creations.
Please share a photo of your golden, flaky biscuits. It makes my day to see your kitchen adventures. Remember, cooking is about practice and love, not perfection.
Every batch teaches you something new. Keep your hands light and your heart warm. Have you tried this recipe? Tag us on Pinterest!
Happy cooking!
—Grace Ellington.
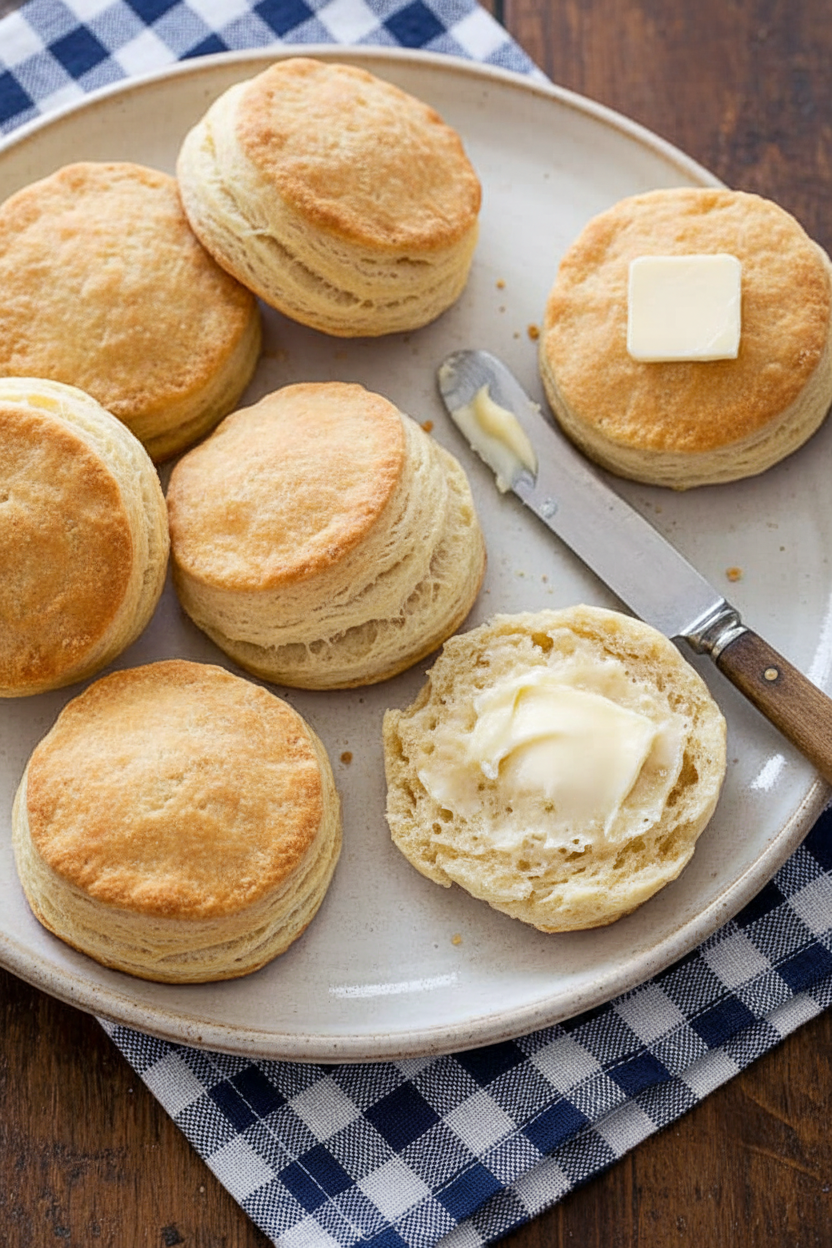
Perfect Flaky Buttermilk Biscuits
Description
Flaky, tender, and buttery homemade biscuits that rise tall and perfect every time.
Ingredients
Instructions
- Adjust oven rack to lower-middle position; heat oven to 450 degrees. Whisk flour, baking powder, baking soda, and salt in large bowl.
- Add shortening to flour mixture; break up chunks with fingertips until only small, pea-sized pieces remain. Working in batches, drop butter slices into flour mixture and toss to coat; pick up each slice of butter and press between floured fingertips into flat, nickel-sized pieces. Repeat until all butter is incorporated; toss to combine. Freeze mixture (in bowl) until chilled, about 15 minutes.
- Spray 24-inch-square area of work surface with nonstick cooking spray; spread spray evenly across surface with kitchen towel or paper towel. Sprinkle 1/3 cup of extra flour across sprayed area; gently spread flour across work surface with palm to form thin, even coating. Add all but 2 tablespoons of buttermilk to flour mixture; stir briskly with fork until ball forms and no dry bits of flour are visible, adding remaining buttermilk as needed (dough will be sticky and shaggy but should clear sides of bowl). With rubber spatula, transfer dough onto center of prepared work surface, dust surface lightly with flour, and, with floured hands, bring dough together into cohesive ball.
- Pat dough into approximate 10-inch square; roll into 18 by 14-inch rectangle about 1/4 inch thick, dusting dough and rolling pin with flour as needed. Using bench scraper or thin metal spatula, fold dough into thirds, brushing any excess flour from surface; lift short end of dough and fold in thirds again to form approximate 6 by 4-inch rectangle. Rotate dough 90 degrees, dusting work surface underneath with flour; roll and fold dough again, dusting with flour as needed.
- Roll dough into 10-inch square about 1/2 inch thick; flip dough and cut nine 3-inch rounds with floured biscuit cutter, dipping cutter back into flour after each cut. Carefully invert and transfer rounds to ungreased baking sheet, spaced 1 inch apart. Gather dough scraps into ball; roll and fold once or twice until scraps form smooth dough. Roll dough into 1/2-inch-thick round; cut three more 3-inch rounds and transfer to baking sheet. Discard excess dough.
- Brush biscuit tops with melted butter. Bake, without opening oven door, until tops are golden brown and crisp, 15 to 17 minutes. Let cool on baking sheet 5 to 10 minutes before serving.
Notes
- For the flakiest layers, handle the dough as little as possible and keep all ingredients very cold. Do not twist the biscuit cutter when cutting—press straight down.