
My Kitchen Table Secret
I have a secret for you. The best cookies start with a rest. That dough will feel sticky. That’s okay. Cover it and walk away for 30 minutes. I use that time to wash my favorite mixing bowl.
This rest matters. It lets the flours soak up the wet things. This makes the dough easier to handle. Your cookies will bake up nice and tall. Do you have a little kitchen timer you like to use?
The Peanut Promise
You must use salted peanut butter here. The note in the recipe is right. I learned this the hard way. I once used unsalted. The cookies tasted flat, like they were missing their smile.
The salt makes the peanut flavor sing. It balances the sweet sugars. This little detail matters so much for taste. Fun fact: grinding the peanuts yourself makes the cookies extra crunchy and special. It’s worth the few pulses.
Sticky Fingers & Happy Hands
Your hands will get messy. This is the fun part! The dough is very sticky. Keep a little bowl of water by your side. Damp hands are your best friend here.
Roll the dough into little balls. Then press them flat with your wet fingers. I still laugh at that. My grandson calls them “thumbprint cookies without the jam.” Do you mind getting your hands a little dirty when you bake?
The Warm Heart of the Cookie
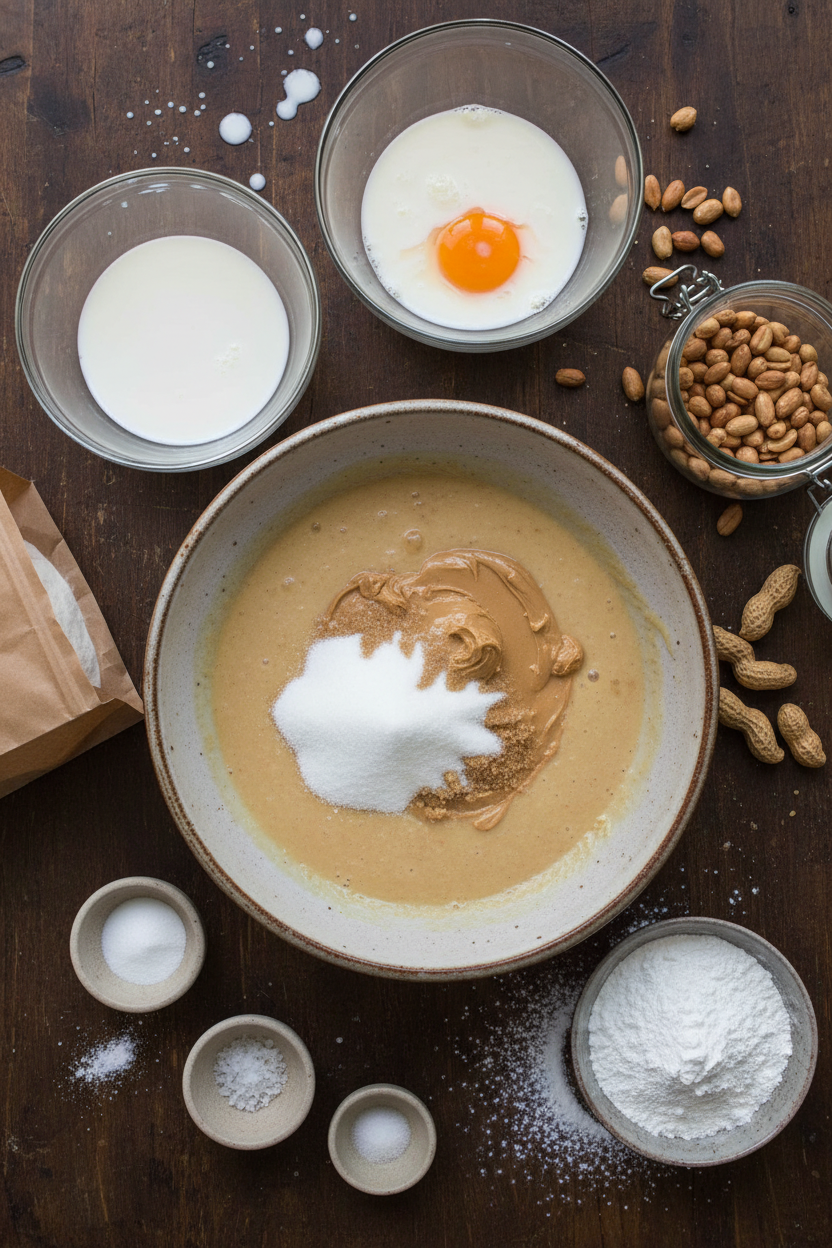
The filling is pure magic. You just melt peanut butter and butter together. Doesn’t that smell amazing? Then you stir in the powdered sugar. It becomes a smooth, warm river.
Spread it on the cookies while it’s warm. It will set as it cools. This makes the perfect glue. It holds your two cookie friends together tightly. What’s your favorite part of a sandwich cookie? The middle or the crunch?
A Cookie for Sharing
Let them set for an hour. This is the hardest wait. But it makes them neat to share. I put them on my old flower plate. They look so pretty all in a row.
Sharing food you made is a special joy. It says, “I thought of you.” These cookies are full of that feeling. They are made for passing around the table. Who will you share your first batch with?
Ingredients:
| Ingredient | Amount | Notes |
|---|---|---|
| Dry-roasted, unsalted peanuts | 1 ¼ cups | |
| America’s Test Kitchen All-Purpose Gluten-Free Flour Blend | 4 oz (113 g; ¾ cup + 2 tbsp) | |
| Baking soda | 1 teaspoon | |
| Salt | ½ teaspoon | |
| Xanthan gum | ¼ teaspoon | |
| Unsalted butter, melted | 3 tablespoons | For cookie dough |
| Creamy peanut butter | ½ cup | For cookie dough; use salted peanut butter |
| Granulated sugar | 3 ½ oz (99 g; ½ cup) | |
| Light brown sugar | ½ cup packed (3 ½ oz / 99 g) | |
| Whole milk | 3 tablespoons | |
| Large egg | 1 | |
| Creamy peanut butter | ¾ cup | For filling; use salted peanut butter |
| Unsalted butter | 3 tablespoons | For filling |
| Confectioners’ sugar | 3 oz (85 g; ¾ cup) |
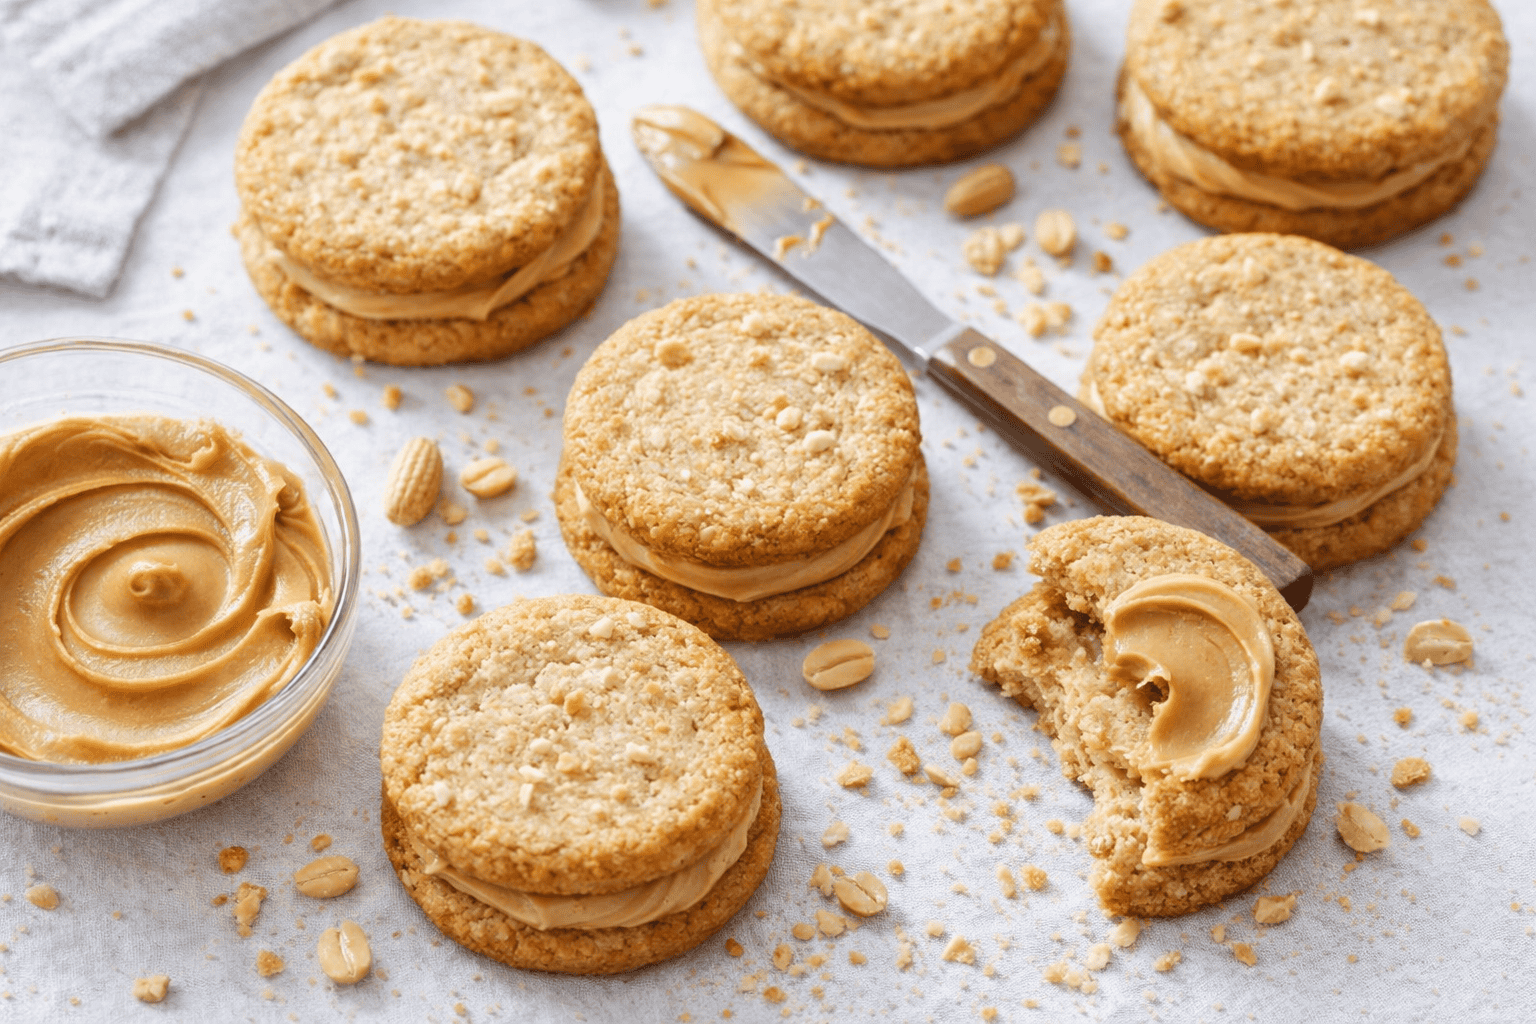
My Gluten-Free Peanut Butter Sandwich Cookie Delights
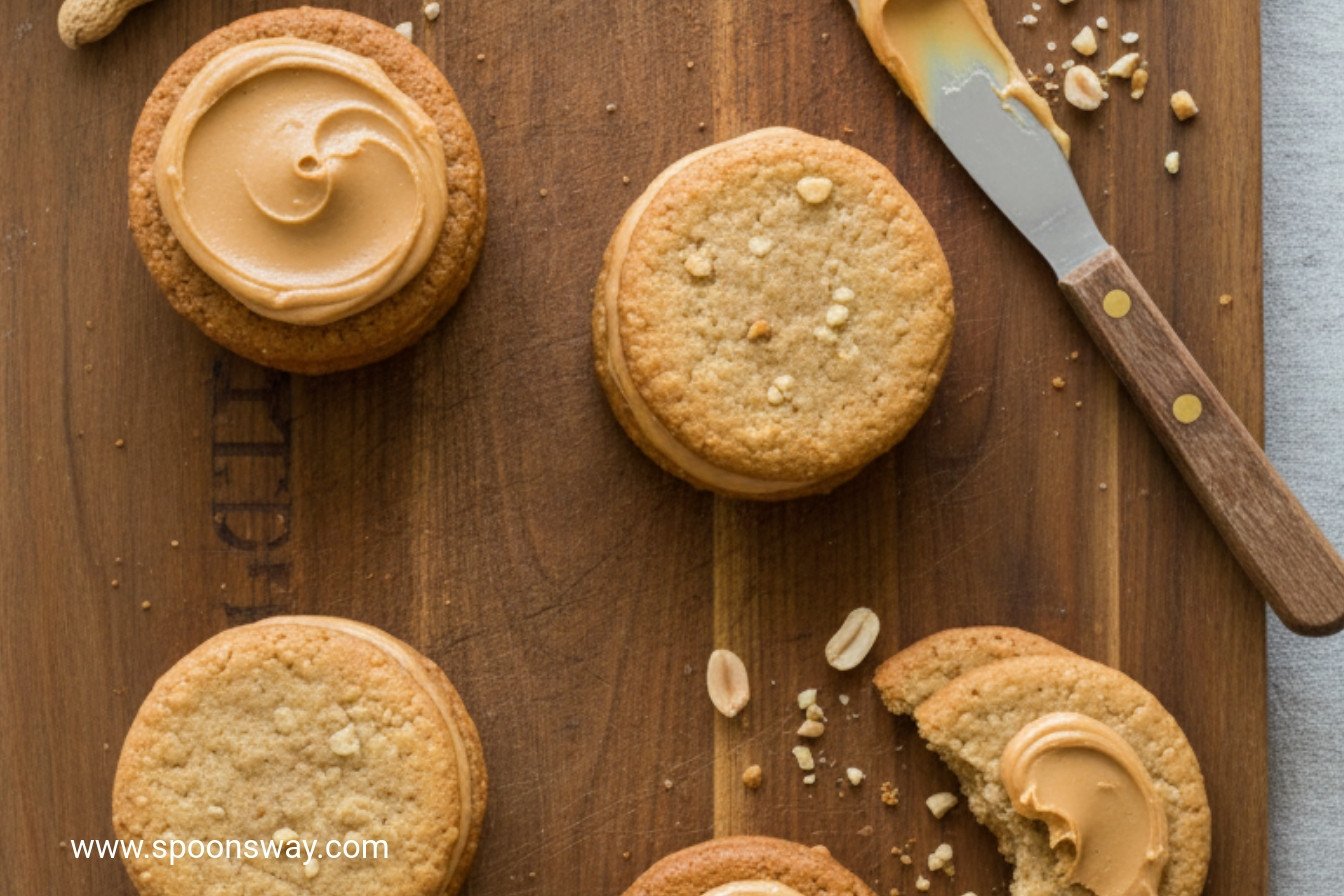
Hello, my dear. Come sit at the counter. I want to share a cookie recipe with you. It is my grandson’s absolute favorite. He calls them his “delights.” They are wonderfully nutty and sweet. The filling is like a soft, creamy hug. Doesn’t that sound lovely?
We use a special gluten-free flour blend here. It works perfectly. The secret is using salted peanut butter. Trust me on this. It makes all the flavors sing together. I learned that the hard way once. My first batch tasted a bit flat. We want our cookies to be joyful!
Now, let’s get our hands sticky. This dough is a fun one to make. It needs a little rest before baking. That thirty minutes is a good time to tidy up. Or just sit and enjoy the quiet kitchen. I still laugh at how my grandson tries to sneak tastes. Ready? Let’s begin.
Ingredients
- 1 ½ cups gluten-free flour blend
- ½ teaspoon baking soda
- ¼ teaspoon salt
- ¼ teaspoon xanthan gum (if not in your blend)
- ½ cup unsalted butter, melted
- ½ cup salted creamy peanut butter
- ½ cup granulated sugar
- ½ cup packed light brown sugar
- 2 tablespoons milk
- 1 large egg
- ½ cup dry roasted peanuts, finely chopped
For the Filling
- ¾ cup creamy peanut butter
- 3 tablespoons unsalted butter
- 1 cup confectioners’ sugar
Instructions
Step 1: First, we chop our peanuts. Pulse them in the food processor until they are fine. In a bowl, whisk your flour, baking soda, salt, and xanthan gum. In another bowl, whisk the melted butter, peanut butter, both sugars, milk, and egg. It will look glossy and rich. Stir the dry mix into the wet mix. Then fold in those chopped peanuts. Cover the bowl and walk away for thirty minutes. (A hard-learned tip: Dampen your hands before pressing the dough balls. It prevents a sticky mess!)
Step 2: Heat your oven to 350 degrees. Line your baking sheets. Now, take half the dough. Roll small balls, about two teaspoons each. Place them far apart on the sheet. They spread! Press each ball with damp hands into a two-inch circle. Repeat with the rest. See the little peanut pieces? They make the cookies so pretty.
Step 3: Bake the cookies for 12 to 15 minutes. Switch the trays halfway through. You want them deep golden and firm. Let them cool on the sheet for five minutes. Then move them to a rack. They must be completely cool before filling. Can you guess why we let the dough rest? Share below!
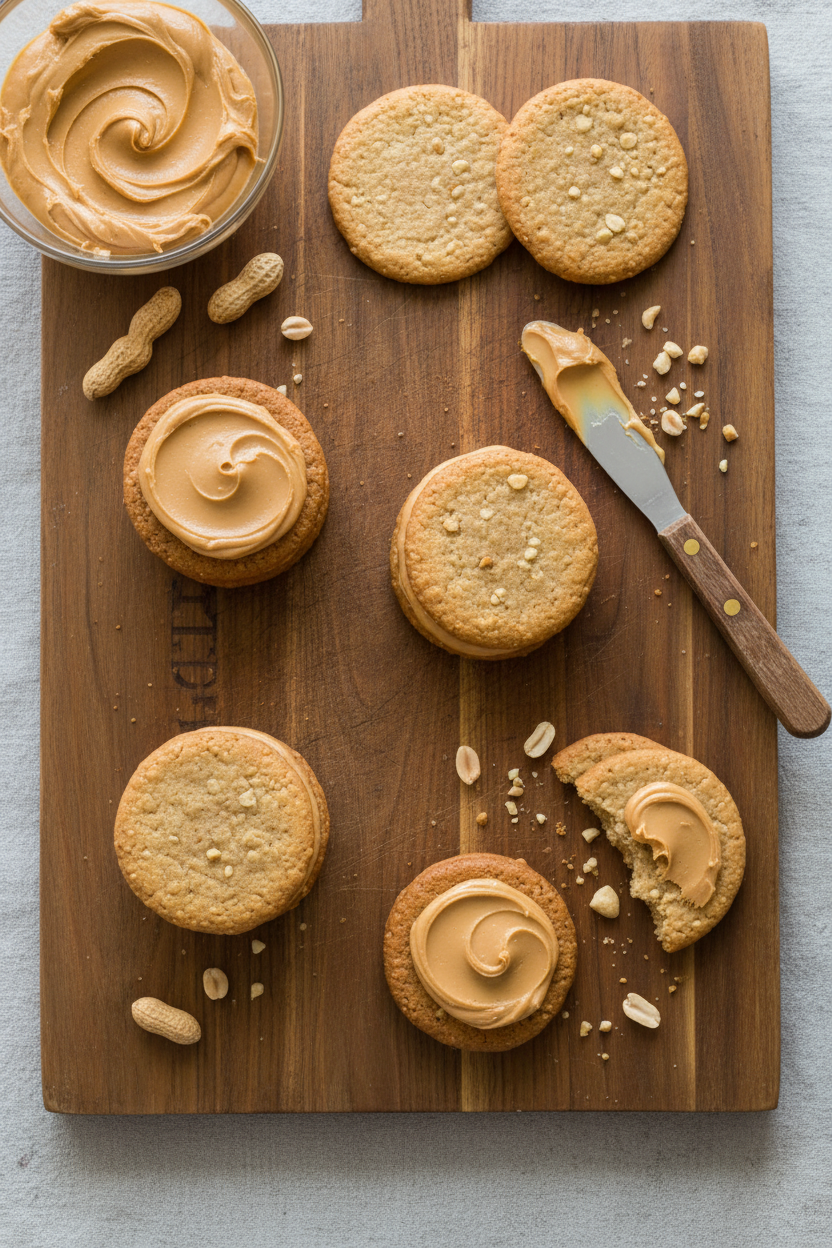
Step 4: Time for the filling! Microwave the peanut butter and butter together. Just until warm and melted. Stir in the confectioners’ sugar. It will be smooth and dreamy. Work while it’s warm. It spreads so easily.
Step 5: Flip half your cookies upside down. Place a tablespoon of filling on each. Gently press another cookie on top. The filling will spread to the edges. Let them sit for one whole hour. This sets the filling perfectly. Then, the magic is ready. Oh, doesn’t that smell amazing?
Cook Time: 15 minutes per batch
Total Time: About 1 hour 45 minutes (includes resting & setting)
Yield: Makes 24 sandwich cookies
Category: Dessert, Cookies
Three Fun Twists to Try
These cookies are wonderful as they are. But sometimes, a little change is fun. Here are three ideas for you. Maybe try one next time.
Chocolate Drizzle: Melt some chocolate chips. Drizzle it over the assembled cookies. Let it harden. It looks so fancy.
Jam Surprise: Add a tiny dollop of raspberry jam. Put it in the center of the filling. It’s a sweet, fruity surprise inside.
Salted Pretzel Crunch: Crush some pretzels very fine. Roll the cookie edges in the crumbs. It adds a salty, crunchy bite.
Which one would you try first? Comment below!
Serving Them Up With Style
These cookies are a treat all by themselves. But I love making a moment special. For a real dessert, place one on a small plate. Add a few fresh berries on the side. It looks so cheerful. You could also crumble one over vanilla ice cream. That is pure happiness in a bowl.
What to drink? A cold glass of milk is the classic choice. It always has been. For the grown-ups, a little glass of cream sherry pairs nicely. It’s sweet and nutty, too. Which would you choose tonight?
Keeping Your Cookie Delights Happy
These cookies keep well for days. Store them in an airtight container. They will stay fresh on your counter for up to three days.
You can also freeze them for later. Just place the filled cookies in a single layer. Once frozen solid, pack them into a freezer bag. I once forgot a batch in my freezer for a month. They were still a perfect treat with my afternoon tea!
Batch cooking is a wonderful time-saver. You can freeze the dough balls before baking. Then bake a few fresh cookies anytime you want. This matters because a little planning brings sweet joy on busy days.
Have you ever tried storing cookie dough this way? Share below!
Fixing Little Cookie Hiccups
Sometimes cookies spread too much. Your dough might be too warm. Just let it rest in the fridge for 15 minutes. I remember when my first batch ran together. They became one giant cookie sheet!
Your cookies might not turn golden brown. Your oven could be running cool. Use an oven thermometer to check the temperature. Getting this right matters for the best flavor and texture.
The filling might seem too runny or too thick. If runny, let it cool a bit more. If thick, add a tiny splash of milk. Fixing small issues builds your cooking confidence. You learn to trust your own hands.
Which of these problems have you run into before?
Your Quick Cookie Questions
Q: Can I use a different gluten-free flour? A: I recommend the listed blend. Others may change the texture.
Q: Can I make these ahead? A: Yes! The dough rests for 30 minutes. You can also freeze baked cookies.
Q: What if I only have chunky peanut butter? A: That is just fine. It will add a nice little crunch.
Q: Can I halve the recipe? A: You can. Just halve all the ingredients carefully.
Q: Any optional add-ins? A: A pinch of cinnamon in the dough is lovely. Fun fact: My grandson always asks for chocolate chips in his!
Which tip will you try first?
From My Kitchen to Yours
I hope you love making these cookies. The smell of peanuts baking is pure comfort. It always reminds me of my own grandmother’s kitchen.
I would love to hear about your baking adventure. Tell me about the smiles they created at your table. Sharing our stories makes the food taste even sweeter.
Have you tried this recipe? Share your experience in the comments.
Happy cooking!
—Grace Ellington.
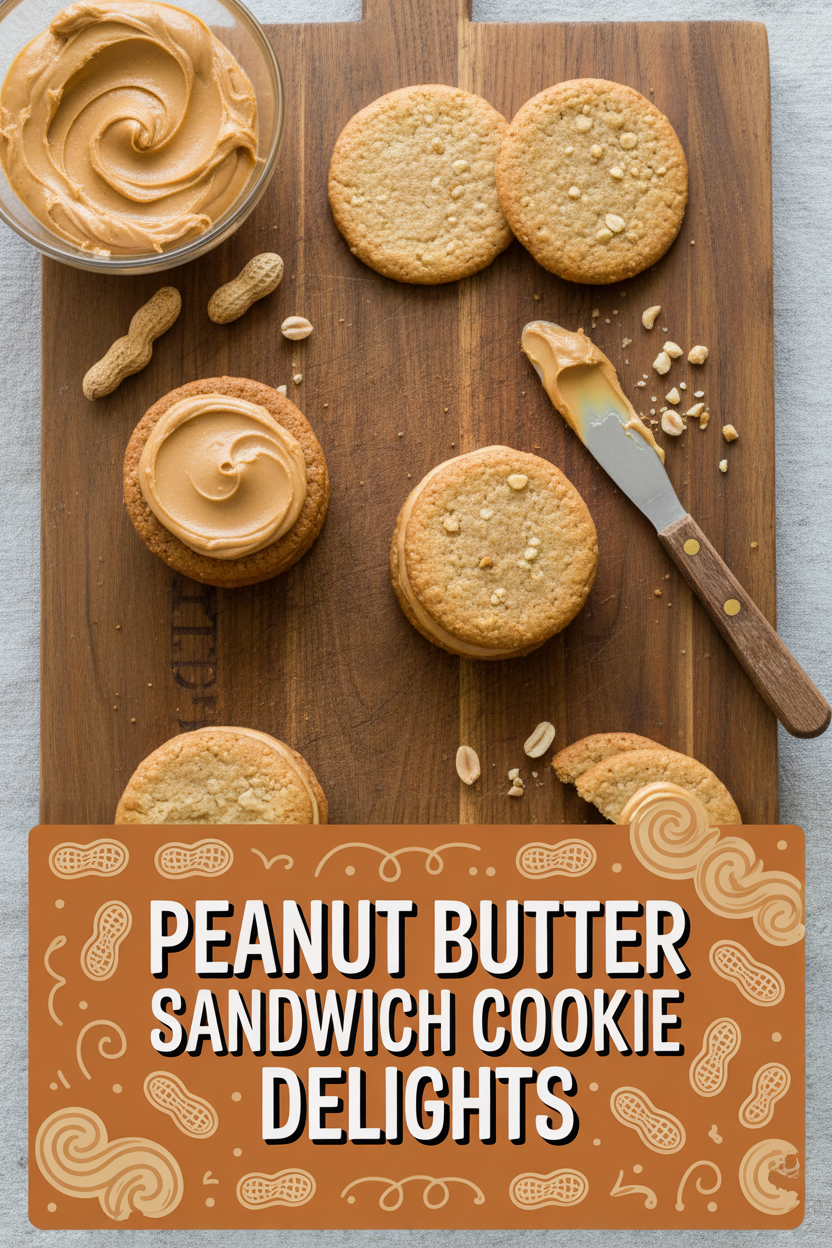
Peanut Butter Sandwich Cookie Delights
Description
Gluten-Free Peanut Butter Sandwich Cookies
Ingredients
Cookies:
Filling:
Instructions
- For the cookies: Pulse peanuts in food processor until finely chopped, about 8 pulses. Whisk flour blend, baking soda, salt, and xanthan gum together in bowl. In separate bowl, whisk butter, peanut butter, granulated sugar, brown sugar, milk, and egg together. Stir flour mixture into peanut butter mixture with rubber spatula until combined. Stir in peanuts until evenly distributed. Cover bowl with plastic wrap and let dough rest for 30 minutes.
- Adjust oven racks to upper-middle and lower-middle positions and heat oven to 350 degrees. Line 2 baking sheets with parchment paper. Working with half of dough, keeping other half covered, portion out generous 2 teaspoons of dough, roll into balls, and space 3 inches apart on prepared sheets; dough will be very sticky. Using damp hands, press dough balls into 2-inch cookies. Repeat with remaining dough.
- Bake cookies until deep golden brown and firm to touch, 12 to 15 minutes, switching and rotating sheets halfway through baking. Let cookies cool on sheets for 5 minutes, then transfer to wire rack and let cool completely before assembling.
- For the filling: Microwave peanut butter and butter until melted and warm, about 40 seconds. Stir in confectioners’ sugar until combined.
- While filling is warm, place 24 cookies upside down on counter. Place 1 tablespoon filling in center of each cookie. Top each with one of remaining cookies, right side up, and press gently until filling spreads to edges. Let filling set for 1 hour before serving. (Assembled cookies can be stored in airtight container for up to 3 days.)
Notes
- Using salted peanut butter is important; do not use unsalted peanut butter for this recipe.