
The Cozy Pot Method
Let me tell you about my favorite way to cook a turkey breast. I use just one pot. It’s called cooking “en cocotte.” That’s a fancy way of saying “in a covered pot.” Everything cooks together slowly. The magic happens inside that heavy pot.
The steam stays in. It bastes the meat for you. You get the most tender, juicy turkey you can imagine. I still laugh at how easy it is. Who said turkey was just for big holidays? This is a cozy Sunday supper.
A Little Story & A Big Tip
I learned this from my friend Marie. She was always nervous about drying out the turkey. One day, she tried this pot method. The turkey was so perfect, she called me right away. Her voice was full of joy.
Here is why that matters. Cooking the turkey covered keeps all the moisture locked in. You don’t need to check on it every five minutes. The low oven does the gentle work. This gives you time to set the table or mash some potatoes.
The Secret to Golden Flavor
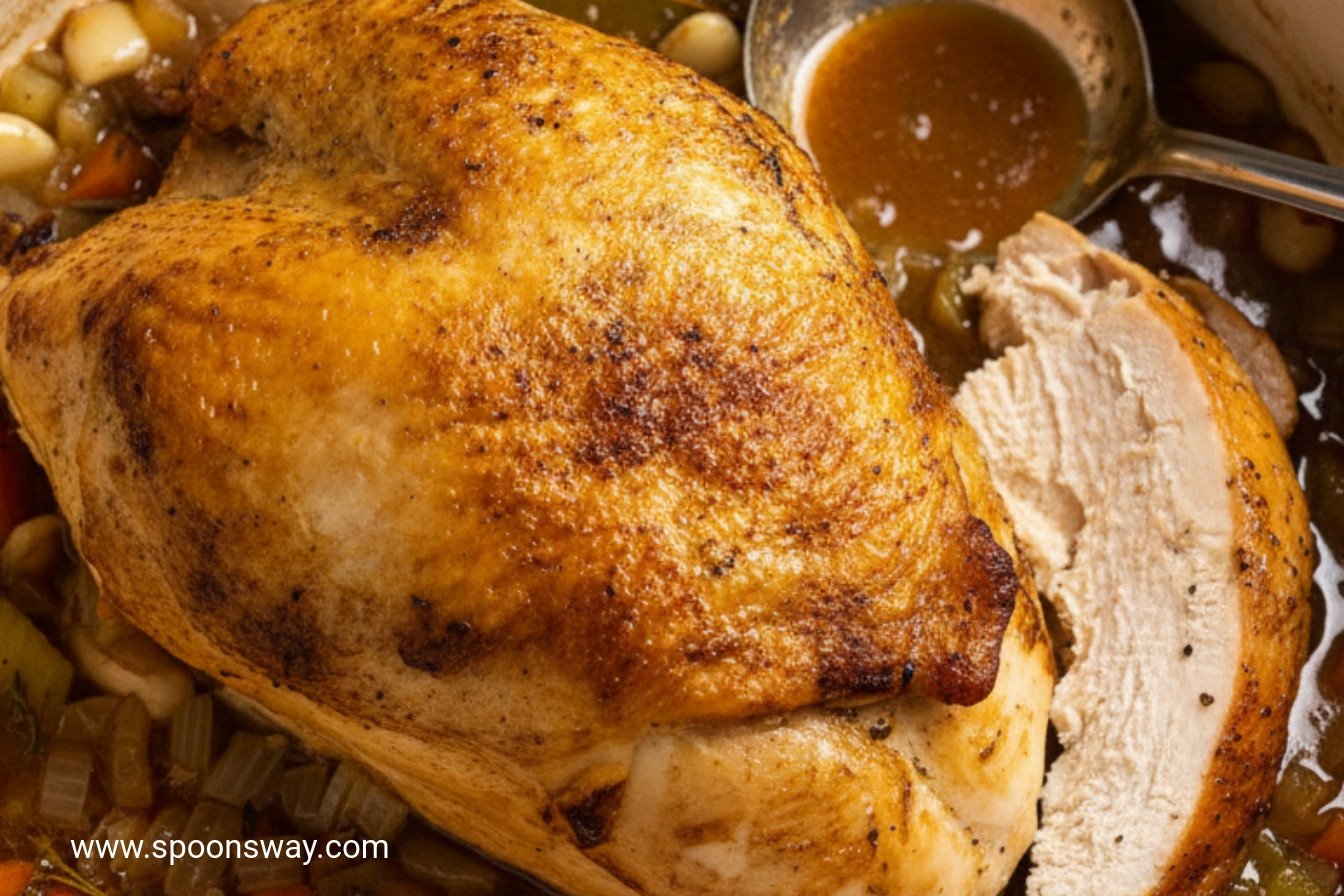
Do not skip the browning step. It is the most important part. You put the turkey breast-side down first. Let it get a deep, golden color. Brown the vegetables too. Doesn’t that smell amazing? It fills the whole kitchen.
All those brown bits in the pot are flavor gold. They will make your gravy rich and delicious later. *Fun fact: This browning is called the Maillard reaction. It’s just science for “tasty.”* What’s your favorite cozy cooking smell? Mine is browning onions and garlic.
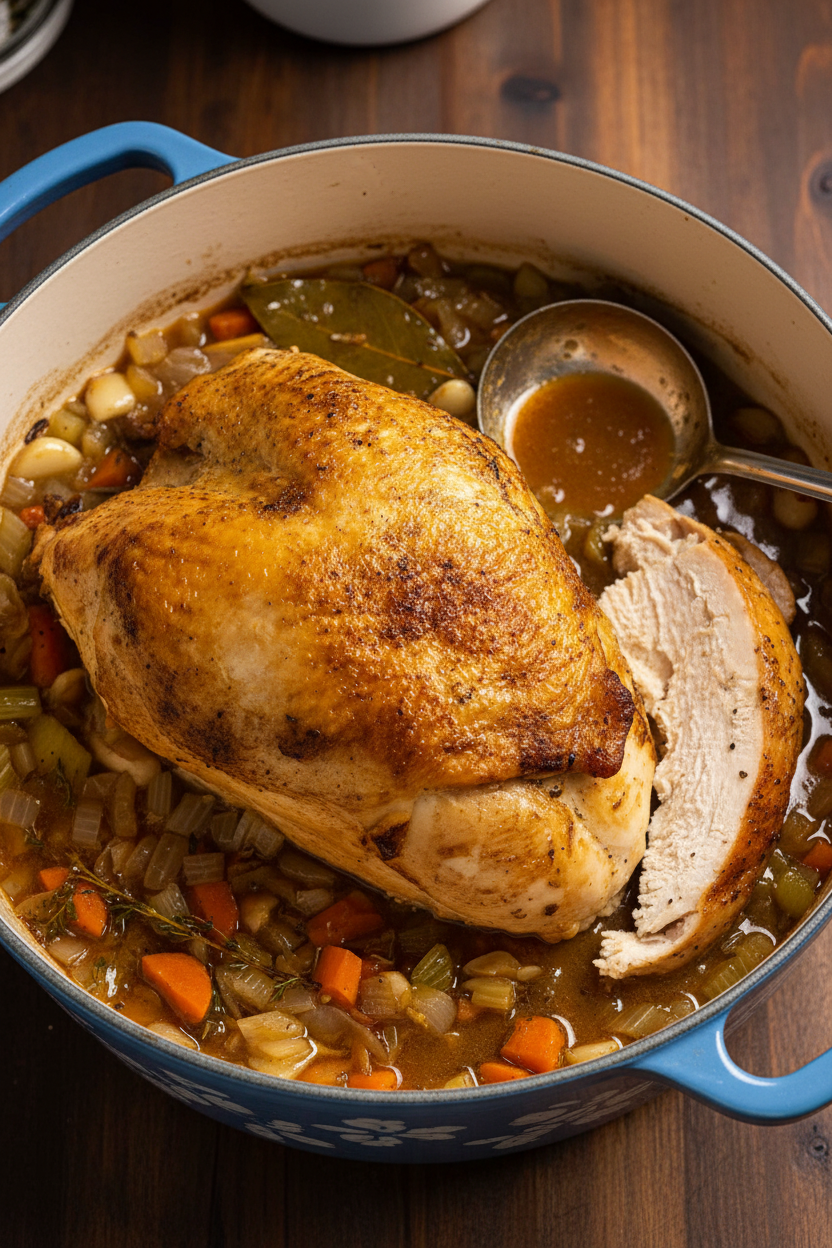
Gravy From the Pot Itself
Now for the best part. The gravy is made right in the same pot. After the turkey rests, you simmer the juices. You stir in a little flour. Then you whisk in your broth. Watch it thicken into a beautiful gravy.
This matters because the gravy tastes like the whole meal. It has the turkey essence and the sweet vegetables. No gravy from a jar tastes like this. Do you prefer your gravy smooth or with bits in it? I always strain mine for a silky finish.
Bringing It All to the Table
Let the turkey rest before you carve it. This lets the juices settle back into the meat. If you cut it too soon, all the good juice runs out onto the board. I like to tent it with foil to keep it warm.
Then, slice it up. Pour that gorgeous gravy into a nice pitcher. Serve it with simple sides. The meal feels special but was not hard work. What is your go-to side dish with turkey? Tell me, I am always looking for new ideas.
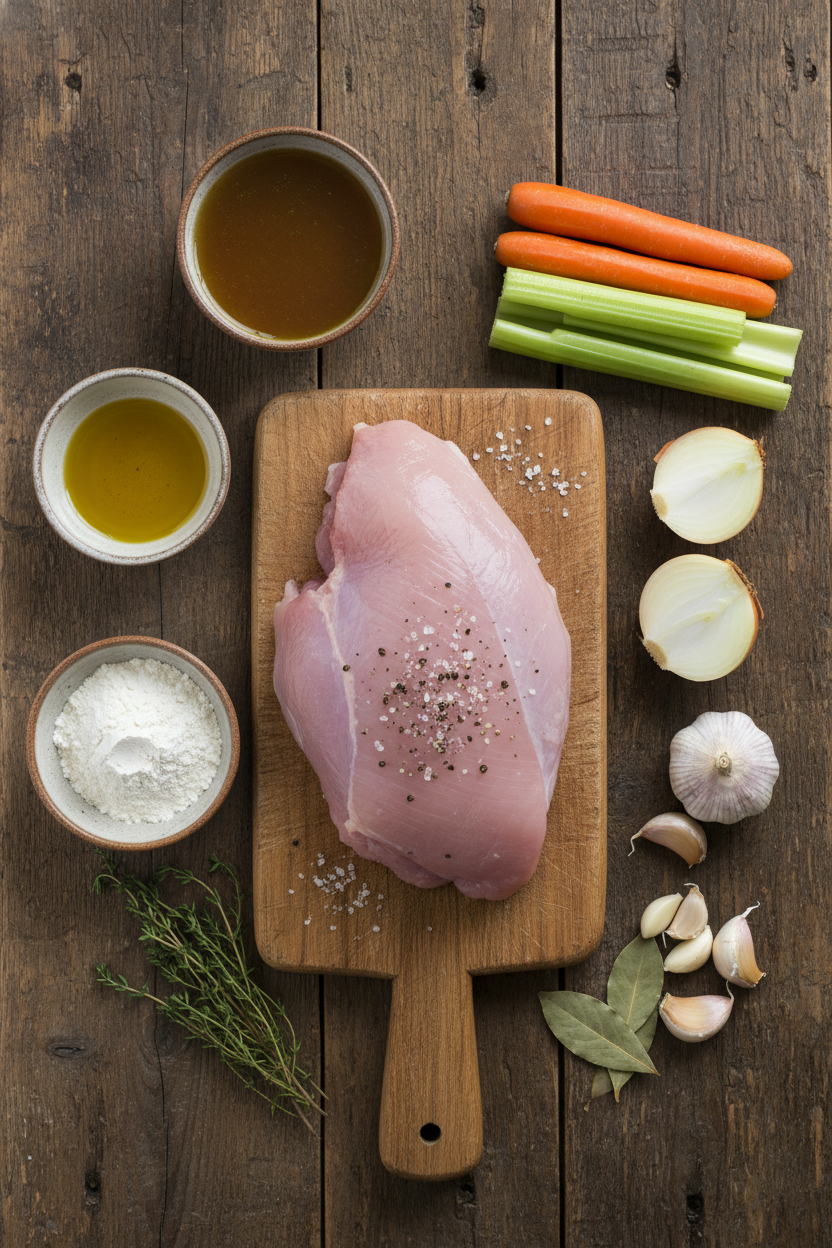
Ingredients:
| Ingredient | Amount | Notes |
|---|---|---|
| Turkey breast, whole, bone-in | 6- to 7-pound | |
| Salt and ground black pepper | To taste | |
| Olive oil | 2 tablespoons | |
| Onion, chopped medium | 1 medium | |
| Carrot, chopped medium | 1 medium | |
| Celery rib, chopped medium | 1 | |
| Garlic cloves, peeled and crushed | 6 medium | |
| Fresh thyme | 2 sprigs | |
| Bay leaf | 1 | |
| Unbleached all-purpose flour | ¼ cup | |
| Low-sodium chicken broth | 4 cups |
My Cozy Kitchen Turkey & The Easiest Gravy
Hello, my dear. Come sit. Let’s talk about a wonderful, simple turkey. This is my “en cocotte” method. That’s just a fancy way of saying we cook it all in one pot. The magic happens inside that heavy pot. The turkey steams in its own juices. It becomes so tender, you won’t believe it.
The best part is the gravy. We make it right in the same pot after. All those little browned bits from the turkey and vegetables? That’s pure flavor gold. We’ll turn them into a rich, delicious gravy. Doesn’t that smell amazing already? Let me walk you through it.
Step 1: First, heat your oven nice and low. We want it at 250 degrees. Now, take your turkey breast and pat it very dry with paper towels. A dry turkey gets the best color. Season it well with salt and pepper. This is your only chance to season the inside! Step 2: Now, we brown everything. Heat oil in your big pot until it shimmers. Place the turkey in, breast side down. Scatter all the chopped vegetables and herbs around it. We cook until it’s all a lovely golden brown. Turn the turkey onto its sides too. (My hard-learned tip: Don’t rush the browning. It builds the gravy’s foundation. If things start to burn, just lower the heat.) Step 3: Once it’s browned, turn the turkey breast-side up. Take the pot off the heat. Cover it first with foil, then with the lid. This seal traps all the steam. Put the whole pot in the slow oven. Let it cook gently for about an hour and a half. The turkey is done when a thermometer reads 165°F. I still laugh at the time I forgot the thermometer. Let’s just say we had a very late dinner! Step 4: Carefully remove the pot. The turkey will be juicy and perfect. Move it to a board and cover it loosely with foil. Let it rest. This keeps all the juices inside. Now, we make the gravy in that same pot. Can you guess the key ingredient already? Share below! Step 5: Put the pot with all the juices and veggies back on the stove. Simmer until the liquid is almost gone. Stir in the flour and cook it until it’s tan-colored. Then, slowly whisk in your chicken broth. It will bubble and thicken into the most beautiful gravy. Strain it to make it silky smooth. Season to taste. Step 6: Finally, carve your turkey. Serve it with that glorious gravy poured over the top. Watch everyone’s faces light up. You made a holiday-worthy meal with just one pot to wash. Now that’s a win. Cook Time: 1 3/4 to 2 hoursTotal Time: About 2 1/2 hours
Yield: Serves 6 to 8
Category: Dinner, Holiday
Three Fun Twists on Our Turkey
This recipe is like a dear friend. It’s happy to dress up a little. Here are three ways to give it a new personality. They are all so simple and tasty.
Herb Garden Twist: Tuck fresh rosemary and sage under the skin with the thyme. It fills every bite with garden fragrance. Cozy Apple Version: Replace the carrot and celery with a chopped apple. The gravy gets a sweet, autumn hint. It’s wonderful. Sun-Dried Tomato Boost: Add a handful of chopped sun-dried tomatoes with the vegetables. They give a deep, tangy richness to the gravy.Each one makes it a brand-new meal. Which one would you try first? Comment below!
How to Serve Your Masterpiece
This turkey deserves a lovely plate. For sides, I love creamy mashed potatoes. They are the best gravy boat. Buttered green beans or roasted carrots are perfect too. A sprinkle of fresh parsley on top makes it pretty.
For a drink, a glass of chilled apple cider is just right. For the grown-ups, a glass of Pinot Noir wine pairs beautifully. It’s fruity and light. Which would you choose tonight?
Keeping Your Turkey Cozy for Later
Let’s talk about leftovers. They are a gift to your future self. First, let the turkey cool completely. Then, carve the meat off the bone. Store it in a sealed container in the fridge. It will stay happy for three to four days.
For the freezer, pack the meat in a freezer bag. Press out all the air. It will keep for two months. Thaw it in the fridge overnight. The gravy freezes beautifully, too. Use a separate container for it.
Reheating is simple. Warm slices in a pan with a little broth. This keeps them moist. I once reheated turkey in the microwave. It got a bit dry. A splash of gravy fixed it right up!
Batch cooking this meal saves a busy week. A whole breast feeds a crowd or gives you many meals. This matters because a ready-made dinner brings peace. It is a warm hug on a hectic night. Have you ever tried storing it this way? Share below!
Simple Fixes for Common Hiccups
Every cook faces little problems. Do not worry. They are easy to fix. First, the vegetables might start to burn. If they do, just add a tablespoon of broth. This stops the scorching.
Second, your gravy might be too thin. Let it simmer a few minutes longer. It will thicken up nicely. I remember when my first gravy was like soup. Patience made it perfect.
Third, the turkey skin may not get crispy. Browning it well in the pot first is key. This step builds incredible flavor for your gravy. Getting a good sear matters. It creates tasty brown bits in the pot. Fixing small issues builds your cooking confidence. You learn by doing. Which of these problems have you run into before?
Your Turkey Questions, Answered
Q: Can I make this gluten-free? A: Yes! Use cornstarch instead of flour. Mix two tablespoons with cold broth. Then whisk it in.
Q: Can I prep anything ahead? A: Absolutely. Chop your vegetables the day before. Store them in a bag in the fridge.
Q: I don’t have fresh thyme. A: Use one teaspoon of dried thyme instead. It will work just fine.
Q: Can I make a smaller portion? A: You can use a smaller breast. Just reduce the cook time. Check the temperature early.
Q: Any optional tips? A: Add a handful of mushrooms when browning. They make the gravy even richer. *Fun fact: A turkey’s wishbone is called a furcula.* Which tip will you try first?
From My Kitchen to Yours
I hope you love this cozy recipe. It fills the kitchen with the best smell. It reminds me of Sunday dinners with my grandkids. I would love to see your version.
Share a picture of your beautiful table. Let me know how your family enjoyed it. Cooking is about sharing stories and good food. Have you tried this recipe? Tag us on Pinterest!
Happy cooking!
—Grace Ellington.
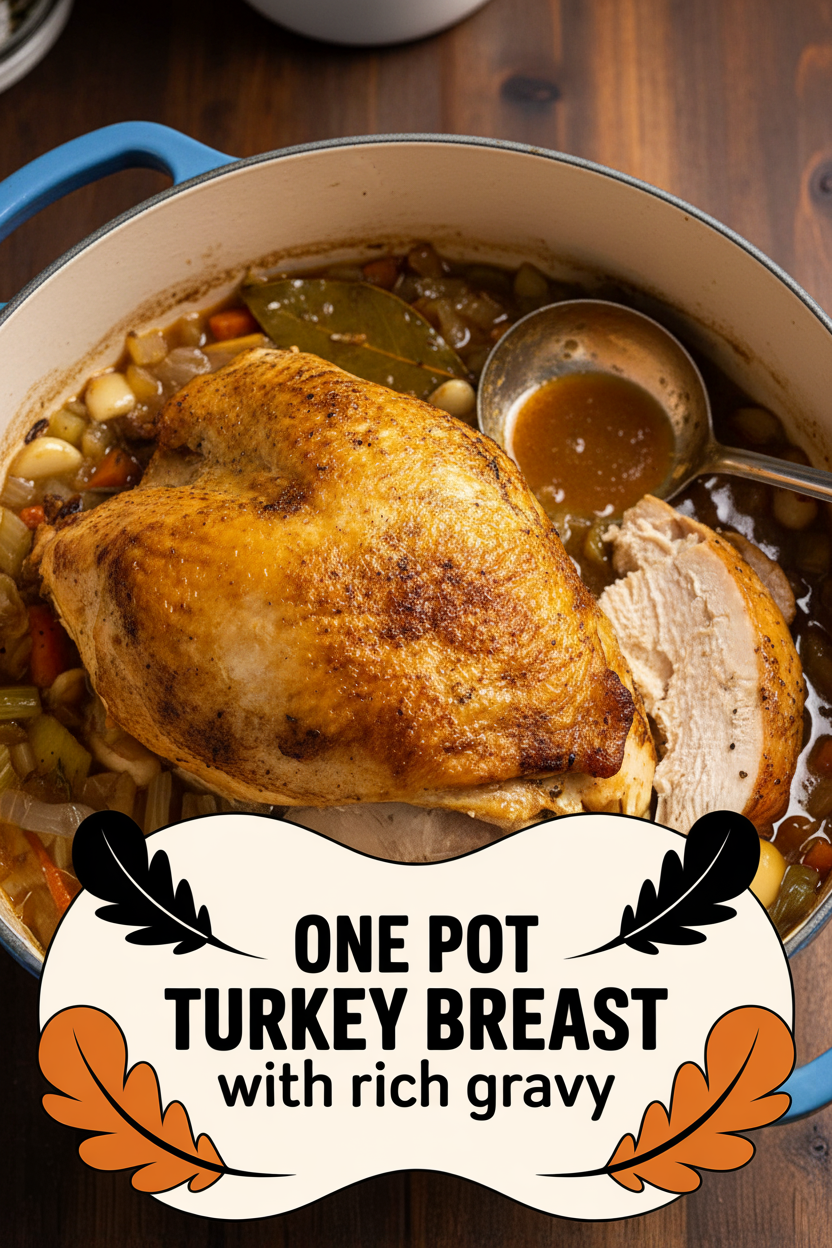
One Pot Turkey Breast with Rich Gravy
Description
A simple and elegant method for cooking a whole turkey breast, resulting in incredibly moist meat and a rich, flavorful gravy made from the pan drippings.
Ingredients
Instructions
- Adjust an oven rack to the lowest position and heat the oven to 250 degrees. Using kitchen shears or a chef’s knife, trim the rib bones and any excess fat from the turkey. Pat the turkey dry with paper towels and season with salt and pepper.
- Heat the oil in a large Dutch oven over medium-high heat until just smoking. Add the turkey, breast side down and scatter the onion, carrot, celery, garlic, thyme, and bay leaf around the turkey. Cook, turning the breast on its sides and stirring the vegetables as needed, until the turkey and vegetables are well browned, 12 to 16 minutes, reducing the heat if the pot begins to scorch. Turn turkey so breast side is facing up.
- Off the heat, place a large sheet of foil over the pot and press to seal, then cover tightly with the lid. Transfer the pot to the oven and cook until the thickest part of the breast registers 160 to 165 degrees on an instant-read thermometer, 1 1/2 to 1 3/4 hours.
- Remove the pot from the oven. Transfer the turkey to a cutting board, tent loosely with foil, and let rest while making the gravy.
- Place the pot with the juices and vegetables over medium-high heat and simmer until almost all of the liquid has evaporated, 15 to 20 minutes. Stir in the flour and cook, stirring constantly, until browned, 2 to 5 minutes. Slowly whisk in the chicken broth, bring to a simmer and cook, stirring often, until the gravy is thickened and measures about 2 1/2 cups, 10 to 15 minutes.
- Strain the gravy through a fine-mesh strainer and season with salt and pepper to taste. Carve the turkey and serve, passing the gravy separately.
Notes
- For the best results, use a well-seasoned Dutch oven. Letting the turkey rest after cooking is crucial for juicy meat. The gravy can be made ahead and reheated gently.