
The Heart of the Matter
This fudge is about more than chocolate. It is about sharing something sweet. Making it shows someone you care. That is why it matters. The recipe is simple. But the feeling it gives is big.
I learned this from my own grandma. She made fudge every Christmas. Her kitchen smelled like butter and sugar. I still smile at that memory. What food makes you think of someone you love?
A Little Story Before We Start
My first time making fudge was funny. I stirred and stirred. I was so impatient. I thought it would never get thick. Then, all at once, it was perfect. I still laugh at that.
It taught me a good lesson. Good things take a little time. You cannot rush them. This matters in cooking and in life. Now, let’s get your pan ready. It is the first step to success.
Getting Your Pan Just Right
First, line your pan with foil. Make a little sling. This is my favorite trick. It lets you lift the whole fudge block out later. No sticking, no mess.
Spray the foil lightly with oil. This gives the fudge a smooth finish. It makes cutting neat squares easy. Do you have a favorite kitchen trick that saves you time?
The Simmer and The Stir
Now, the magic begins. Put sugar, butter, milk, and salt in a pot. Stir it often as it heats. Bring it to a gentle boil. Then let it simmer.
You need a thermometer here. Cook until it hits 234 degrees. This is the soft-ball stage. Fun fact: That’s what candy makers call it! The temperature matters. It makes your fudge set up creamy, not gritty.
The Best Part
Take the pot off the heat. Now add the chocolate and marshmallows. Doesn’t that smell amazing? Whisk until it is all smooth and glossy. It will get thick like frosting.
Stir in the toasted walnuts now, if you like them. I love the crunch. Pour it into your waiting pan. The hard part is next. You must let it cool. Then chill it for hours. Patience!
Cutting and Sharing
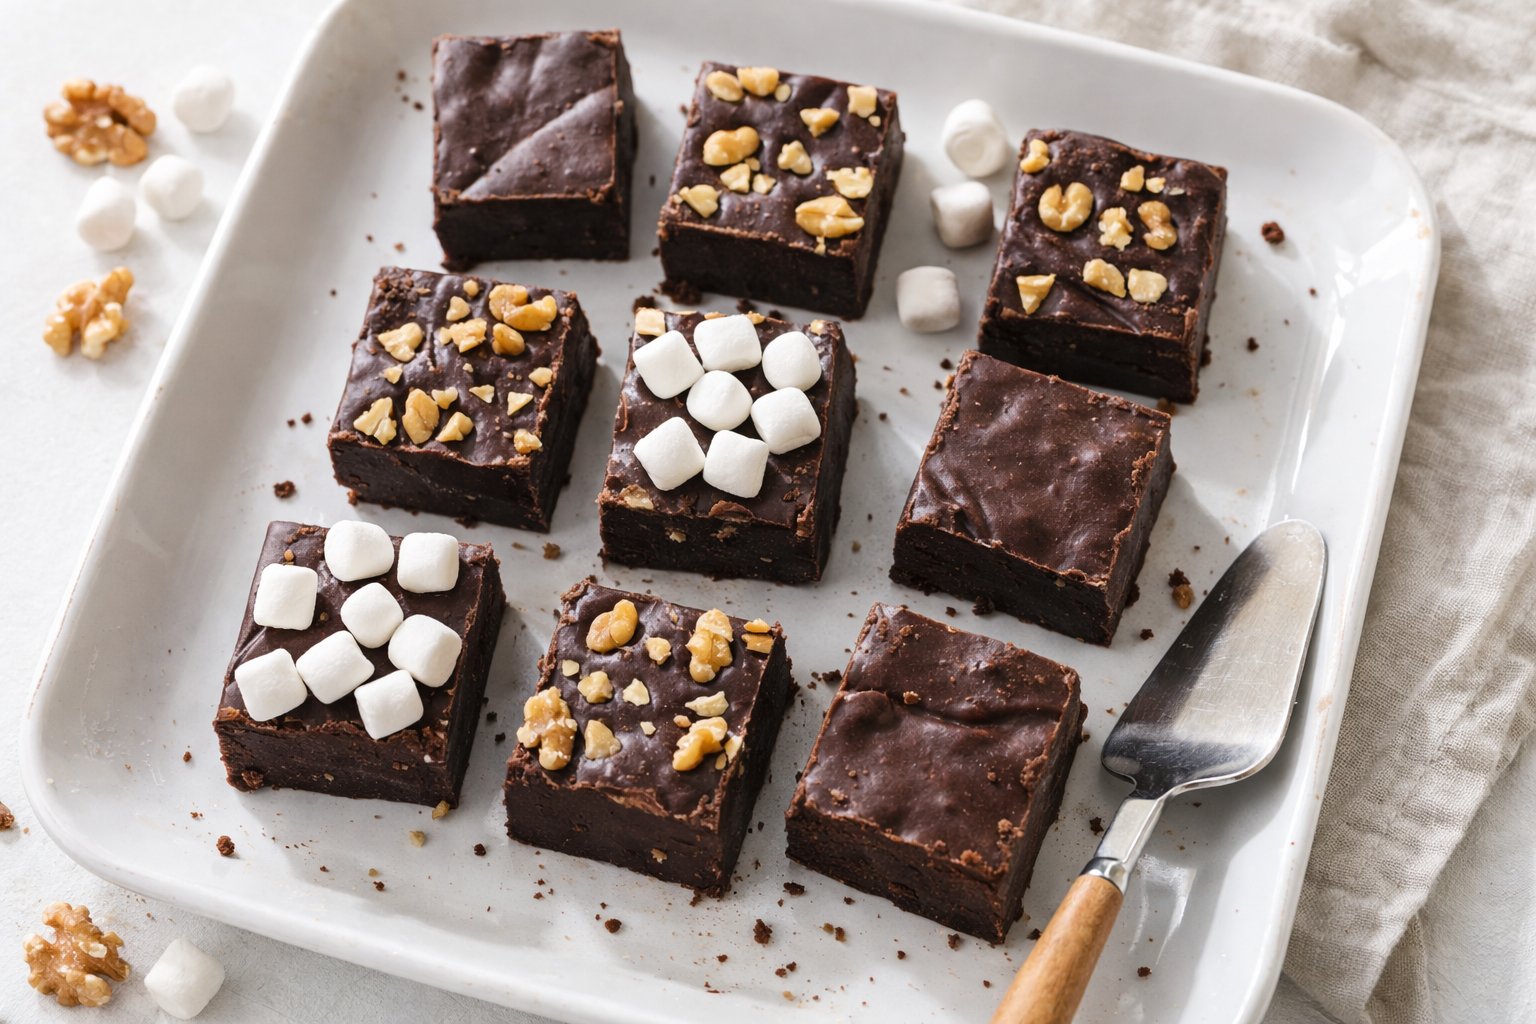
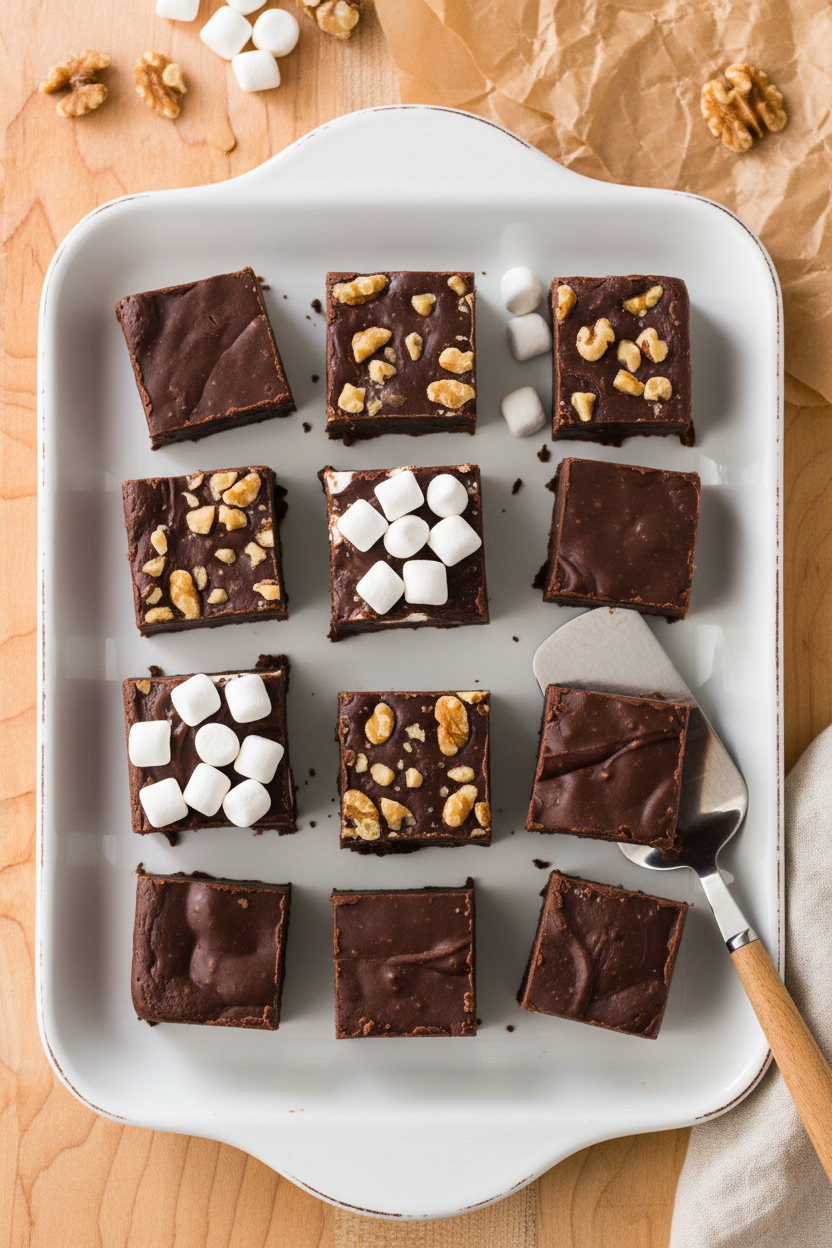
Use the foil to lift out your fudge. Cut it into little squares. Let them sit out for 15 minutes before serving. This makes them perfectly soft.
This fudge keeps for two weeks. But it never lasts that long at my house! Do you share treats with neighbors or save them for family?
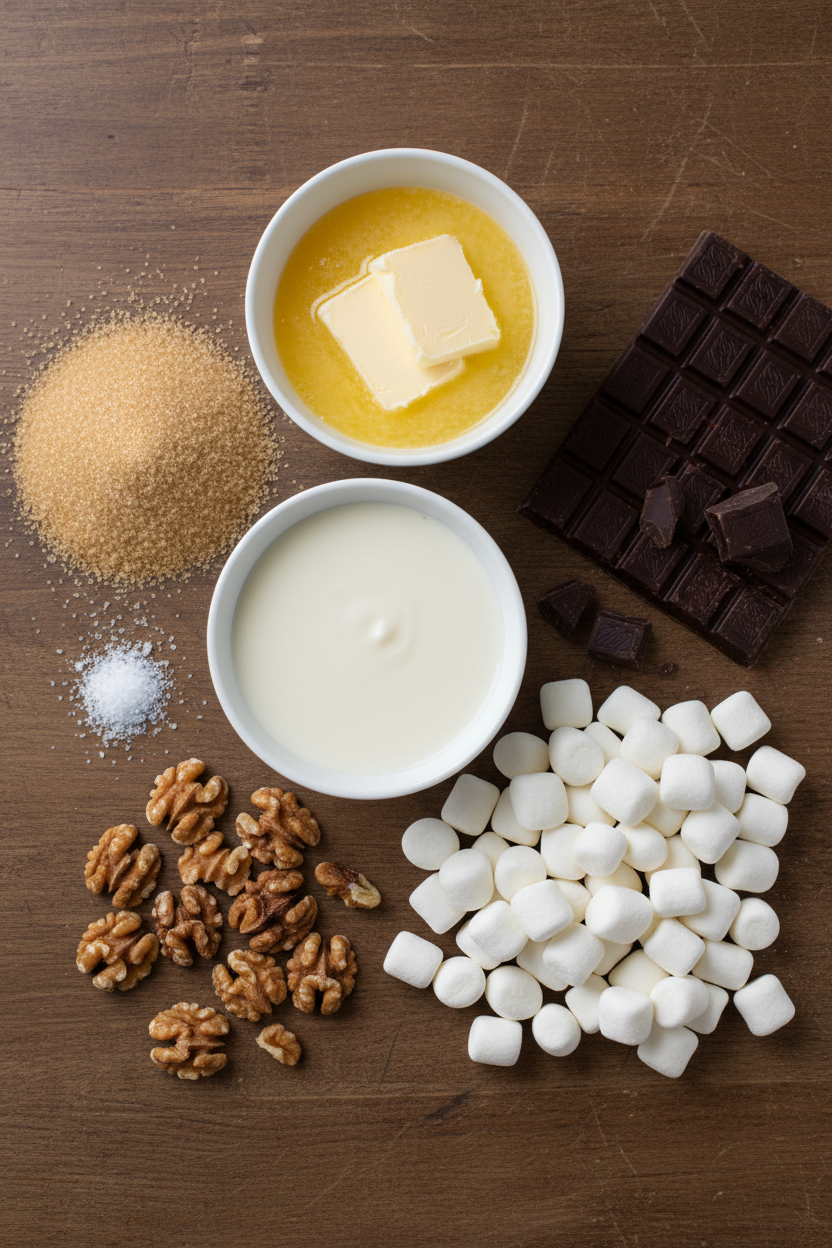
Ingredients:
| Ingredient | Amount | Notes |
|---|---|---|
| Light brown sugar | 3 cups packed (21 oz / 595 g) | |
| Unsalted butter | 12 tablespoons, cut into pieces | |
| Evaporated milk | ⅔ cup | |
| Salt | ½ teaspoon | |
| Bittersweet chocolate | 12 oz (340 g), chopped | |
| Large marshmallows | 5 oz (142 g / about 3 cups) | |
| Walnuts | 1 ½ cups, toasted & chopped coarse | Optional |
My Perfect Homemade Chocolate Fudge
Hello, dear. Come sit at the table. Let’s make some magic. This fudge recipe is my old friend. I’ve made it for fifty years. It reminds me of snowy afternoons with my grandkids. The kitchen smelled like sweet chocolate. Their little faces were always so eager. I still laugh at that.
We must start with a little preparation. It makes everything easier later. Trust your grandma on this one.
Step 1: First, line your square pan with foil. Make a little foil sling. This lets you lift the fudge out later. Smooth the foil right into the corners. Give it a quick spray with oil. (My hard-learned tip: Do this first! You’ll need your hands free later when the sugar is hot.) Step 2: Now, mix the sugar, butter, milk, and salt. Stir it often as it heats. Bring it to a gentle boil. Then let it simmer until it reaches 234 degrees. This is the soft-ball stage. Doesn’t that smell amazing? It means the sugar is ready. Step 3: Take the pot off the heat. Quickly add the chocolate and marshmallows. Whisk until it’s all smooth and glossy. It will thicken up like frosting. Stir in the toasted walnuts now, if you like. I love the crunch. Pour it into your waiting pan. Step 4: Patience is key here. Let the fudge cool completely. Then pop it in the fridge to set. This takes a few hours. I know, waiting is the hardest part! Finally, lift it out and cut little squares. What’s your favorite part: making it or eating it? Share below! Cook Time: About 15 minutesTotal Time: About 4 hours 15 minutes
Yield: 64 one-inch pieces
Category: Dessert, Candy
Three Sweet Twists to Try
Once you master the classic, try a little fun. Changing it up keeps things exciting. Here are my favorite ideas.
Sea Salt Sprinkle: After pouring, press a few flakes of sea salt on top. Sweet and salty is divine. Peppermint Party: Swap the walnuts for crushed candy canes. Perfect for the holidays! Cookie Swirl: Gently fold in broken pieces of your favorite cookie dough. It bakes softly inside.Each one tells a different story. Which one would you try first? Comment below!
Serving Your Sweet Creation
This fudge is wonderful all on its own. But a little presentation makes it special. I like to stack pieces on my grandmother’s china plate. You could also pack pieces in a small gift box. Tie it with a ribbon for a friend.
For a drink, a cold glass of milk is always right. For the grown-ups, a small glass of port wine is lovely. It sips so nicely with the rich chocolate. Which would you choose tonight?
Keeping Your Fudge Happy
This fudge keeps well. Store it in an airtight container at room temperature. It will stay perfect for two weeks. You can also freeze it for three months. Wrap pieces tightly in plastic wrap first. This keeps the flavor fresh.
I remember my first double batch. I gave some to neighbors. The rest I froze for later. It was a lovely surprise in December. Batch cooking saves time for gifts or parties. It means you are always ready to share something sweet.
Let frozen fudge thaw in the fridge overnight. Then let it sit out for 15 minutes. This brings back its creamy texture. Have you ever tried storing it this way? Share below!
Fudge Fixes for Common Troubles
Sometimes fudge can be grainy. This happens if you stir while it boils. Stir only until it starts bubbling. Then let it cook without stirring too much. This gives you smooth, creamy fudge every time.
If your fudge is too soft, it did not cook enough. Use a candy thermometer. It should reach 234 degrees. I once guessed the temperature. The result was a delicious but soupy mess! Getting the temperature right builds your cooking confidence.
Chocolate not melting smoothly? Make sure your marshmallows are fresh. Stale ones won’t melt well. Chop your chocolate small, too. This matters because smooth melting means better flavor in every bite. Which of these problems have you run into before?
Your Fudge Questions, Answered
Q: Is this fudge gluten-free?
A: Yes, these ingredients are naturally gluten-free. Always check your labels to be sure.
Q: Can I make it ahead?
A: Absolutely! Make it up to two weeks before you need it.
Q: What if I don’t have walnuts?
A: Leave them out. You can use pecans instead. Or try a sprinkle of sea salt on top.
Q: Can I double the recipe?
A: Yes, but use a much bigger pot. It will bubble up high! Fun fact: Sugar and butter have been cooked together for fudge for over 100 years.
Q: Any special tip?
A: Toasting the walnuts first makes their flavor warm and cozy. Which tip will you try first?
From My Kitchen to Yours
I hope you love making this fudge. It is a recipe full of happy memories for me. The kitchen is my favorite place to share stories and sweets. I would love to hear about your baking adventures.
Tell me all about it in the comments. Have you tried this recipe? Share your experience in the comments. Your stories make my day. Now, go make something wonderful.
Happy cooking!
—Grace Ellington.
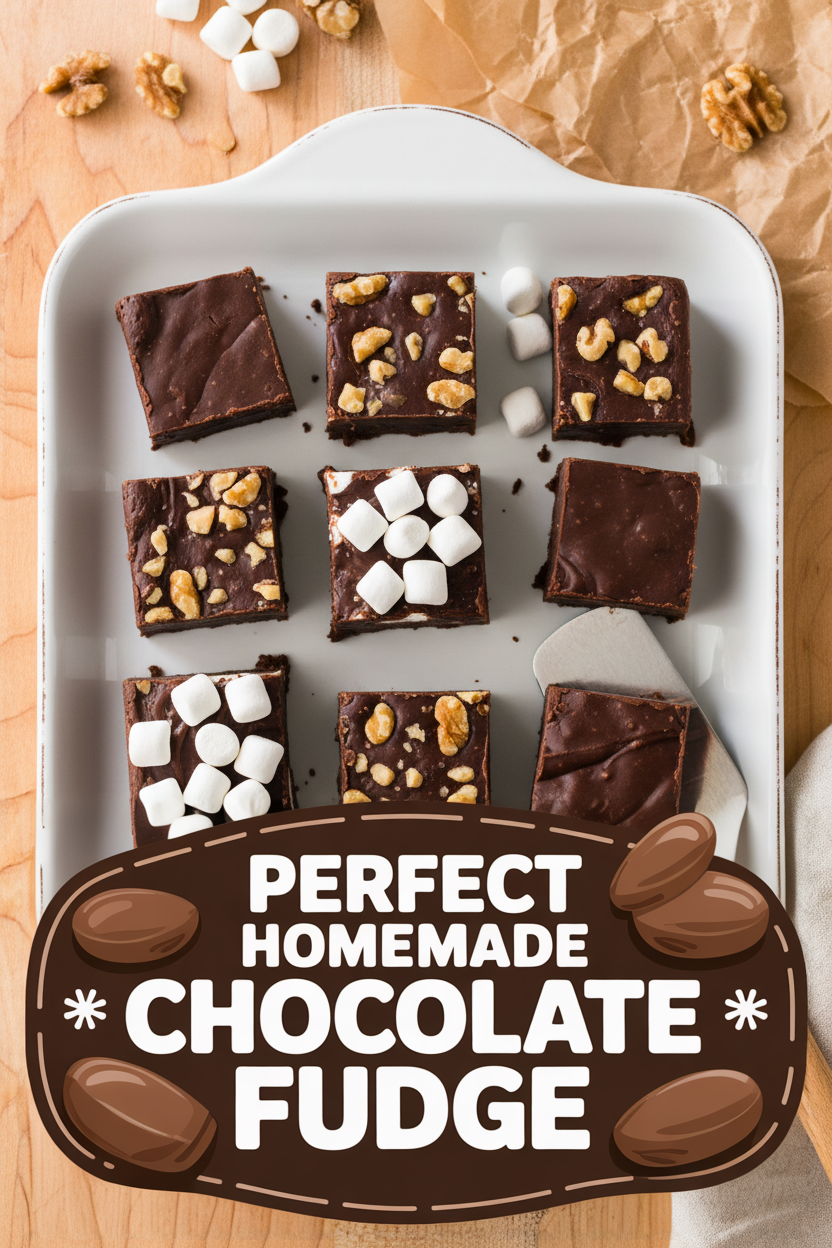
Perfect Homemade Chocolate Fudge
Description
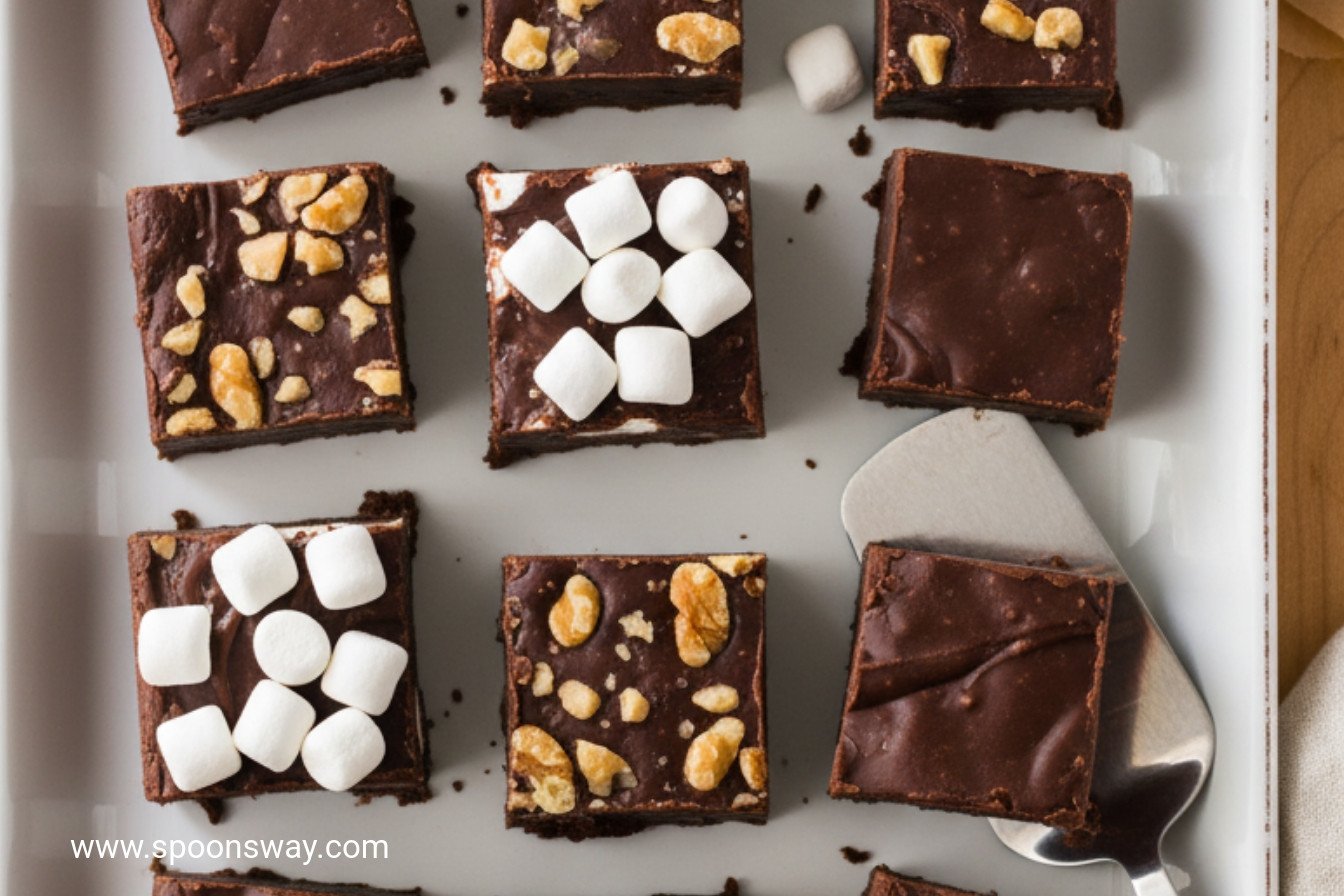
Rich, creamy, and decadent, this classic homemade chocolate fudge is packed with chocolate flavor and optional walnuts for a perfect treat.
Ingredients
Instructions
- Make foil sling for 8-inch square baking pan by folding 2 long sheets of aluminum foil so each is 8 inches wide. Lay sheets of foil in pan perpendicular to each other, with extra foil hanging over edges of pan. Push foil into corners and up sides of pan, smoothing foil flush to pan. Spray foil with vegetable oil spray.
- Combine sugar, butter, evaporated milk, and salt in large saucepan. Bring to boil over medium-high heat, stirring frequently. Once boiling, reduce heat to medium-low and simmer, stirring frequently, until mixture registers 234 degrees, 3 to 5 minutes.
- Off heat, add chocolate and marshmallows and whisk until smooth and all marshmallows are fully melted, about 2 minutes (fudge will thicken to consistency of frosting). Stir in walnuts, if using. Transfer mixture to prepared pan. Let cool completely, about 2 hours. Cover and refrigerate until set, about 2 hours.
- Using foil overhang, lift fudge out of pan. Cut into 1-inch cubes. Let sit at room temperature for 15 minutes before serving. (Fudge can be stored in airtight container at room temperature for up to 2 weeks.)
Notes
- For a smooth cut, use a sharp knife cleaned with hot water between slices. Store layers separated by parchment paper.