
My First Time at the Grill
I remember the first time I grilled corn. I was so nervous. I thought I would burn it all to a crisp.
But you know what? It was wonderful. The smell of that corn cooking made my whole backyard feel like a party. I still laugh at that memory. It taught me that good food does not have to be perfect.
Getting Your Corn Ready
First, we need to shuck the corn. That means pulling off the green leaves and the silky threads. It is a little messy, but fun.
Then, we give the corn a nice, cold bath. Soak it in water for 15 minutes. This keeps the kernels plump and happy on the grill. It is a small step that makes a big difference.
Why We Soak the Corn
This matters because that water bath steams the corn from the inside. It stops it from getting tough and dry. You get a tender, juicy bite every time.
Fun fact: Corn is actually a type of grass. Isn’t that funny? We grill grass for dinner. What is your favorite way to eat corn? On the cob or cut off?
Time for the Grill
Pat your corn dry with a towel. Then brush it with a little olive oil. Sprinkle on some salt and pepper. Doesn’t that smell amazing already?
You can grill it right on the rack. Or you can wrap it in foil with butter. Both ways are delicious. Which do you think you would like more, the smoky taste or the buttery one?
The Secret is in the Turn
Place the corn on a medium-hot grill. Now, you have to be a little patient. Turn the corn often with your tongs.
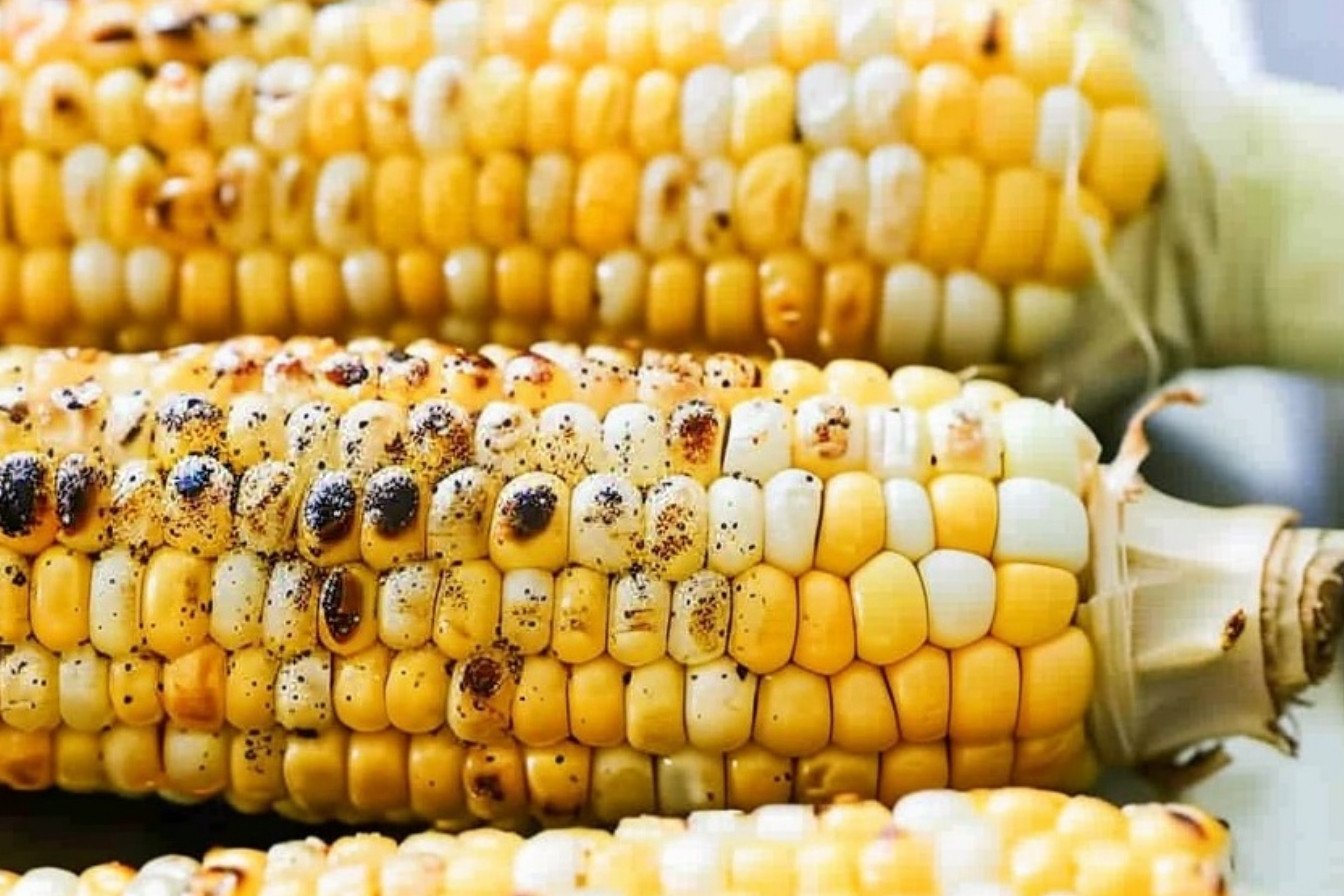
Watch for little golden-brown spots on the kernels. That is the magic. Those spots mean it is ready. This matters because taking your time brings out the sweet flavor.
Don’t Waste a Thing
If you have any corn left over, do not throw it out. You can cut the kernels off the cob. Pop them into a freezer bag.
Months later, you can add that summer taste to soups or salads. It is like a little gift from your past self. Have you ever tried freezing your own vegetables?
Your Turn to Share
Grilling corn always makes me think of family. We stand around the grill, talking and laughing. The simple things are the best.
I would love to hear your stories. What is your favorite food to cook outside with your family? Tell me all about it.
Ingredients:
| Ingredient | Amount | Notes |
|---|---|---|
| Corn | 6-8 ears | |
| Olive Oil | 4 Tablespoons | |
| Salt and freshly ground black pepper | to taste |
My Summer Grilled Corn
Hello, my dear! Let’s talk about summer corn. It is my favorite thing to cook outside. The smell reminds me of backyard parties. My grandkids always run over when they smell it. Doesn’t that smell amazing?
This recipe is very simple. I will walk you through it. We have two ways to cook it. You can use the husk or some foil. Both ways make the corn sweet and smoky. I still laugh at that time I dropped an ear in the grass. The dog was very happy that day!
- Step 1: First, we need to shuck the corn. Pull the green leaves back. Try not to tear them off. Then, pull off all the silky threads. This part can be a little messy. But it is worth the effort.
- Step 2: Now, let’s give the corn a bath. Soak the ears in cold water. Just use your kitchen sink. This keeps the corn from drying out. (My hard-learned tip: Do not skip the soak! It makes the corn so tender.)
- Step 3: Fire up your grill to medium heat. Pat the corn dry with a towel. Then, brush on a little olive oil. Sprinkle it with salt and pepper. Do you like garlic? Wrapping it in foil with butter and garlic salt is so good.
- Step 4: Place your corn on the grill’s top rack. You will need to turn it often. This gives it pretty brown spots. If it’s wrapped in foil, you can relax a little. It does not need as much attention.
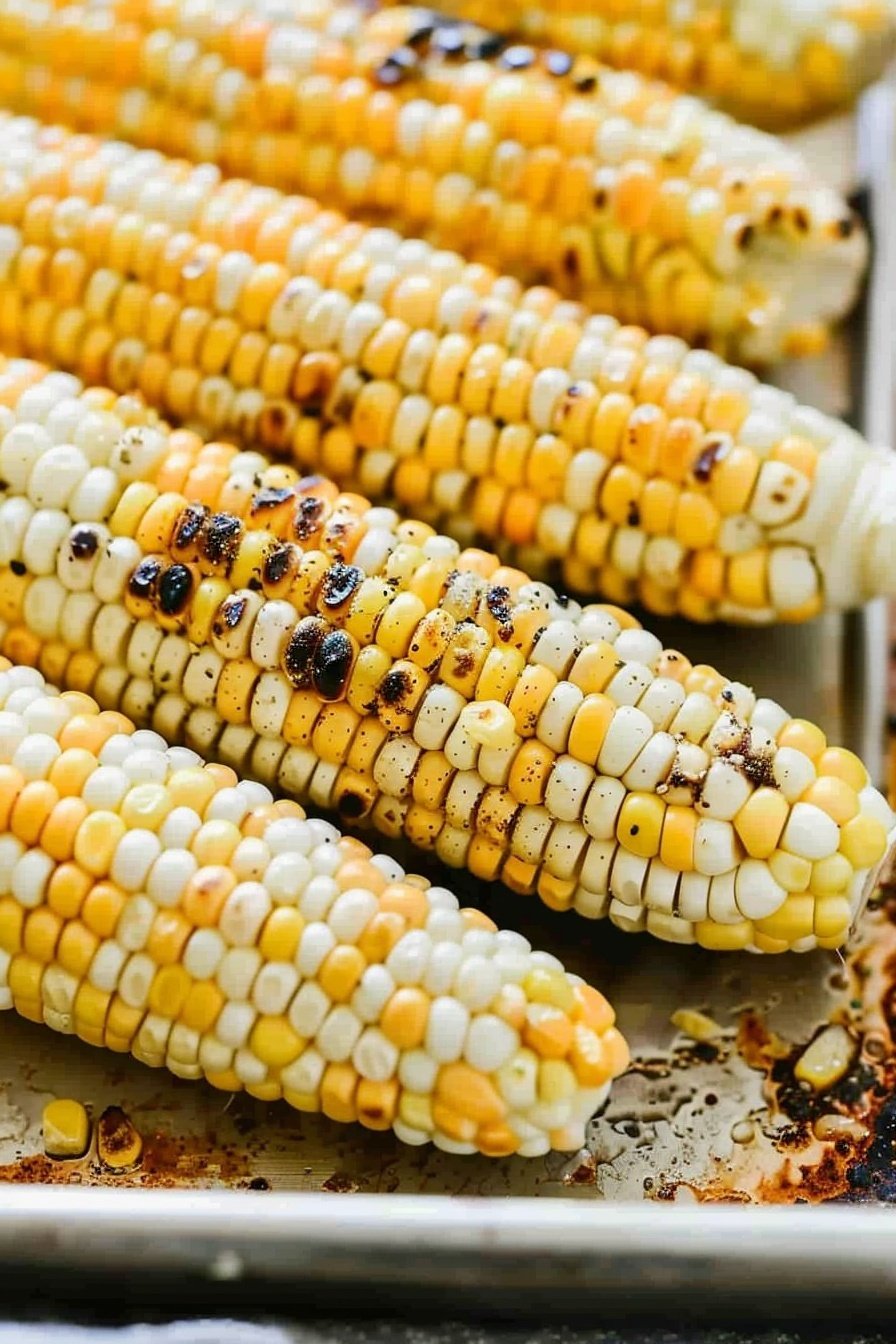
- Step 5: Cook for about 15 minutes. Keep turning it. Look for those golden-brown spots. That is how you know it is perfect. The husk or foil corn needs a few more minutes. Do you prefer your corn with butter or olive oil? Share below!
Cook Time: 15-20 minutes
Total Time: 30-35 minutes
Yield: 6-8 servings
Category: Side Dish
Three Fun Twists to Try
Once you know the basics, you can get creative. I love to play with different flavors. It makes each meal a little special. Here are three of my favorite ways to change it up.
- Cheesy Chili Corn: After grilling, roll the corn in mayonnaise. Then sprinkle on chili powder and grated cheese. It sounds wild, but it is delicious.
- Herb Garden Corn: Mix soft butter with chopped parsley and chives. Slather it on the hot corn. It tastes like a summer garden.
- Zesty Lime Corn: Squeeze fresh lime juice over your cooked corn. Then add a pinch of salt. It is so bright and tangy.
Which one would you try first? Comment below!
Serving Your Masterpiece
Now, what to serve with your beautiful corn? I have a few ideas. It is the star of any plate. But it loves good company. Think of a warm summer evening.
For sides, I love a simple tomato salad. Or some creamy potato salad. You could also add grilled chicken or burgers. For a drink, a cold lemonade is perfect. For the grown-ups, a crisp beer is wonderful. Which would you choose tonight?

Storing Your Summer Sunshine
Let’s talk about keeping that summer flavor. You can freeze grilled corn for months. Just cut the kernels off the cob first.
Put them in a freezer bag. Squeeze out all the air you can. This keeps the corn from getting freezer burn.
I remember my first time freezing corn. I was so proud to have summer taste in a winter soup. It felt like a little treasure.
Doing this saves you time and money later. You can enjoy your hard work on a busy weeknight. It makes cooking easier for your future self.
Have you ever tried storing it this way? Share below!
Grilling Troubles and Easy Fixes
Is your corn drying out on the grill? This happens if the heat is too high. Soaking the corn in water first helps a lot.
I once forgot to soak my corn. It got a little tough. Now I always set a timer for the soak.
Are the kernels not turning golden brown? You might not be rotating it enough. Give it a turn every few minutes for even color.
Getting this right builds your cooking confidence. A simple rotation makes the flavor so much better. Every kernel gets sweet and smoky.
Is the silk sticking and hard to remove? Pulling the husks back while they are wet helps. The silk comes off in big clumps.
Which of these problems have you run into before?
Your Grilled Corn Questions Answered
Q: Is this recipe gluten-free? A: Yes, it is naturally gluten-free. Enjoy it without any worry.
Q: Can I make it ahead of time? A: You can shuck and soak it early. Keep it in the fridge until grill time.
Q: What if I don’t have olive oil? A: Melted butter works just as well. It gives a rich, classic taste.
Q: Can I make a smaller batch? A: Of course! Just use one or two ears. The steps are all the same.
Q: Any optional tips? A: A squeeze of lime juice at the end is lovely. Fun fact: Corn is actually a type of grass!
Which tip will you try first?
From My Kitchen to Yours
I hope you love this simple grilled corn. It is one of my favorite summer treats. I have shared it with my family for years.
I would be so happy to see your creations. Your kitchen stories make my day. It feels like we are cooking together.
Have you tried this recipe? Tag us on Pinterest!
Happy cooking!
—Grace Ellington.

Grilled Corn on the Cob From Scratch
Description
Perfectly grilled corn on the cob, seasoned with olive oil, salt, and pepper, cooked to golden brown perfection on the grill.
Ingredients
Instructions
- Shuck the corn. If you are planning to grill it in the husk, pull the leaves back and pull off the silk, but do not remove the leaves completely.
- Soak husked corn ears for 15 minutes in a sink full of cold water to keep them plump and tender on the grill. If wrapping in foil, skip this step.
- Fire up your grill. Remove corn from the water and pat dry. Brush on olive oil and season with pepper and salt. If you are leaving the husks on, pull them back over the corn. If using foil, butter and garlic salt is a delicious alternative. Be sure to wrap in a double layer of foil.
- Place corn on upper rack of grill over medium heat. Rotate corn often so it won’t dry out. Foil or husk need less attention.
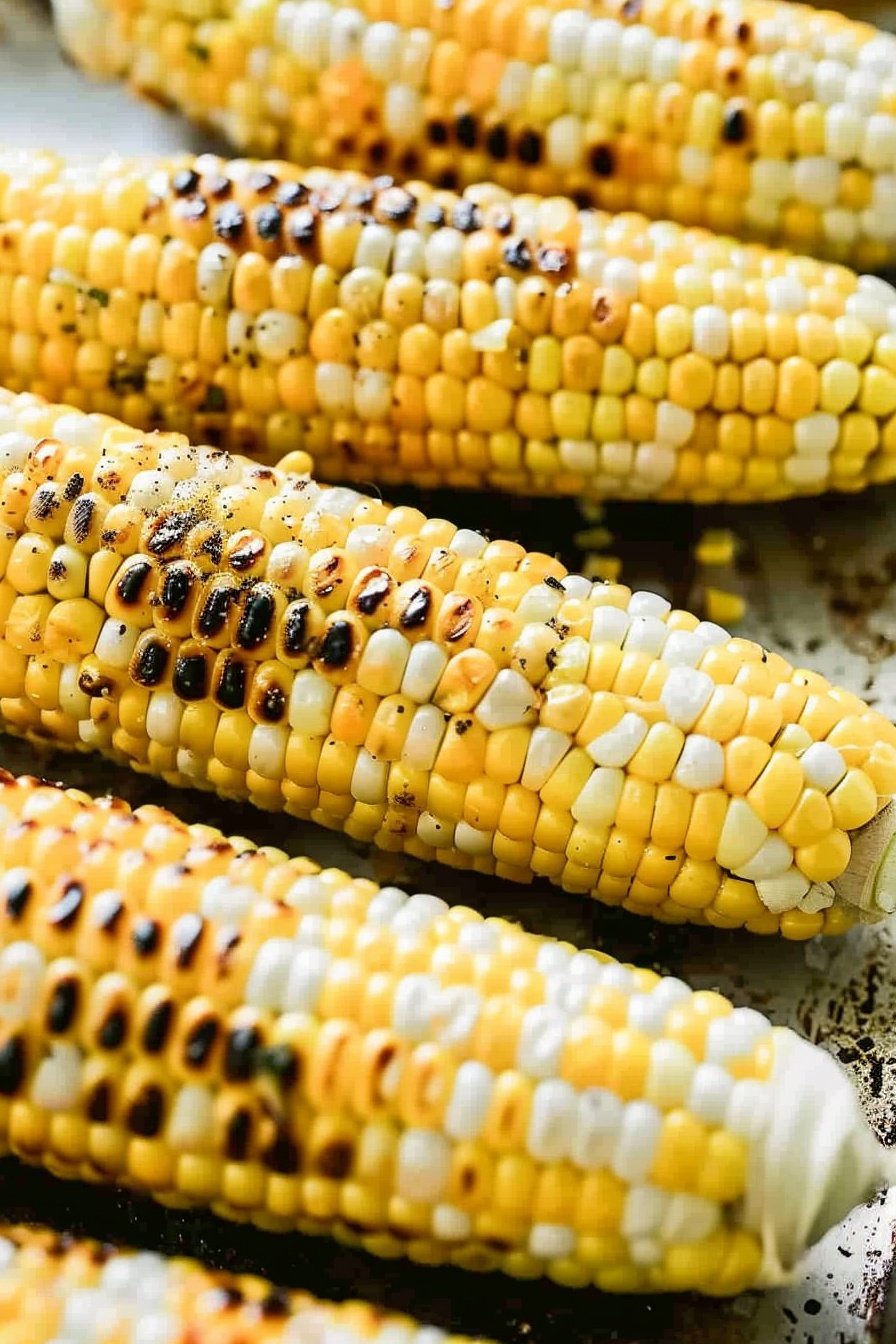
- Keep cooking and rotating for 12-15 minutes or until kernels show spots of golden brown. Cook foil or husk versions about 5 minutes longer, peeking in to see if brilliant yellow.
Notes
- If you don’t have an upper rack on your grill, cook the corn on medium-low heat. Cooking time may be a few minutes longer.
Grilled corn in the husks: pull the leaves back and pull off the silk, but do not remove the leaves completely. Season with butter and salt and pepper, and replace leaves. Cook as directed, about 5 minute longer, peeking in to see if brilliant yellow.
Grilled Corn in Foil: Season corn with butter, salt and pepper. Wrap in foil and cook as instructed, 5 minutes longer, if needed, until peeking in to see brilliant yellow.
Freezing Corn: Freeze leftover grilled corn by cutting it off the cob and adding to a freezer safe bag. Remove as much air from the bag as possible, seal and freeze for 3-6 months. Thaw overnight in the fridge.