
My Cozy Cookie Secret
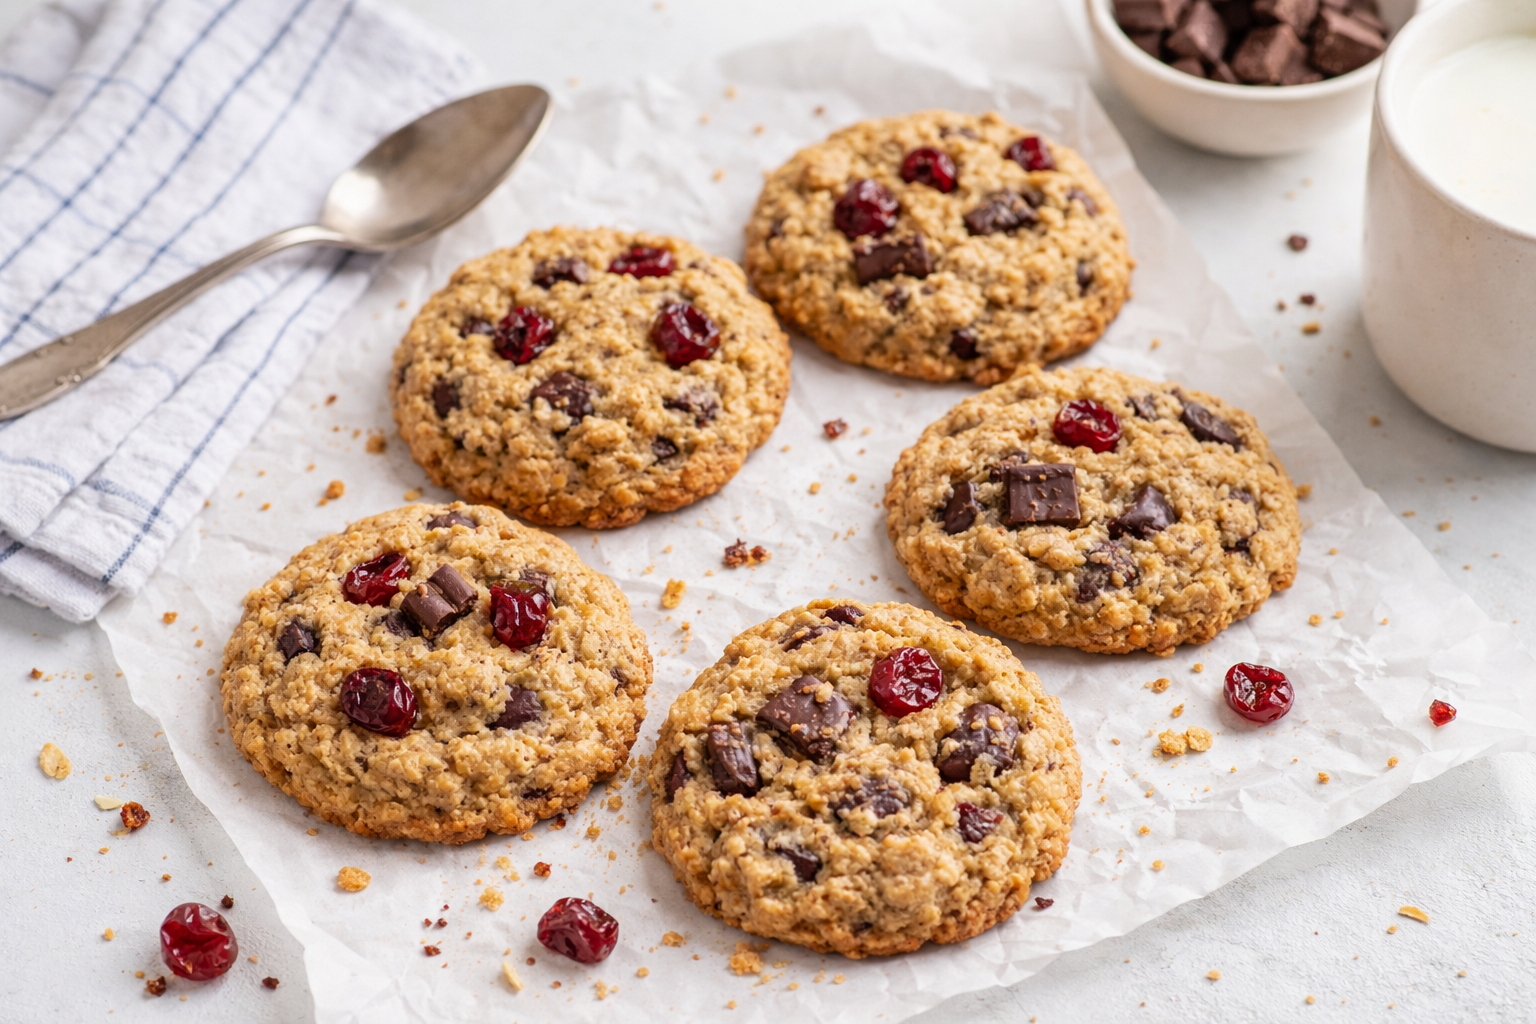
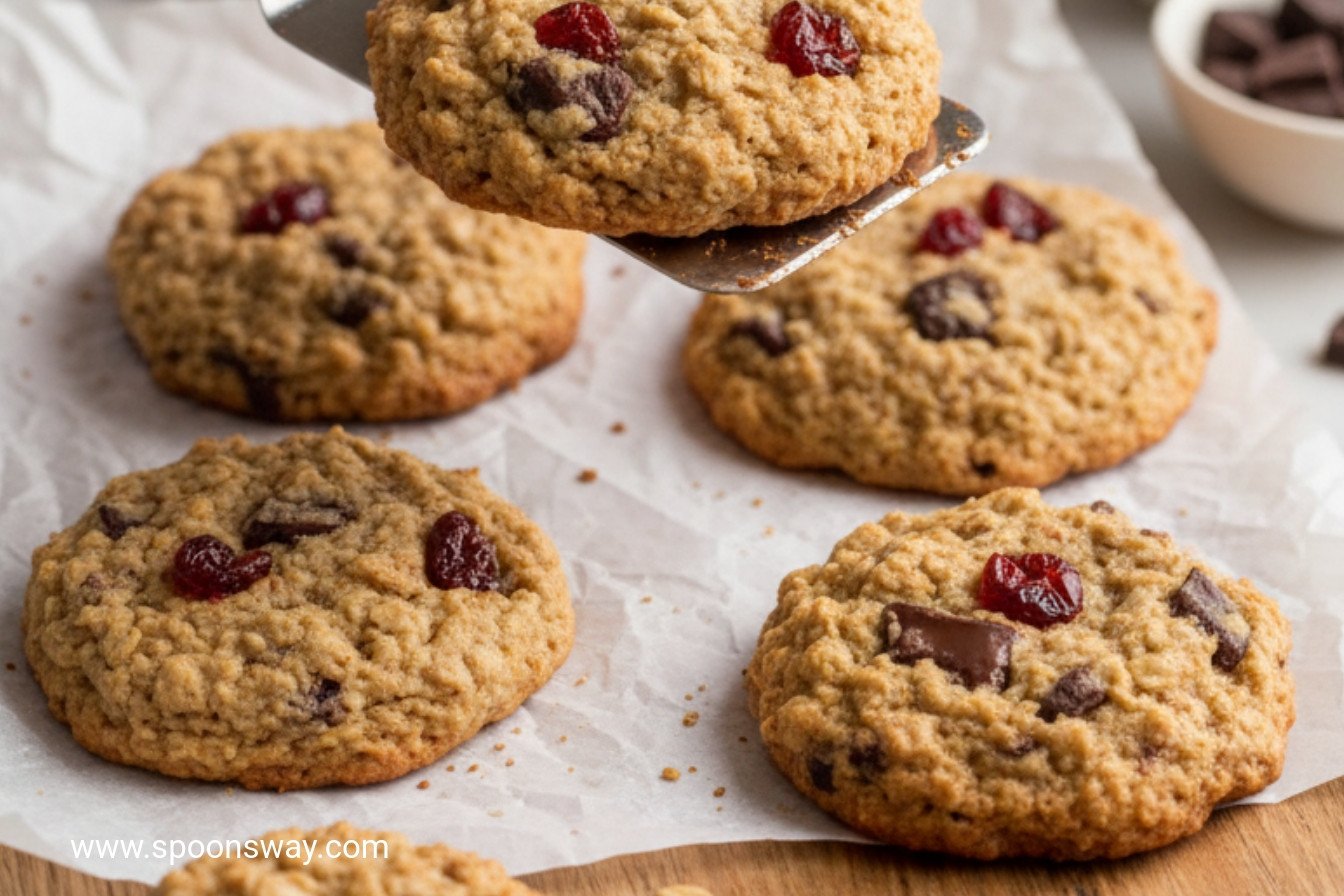
I love a cookie that feels like a hug. These do just that. They are chewy and full of happy surprises. You get sweet cherry and rich chocolate in every bite.
My grandson calls them “treasure hunt” cookies. I still laugh at that. He searches for the biggest chocolate chunk. What is your favorite part of a cookie? Is it the chips, the chew, or the crunch?
A Little Kitchen Magic
We toast the oats first. This is the big secret. It makes your kitchen smell like warm oatmeal and nuts. Doesn’t that smell amazing?
Soaking some oats in water is the other trick. It makes the cookies wonderfully soft and chewy. This matters because texture is everything. A good cookie should feel good to eat, not just taste good.
Why We Rest the Dough
The recipe says to let the dough sit for 30 minutes. I know, waiting is hard! But this step is so important. It lets the flours and oats drink up the moisture.
This matters for gluten-free baking. It helps everything stick together nicely. Your cookies will hold their shape and not spread too thin. *Fun fact: resting dough is called “hydrating.” It makes your cookies tender!
Getting Your Hands Dirty
The dough will be sticky. Do not worry! Just wet your hands with a little cool water. Then roll the dough into balls. It is messy and fun.
I once forgot to wet my hands. The dough stuck to my fingers like glue! We had to start over. Do you like messy baking projects or tidy ones?
The Perfect Bite
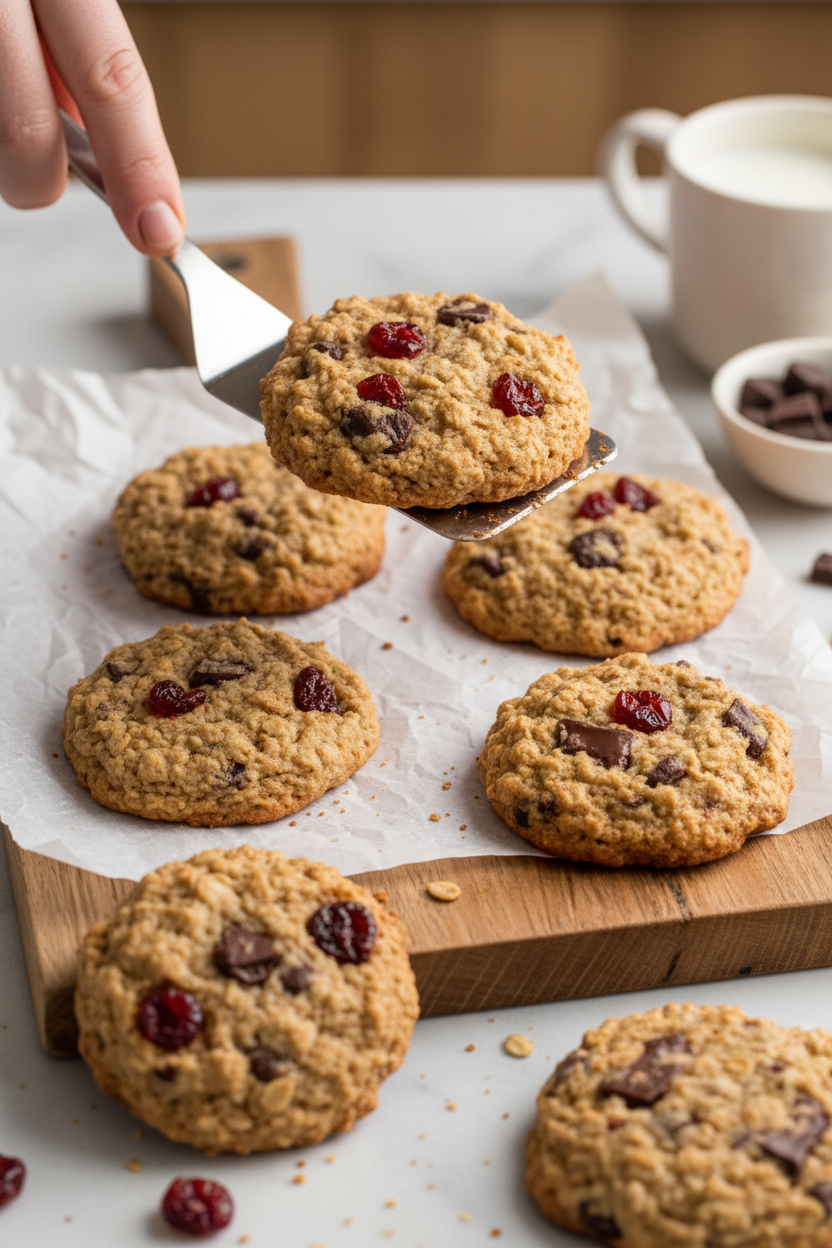
When they bake, the edges turn golden. The centers stay soft and puffy. Let them cool on the pan. This helps them set so they don’t break.
Eating one warm is pure joy. The chocolate will be a little melty. The cherry tastes like a sweet little jam. I think they are even better the next day. What is your favorite treat with cherries? I would love to hear your ideas.
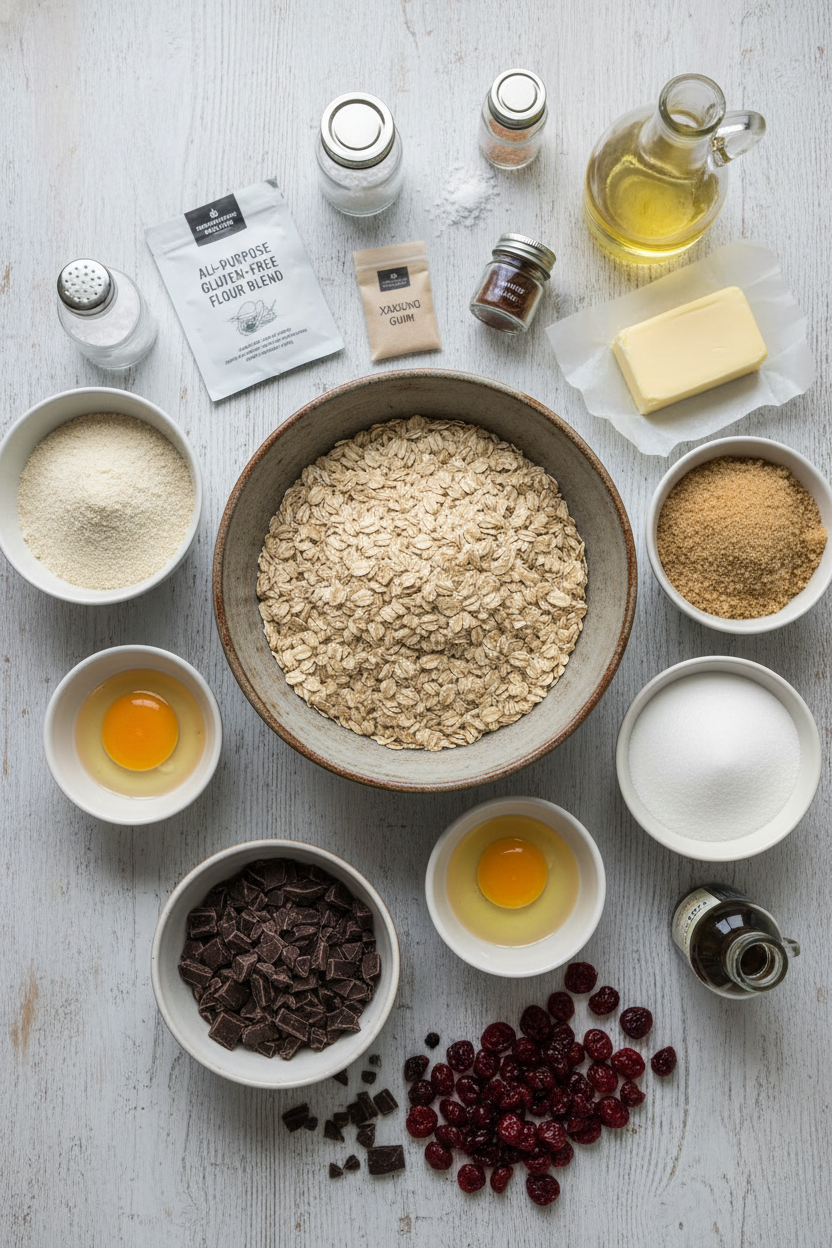
Ingredients:
| Ingredient | Amount | Notes |
|---|---|---|
| Old-fashioned rolled oats | 9 oz (255 g / 3 cups) | Toasted and cooled |
| Warm tap water | ½ cup | For soaking oats |
| Almond flour | 4 oz (113 g / 1 ⅓ cups) | |
| All-Purpose Gluten-Free Flour Blend | 3 oz (85 g / ⅔ cup) | America’s Test Kitchen brand |
| Salt | ½ teaspoon | |
| Baking powder | ½ teaspoon | |
| Xanthan gum | ¼ teaspoon | |
| Ground nutmeg | ⅛ teaspoon | |
| Unsalted butter | 8 tablespoons | Melted and cooled |
| Brown sugar | 1 cup packed (7 oz / 198 g) | |
| Granulated sugar | ½ cup (3 ½ oz / 99 g) | |
| Large egg plus large yolk | 1 each | |
| Vegetable oil | 2 tablespoons | |
| Vanilla extract | 1 teaspoon | |
| Bittersweet chocolate | 3 oz (85 g) | Chopped coarse |
| Dried cherries | ½ cup | Chopped |
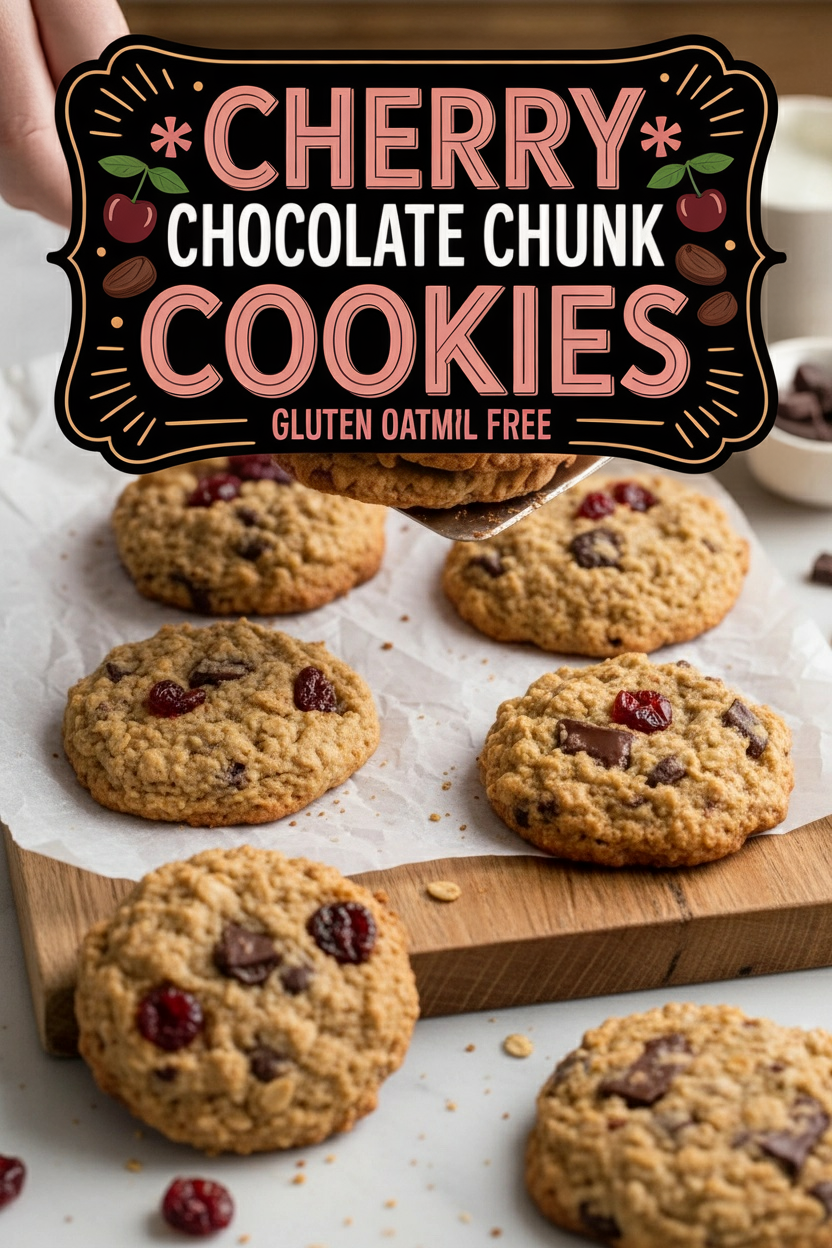
Cherry Chocolate Chunk Gluten Free Oatmeal Cookies
Hello, my dear. Come sit at the counter. I want to tell you about these cookies. They are my new favorite. They are chewy and full of surprises. You get a little tart cherry, then a rich chocolate chunk. Doesn’t that sound lovely? I made them for my grandson last week. He said they were the best “healthy” cookies ever. I still laugh at that. They just taste like happiness to me. Let’s bake some together.
Step 1: First, we toast the oats. Heat your oven to 375 degrees. Spread the oats on a baking sheet. Bake them until they smell like warm oatmeal. Stir them once or twice. This makes them extra nutty and delicious. Let them cool completely. Patience is important here. (My hard-learned tip: Let them cool in the pan. It goes faster!)
Step 2: Now, we wake up the oats. Put half the cooled oats in a bowl. Pour warm water over them. Cover the bowl with plastic wrap. Let it sit for ten minutes. The oats will drink up the water. They get soft and friendly. In another bowl, mix all your dry ingredients. Just whisk them together. It’s like making a little cloud of flour.
Step 3: Time for the good stuff. In a big bowl, whisk the melted butter and sugars. Add the egg, extra yolk, oil, and vanilla. Whisk until it’s very smooth. No lumps allowed! Stir in the oat-water mixture. Then add the flour cloud and the rest of the toasted oats. The dough will be sticky. That’s perfect. Fold in the chocolate and cherries. Cover the bowl and walk away for 30 minutes. The dough needs a little nap.
Step 4: Let’s shape the cookies. Heat your oven to 325 degrees now. Line your baking sheets. Wet your hands with cold water. This keeps the dough from sticking. Roll dough into balls. Place them far apart on the sheet. Press them down with a greased measuring cup. Why do we wet our hands? Share below!
Step 5: Bake them one sheet at a time. This is the secret for even baking. Bake for about 23 minutes. Rotate the sheet halfway through. The edges will be set. The centers will be soft and puffy. They will smell amazing. Let them cool on the sheet for ten minutes. Then move them to a rack. Try one while it’s still warm. The chocolate will be gooey.
Cook Time: About 45 minutes
Total Time: About 1 hour 45 minutes (includes resting)
Yield: Makes 24 cookies
Category: Dessert, Snack
Three Fun Twists to Try
I love a good recipe. But I love changing it up more. Here are three simple twists. They make the cookies feel new again. My neighbor tried the orange one. She asked for the recipe right away.
Sunshine Orange: Add the zest of one orange to the butter and sugar. Use white chocolate chunks instead of dark. It’s bright and cheerful.
Trail Mix Crunch: Swap the cherries for raisins. Add a handful of sunflower seeds. Use chopped almonds instead of chocolate. Perfect for a lunchbox.
Peanut Butter Bliss: Replace two tablespoons of butter with peanut butter. Use chocolate chips and chopped dates. It’s my husband’s favorite.
Which one would you try first? Comment below!
Serving Them Up Right
These cookies are wonderful alone. But a little presentation is fun. For a special treat, place one on a small plate. Add a tiny scoop of vanilla ice cream on the side. The warmth of the cookie melts the ice cream just a little. You could also crumble one over a bowl of yogurt for breakfast. I’ve done that. It feels very fancy.
What to drink? On a cozy afternoon, I love a big glass of cold milk. It’s the classic choice for a reason. For the grown-ups, a small glass of tawny port is lovely. It tastes like raisins and nuts. It matches the cookies perfectly. Which would you choose tonight?
Keeping Your Cookies Happy
These cookies stay soft for days. Just pop them in a sealed container. They like room temperature best.
You can freeze the dough balls too. I do this for fresh-baked treats anytime. Place them on a tray until frozen solid.
Then toss them all in a freezer bag. Bake straight from the freezer, adding a few extra minutes. I once forgot to label the bag.
My grandson thought they were meatballs! A good laugh was had by all. Batch cooking like this saves time and brings joy later.
Have you ever tried storing cookie dough this way? Share below!
Cookie Troubles? Let’s Fix Them
Is your dough too sticky? Wet your hands before rolling the balls. This little trick is a lifesaver.
Are the cookies spreading too much? Make sure your toasted oats are completely cool. Warm oats melt the butter too fast.
I remember when my first batch turned into one giant cookie! Are the centers not cooking? Your oven might run hot.
Use an oven thermometer to check. Getting it right builds your kitchen confidence. And perfect cookies taste like a warm hug.
Which of these problems have you run into before?
Your Quick Cookie Questions
Q: Can I use regular flour? A: Yes, but swap it evenly for the gluten-free blend. The texture will change slightly.
Q: Can I make the dough ahead? A: Absolutely! Resting it in the fridge overnight makes the flavors richer.
Q: No dried cherries? A: Try dried cranberries or raisins instead. Use what you love.
Q: Can I double the recipe? A: You can! Just mix in a very large bowl. *Fun fact: Doubling a recipe is called scaling.*
Q: Is the nutmeg necessary? A: It adds a cozy, hidden warmth. But you can skip it if needed.
Which tip will you try first?
Bake a Little Joy
I hope you love baking these as much as I do. The kitchen is for making sweet memories.
Share them with someone you care about. Or keep the whole batch for yourself. I won’t tell!
I would love to hear about your baking adventure. Have you tried this recipe? Give your experience in the comments.
Thank you for spending this time with me. Happy cooking!
—Grace Ellington.
Cherry Chocolate Chunk Gluten Free Oatmeal Cookies
Description
Gluten-Free Oatmeal Cookies with Chocolate Chunks and Dried Cherries
Ingredients
Instructions
- Adjust oven rack to middle position and heat oven to 375 degrees. Spread oats onto rimmed baking sheet and bake, stirring occasionally, until fragrant and lightly browned, about 10 minutes; let cool completely.
- Combine warm water and half of cooled oats in bowl, cover with plastic wrap, and let sit until water is absorbed, about 10 minutes. In separate bowl, whisk almond flour, flour blend, salt, baking powder, xanthan gum, and nutmeg together.
- In large bowl, whisk melted butter, brown sugar, granulated sugar, egg and yolk, oil, and vanilla together until no lumps remain and mixture is very smooth. Stir in oat-water mixture, flour mixture, and remaining toasted oats using rubber spatula until dough is completely homogeneous. Fold in chocolate and dried cherries. Cover bowl with plastic and let dough rest for 30 minutes. (Dough will be sticky and soft.)
- Adjust oven rack to middle position and heat oven to 325 degrees. Line 2 baking sheets with parchment paper. Working with generous 2 tablespoons of dough at a time, use wet hands to roll dough into balls and space 2 inches apart on prepared sheets. Press dough to 1/2-inch thickness using bottom of greased measuring cup.
- Bake cookies, 1 sheet at a time, until edges are set and beginning to brown but centers are still soft and puffy, 22 to 25 minutes, rotating sheet halfway through baking.
- Let cookies cool on sheet for 10 minutes, then transfer to wire rack. Serve warm or at room temperature. (Cookies can be stored in airtight container at room temperature for up to 2 days.)
Notes
- For a chewier cookie, slightly underbake. For a crispier edge, bake for the full time. Ensure all ingredients are at room temperature for best mixing.