

The Smell of Warm Pita
The first time I made this pita, my kitchen smelled like a bakery. Warm, yeasty, with a hint of olive oil. It took me back to my grandma’s house, where bread was always fresh. Ever wondered how you could turn flour and water into something so magical? One bite of this soft, pillowy pita, and you’ll never buy store-bought again. Share your favorite bread memory below—I’d love to hear it!My First Pita Fail
My first batch of pita looked more like pancakes. I rolled them too thick, and they didn’t puff. But the taste? Still amazing. Home cooking isn’t about perfection—it’s about the joy of trying. Now I laugh at those lopsided pitas. They taught me to embrace the mess. What’s your funniest kitchen fail?Why This Pita Works
• The olive oil adds richness, making the pita tender. • High heat creates those perfect air pockets. Which flavor combo surprises you most—garlic butter or cinnamon sugar? Try both and let me know! This recipe is foolproof, even for beginners. The dough forgives mistakes, and the results wow every time.A Pocket of History
Pita bread dates back thousands of years, born in the Middle East. It was a simple way to carry food—no plates needed. *Did you know the word “pita” means “pie” in Greek?* Today, it’s loved worldwide for its versatility. Stuff it, dip it, or eat it plain. How do you like your pita?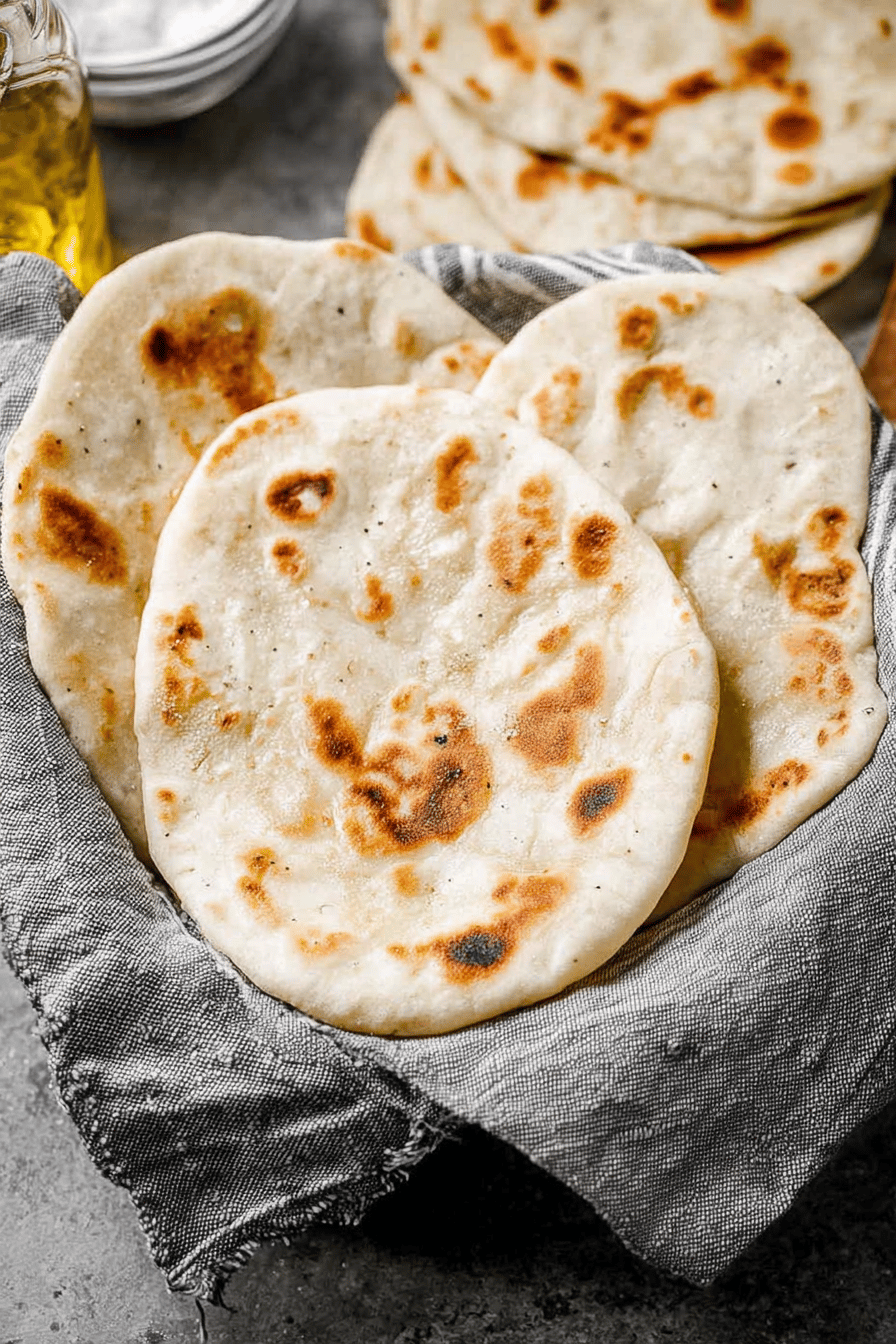
Ingredients:
| Ingredient | Amount | Note |
|---|---|---|
| Warm water | 1 cup (237g) | |
| Instant yeast | 2 1/4 teaspoons (1 packet) | |
| Granulated sugar | 1 teaspoon | |
| Fine sea salt | 1 teaspoon | |
| Olive oil | 1 Tablespoon | |
| All-purpose flour | 2 ¼ cups (281g) |
How to Make Easy Homemade Pita Bread
Step 1 Mix water, yeast, sugar, salt, oil, and 1 cup flour in a bowl. Add more flour slowly until dough forms. Knead by hand for 1 minute until smooth. The dough should feel soft but not stick to your hands. (Hard-learned tip: Too much flour makes dry pitas—keep it slightly sticky.)
Step 2 Place dough in a greased bowl and cover it. Let it rest for 40 minutes. This helps it rise and get fluffy. Chilling the dough works too if you’re not ready to cook.
Step 3 Divide dough into 8 equal pieces. Roll each into a thin circle. Thinner dough puffs better when cooked. *Fun fact*: Pitas puff from steam trapped inside!
Step 4 Heat a skillet over medium-high heat. Lightly grease it and cook pitas for 2 minutes per side. Keep cooked pitas warm under a towel. Repeat with the rest. What’s your biggest struggle when making bread? Share below!
Cook Time: 20 minutes Total Time: 1 hour 10 minutes Yield: 8 servings Category: Bread, Side
3 Fun Twists on Classic Pita
Garlic-Herb Add 1 teaspoon garlic powder and 2 tablespoons chopped fresh herbs to the dough. Perfect for dipping in hummus.
Whole-Wheat Honey Swap half the flour for whole wheat and use honey instead of sugar. Heartier and slightly sweet.
Spicy Jalapeño Fold in 1 finely diced jalapeño for a kick. Great with grilled meats or cheese. Which twist would you try first? Vote in the comments!
Serving & Pairing Ideas
Serve warm pitas with tzatziki or baba ganoush. Stuff them with grilled chicken and veggies for a quick meal. Pair with mint iced tea or a crisp lager. Both cut through the richness of dips or meats. Which would you choose tonight—dips or stuffed pitas?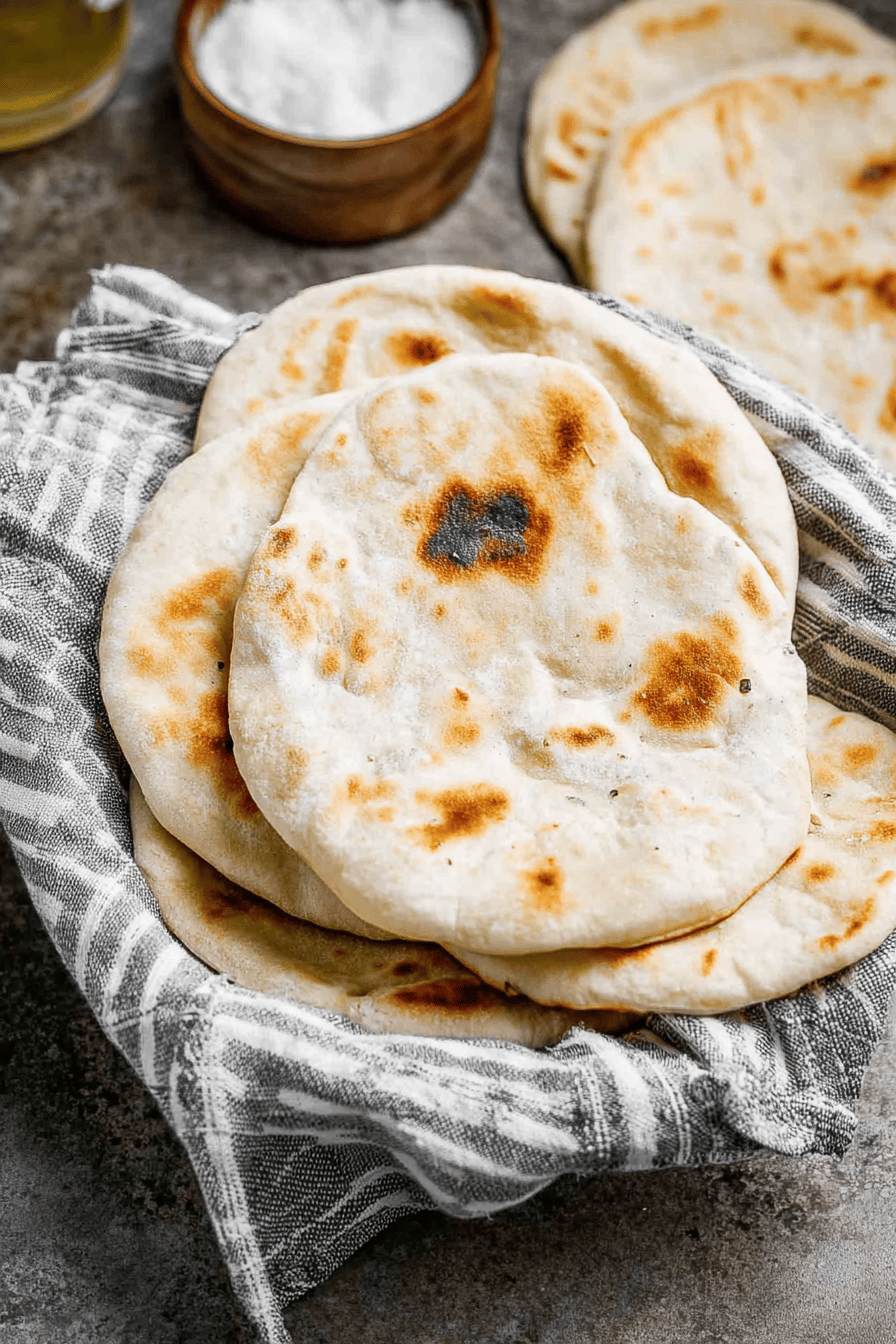
Fresh or Frozen? Storing Your Pita Bread Right
Keep cooked pitas fresh by storing them in an airtight container. Room temp works for 2-3 days. Need longer? Fridge lasts 5 days, freezer up to 3 months. *Fun fact*: Freezing pitas preserves their softness better than fridge storage. Reheat frozen pitas in a toaster or warm oven—no thawing needed! Batch-cooking tip: Double the recipe and freeze half for busy weeks. Why this matters: Fresh pitas taste better, and proper storage saves money. Ever tried freezing pitas? How did it go?Pita Problems? Easy Fixes for Common Hiccups
Dough too sticky? Add flour slowly—just 1 tablespoon at a time. Pitas not puffing? Roll them thinner and cook on higher heat. Burnt bottoms? Lower the heat and flip sooner. Why this matters: Small tweaks make big differences in texture. My neighbor Linda swore her pitas were “doomed” until she tried rolling thinner. Share your pita fails—we’ve all been there!Your Pita Questions, Answered
Q: Can I make this gluten-free?
A: Swap all-purpose flour for a 1:1 gluten-free blend. Add 1 tsp xanthan gum for stretch.
Q: Can I prep dough ahead?
A: Yes! Refrigerate dough up to 24 hours. Let it warm up before rolling.
Q: What oil swaps work?
A: Use melted butter or avocado oil. Flavor changes slightly but still tasty.
Q: How do I double the recipe?
A: Double all ingredients. Use a bigger bowl—dough rises a lot!
Q: Why add sugar?
A: It feeds the yeast for fluffier pitas. Honey works too.
Let’s Bake Together!
Nothing beats warm pitas straight off the griddle. I’d love to see your creations! Tag me at SpoonSway on Pinterest. Did you try a twist, like adding herbs? Tell me below. Happy cooking! —Sarah Cooper.
Easy Homemade Pita Bread
Description
Make soft and fluffy homemade pita bread with just a few simple ingredients. Perfect for wraps, dips, or sandwiches.
Ingredients
Instructions
- Mix water, yeast, sugar, salt, olive oil, and 1 cup of flour together. Add more flour, a little at a time, until the dough comes together but is still a little sticky. Flour your hands and knead it in the bowl for a minute or so until it’s smooth. The dough should be very soft and not overly sticky.
- Place dough in a well-greased bowl, cover, and rest for 40 minutes (or refrigerate until ready to use).
- Divide dough into 8 equal pieces. Roll out each piece into a very thin circle.
- Heat a griddle or large skillet over medium high heat. Once the pan is hot, lightly grease the pan with oil and lay pitas flat. Cook for 2 minutes, or until lightly golden on the bottom. Flip and cook for another minute or so, then remove from heat and place inside a clean, dry kitchen towel to keep warm while you cook remaining pitas.
- Store leftover cooked pitas in an airtight container at room temp for 2-3 days, in the fridge for 5 days, or freeze.
Notes
- For best results, use a kitchen scale to measure ingredients by weight for consistent texture.
Pita, Bread, Homemade, Yeast