
The First Bite That Started It All
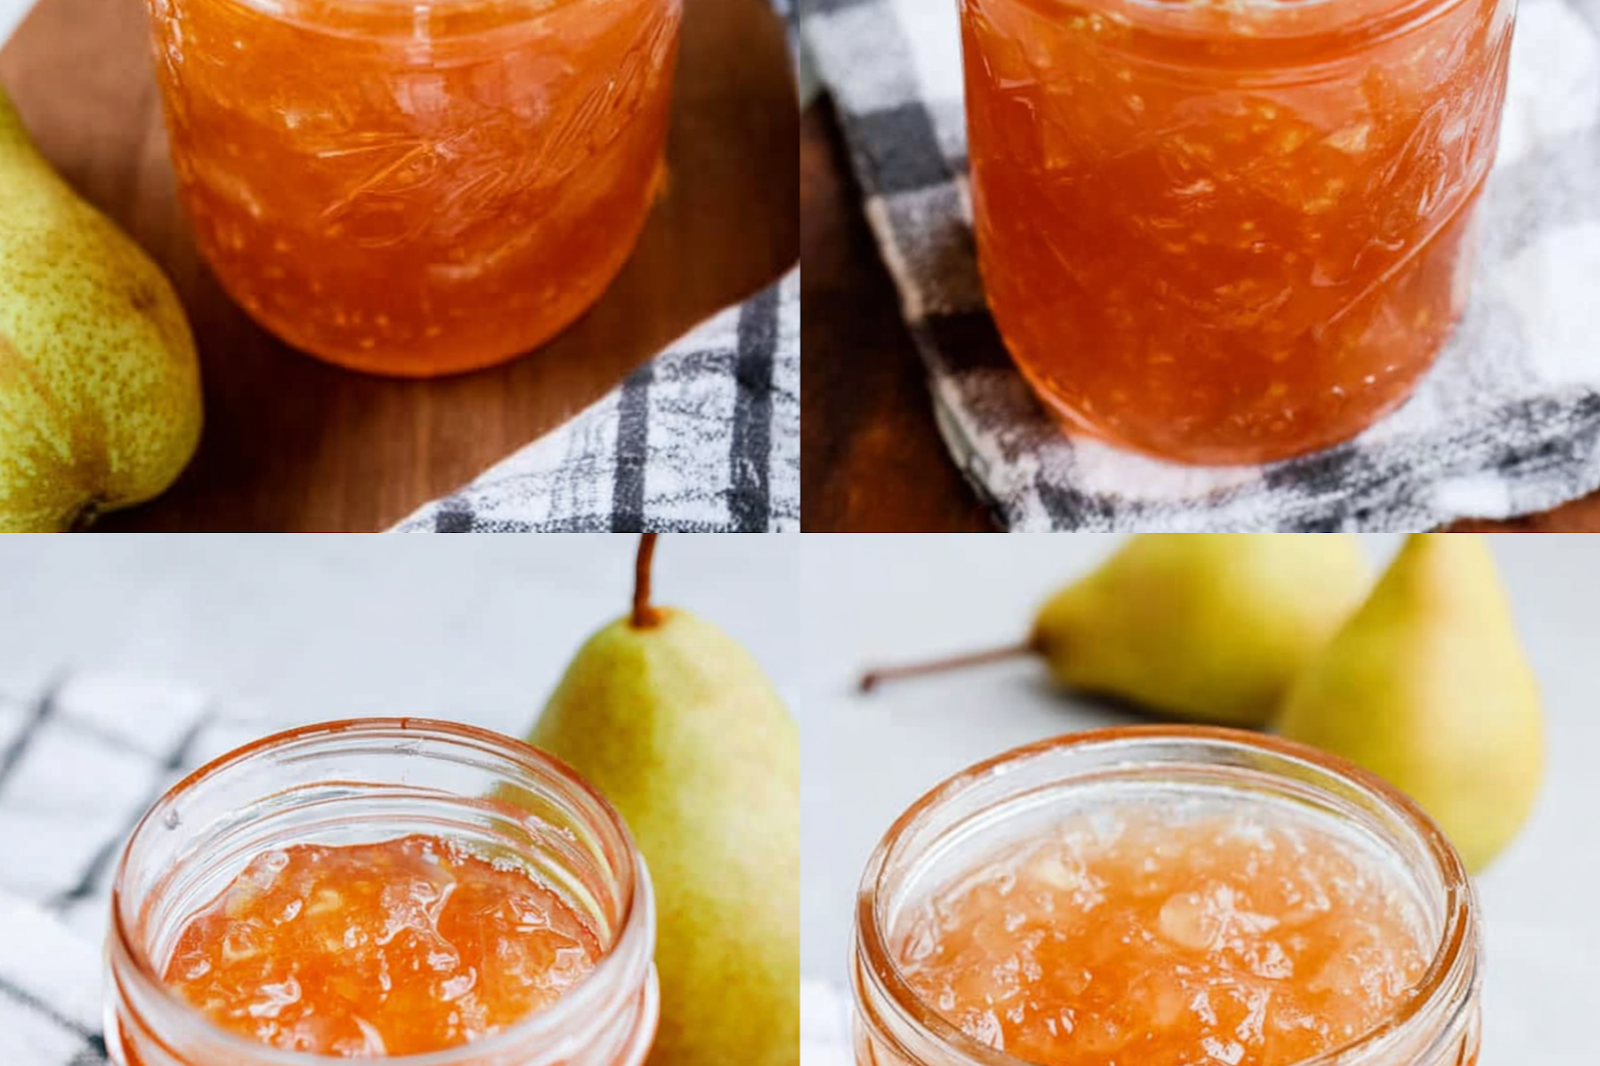
I still remember the sticky-sweet smell of pears bubbling on my stove. My neighbor brought over a jar of her homemade jam years ago. One taste on warm toast, and I was hooked. The bright lemon tang mixed with sugary pears felt like sunshine in a spoon. Ever wondered how you could turn basic toast into something unforgettable with just three ingredients? Now I make this jam every fall when pears are cheap and firm.My Jam-Making Disaster (And Why It Worked)
My first batch was a mess. I forgot to stir constantly, and the sugar almost burned. The jam turned out thicker than planned—more like pear candy! But my kids loved spreading it on biscuits. That’s the magic of home cooking: even “mistakes” can become new favorites. Now I keep a timer nearby and stir like it’s my job. What’s your funniest kitchen fail? Share below!Why This Jam Tastes Like Magic
• Underripe pears give a slight crunch, while sugar softens them into jammy bliss. • Lemon juice cuts the sweetness just enough to keep it from feeling heavy. Which flavor combo surprises you most—pear and lemon, or pear and vanilla (try adding a splash next time)? The texture thickens perfectly at 220°F, making it ideal for drizzling or spreading.A Jam With Royal Roots
This recipe nods to old European fruit preserves. French cooks often paired pears with honey before sugar was common. *Did you know?* The word “marmalade” originally meant quince jam, not orange. I love how simple ingredients connect us to centuries of kitchens. Would you try this with another fruit? Tell me your pick!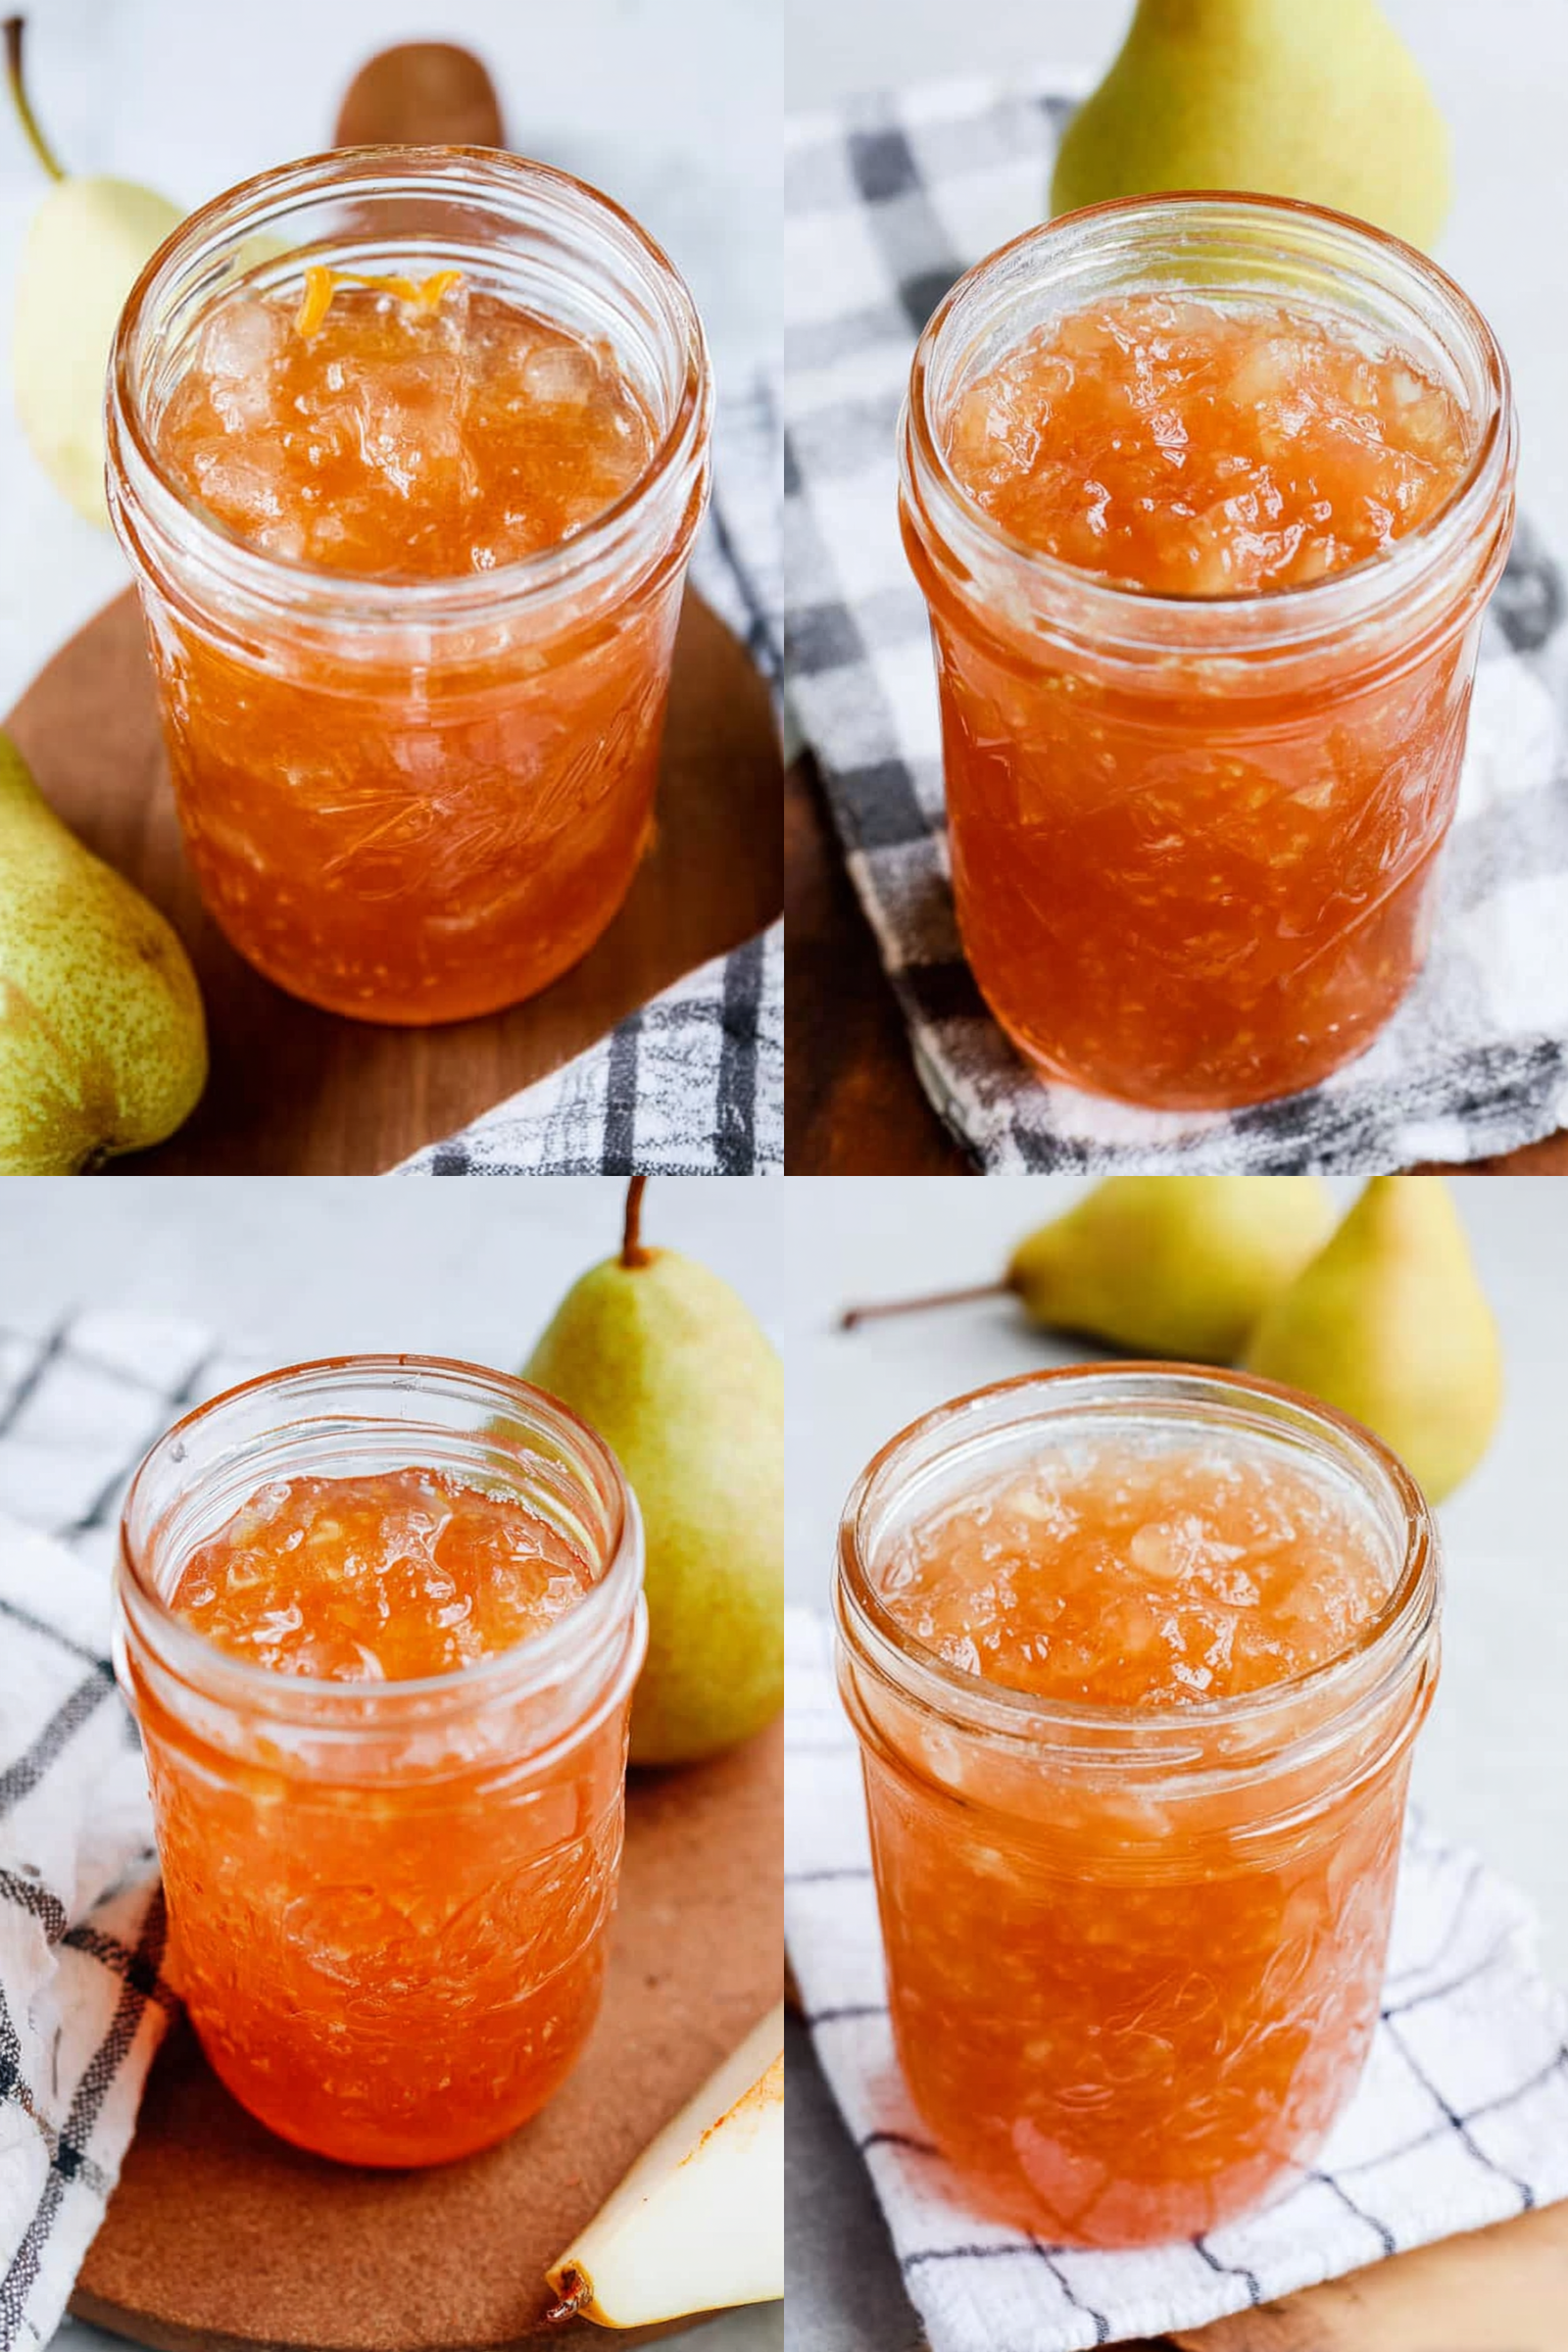
Ingredients:
| Ingredient | Amount | Note |
|---|---|---|
| Fresh lemon juice | 1/4 cup | |
| Pears | 3 lbs | peeled and diced (slightly underripe pears are best) |
| Granulated sugar | 3 cups |
How to Make Easy Homemade Pear Jam
Step 1 Toss diced pears with lemon juice in a big bowl. Stir well to coat every piece. Add sugar and mix until it’s all sticky. Let it sit overnight—the pears will soften and get juicy.
Step 2 Pour the mix into a pot and boil for 10 minutes. Stir often so it doesn’t burn. Lower the heat and keep stirring until it hits 220°F. Use a candy thermometer to check—it’s key for thick jam.
Step 3 Take the pot off the heat and ladle jam into jars. Let it cool before sealing. Store in the fridge for 3 weeks or freeze for a year. *(Hard-learned tip: Slightly underripe pears make the jam less watery.)* What’s your favorite fruit to turn into jam? Share below! Cook Time: 25 minutes Total Time: 1 day 40 minutes Yield: 12 servings Category: Breakfast, Preserves
3 Fun Twists on Pear Jam
Spiced Add cinnamon, cardamom, or a pinch of cloves while cooking. Warm spices pair perfectly with sweet pears.
Ginger Zing Stir in grated fresh ginger for a spicy kick. It balances the sugar nicely.
Vanilla Bean Scrape a vanilla pod into the mix for a fancy touch. Smells amazing too. Which twist would you try first? Vote in the comments!
Serving Ideas & Pairings
Spread pear jam on warm biscuits or crusty toast. Dollop over oatmeal or yogurt for breakfast. Try it with sharp cheddar cheese for a sweet-savory snack. Sip black tea or sparkling water with lemon alongside. For a treat, pair with chilled Riesling. Which would you choose tonight? Tell us below!
How to Store and Reheat Your Jam
Once your jam cools, pop it in the fridge for up to 3 weeks. Freeze it for a year—just leave room for expansion. Thaw overnight in the fridge before using. *Fun fact: I once forgot a jar in the freezer for months—still tasted fresh!* Batch-cooking tip: Double the recipe and freeze half. Why this matters: Proper storage keeps flavors bright and avoids waste. Ever tried freezing jam? Share your tips below!Jam Troubles? Fixes for Common Issues
Too runny? Cook longer or add a splash of lemon juice. Too thick? Stir in a bit of water while reheating. Sugar crystals? Skip stirring too much after adding sugar. Why this matters: Small tweaks save your jam from the trash. My first batch was gluey—now I watch the thermometer like a hawk. What’s your biggest jam fail? Let’s laugh about it together!Your Pear Jam Questions, Answered
Q: Is this jam gluten-free?
A: Yes! All ingredients are naturally gluten-free.
Q: Can I make it ahead?
A: Absolutely. It keeps frozen for a year.
Q: Sugar swaps?
A: Try honey, but texture may change.
Q: Can I scale the recipe?
A: Yes—just use a bigger pot.
Q: Best pears to use?
A: Slightly underripe Bartletts work wonders.
Spread the Love
There’s nothing like homemade jam on warm toast. I hope this recipe becomes your go-to.Tag @SpoonSway on Pinterest with your jam photos! Your creations inspire me. Happy cooking! —Sarah Cooper.

Easy Homemade Pear Jam for Toast & Biscuits
Description
Enjoy the sweet and tangy flavor of this homemade pear jam, perfect for spreading on toast or biscuits.
Ingredients
Instructions
- Add lemon juice to a large mixing bowl, then stir in the diced pears to coat.
- Add the sugar to the mixture, stirring well to incorporate.
- Cover with plastic wrap and let sit at room temperature for 12-24 hours (I let mine sit overnight). This will allow the pears to macerate and release their juices.
- After the pears have released their juices, stir the mixture well (some sugar may have accumulated at the bottom of the bowl).
- Pour the mixture into a large stockpot or Dutch oven. Cooking over medium-high heat, bring the mixture to a boil and continue cooking, stirring frequently, for about 10 minutes.
- Turn the heat down to medium. Continue cooking, stirring almost constantly, until the mixture reaches a temperature of 220F (I use a candy thermometer clipped to the side of the pot). This is the temperature required for gelling to occur.
- Remove pot from heat. Ladle jam into prepared jars and close lids. Allow to cool completely, then refrigerate for up to 3 weeks, or freeze for up to a year.
Notes
- For best results, use slightly underripe pears as they contain more natural pectin, which helps the jam set properly.
Pear, Jam, Homemade, Toast, Biscuits