

The Little Orange That Could
Have you ever seen a kumquat? They are tiny, brave oranges. You pop the whole thing in your mouth, skin and all.
The skin is sweet and the inside is a little tart. It’s a fun surprise. I love that about them.
A Sweet Mistake
I first made this jam by accident. I had too many kumquats from my neighbor’s tree. I did not want them to go to waste.
So I just started cooking them with what I had. The smell filled my whole kitchen. It smelled like sunshine and sugar. I still laugh at that happy accident.
Let’s Make Some Sunshine
Making the jam is simple. You just put everything in a pot. Well, everything except the vanilla.
You let it bubble and get thick. You have to stir a lot at the end. Doesn’t that smell amazing? Seeing it thicken is the best part. It means you did it right.
Why This Little Jam Matters
Making something from scratch feels good. It connects you to your food. You know exactly what is in it.
That is so important. It is also a way to share joy. A jar of homemade jam is a jar of love. What is your favorite homemade gift to get or give?
A Spoonful of Fun
This jam is not just for toast. Try it on yogurt or pancakes. You can even spoon it over ice cream.
Fun fact: The name “kumquat” comes from a Chinese word. It means “golden orange.” I think that is just perfect for them.
Your Turn in the Kitchen
Stirring the pot is the secret. It keeps the jam from sticking. It also gives you time to think.
That is my second “why this matters.” Cooking slowly teaches you patience. Good things take time. What songs do you like to listen to while you cook?
Share Your Jam Story
Now you have a jar of golden sunshine. I hope you feel proud. You made something wonderful.
Tell me, what will you put your first spoonful on? I would love to hear all about it. Sharing our kitchen stories is the best part.
Ingredients:
| Ingredient | Amount | Notes |
|---|---|---|
| Kumquats | 16 ounces | seeds removed, sliced or chopped |
| Freshly Squeezed Orange Juice | 1/2 Cup | about 1 orange |
| Filtered Water | 1/2 Cup | |
| Sugar | 1 Cup | |
| Vanilla Paste | 1 teaspoon | added after cooking |

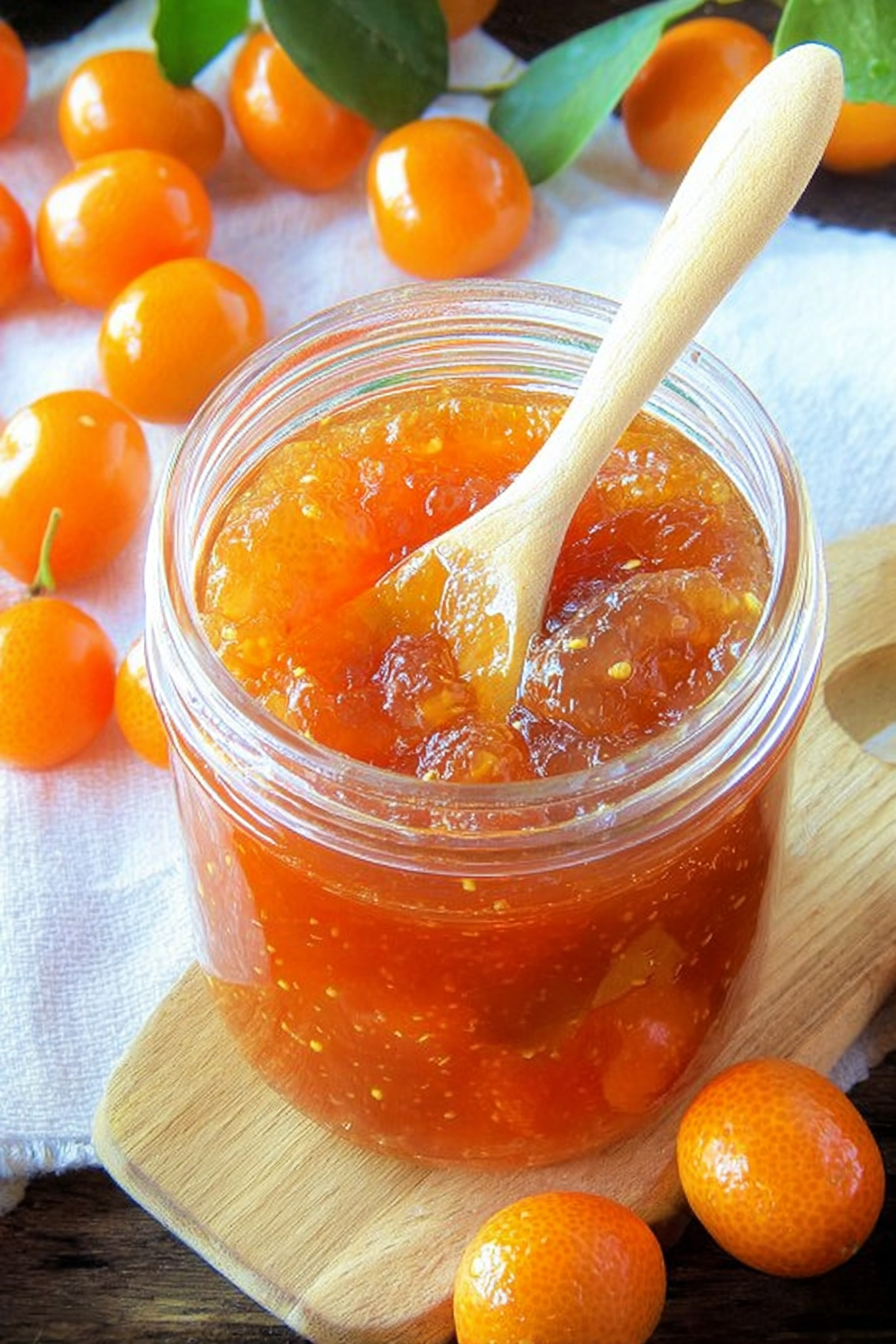
My Sunny Little Kumquat Jam
I have a little kumquat tree in my backyard. It gives me these tiny, sunny fruits every winter. They are like sweet little oranges you can pop right in your mouth. But my favorite thing to do is turn them into jam. This jam tastes like sunshine and happy memories. It is so easy to make, I promise.
Let’s get our pot ready. You will need a nice, heavy pot. It helps everything cook evenly. I still use my old yellow one. It has seen many batches of jam. Here is how we make our sunny jam together.
Step 1: First, we prepare our kumquats. Wash them well under cool water. Then, slice them in half and pop out all the tiny seeds. You can chop them up if you like. I just slice them. It goes faster that way.
Step 2: Now, put your kumquats in the pot. Add the orange juice, water, and sugar. Give it a good stir. Turn the heat to medium. We will let it get hot for about 7 or 8 minutes. Soon, you will see little bubbles. That means it is starting to boil. Doesn’t that smell amazing already?
Step 3: When it boils, turn the heat down to medium-low. Let it bubble gently. You need to stir it often now. This is the perfect time to sing a little song. (My hard-learned tip: Stir almost non-stop for the last 10 minutes. This stops the jam from sticking to the bottom!).
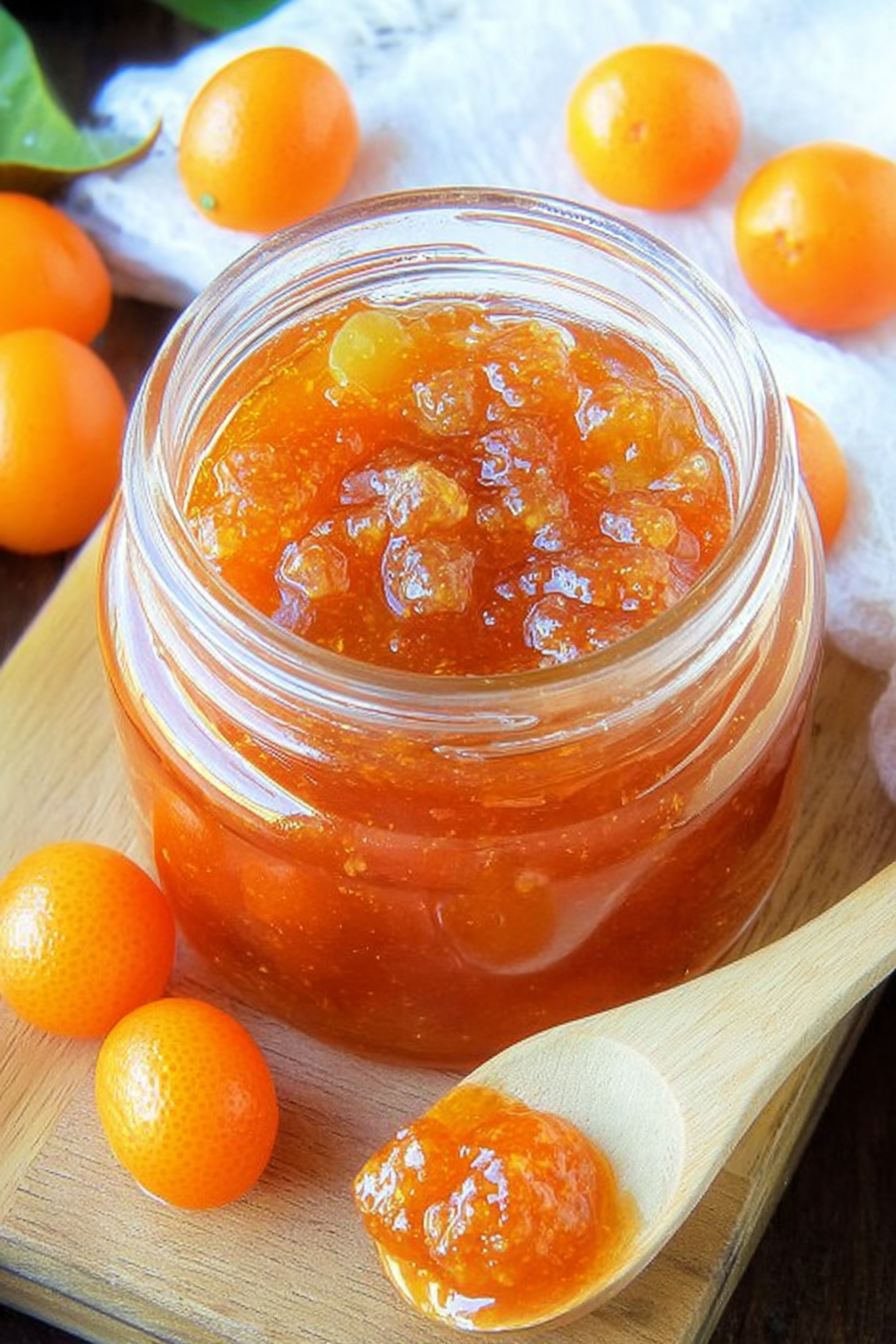
Step 4: After about 35 minutes, your jam will be thick. To test it, dip a spoon in. Does the jam coat the back of the spoon? If it does, it is ready! Turn off the heat. Stir in that wonderful vanilla paste. It makes the whole kitchen smell like a bakery. What is your favorite smell from the kitchen? Share below!
Step 5: Carefully pour your hot jam into a clean jar. You can serve it warm on toast right away. Or let it cool down first. It will keep in your refrigerator for about a week. If it lasts that long! My grandchildren eat it in two days.
Cook Time: 45 minutes
Total Time: 50 minutes
Yield: About 1 jar
Category: Condiment, Spread
Three Fun Twists to Try
Once you know the basic jam, you can get creative. I love playing with new flavors. It makes cooking such a fun adventure. Here are a few of my favorite ideas for this sunny jam.
Spicy Sunshine: Add a tiny pinch of red pepper flakes while it cooks. It gives a warm, tingly feeling with the sweet.
Gingery Zing: Stir in a teaspoon of grated fresh ginger. It reminds me of my favorite holiday cookies.
Vanilla Bean Dream: If you love vanilla, use a whole bean instead of paste. Scrape those tiny black seeds right in.
Which one would you try first? Comment below! I love reading your ideas.
Serving Your Jam with Style
This jam is not just for toast. Oh no, it is much more than that. I love to swirl a spoonful into my morning yogurt. It makes a simple breakfast feel special. You can also warm it up and pour it over vanilla ice cream. It is the easiest, most delicious dessert.
For a fancy cheese plate, put a little bowl of this jam right in the middle. It goes perfectly with creamy brie cheese and crackers. Your friends will be so impressed. What to drink with it? A cup of hot herbal tea is lovely. For a special night, a glass of chilled champagne pairs beautifully with the sweet-tart flavor. Which would you choose tonight?
Keeping Your Jam Cozy and Ready
This jam is best kept in the fridge. Put it in a clean jar with a tight lid. It will stay good for one week. You can also freeze it for up to three months.
I like to make a double batch. That way, I have one jar for now. I save one for a friend or a future treat. This saves you time on a busy day.
I remember giving my first jar to my neighbor, Mabel. She returned it with fresh-baked biscuits inside. Sharing food is a way to share love. It makes your kitchen the heart of your home.
Have you ever tried storing it this way? Share below!
Simple Fixes for Happy Jam Making
Is your jam too runny? Just cook it a little longer. Stir it until it gets thicker. This will make it perfect for your toast.
Is the jam too bitter? Be sure to remove all the tiny seeds. They can add a bitter taste. A little extra sugar can help, too.
I once forgot to stir near the end. My jam stuck to the bottom of the pot. Stirring often keeps the flavor smooth and clean. This matters because good flavor comes from gentle care.
Getting it right builds your cooking confidence. You will feel so proud of your creation. Which of these problems have you run into before?
Your Quick Jam Questions Answered
Q: Is this jam gluten-free? A: Yes, it is naturally gluten-free. Enjoy it without worry.
Q: Can I make it ahead? A: Absolutely! It is perfect for making on the weekend.
Q: What if I don’t have vanilla paste? A: You can use one teaspoon of vanilla extract instead.
Q: Can I double the recipe? A: Yes, just use a bigger pot. *Fun fact: Kumquats are the only citrus fruit you can eat peel and all!*
Q: Any other tips? A: Try a tiny spoonful over vanilla ice cream. It is delicious. Which tip will you try first?
Thank You for Cooking With Me
I hope you love this sweet, sunny jam. Making it from scratch is a special joy. It fills your kitchen with a wonderful smell.
I would love to see what you create. Please share a picture of your beautiful jar. It makes me so happy to see your results.
Have you tried this recipe? Tag us on Pinterest! I can’t wait to see your photos. Happy cooking!
—Grace Ellington.
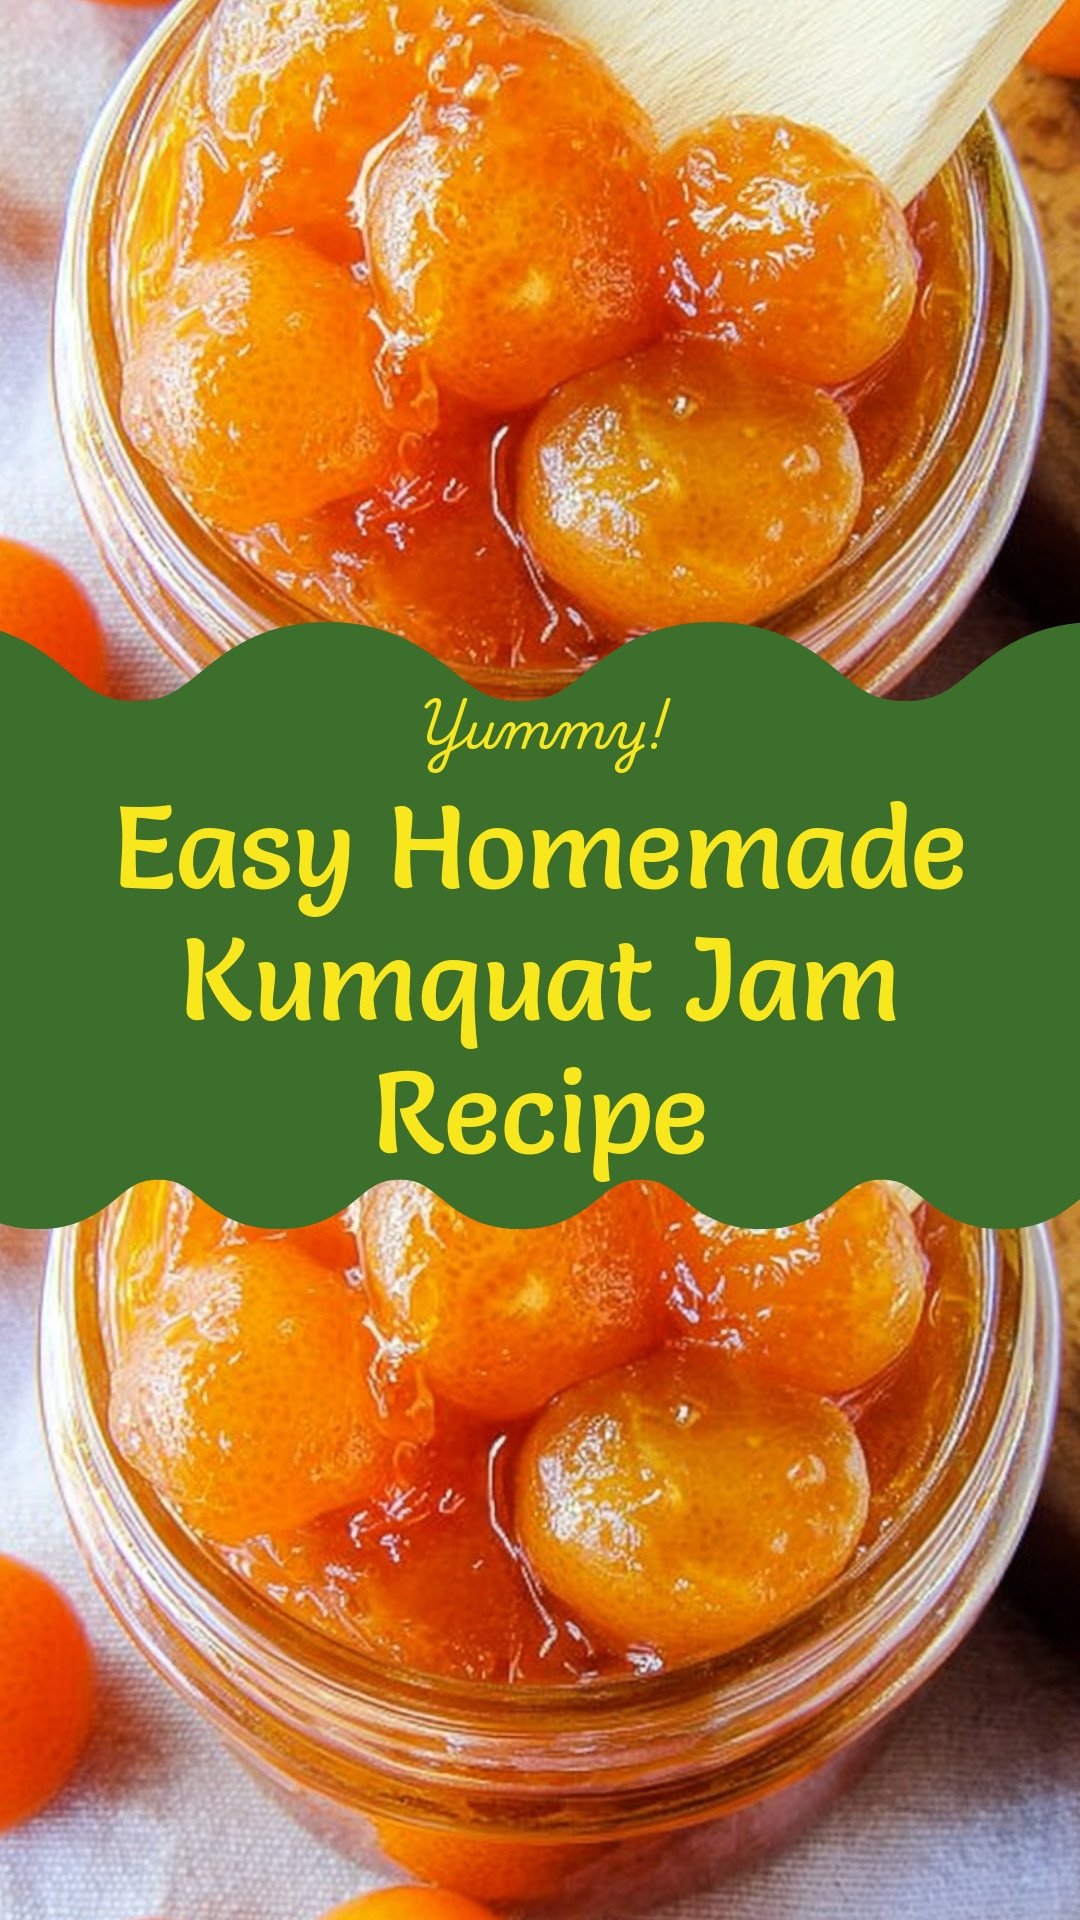
Easy Homemade Kumquat Jam Recipe
Description
This simple and vibrant homemade kumquat jam is bursting with sweet-tart citrus flavor, perfect for spreading on toast or pairing with cheese.
Ingredients
Instructions
- Combine kumquats, orange juice, water and sugar in a 3qt pot.
- Heat over medium for 7-8 minutes or until mixture begins to boil.
- Reduce heat to medium/low. Continue to lightly simmer while stirring frequently for 35 minutes.
- Stir almost continuously the last 10 minutes. Jam will be thick and coat the back of a spoon when done.
- Remove from heat and stir in vanilla paste.
- Transfer to clean airtight container. Serve warm or cold. Refrigerate and use within 1 week.
Notes
- For a smoother jam, you can pulse the cooked mixture a few times with an immersion blender before adding the vanilla paste.