

The Secret is in the Drying
Let me tell you about the first time I made these. I was in a hurry. I did not dry my strawberries well enough. The chocolate slid right off. What a mess! I still laugh at that.
So please, dry them very well. Chocolate and water are not friends. This matters because a dry strawberry means the chocolate will stick. You will have a perfect treat every time.
Melting Your Chocolate
Melting chocolate can feel tricky. But do not worry. Go slow. Use 30-second bursts in the microwave. Stir it a lot in between.
Doesn’t that smell amazing? Be patient with it. Rushing can burn the chocolate. And we do not want that. *Fun fact: Stirring helps the chocolate melt evenly and stay shiny!*
The Fun Part: Dipping and Twisting
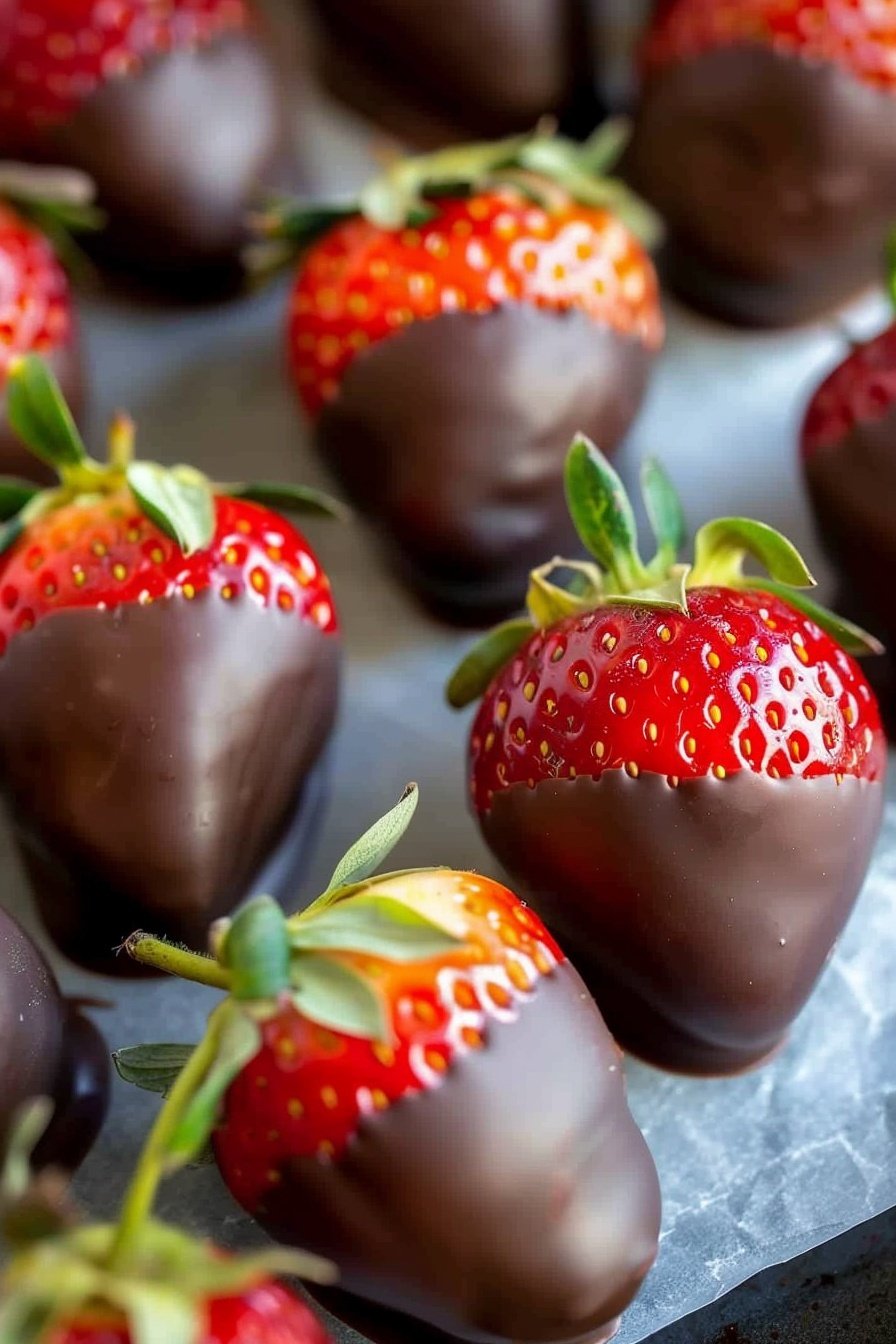
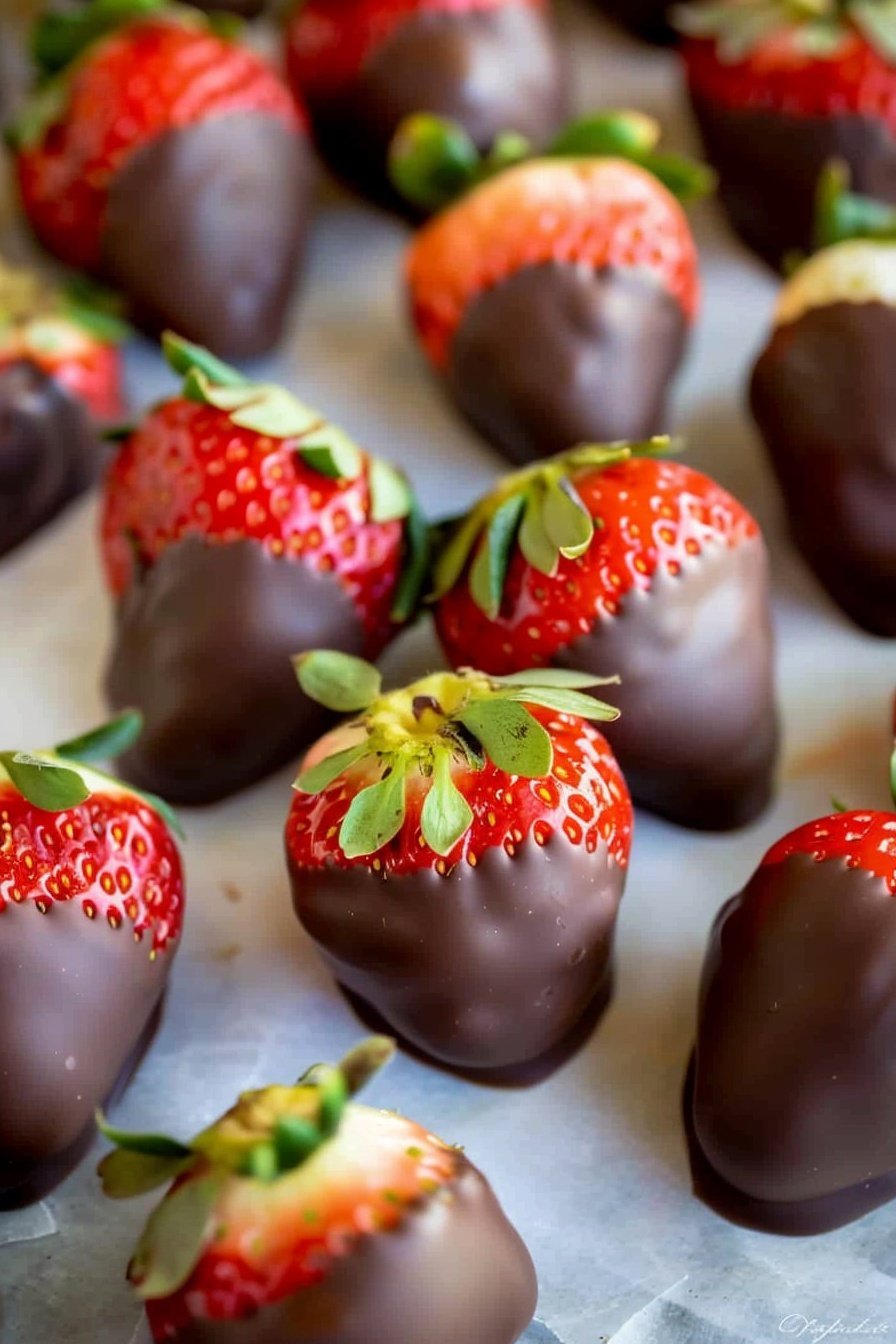
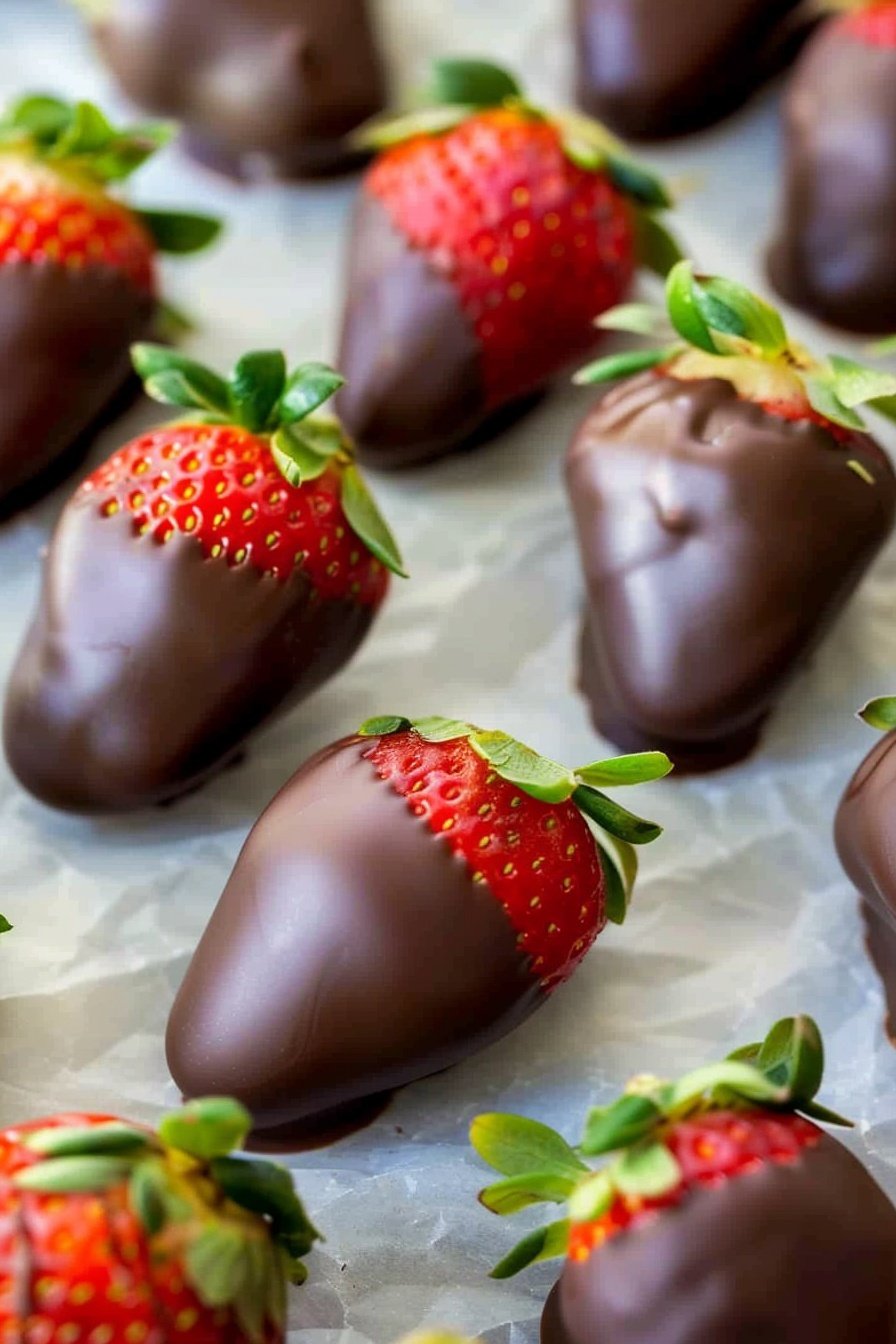
Now for the magic. Hold your strawberry by its green hat. Dip it into the warm chocolate. Give it a little twist as you lift it out.
Watch the extra chocolate drip back into the bowl. This is where you can roll it in nuts or coconut. Or just leave it plain and beautiful. What is your favorite topping? I always love crushed peanuts.
A Little Extra Drizzle
If you want to be fancy, grab some white chocolate. Melt a little bit. Dip a fork into it. Then wave the fork over your strawberries.
You will make pretty white lines. It is like painting with chocolate. This makes your treats look like they came from a bakery. Do you like to drizzle with white or dark chocolate more?
Why We Make Food With Love
I have made these for birthdays and for no reason at all. Sharing them with someone is the best part. It is a small way to say I care.
This matters. Cooking is not just about food. It is about making memories. It is about the smile on someone’s face. Who will you share your strawberries with?
The Final Chill
Your almost-finished strawberries need a quick nap. Put them in the fridge. Let them chill for about 15 minutes.
The chocolate will get firm and crisp. Then they are ready to eat. The waiting is the hardest part, I know. But it is worth it.
Ingredients:
| Ingredient | Amount | Notes |
|---|---|---|
| Ghirardelli Baking Chips | 10 ounce (285 g) | Bittersweet, semi-sweet, or milk chocolate |
| Fresh Strawberries | 2 pounds | Stems attached |
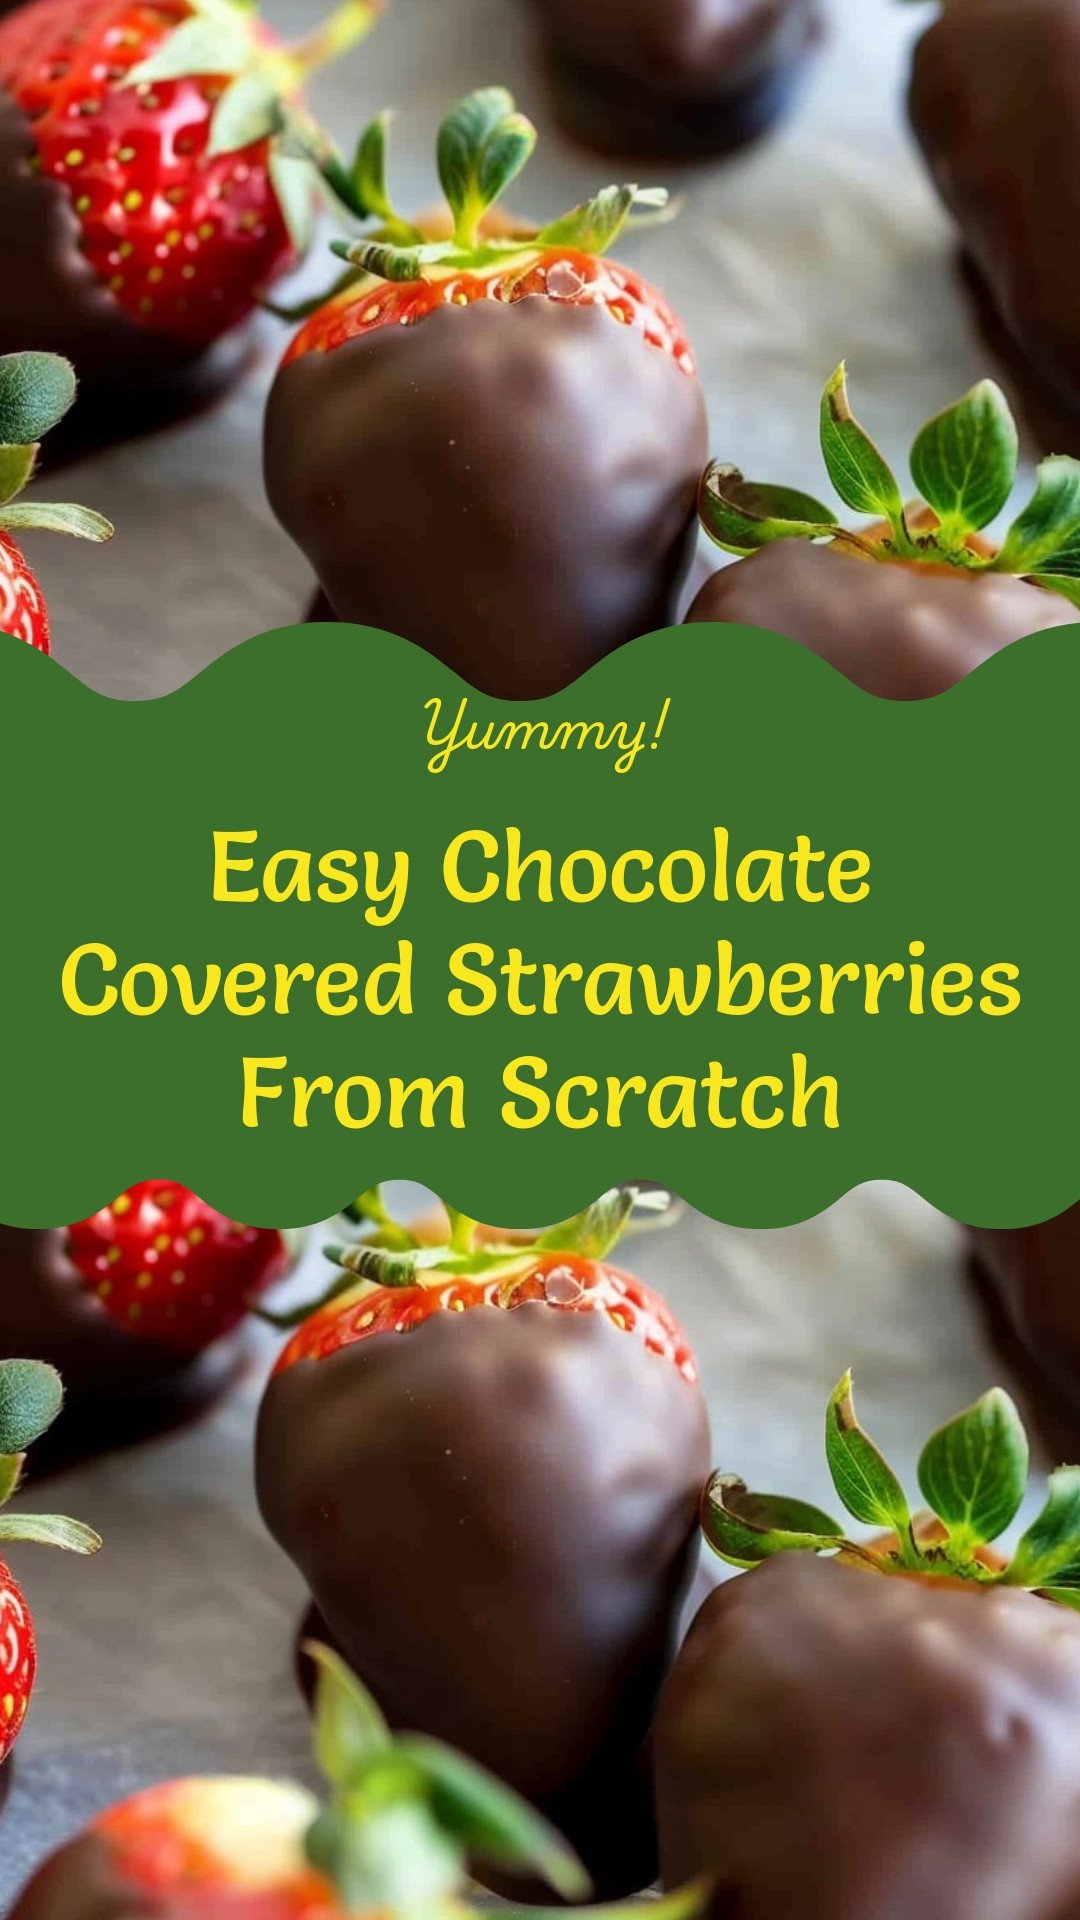
Easy Chocolate Covered Strawberries From Scratch
Hello, my dear! Come sit with me. Let’s make something sweet and simple today. I always think chocolate-covered strawberries feel so fancy. But they are really just fun to make.
I remember making these with my own grandchildren. We would end up with more chocolate on our faces than the berries! I still laugh at that. The secret is to be patient and have a happy heart. Are you ready? Let’s begin.
Ingredients & Tools
- Fresh strawberries (about 40)
- Chocolate melting wafers (dark, milk, or white)
- Toppings: crushed nuts, shredded coconut, sprinkles, etc.
- Parchment paper
- Baking sheet
- Microwave-safe bowl
Instructions
Step 1: First, give your strawberries a good bath. Then, you must dry them VERY well. This part is so important. If they are wet, the chocolate will not stick at all. (This is a hard-learned tip from a messy day in my kitchen!).
Step 2: Now, let’s get our toppings ready. Put some crushed nuts or coconut on small plates. Then, line a sheet pan with parchment paper. This stops our treats from sticking. It makes clean-up easy, too.
Step 3: Time to melt the chocolate! You can use a microwave. Heat it for 30 seconds, then stir. Do this until it’s smooth and shiny. Stir often so it doesn’t burn. Doesn’t that smell amazing?
Step 4: Hold a strawberry by its stem. Dip it into the lovely, melted chocolate. Lift it out and give it a little twist. Let the extra chocolate drip off. Then you can roll it in your toppings. Or just leave it plain and perfect.
Step 5: Want to make them extra pretty? Melt a little white chocolate. Dip a fork in it and wave it over your berries. You will make beautiful white lines. It’s like you are painting with chocolate!
Step 6: Finally, pop the tray into the fridge. Let the chocolate get firm. This takes about 15 minutes. It’s the hardest part because you have to wait! What’s your favorite topping for a sweet treat? Share below!
| Cook Time | 15 minutes |
| Total Time | 30 minutes |
| Yield | about 40 strawberries |
| Category | Dessert, Snack |
My Favorite Fun Twists
Once you know the basics, you can get creative. I love to play with different flavors. It makes every batch a new little surprise. Here are a few ideas I adore.
- Confetti Sprinkles: Use colorful sprinkles for a birthday party. They look so cheerful and bright.
- Peppermint Crunch: Crush up a candy cane and roll the strawberry in it. It tastes like a winter holiday.
- Salty Sweet: A tiny sprinkle of sea salt on top. It makes the chocolate taste even richer.
Which one would you try first? Comment below!
Serving Them Up With Style
These strawberries are wonderful all on their own. But you can make them extra special. I like to arrange them on a pretty plate. A white plate makes the red and chocolate colors pop.
You could also put them in little paper cups. It makes everyone feel like they have their own gift. For a party, pile them high on a cake stand. They will disappear quickly, I promise!
What should we drink with them? A glass of cold milk is always a good friend to chocolate. For the grown-ups, a little glass of champagne makes it a celebration. Which would you choose tonight?
Keeping Your Chocolate Strawberries Fresh
These treats are best eaten the day you make them. But you can store them for later. Place them in a single layer in a container. Keep them in the fridge for up to two days.
I do not recommend freezing them. The strawberries get too soft when they thaw. It makes for a very messy, though still tasty, snack. I learned this the hard way at my grandson’s birthday party.
Batch cooking is easy with this recipe. Just double the chocolate and berries. It is perfect for parties or a sweet family treat all week. Having a ready-made dessert saves you time and stress.
Have you ever tried storing it this way? Share below!
Fixing Common Chocolate Strawberry Problems
Is your chocolate not sticking? The berries are probably wet. You must dry them very well. I use a paper towel and pat them gently.
Is your chocolate too thick or lumpy? You might have overheated it. Melt it slowly and stir a lot. I once rushed this and had to start over.
Are your toppings not sticking? Roll the strawberry in toppings right after dipping. The wet chocolate acts like a glue. This makes your treats look pretty and taste great.
Getting this right builds your confidence in the kitchen. It also makes the flavor perfect in every single bite. Which of these problems have you run into before?
Your Chocolate Strawberry Questions Answered
Q: Is this recipe gluten-free?
A: Yes, it is naturally gluten-free. Just check your chocolate chip package to be sure.
Q: Can I make these ahead of time?
A: You can make them a few hours before. Store them in the refrigerator until you are ready.
Q: What can I use instead of nuts?
A: Try sprinkles or crushed pretzels. You can also use crushed cookies for a different crunch.
Q: Can I make a smaller batch?
A: Of course! Just use fewer strawberries and less chocolate. It is a very flexible recipe.
Q: Is the white chocolate drizzle needed?
A: No, it is just for fun. It makes them look extra special. *Fun fact: The first chocolate-covered strawberry was made in the 1960s!
Which tip will you try first?
A Sweet Note From My Kitchen
I hope you have fun making these strawberries. Cooking is about sharing joy with the people you love. These little treats always bring a smile.
I would love to see your beautiful creations. Your kitchen stories make my day. Have you tried this recipe? Tag us on Pinterest!
Happy cooking!
—Grace Ellington.
Easy Chocolate Covered Strawberries From Scratch
Description
Easy Chocolate Covered Strawberries From Scratch
Ingredients
Instructions
- Start by washing the strawberries and then drying them VERY well. It’s so important to dry the strawberries well because chocolate and water do not work well together! If the strawberries are the least bit wet the chocolate will not stick!
- If desired, add a handful of toppings, like crushed nuts or coconut, onto their own small plates. Line a sheet pan with parchment or waxed paper.
- Use a double boiler or microwave the chocolate for 30 second intervals, removing and stirring at each 30 second interval, until the chocolate has melted. Stir often, making sure not to burn the chocolate!
- Holding a strawberry by the stem, dip into melted chocolate, lift and twist slightly, letting the excess chocolate fall back into the bowl. At this point you may dip the strawberry in coconut or nuts (or leave it plain) and then place the strawberry on the parchment paper. Repeat with the rest of the strawberries.
- For a white chocolate drizzled strawberry, dip a fork in the melted white chocolate and drizzle the white chocolate over the dipped strawberries.
- Chill the strawberries until the chocolate sets, about 15 minutes.
Notes
- It’s so important to dry the strawberries well because chocolate and water do not work well together!