
The Little Cabbage That Could
I used to turn my nose up at Brussels sprouts. So did my grandson. Then we tried smashing them. What a difference it makes! It changes everything.
This matters because we should never be afraid to try foods again. Our tastes change as we grow. I still laugh at how much my grandson loves them now. What’s one food you hated as a kid but love today?
Why We Smash Them
Boiling them first makes the insides soft. Then, we smash them flat. This creates lots of edges and crinkles. Those bits get wonderfully crispy in the oven.
Don’t skip drying them after boiling. I use a clean kitchen towel. Getting them dry is the secret to a good crunch. Doesn’t that sound like a fun thing to do?
A Cheese Surprise
The parmesan cheese is the best part. We add it halfway through baking. It melts and turns golden brown. It tastes like a little crispy hat on each sprout.
*Fun fact: The little red pepper flakes don’t make it too spicy. They just give it a nice, warm feeling in your mouth. Do you like a little bit of spice in your food?
My Air Fryer Adventure
My neighbor Betty gave me her old air fryer. I was so nervous to use it. I decided to be brave and try these sprouts in it. They turned out perfectly crispy and so fast!
This matters because new kitchen tools can feel scary. But trying them can lead to happy surprises. Now I use my air fryer all the time. Which do you prefer, an oven or an air fryer?
The Secret to Crispy Goodness
The real secret is patience. Let them get brown and crispy. Don’t take them out too early. The best bits are the dark, crunchy ones.
I love the sound they make when everyone bites into them. It’s a quiet crunch of happiness. Cooking for others is a way to show you care. That is a feeling that always matters.
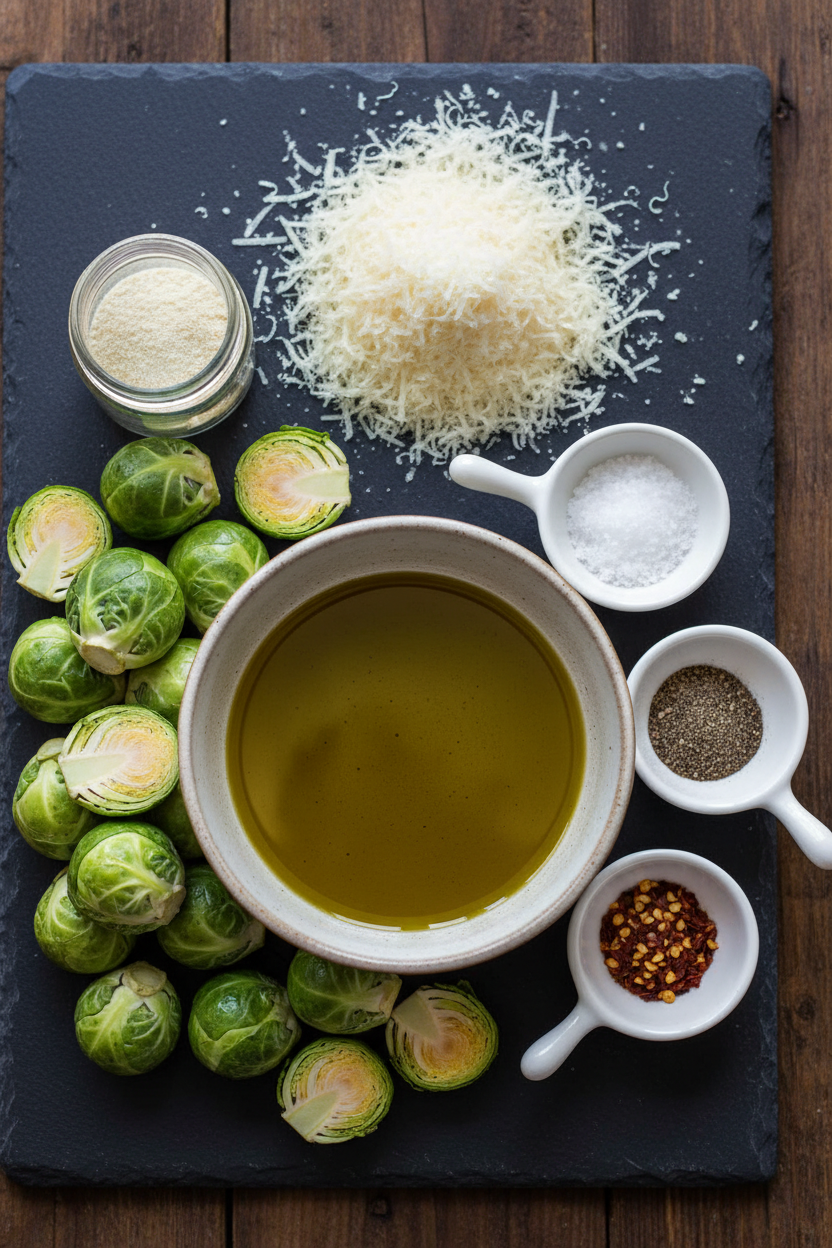
Ingredients:
| Ingredient | Amount | Notes |
|---|---|---|
| Brussels sprouts | 1 pound | rinsed, ends trimmed |
| Extra virgin olive oil | 2 tablespoons | |
| Garlic powder | 1 teaspoon | |
| Kosher salt | 1 teaspoon | |
| Black pepper | 1/2 teaspoon | |
| Red pepper flakes | 1/4 teaspoon | |
| Parmesan cheese, grated | 1/2 – 1 1/2 cups (50g – 150g) |
A Little Story About Smashed Brussels Sprouts
My grandson used to turn his nose up at Brussels sprouts. He called them little cabbages. One day, we made this recipe together. The whole kitchen smelled like a cozy dream. He tried one right from the baking sheet. His eyes got wide. He asked for more! I still laugh at that.
This recipe turns them into crispy, cheesy little chips. They are fun to smash and even more fun to eat. You will be surprised. They might just become your new favorite snack. Let’s get started, my dear.
- Step 1: First, get your oven nice and hot. We want it at 425°F. This heat makes everything crispy. Line your baking sheet with parchment paper. This saves you from a big scrubbing job later. I always do this. It makes clean-up a breeze.
- Step 2: Now, we boil the sprouts in salty water. This makes them tender inside. Cook them for about 10 minutes. You should be able to poke them with a fork. Then, drain them and pat them dry. (A hard-learned tip: dry them very well! Wet sprouts get steamy, not crispy.) Doesn’t that smell amazing already?
- Step 3: Toss the warm sprouts in a big bowl. Add the olive oil, garlic powder, salt, and peppers. Mix it all up until they shine. This coating is what gives them all their flavor. I love the little kick from the red pepper. It makes them special.
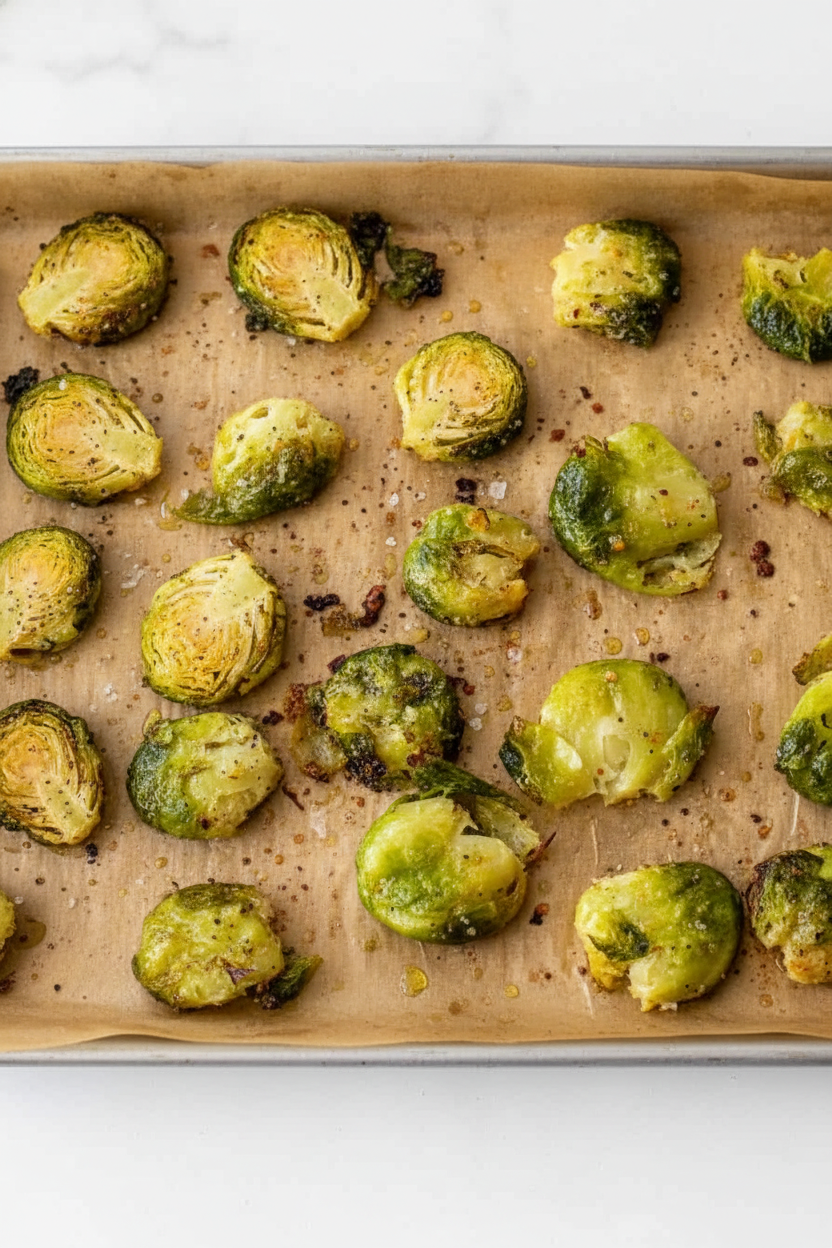
- Step 4: Spread them out on your baking sheet. Give them some space to breathe. If they are too crowded, they will steam. We want them to get crunchy. This is a very important step for perfect crispiness.
- Step 5: Here is the fun part! Take a sturdy glass. Gently press down on each sprout to smash it. Flatten them to about a quarter-inch thick. They will look like funny little green pancakes. What’s your favorite kitchen tool for smashing things? Share below!
- Step 6: Bake them for about 15 minutes. You will see the edges start to get dark and crispy. This is a very good sign. It means they are getting delicious. My mouth is watering just thinking about it.
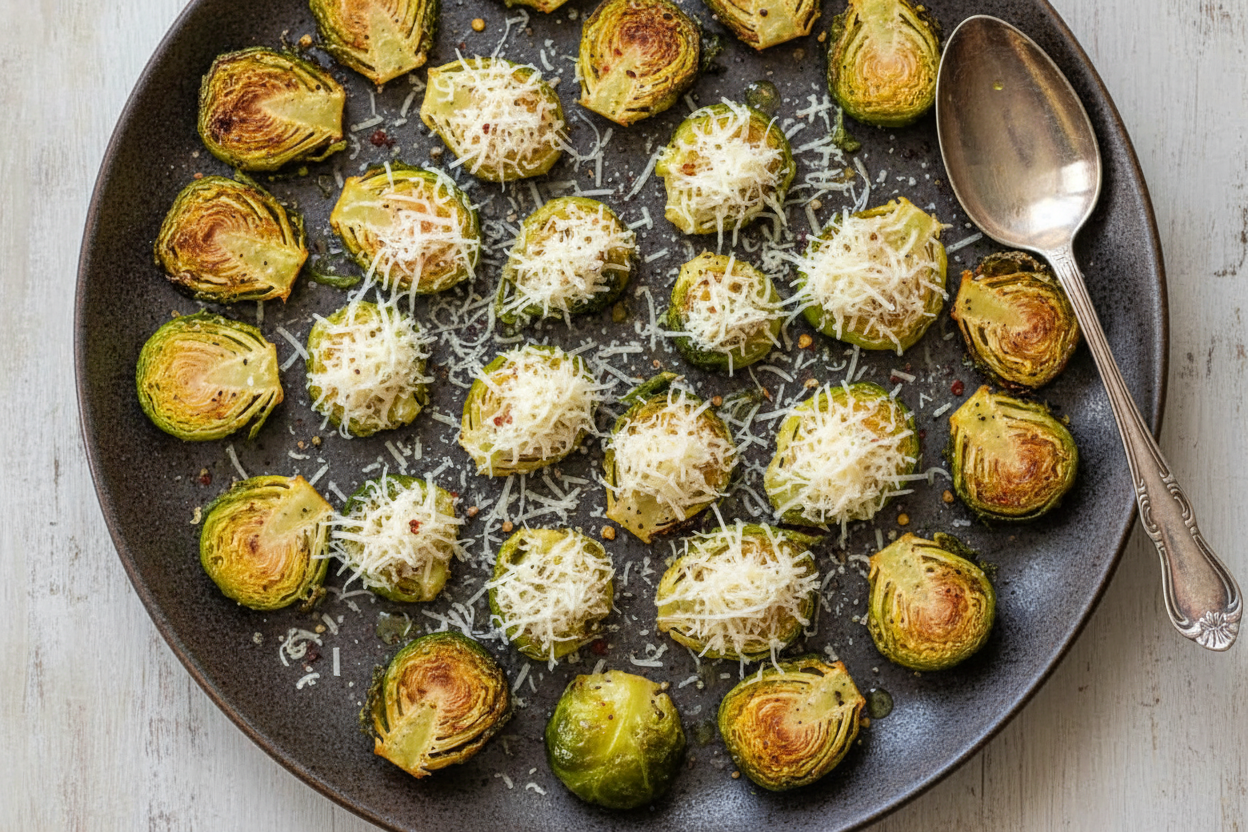
- Step 7: Take the pan out and flip each one over. Now, sprinkle the parmesan cheese all over them. Be generous! The cheese will melt into a golden blanket. I always use a little extra. You should too.
- Step 8: Pop them back in the oven for another 15 minutes. Wait until the cheese is golden and bubbly. Then they are done! Let them cool for just a minute. The first bite is always the best.
Cook Time: 40-45 minutes
Total Time: 55-60 minutes
Yield: 4 servings
Category: Side Dish
Three Tasty Twists to Try
Once you master the basic recipe, you can play! I love adding little changes. It keeps things exciting in the kitchen. Here are three of my favorite twists. They are all so simple and good.
- Bacon Lover’s Dream Toss in some chopped, cooked bacon with the oil. Everything is better with bacon. It gets so crispy in the oven.
- Sweet and Tangy Drizzle a little balsamic glaze over them after baking. The sweet and sour taste is wonderful. It feels a bit fancy.
- Lemon Zest Zing Add the zest of one lemon with the cheese. It makes everything taste so fresh and bright. It’s like a little sunshine on your plate.
Which one would you try first? Comment below!
Serving Them Up Just Right
These sprouts are wonderful all on their own. But they also love company. I like to serve them alongside a simple roasted chicken. They are also perfect next to a juicy burger. For a pretty plate, sprinkle on some fresh chopped parsley.
What should we drink with them? A crisp apple cider is lovely. It’s not too sweet. For the grown-ups, a chilled glass of sauvignon blanc is just right. It cuts through the richness of the cheese.
Which would you choose tonight?
Keeping Your Sprouts Tasty Later
Let’s talk about keeping your sprouts for later. First, let them cool completely. Then pop them in an airtight container. They will stay good in your fridge for about three days.
You can freeze them too. I once made a huge batch for a family dinner. We froze the leftovers on a baking sheet first. This keeps them from sticking together in one big lump.
Reheating is simple. Use your oven or air fryer. This brings back their wonderful crispy texture. A microwave will make them soft.
Batch cooking saves you time on a busy week. It also means you always have a good snack ready. This makes healthy eating much easier.
Have you ever tried storing it this way? Share below!
Simple Fixes for Common Problems
Sometimes our sprouts do not turn out right. Do not worry. Here are some easy fixes. Your sprouts are soggy? You did not dry them enough after boiling.
I remember when my first batch was mushy. I learned to pat them very dry with a towel. Getting them crispy matters because it makes the texture fun to eat.
Are they burning on the bottom? Your oven might be too hot. Try using parchment paper on your pan. This helps them cook evenly without sticking.
Is the cheese not melting nicely? Your cheese might be too thickly grated. A finer grate works much better. This small step makes the final dish look beautiful.
Solving these little issues builds your cooking confidence. You learn how to make each recipe your own. Which of these problems have you run into before?
Your Quick Questions Answered
Q: Is this recipe gluten-free? A: Yes, it is naturally gluten-free. Just check your parmesan cheese label to be sure.
Q: Can I make these ahead of time? A: You can boil and season them a day early. Keep them in your fridge until you are ready to smash and bake.
Q: What if I do not have parmesan? A: Try another hard cheese like asiago. Or you can use a little bit of nutritional yeast.
Q: Can I double this recipe? A: Of course! Just use two baking sheets. Make sure they are not too crowded.
Q: Any fun extra tips? A: A squeeze of lemon juice at the end is lovely. Fun fact: Brussels sprouts grow on long, thick stalks! Which tip will you try first?
From My Kitchen to Yours
I hope you love making these crispy sprouts. They are a simple joy. Cooking should be fun, not fussy.
I would be so happy to see your creations. Share a picture of your finished dish. It makes my day to see your kitchen adventures.
Have you tried this recipe? Tag us on Pinterest! I cannot wait to see what you make. Happy cooking!
—Grace Ellington.
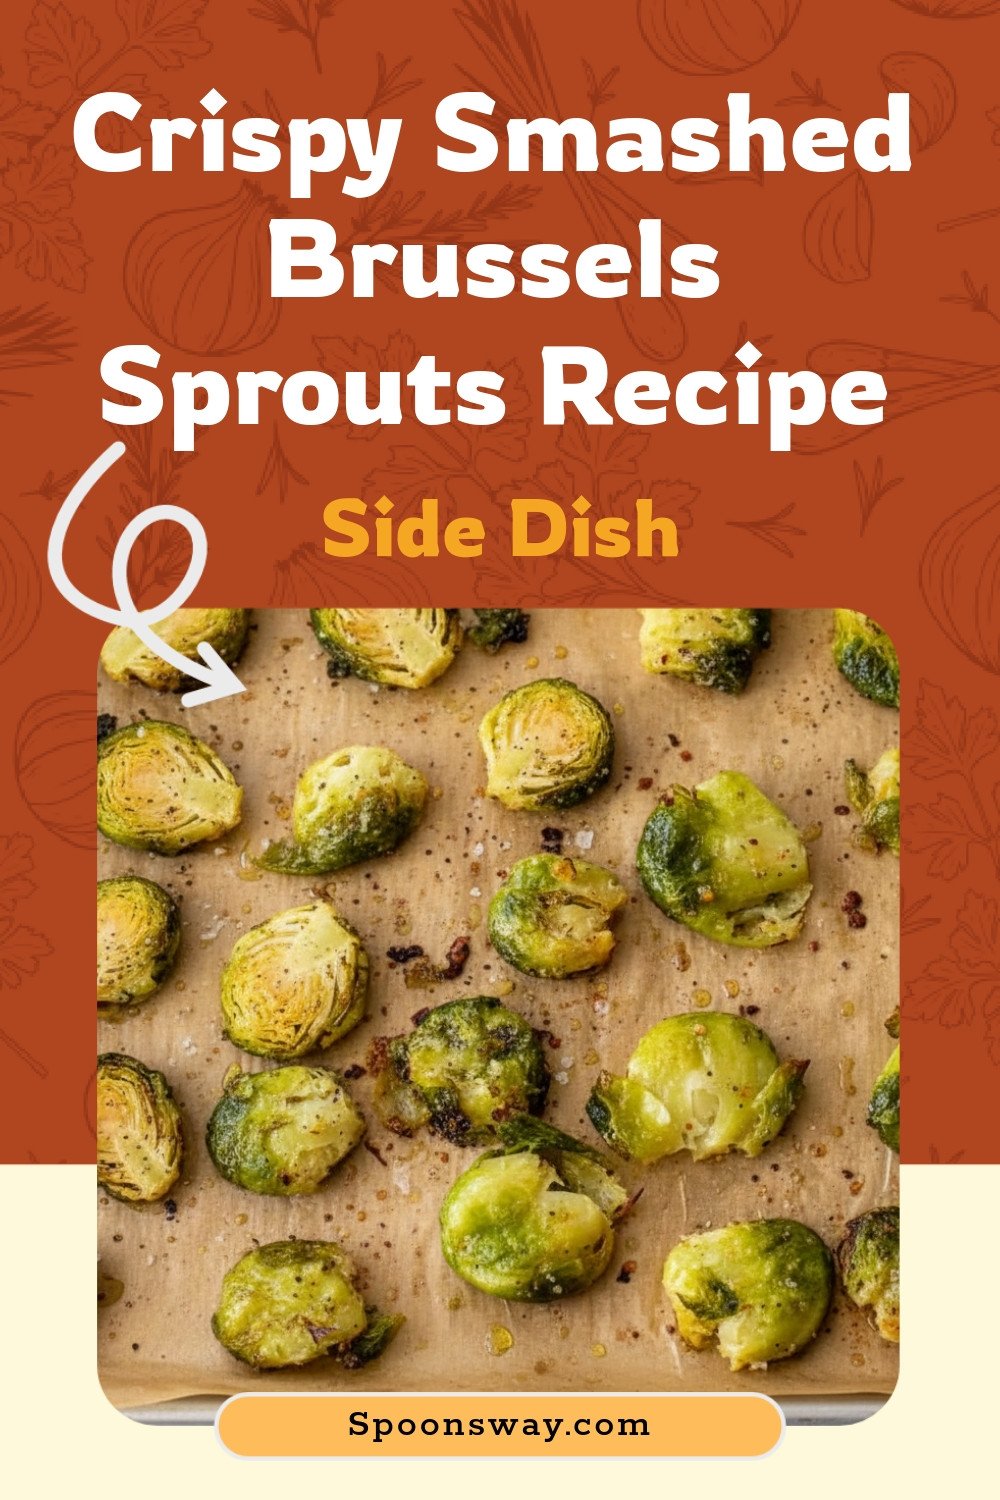
Crispy Smashed Brussels Sprouts Recipe
Description
Experience the delightful contrast of crispy, cheesy edges and tender centers with these Crispy Smashed Brussels Sprouts.
Ingredients
Instructions
- Preheat the oven to 425°F and line a baking sheet with parchment paper.
- Bring a large pot of salted water to a boil. Add the Brussels sprouts and cook for 8-10 minutes, or until they are just tender but not cooked all of the way through. Drain the Brussels sprouts and pat them dry with a paper towel. Soak up as much moisture as you can; this will help them crisp up in the oven.
- Transfer the cooked Brussels sprouts to a large bowl. Add the olive oil, garlic powder, kosher salt, black pepper, and red pepper flakes. Toss everything together to ensure the Brussels sprouts are evenly coated.
- Arrange the Brussels sprouts on the lined baking sheet in a single layer, leaving about 1 inch of space in between each.
- Using the bottom of a sturdy glass or a flat-bottomed measuring cup, gently smash each Brussels sprout to a thickness of about 1/4 inch.
- Bake the Brussels sprouts for 15-18 minutes, or until the edges are starting to crisp.
- Remove the baking sheet from the oven. Flip each Brussels sprout over and generously and evenly sprinkle grated Parmesan cheese on top of each one.
- Return the baking sheet to the oven and continue baking for another 15 minutes, or until the cheese is golden and the Brussels sprouts are done to your desired crispness. Serve.
Notes
- Air Fryer Instructions: Follow the instructions to the point of baking. Place the boiled and seasoned Brussels sprouts into the air fryer basket (you may need to work in batches). Gently smash them. Air fry at 375°F for 10 minutes. Top with parmesan cheese and air fry for an additional 2 minutes, or until the cheese is melted.