

The First Bite That Changed Everything
I still remember the first time I tasted homemade vanilla ice cream. It was at my grandma’s farm, the creamy sweetness melting on my tongue. The flavor was simple but perfect, like sunshine in a bowl. Ever wondered how you could turn five basic ingredients into something unforgettable? That’s the magic of this recipe. No fancy tricks, just pure, velvety joy.My Kitchen Disaster Turned Happy Accident
My first try at this recipe was a mess. I forgot to chill the mixture and ended up with soup instead of ice cream. But after a few hours in the freezer, it turned into the creamiest treat. Mistakes remind us that cooking is about joy, not perfection. Now I laugh at my early fails. What’s your funniest kitchen flop? Share below!Why This Ice Cream Stands Out
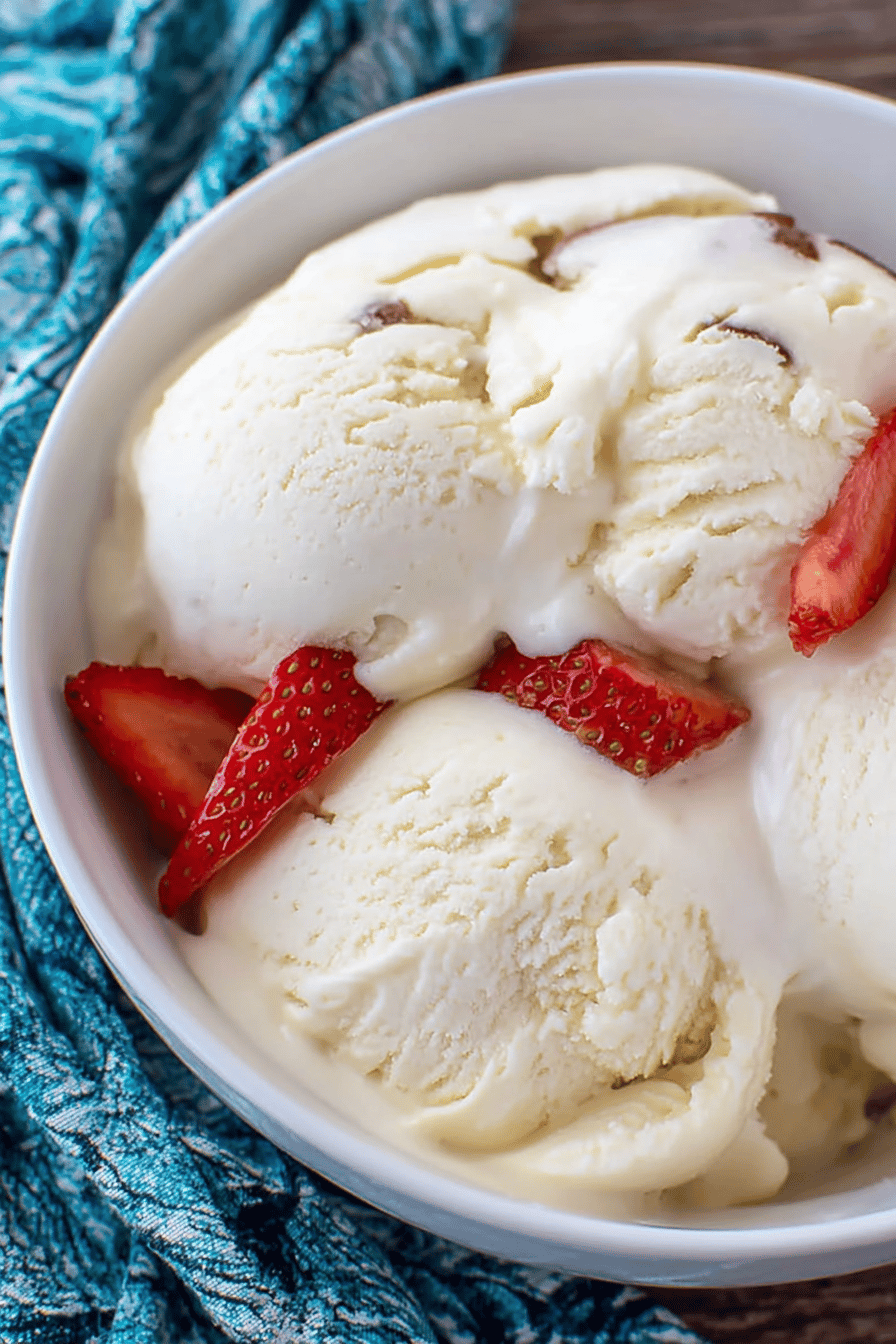
– The heavy cream and milk blend creates a rich, smooth texture. – Real vanilla adds warmth, unlike artificial flavors. Which flavor combo surprises you most? Try adding cinnamon or crushed cookies next time. The options are endless.A Scoop of History
Vanilla ice cream dates back to the 18th century. It was a luxury for royalty before becoming a household favorite. *Did you know vanilla comes from orchids?* Today, it’s a classic for a reason. Simple, comforting, and always in style. What’s your favorite ice cream memory? Tell us in the comments!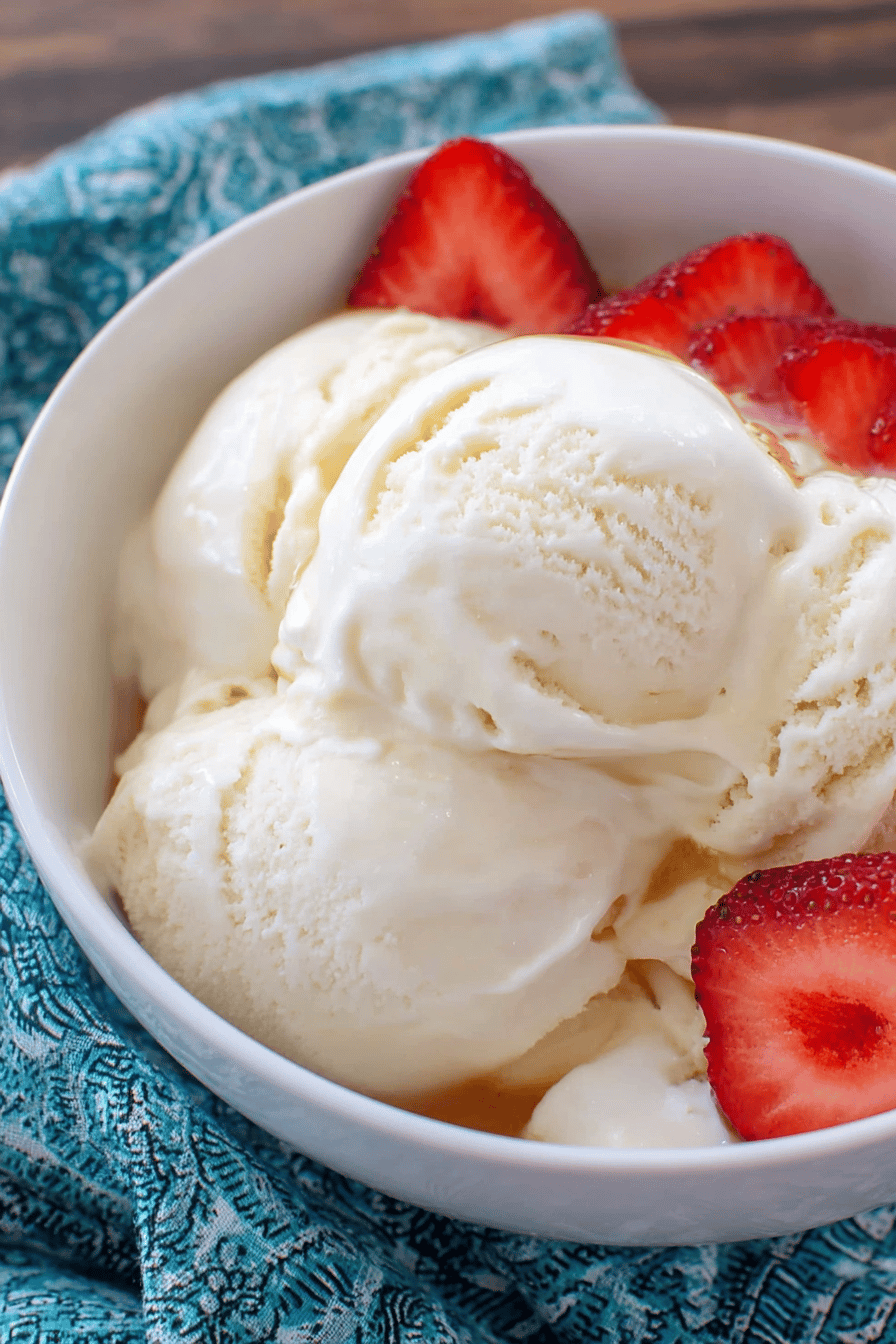
Ingredients:
| Ingredient | Amount | Note |
|---|---|---|
| Heavy cream | 1¾ cups | |
| Whole milk | 1¼ cup | |
| Sugar | ¾ cup | |
| Fine sea salt | ⅛ teaspoon | |
| Vanilla extract or vanilla bean | 1 tablespoon or 1 bean | split in half lengthwise if using bean |
How to Make the Creamiest Vanilla Ice Cream
Step 1 Grab a saucepan and pour in 1 cup of heavy cream. Add sugar and salt. If using a vanilla bean, scrape the seeds in. Toss the pod in too. Heat gently until sugar melts. Don’t let it boil—just warm enough to dissolve. (Hard-learned tip: Overheating the cream can make it grainy. Low and slow wins here.)
Step 2 Take the pan off the heat. Stir in the rest of the cream and milk. Add vanilla extract if you skipped the bean. Whisk it all together. Pop it in the fridge to chill. Cold mix churns into smoother ice cream. Quiz time: Why chill the mix before churning? Share below!
Step 3 Fish out the vanilla pod before churning. Give the mix a quick whisk. Pour it into your ice cream maker. Let the machine work its magic. Follow the time on the manual. *Fun fact: Churning adds air for that fluffy texture.*
Step 4 Eat it right away for soft-serve vibes. Or freeze it firmer in a sealed container. Scoop into bowls or cones. Enjoy plain or dress it up. Cook Time: 20–30 minutes (churning) Total Time: 25–35 minutes (plus chilling) Yield: 6 servings Category: Dessert, Frozen Treats
3 Fun Twists on Classic Vanilla
Cookie Crunch Stir in crushed sandwich cookies after churning. Think Oreos or vanilla wafers. Adds a sweet, crunchy surprise.
Berry Swirl Fold in mashed strawberries or raspberries. Swirl gently for a pretty ripple. Perfect for summer.
Coffee Kick Add 1 tbsp instant coffee to the warm mix. Churns into a mocha dream. Great for grown-ups. Which twist would you try first? Vote in the comments!
Serving Ideas & Perfect Pairings
Top with hot fudge or caramel sauce. Add rainbow sprinkles for kids. Serve alongside warm brownies. Sip with cold milk or a frothy latte. For a boozy treat, pair with bourbon or vanilla liqueur. Which would you choose tonight?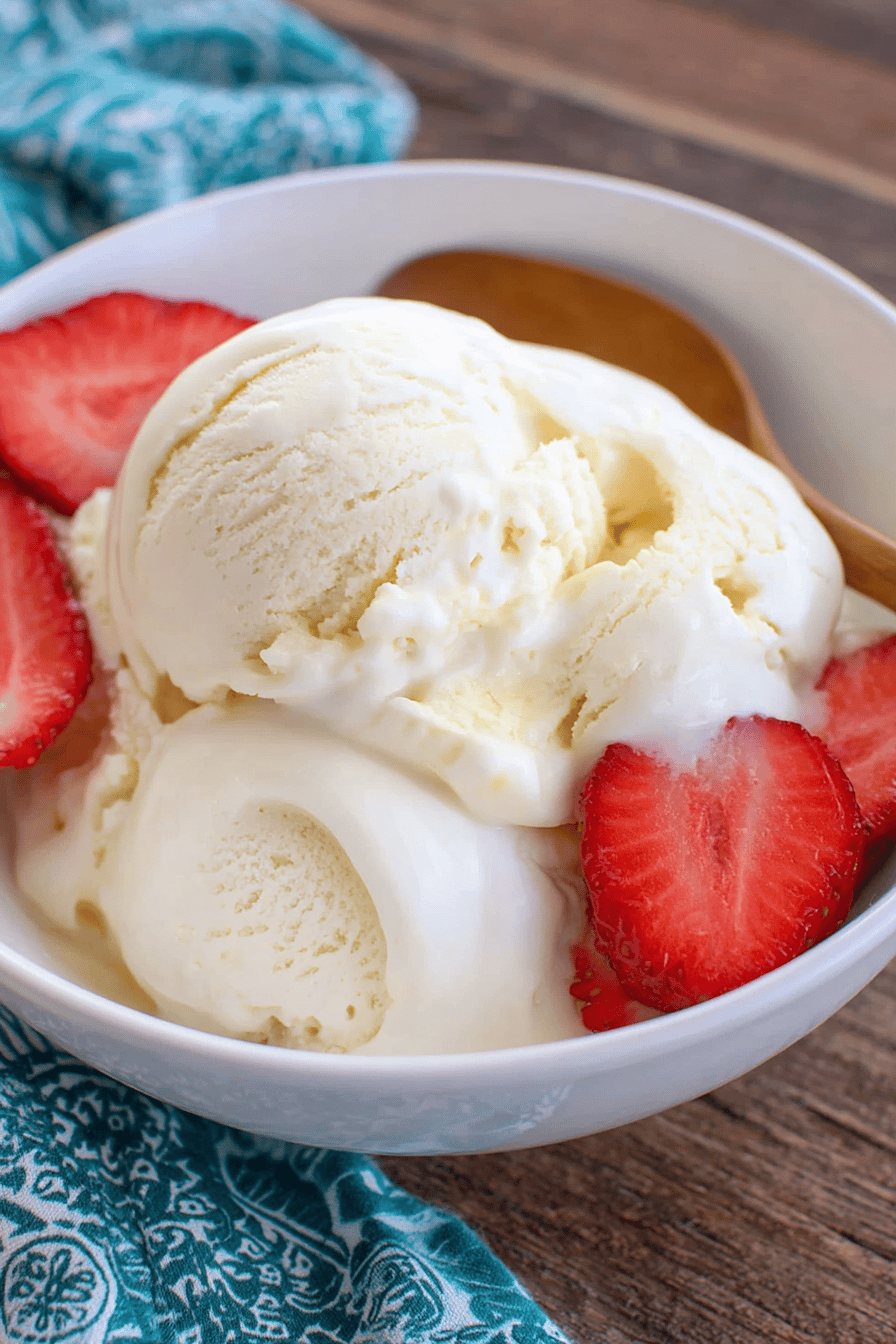
Storing and Serving Tips
Keep your ice cream creamy by storing it in an airtight container. Press plastic wrap on the surface to stop ice crystals. Freeze up to 2 weeks—if it lasts that long! *Fun fact*: My grandkids sneak spoonfuls straight from the freezer. For softer ice cream, let it sit out 5 minutes before scooping. Batch-cook note: Double the recipe for summer parties—it disappears fast.Fix Common Ice Cream Problems
Too icy? Add 1 tsp vodka next time—it lowers freezing temps. Grainy texture? Your sugar didn’t dissolve fully. Warm the mix longer. No ice cream maker? Freeze in a shallow pan, stir every 30 minutes. Why this matters: Small tweaks make big flavor wins. Share your trick—do you add mix-ins like crushed cookies?Your Questions, Answered
Q: Can I use almond milk instead?
A: Yes, but it’ll be less creamy. Try coconut milk for richer texture.
Q: How far ahead can I make this?
A: Perfect for prepping 1 day early. Just churn before serving.
Q: Any sugar swaps?
A: Honey works—use ½ cup and warm it with the cream.
Q: Can I halve the recipe?
A: Absolutely! Use a smaller ice cream maker or freeze longer.
Q: Is this gluten-free?
A: Yes, all ingredients are naturally gluten-free. Check vanilla labels to be safe.
Wrapping Up
Nothing beats homemade vanilla ice cream on a hot day. Why this matters: Simple recipes create sweet memories. Tag@SpoonSway with your creations—I’d love to see your twists! Happy cooking! —Sarah Cooper.
Creamy 5-Ingredient Vanilla Homemade Ice Cream
Description
Experience the rich and creamy taste of homemade vanilla ice cream with just 5 simple ingredients.
Ingredients
Instructions
- Pour 1 cup of the cream into a saucepan and add the sugar and salt. If using a vanilla bean, scrape the seeds of the bean into the mixture and then add the vanilla pod to the saucepan.
- Warm the mixture over medium heat, just until the sugar dissolves. Remove from the heat and add the remaining cream, milk, and vanilla extract (if using extract). Whisk to combine and chill in the refrigerator.
- When ready to churn, remove the vanilla pod, whisk the mixture again, and pour it into the ice cream maker. Churn according to the manufacturer’s instructions.
- Serve immediately or transfer the finished ice cream to an airtight container and place it in the freezer until ready to serve.
Notes
- For best results, chill the mixture thoroughly before churning. Store leftovers in an airtight container in the freezer.
Vanilla, Ice Cream, Homemade, Dessert