
The Heart of the Table
Hello, my dear. Come sit. Let’s talk about stuffing. It is not just a side dish. It is a hug on a plate. It soaks up all the good flavors from the day. Every family has their own way. This one is my back-to-basics favorite.
It reminds me of my own grandma’s kitchen. She called it “dressing.” She baked it in a big blue pan. The smell would fill the whole house. I still smile thinking about it. That smell meant family was coming together. That is why this matters. Food is our first language of love.
A Little Story & A Big Tip
I learned a hard lesson once. I tried to use soft, fresh bread. What a soggy mess! The bread must be dry and toasted first. It needs to be strong. It has to hold all that broth and butter without turning to mush.
So we dry it slow in the oven. This step cannot be rushed. It makes the bread golden and crisp. Fun fact: This is called making “croutons.” Your future stuffing will be perfect, not soggy. Do you have a kitchen mistake that taught you a good lesson? I would love to hear it.
The Secret is Brown Butter
Now, the magic part. We do not just melt the butter. We cook it until it turns a nutty brown. Doesn’t that smell amazing? It smells like toasted nuts and caramel. This brown butter is the secret flavor.
We cook the onions and celery in it. They get sweet and soft. Then we mix it all with the dry bread. The bread soaks up that rich, nutty taste. This is the second reason this matters. A little extra care makes simple things special.
Bringing It All to Life
Here is my favorite trick. After cooking the veggies, we deglaze the pan. That is a fancy word for a simple thing. We pour broth into the hot, empty skillet. All the little brown bits stuck to the bottom loosen up.
Those bits are pure flavor. We let the broth cook down a bit. Then we pour it all over the bread mixture. The bread drinks it right up. Let it sit for ten minutes. This gives the flavors time to get to know each other. What is your favorite “secret step” in a family recipe?
Making It Your Own
You can bake it right away. Or you can make it a day ahead. I often do this. It makes the big day so much calmer. Just drizzle that reserved brown butter on top before it goes in the oven.
The top gets so golden and crispy. The inside stays soft and savory. Let it rest before serving. This helps it set. Then, scoop out a big spoonful. This recipe is a wonderful start. But it is also a blank page. Would you add sausage, apples, or herbs? Tell me how you make it yours.
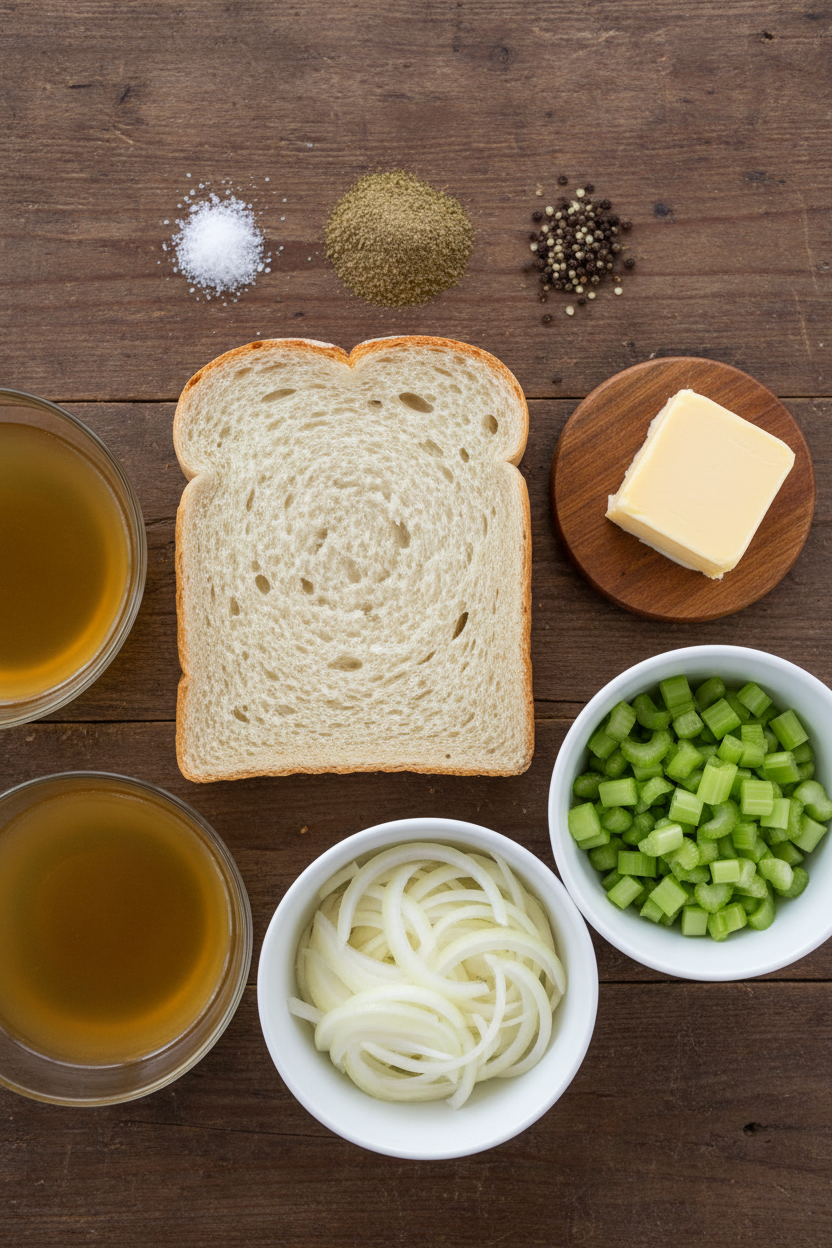
Ingredients:
| Ingredient | Amount | Notes |
|---|---|---|
| Hearty white sandwich bread | 2 pounds | Cut into ½-inch pieces |
| Unsalted butter | 16 tablespoons | Cut into 16 pieces |
| Onions | 4 | Chopped fine |
| Celery ribs | 4 | Chopped fine |
| Poultry seasoning | 4 teaspoons | |
| Salt | 1 ¾ teaspoons | |
| Pepper | 1 teaspoon | |
| Low-sodium chicken broth | 6 cups |
My Cozy Kitchen Secret: The Best Bread Stuffing
Hello, my dear. Come sit a spell. Let’s talk about stuffing. It is my favorite part of the big meal. I think it hugs all the other flavors on the plate. This recipe is my old faithful. It is simple and full of love. The secret is in the toasted bread and that nutty brown butter. Doesn’t that smell amazing? It reminds me of my own grandma’s kitchen. I still laugh at that memory. She would shoo us kids away from the bowl. We always tried to sneak a taste before dinner.
Here is how we make our cozy stuffing together. Follow these steps. You will do wonderfully.
Step 1: First, we toast the bread pieces. Spread them on two big pans. The oven is at 325 degrees. Bake them until they are golden and dry. Stir them halfway so they toast evenly. Let them cool right on the pans. (My hard-learned tip: Let the bread cool completely! Warm bread turns to mush when you add the broth.)
Step 2: Now, we make the magic. Melt the butter in your big skillet. Cook it until it smells nutty and turns a light brown. This is called browning the butter. It adds such a warm flavor. Pour three tablespoons into a little bowl for later. Add your chopped onions and celery to the skillet. Cook them until they get soft and a little brown. Stir in the poultry seasoning, salt, and pepper. Oh, that smell is the holidays!
Step 3: Pour this lovely vegetable mix over your toasted bread. Give it a gentle stir. Now, turn your oven up to 425 degrees. Pour two cups of broth into your empty skillet. Scrape up all those tasty brown bits from the bottom. Let it bubble until it reduces by half. This makes the flavor so rich. What’s your favorite part of Thanksgiving dinner? Share below!
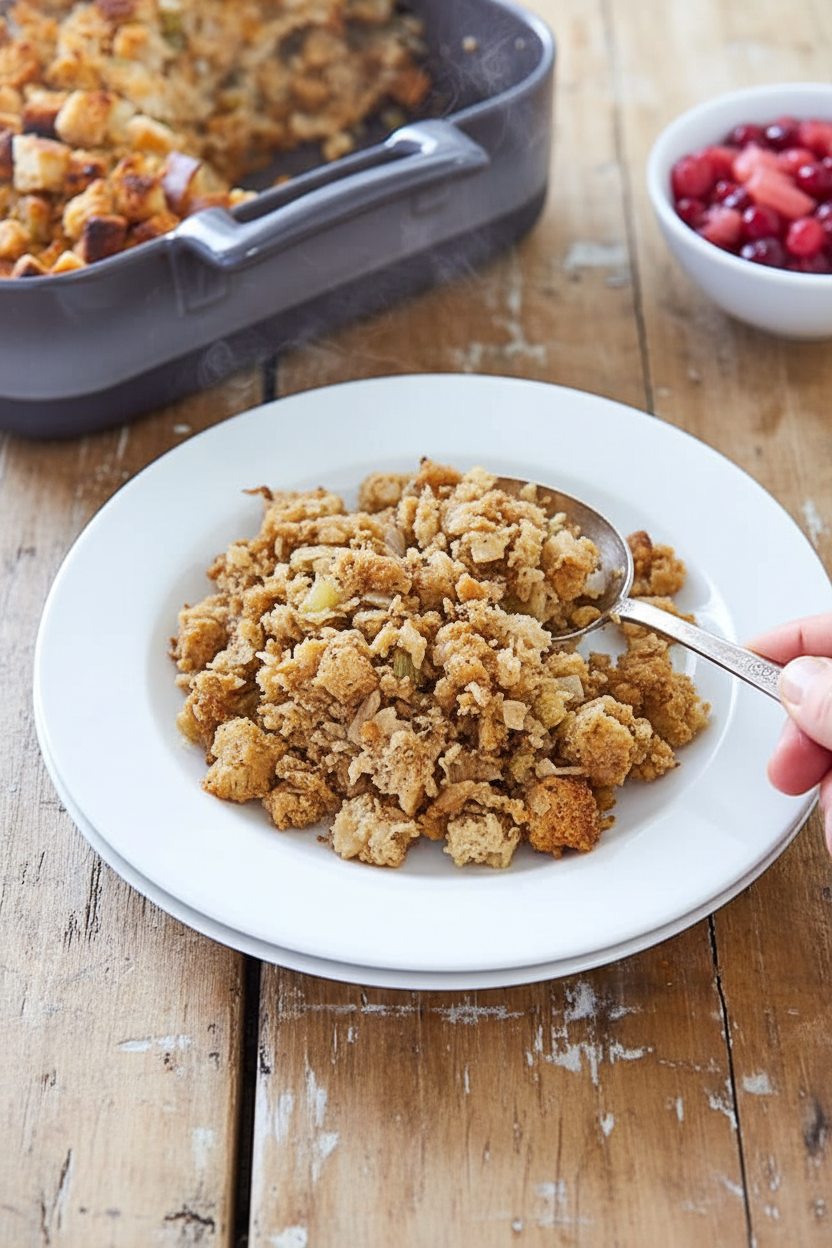
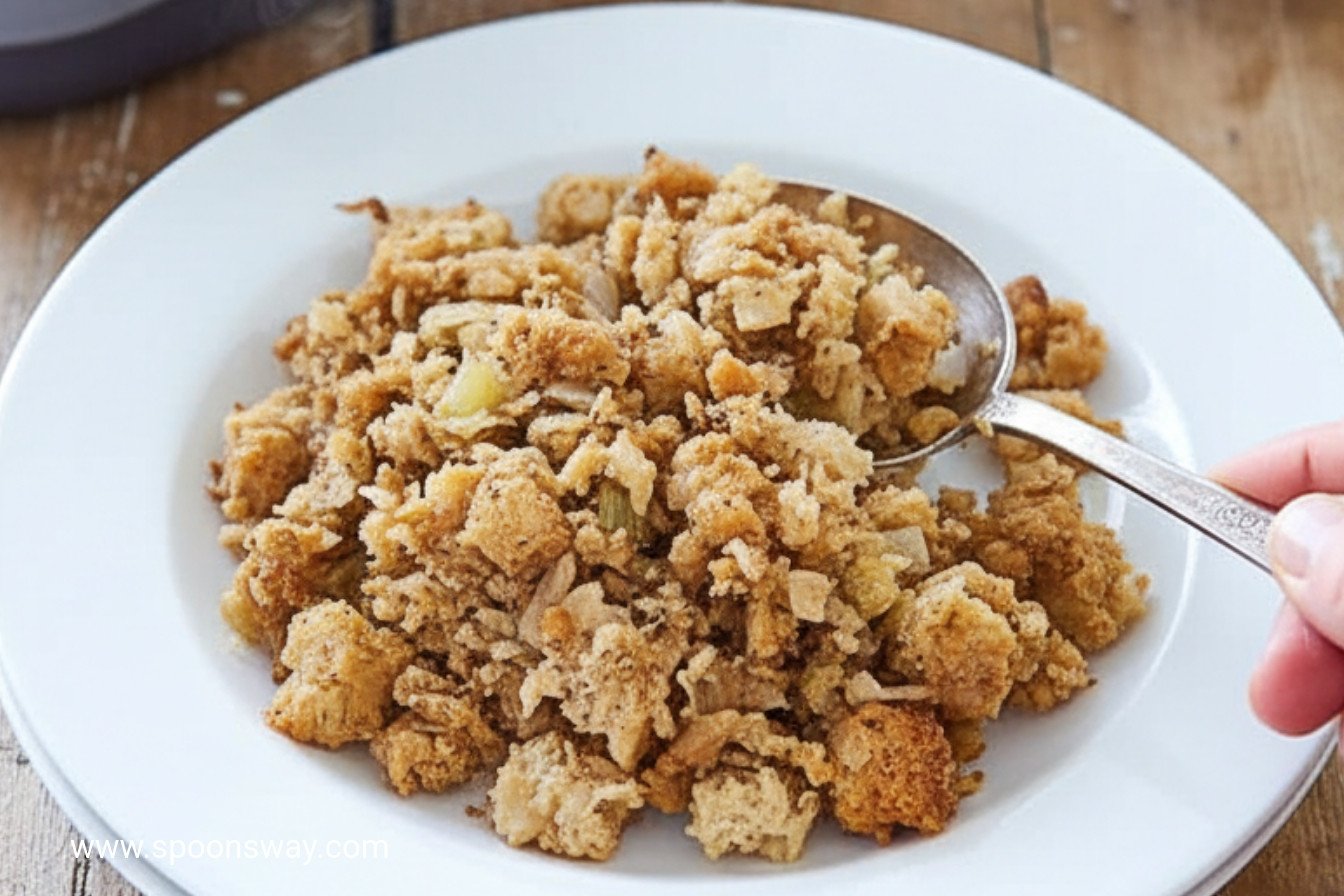
Step 4: Pour all the broth, including the reduced bit, over the bread mix. Let it sit for ten minutes. This lets the bread drink up all that goodness. Then, press it gently into your baking dish. Drizzle that saved brown butter on top. Bake it until the top is golden and crisp. Let it rest for fifteen minutes before serving. It is worth the wait, I promise.
Cook Time: About 2 hours
Total Time: 2 hours 30 minutes
Yield: 10-12 servings
Category: Dinner, Holiday
Three Fun Twists to Make It Yours
This recipe is a wonderful blank canvas. Feel free to play with it! Here are three ideas I love. They are simple but add a special touch.
The Forest Walk: Add one cup of sliced mushrooms when you cook the onions. Use a little thyme instead of poultry seasoning.
The Sweet & Savory: Toss in two chopped apples or a cup of dried cranberries with the bread. It adds a lovely little sweet surprise.
The Hearty Herb: Use a hearty sourdough bread. Mix in a big handful of fresh parsley and sage. It tastes so garden-fresh.
Which one would you try first? Comment below!
Serving It Up With Style
This stuffing is the star, but it loves good company. I like to serve it right from the dish at the table. Let everyone scoop their own big spoonful. For a pretty plate, add a sprig of fresh rosemary on top. It looks so festive. A simple green salad with a tart vinaigrette is perfect alongside. It cuts through the richness.
Now, what to drink? For the grown-ups, a glass of chilled apple cider or a light white wine is lovely. For a cozy non-alcoholic treat, try sparkling apple juice with a cinnamon stick. It feels so special. Which would you choose tonight?
Keeping Your Stuffing Cozy for Later
Let’s talk about storing this lovely stuffing. First, let it cool completely. Warm food in a container makes steam. Steam makes everything soggy.
Cover it tightly and it will keep in the fridge for three days. You can also freeze it for a month. I once froze a whole batch for my grandson’s surprise visit. It was a lifesaver!
To reheat, add a splash of broth. Then warm it in the oven, covered. This keeps it moist. Batch cooking matters because it gives you more time with family.
You are not stuck in the kitchen all day. Have you ever tried storing it this way? Share below!
Simple Fixes for Common Stuffing Troubles
Is your stuffing too dry? Do not worry. Simply drizzle more warm broth over it. Let it soak in for a few minutes. I remember when my first stuffing turned out like croutons!
Is it too wet or soggy? You might have added too much broth. Spread it on a baking sheet. Bake it a bit longer to dry it out. This step builds your cooking confidence.
Does it lack flavor? Taste it before it goes in the dish. You can always add a pinch more salt or herbs. Good seasoning makes the whole meal sing. Which of these problems have you run into before?
Your Stuffing Questions, Answered
Q: Can I make this gluten-free?
A: Yes! Use your favorite gluten-free bread. Let it get stale first.
Q: How far ahead can I make it?
A: You can prepare it fully one day ahead. Follow the “Make Ahead” instructions.
Q: What if I don’t have poultry seasoning?
A: Use dried sage, thyme, and rosemary. A simple mix works beautifully.
Q: Can I make a smaller batch?
A: Absolutely. Just cut all the ingredients in half. Use a smaller baking dish.
Q: Any optional tips?
A: Try adding chopped apples or sausage. Fun fact: The browned butter is my secret for a nutty taste. Which tip will you try first?
From My Kitchen to Yours
I hope you love making this stuffing. It is a recipe full of good memories for me. I can almost smell it baking now.
Please tell me all about your cooking adventure. I love hearing your stories. Your kitchen is a place for joy and good food.
Have you tried this recipe? Share your experience in the comments! I read every one. Happy cooking!
—Grace Ellington.
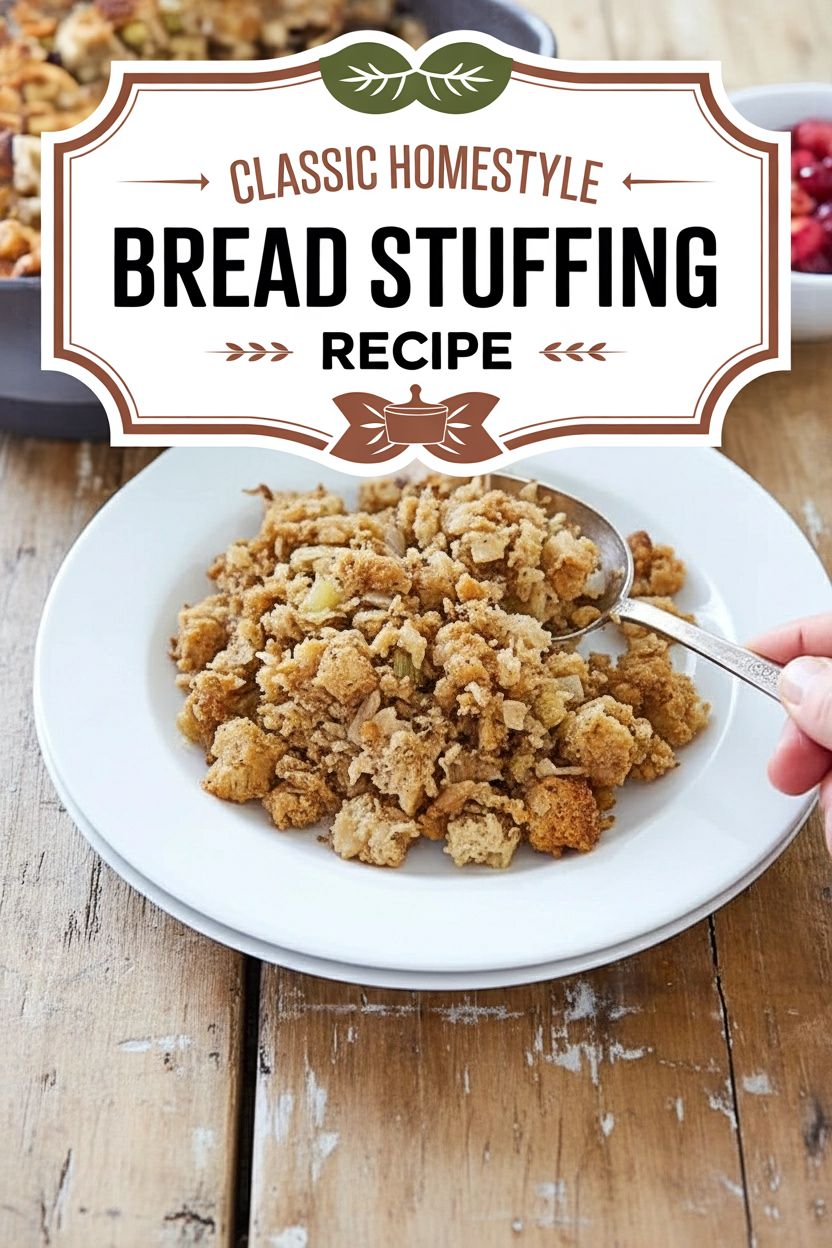
Classic Homestyle Bread Stuffing Recipe
Description
Back-to-Basics Bread Stuffing
Ingredients
Instructions
- Adjust oven racks to upper-middle and lower-middle positions and heat oven to 325 degrees. Divide bread between 2 rimmed baking sheets and bake until golden brown, 50 to 55 minutes, stirring bread and switching and rotating sheets halfway through. Cool completely on baking sheets, then transfer to large bowl.
- Melt butter in 12-inch skillet over medium-low heat. Cook, stirring constantly, until butter is nutty brown, 5 to 7 minutes. Reserve 3 tablespoons browned butter in small bowl. Add onions and celery to skillet, increase heat to medium, and cook until browned, 12 to 15 minutes. Stir in poultry seasoning, salt, and pepper and cook until fragrant, about 30 seconds. Add vegetable mixture to bowl with toasted bread.
- Increase oven temperature to 425 degrees. Add 2 cups broth to now-empty skillet and cook over high heat, scraping up any browned bits, until reduced to 1 cup, 6 to 8 minutes. Combine remaining 4 cups broth and reduced broth with vegetable-bread mixture and let sit for 10 minutes, stirring once. Transfer stuffing to 13 by 9-inch baking dish and press into even layer. Drizzle reserved browned butter evenly over top and bake on upper-middle rack until golden brown and crisp, 35 to 45 minutes. Let cool for 15 minutes. Serve.
- Make Ahead: Stuffing without butter topping can be refrigerated in baking dish, covered with aluminum foil, for up to 1 day. To finish, remove foil, drizzle with melted reserved browned butter, re-cover, and bake for 10 minutes. Uncover and bake until stuffing is heated through and top is golden brown, 35 to 40 minutes.
Notes
- For a richer flavor, use homemade chicken broth. To make ahead, follow the instructions in step 4.