
The Story of a Wobbly Tart
My first apple tart was a funny sight. I was so nervous. I pressed the dough too thin in one spot.
It made a little hole when it baked. I patched it with extra filling. I still laugh at that. We all start somewhere. What was your first baking adventure like? Did it turn out perfect, or wonderfully wobbly like mine?
Why This Crust is a Friend
This crust is not scary. You just mix and press it in. No rolling pin needed. Your hands are the best tool.
Using melted butter makes it easy. It bakes alone first. This matters. It gives the crust a head start. It stays crisp under the juicy apples. No soggy bottom here!
The Secret in Two Parts
We cook the apples two ways. First, we soften slices for the top. They become bendy for arranging. Doesn’t that smell amazing?
The other apples get cooked down into puree. This is the hidden layer. *Fun fact: This double-apple method is very classic in French bakeries.* It gives you two textures. Creamy underneath, tender on top. That is why every bite sings.
The Magic of a Simple Glaze
Do not skip the apricot glaze. Warm it up and brush it on. It seems like a small step. But it does big things.
It makes the tart shine like a jewel. It also adds a hint of sweet flavor. This matters because it protects the apples. It keeps them looking fresh and pretty for hours. What’s your favorite shiny finish on a dessert? Is it glaze, powdered sugar, or something else?
Your Turn to Create
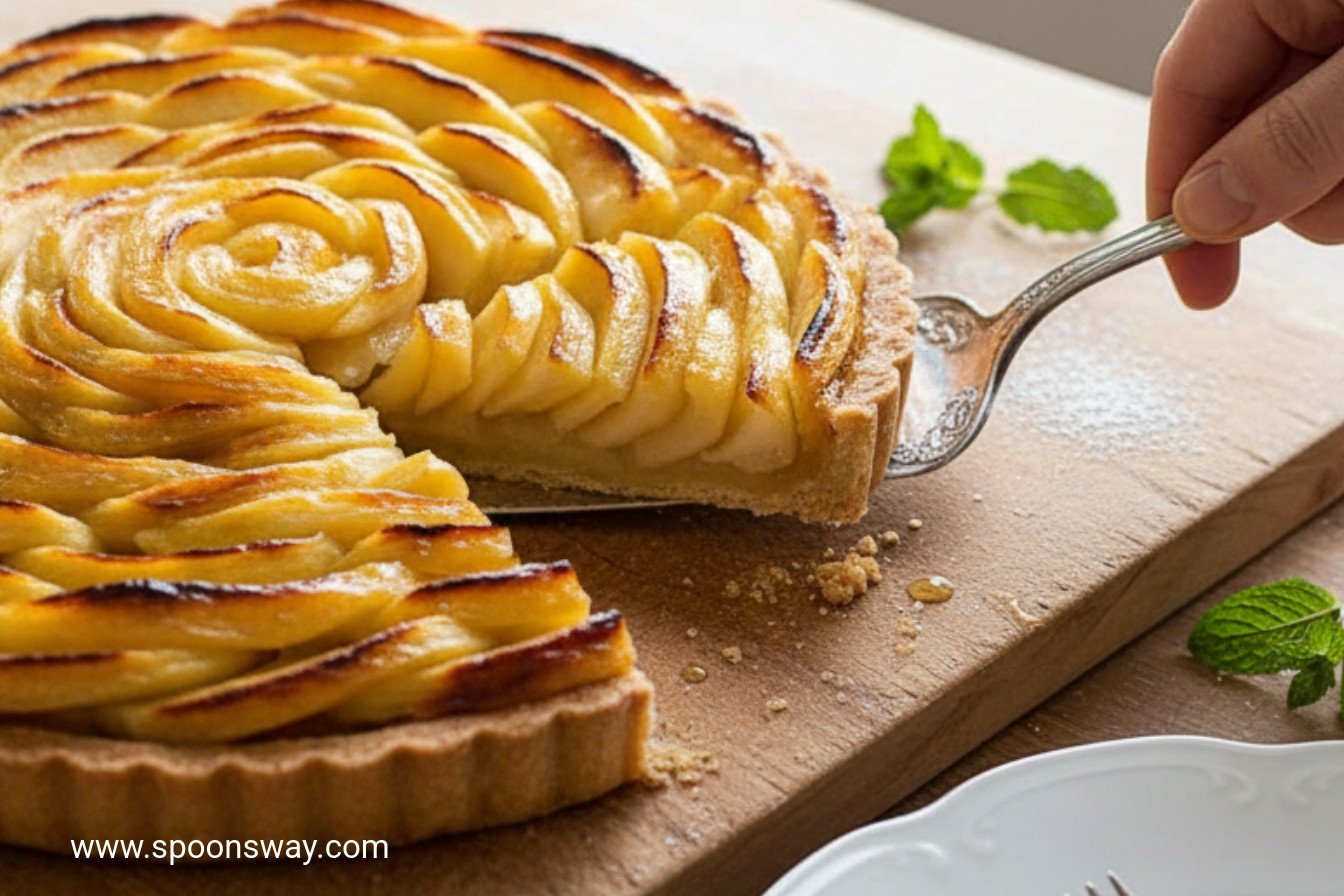
Arranging the apple slices is my favorite part. You make a beautiful spiral. Start from the outside and work in. No pattern is wrong.
It is your edible artwork. The broiler step is quick. Watch it closely. It turns the top a lovely golden brown. That caramelized flavor is the final hug. When you pull it out, let it rest. This patience makes slicing clean. Which do you find more fun: making the design or sharing the finished slice?
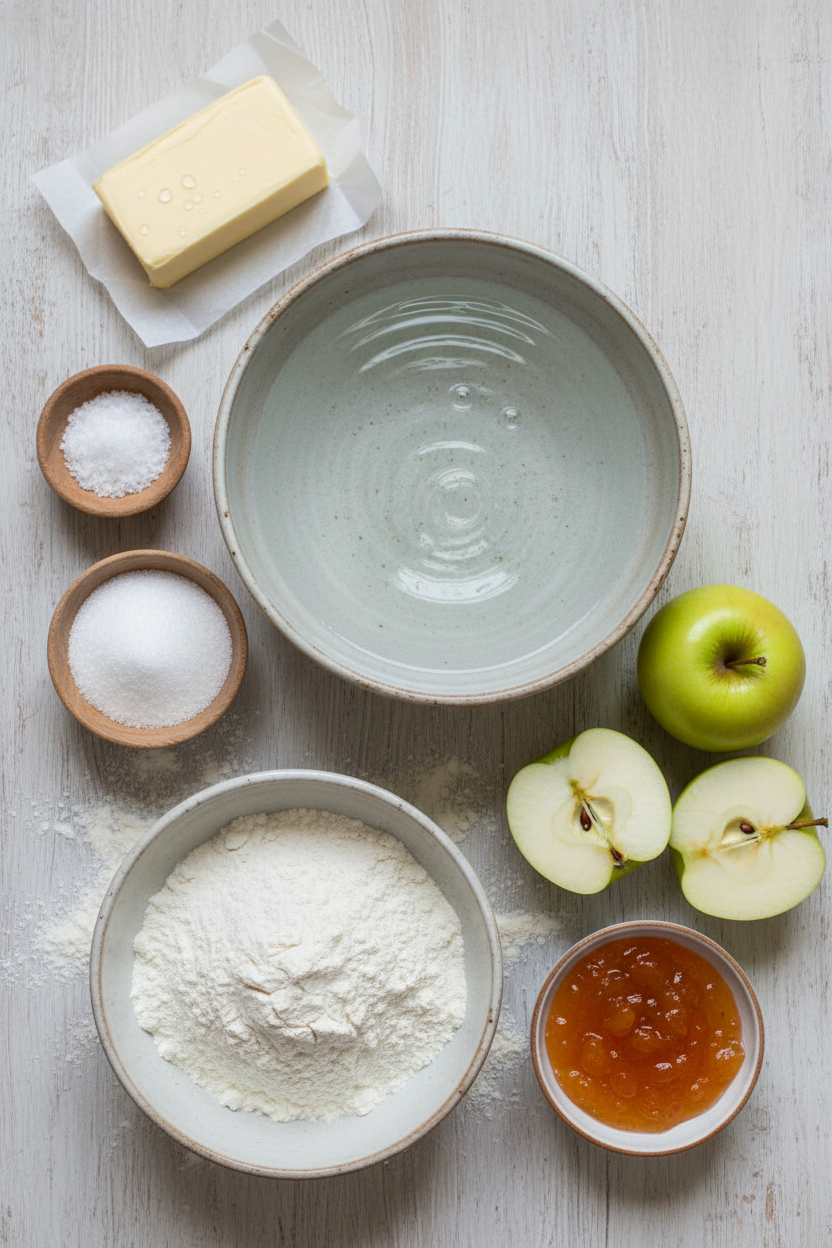
Ingredients:
| Ingredient | Amount | Notes |
|---|---|---|
| All-purpose flour | 1 ⅓ cups (6 ⅔ ounces/189 grams) | For the crust |
| Sugar | 5 tablespoons (2 ¼ ounces/64 grams) | For the crust |
| Salt | ½ teaspoon | For the crust |
| Unsalted butter, melted | 10 tablespoons | For the crust |
| Golden Delicious apples | 10 (8 ounces each) | Peeled and cored, for the filling |
| Unsalted butter | 3 tablespoons | For the filling |
| Water | 1 tablespoon | For the filling |
| Apricot preserves | ½ cup | For the filling |
| Salt | ¼ teaspoon | For the filling |
My French Apple Tart Story
Hello, my dear. Come sit at the table. I want to tell you about my favorite apple tart. It reminds me of crisp autumn afternoons. The kitchen would smell like butter and sweet fruit. I learned this recipe years ago. It feels fancy but is made with love. Let’s bake it together. I’ll walk you through each simple step. You can do this.
Step 1: First, we make the sweet crust. Mix the flour, sugar, and salt. Pour in the melted butter. Stir until it looks like dough. Now, press it into your tart pan. Use your fingers to push it up the fluted sides. I still love how this feels. Bake it until it’s a deep golden brown. (A hard-learned tip: Press the dough evenly. A thick spot won’t bake the same as a thin one.)
Step 2: Next, prepare the apple slices. Peel and core five apples. Cut them into pretty, thin slices. Melt a little butter in your skillet. Add the slices and a splash of water. Cook them just until they bend. Doesn’t that smell amazing? Lay them out to cool. We will use these for the beautiful top.
Step 3: Now, let’s make the apple “jam.” Warm your apricot preserves. Strain them to get a smooth glaze. Set some aside for later. Chop the other five apples into chunks. Cook them with butter and the preserves. They will get very soft. Mash them into a thick, cozy puree. What’s your favorite apple for baking? Share below!
Step 4: Time to assemble our tart. Spread the warm apple puree into the baked crust. Smooth it with a spoon. Now, arrange your pretty slices in circles. Start from the outside and work in. It’s like making a flower. I still laugh at my first try. My circles were a bit wobbly. Yours will be lovely.
Step 5: Bake the tart again. This melds all the flavors. Then, we give it a shiny finish. Warm the reserved apricot glaze. Brush it all over the apple slices. Finally, use the broiler for just a minute. Watch it closely. This gives you those gorgeous caramelized spots. Let it cool completely before you slice. The wait is the hardest part.
Cook Time: About 1 hour 30 minutes
Total Time: About 3 hours (with cooling)
Yield: 8 servings
Category: Dessert, Baking
Three Tasty Twists to Try
This tart is a wonderful friend. It loves to dress up in new ways. Here are a few ideas from my kitchen. They are all simple and delicious.
Spiced Pear & Apple: Use half apples and half ripe pears. Add a pinch of cardamom to the puree.
Rustic Berry Swirl: Fold a handful of fresh raspberries into the apple puree. It adds a lovely pink hue and tartness.
Brown Sugar Crumble Top: Skip arranging the slices. Instead, sprinkle a buttery oat crumble over the puree before the final bake.
Which one would you try first? Comment below!
Serving It With Style
A warm slice of this tart is a happy ending to any meal. I like to plate it simply. A dollop of softly whipped cream is perfect. A small scoop of vanilla ice cream is also wonderful. It melts into the tart so nicely. For a special touch, add a few toasted almond slices on top.
What to drink with it? For the grown-ups, a small glass of chilled dessert wine is lovely. It tastes like honey and autumn. For everyone, a mug of warm spiced cider is my favorite. The cinnamon in the cider sings with the apples in the tart. Which would you choose tonight?
Keeping Your Apple Tart Happy
This tart is best the day you make it. But I understand wanting to save a slice. Let it cool completely first. Then, cover it loosely and keep it on the counter. It will be fine for a day.
For longer storage, the fridge is your friend. Wrap it up tight. It will keep for about three days. The crust may soften a little, but the flavor is still wonderful.
You can freeze the whole tart before baking. Assemble it in the pan. Wrap it well in plastic and foil. Bake it straight from the freezer, adding a few extra minutes. I once forgot a tart in my freezer for a month. It baked up perfectly for a surprise guest!
Storing food well means less waste. It also means a sweet treat is always ready for you. Have you ever tried storing it this way? Share below!
Simple Fixes for Common Hiccups
Sometimes, our baking doesn’t go as planned. That’s okay. Here are easy fixes for common troubles.
Is your crust too crumbly? The dough must be pressed in firmly. Use the flat bottom of a cup to smooth it. I remember when my first crust fell apart. I hadn’t pressed it in well enough.
Are the apples not caramelizing under the broiler? Your rack might be too low. Move it closer to the heat. Watch it like a hawk. It only takes a minute.
Is the apple puree too runny? Just cook it a bit longer. Stir it until it thickens nicely. This step matters for a firm, sliceable filling. Getting these steps right builds your kitchen confidence. Which of these problems have you run into before?
Your Apple Tart Questions, Answered
Q: Can I make this gluten-free? A: Yes. Use your favorite gluten-free flour blend. The press-in crust is very forgiving.
Q: Can I make parts ahead? A: Absolutely. The crust can be baked a day early. Just wrap it tightly at room temperature.
Q: What if I don’t have apricot preserves? A: Apple jelly is a fine swap. The goal is a shiny, sweet glaze.
Q: Can I make a smaller tart? A: You can halve the recipe. Use a smaller tart pan or a pie dish.
Q: Any optional tips? A: A pinch of cinnamon in the puree is lovely. Fun fact: In France, this tart is often called “Tarte aux Pommes à l’Ancienne,” which means “old-fashioned.” Which tip will you try first?
From My Kitchen to Yours
I hope you try this beautiful tart. It looks fancy but is quite simple. The smell of apples baking is pure happiness.
I love hearing your stories. Tell me about your baking adventures. Did your family enjoy it? Have you tried this recipe? Share your experience in the comments.
Thank you for spending time with me in my kitchen today. Happy cooking!
—Grace Ellington.
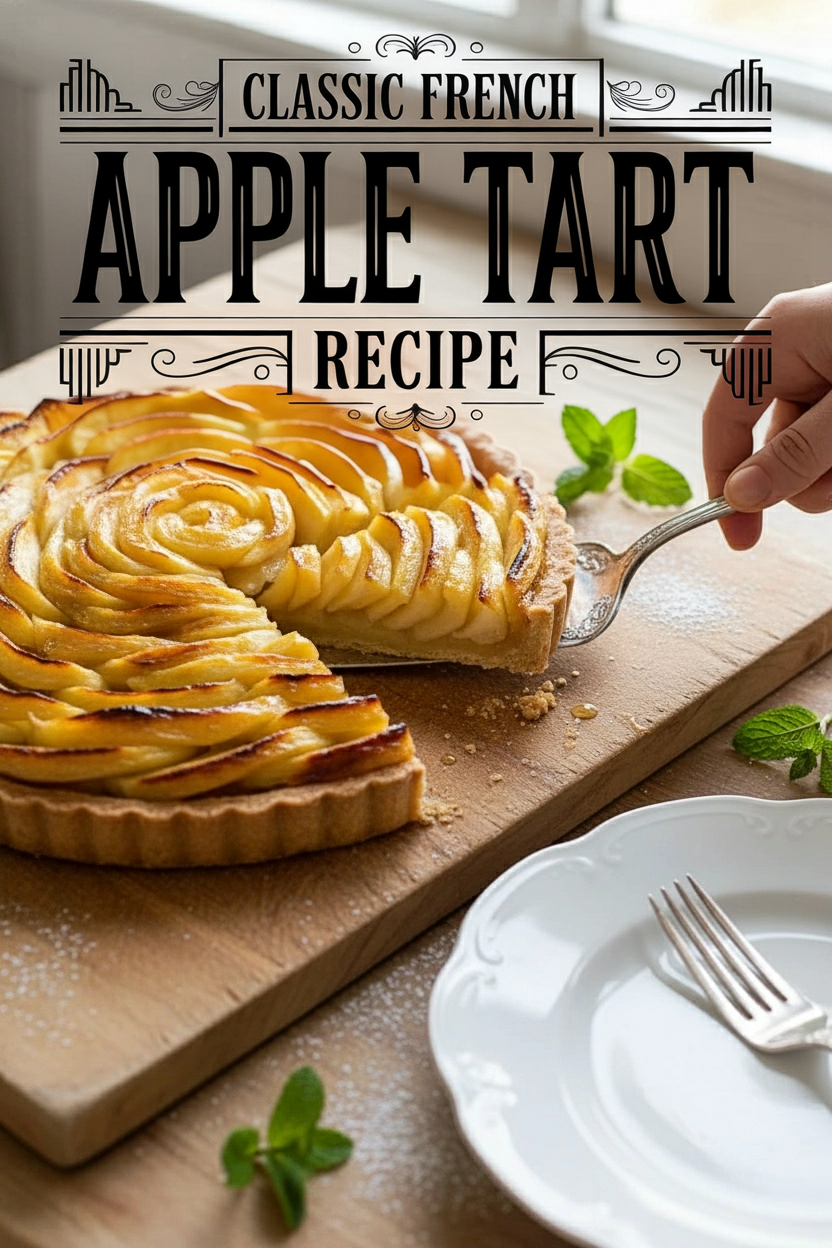
Classic French Apple Tart Recipe
Description
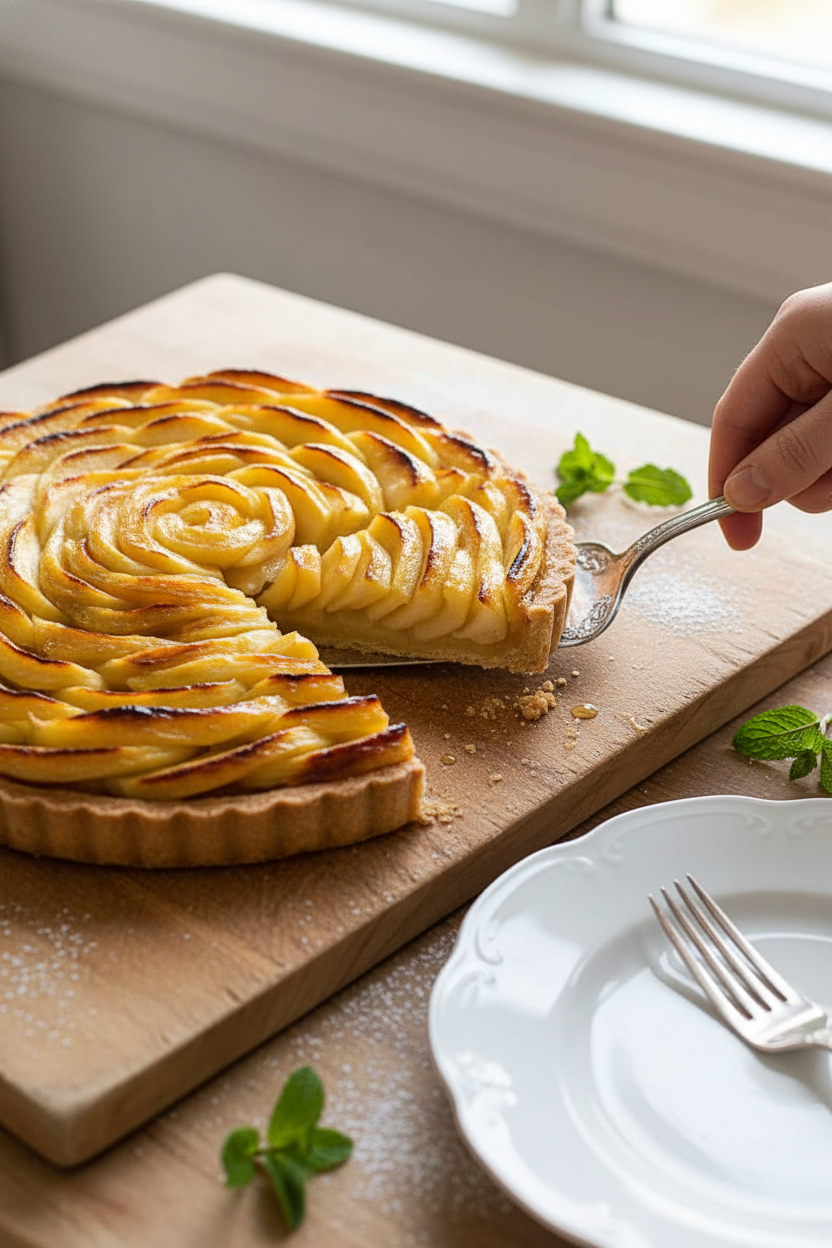
A beautiful and delicious Classic French Apple Tart, featuring a buttery crust, smooth apple puree, and a stunning fan of caramelized apple slices.
Ingredients
Crust
Filling
Instructions
- Adjust 1 oven rack to lowest position and second rack 5 to 6 inches from broiler element. Heat oven to 350 degrees. Whisk flour, sugar, and salt together in bowl. Add melted butter and stir with wooden spoon until dough forms. Using your hands, press two-thirds of dough into bottom of 9-inch tart pan with removable bottom. Press remaining dough into fluted sides of pan. Press and smooth dough with your hands to even thickness. Place pan on wire rack set in rimmed baking sheet and bake on lowest rack, until crust is deep golden brown and firm to touch, 30 to 35 minutes, rotating pan halfway through baking. Set aside until ready to fill.
- Cut 5 apples lengthwise into quarters and cut each quarter lengthwise into 4 slices. Melt 1 tablespoon butter in 12-inch skillet over medium heat. Add apple slices and water and toss to combine. Cover and cook, stirring occasionally, until apples begin to turn translucent and are slightly pliable, 3 to 5 minutes. Transfer apples to large plate, spread into single layer, and set aside to cool. Do not clean skillet.
- While apples cook, microwave apricot preserves until fluid, about 30 seconds. Strain preserves through fine-mesh strainer into small bowl, reserving solids. Set aside 3 tablespoons strained preserves for brushing tart.
- Cut remaining 5 apples into 1/2-inch-thick wedges. Melt remaining 2 tablespoons butter in now-empty skillet over medium heat. Add remaining apricot preserves, reserved apricot solids, apple wedges, and salt. Cover and cook, stirring occasionally, until apples are very soft, about 10 minutes.
- Mash apples to puree with potato masher. Continue to cook, stirring occasionally, until puree is reduced to 2 cups, about 5 minutes.
- Transfer apple puree to baked tart shell and smooth surface. Select 5 thinnest slices of sautéed apple and set aside. Starting at outer edge of tart, arrange remaining slices, tightly overlapping, in concentric circles. Bend reserved slices to fit in center. Bake tart, still on wire rack in sheet, on lowest rack, for 30 minutes. Remove tart from oven and heat broiler.
- While broiler heats, warm reserved preserves in microwave until fluid, about 20 seconds. Brush evenly over surface of apples, avoiding tart crust. Broil tart, checking every 30 seconds and turning as necessary, until apples are attractively caramelized, 1 to 3 minutes. Let tart cool for at least 1 1/2 hours. Remove outer metal ring of tart pan, slide thin metal spatula between tart and pan bottom, and carefully slide tart onto serving platter. Cut into wedges and serve.
Notes
- Ensure the apple slices for the top are patted dry before arranging to help them caramelize under the broiler. For best results, use a tart pan with a removable bottom.