
A Cozy Winter Project
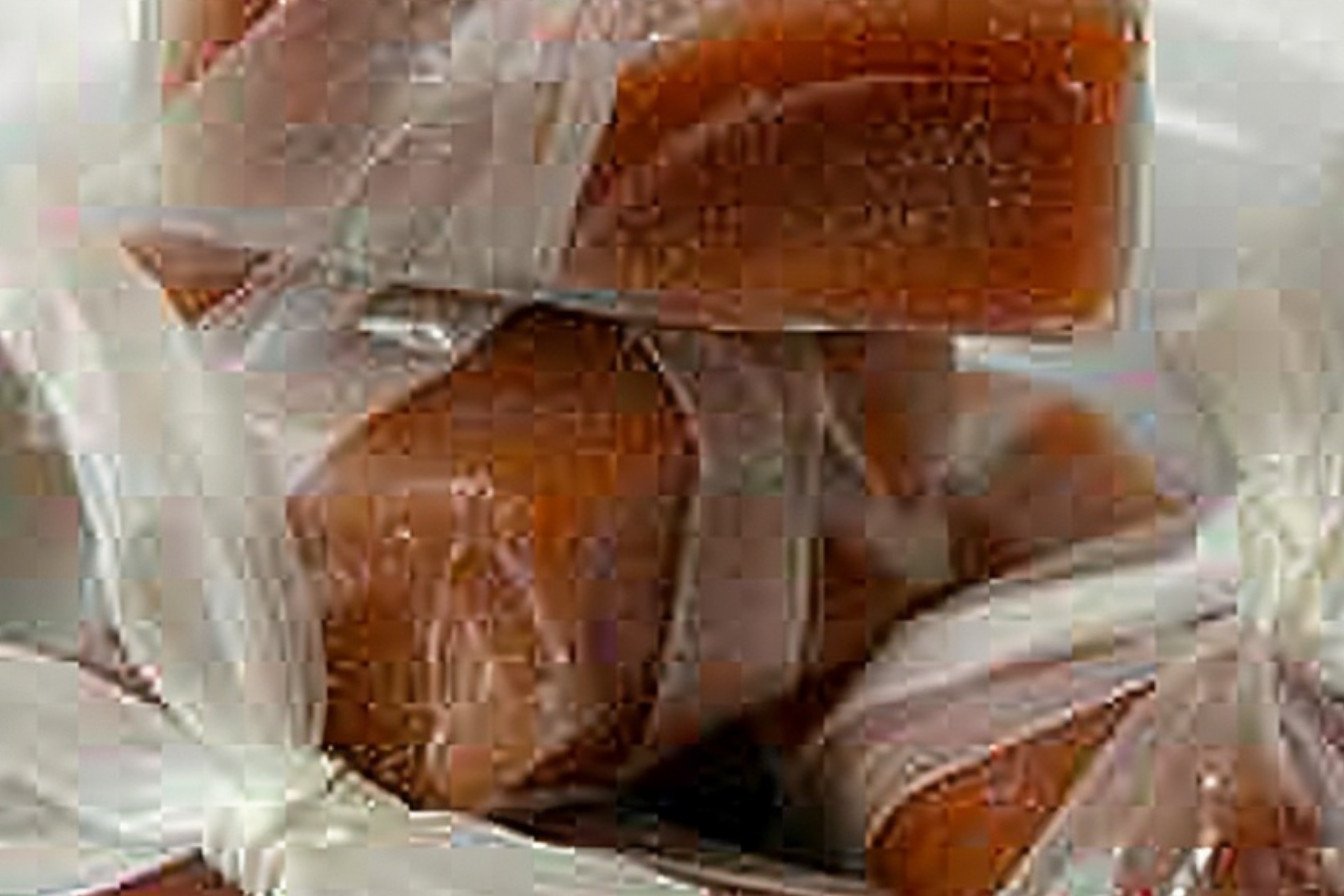
Let’s make some chewy eggnog caramels. This is a perfect project for a chilly day. Your kitchen will smell like a holiday dream. Doesn’t that sound wonderful?
These candies are a sweet, creamy treat. They remind me of my own grandma. She always had a candy dish full of something special. I think homemade gifts are the best kind. What is your favorite homemade gift to get?
The Magic of Eggnog
We use real eggnog for this recipe. It gives the caramel its rich, spiced flavor. It’s like drinking eggnog, but in a chewy candy form. I still laugh at that idea.
Fun fact: Eggnog has been a winter drink for hundreds of years. It was a special treat because milk and eggs were scarce in winter. This matters because food connects us to the past. Every time we make it, we share a story.
A Little Candy Thermometer Story
The first time I made candy, I did not use a thermometer. I thought I could guess. My “caramels” were a sticky soup. It was a funny mess.
Now I always use my thermometer. It is my kitchen friend. For a soft, chewy candy, we heat it to 245 degrees. This matters because a little patience makes a perfect treat. Do you have a kitchen tool you cannot live without?
The Secret to Cutting Caramels
Waiting for the caramel to cool is hard. I always want to peek. But trust me, let it sit in the fridge for hours. Overnight is even better.
When it’s time to cut, use a buttered knife. This little trick stops the candy from sticking. It makes everything so much easier. Have you ever tried wrapping candies in wax paper? It makes them feel so professional.
Sharing Your Sweet Creations
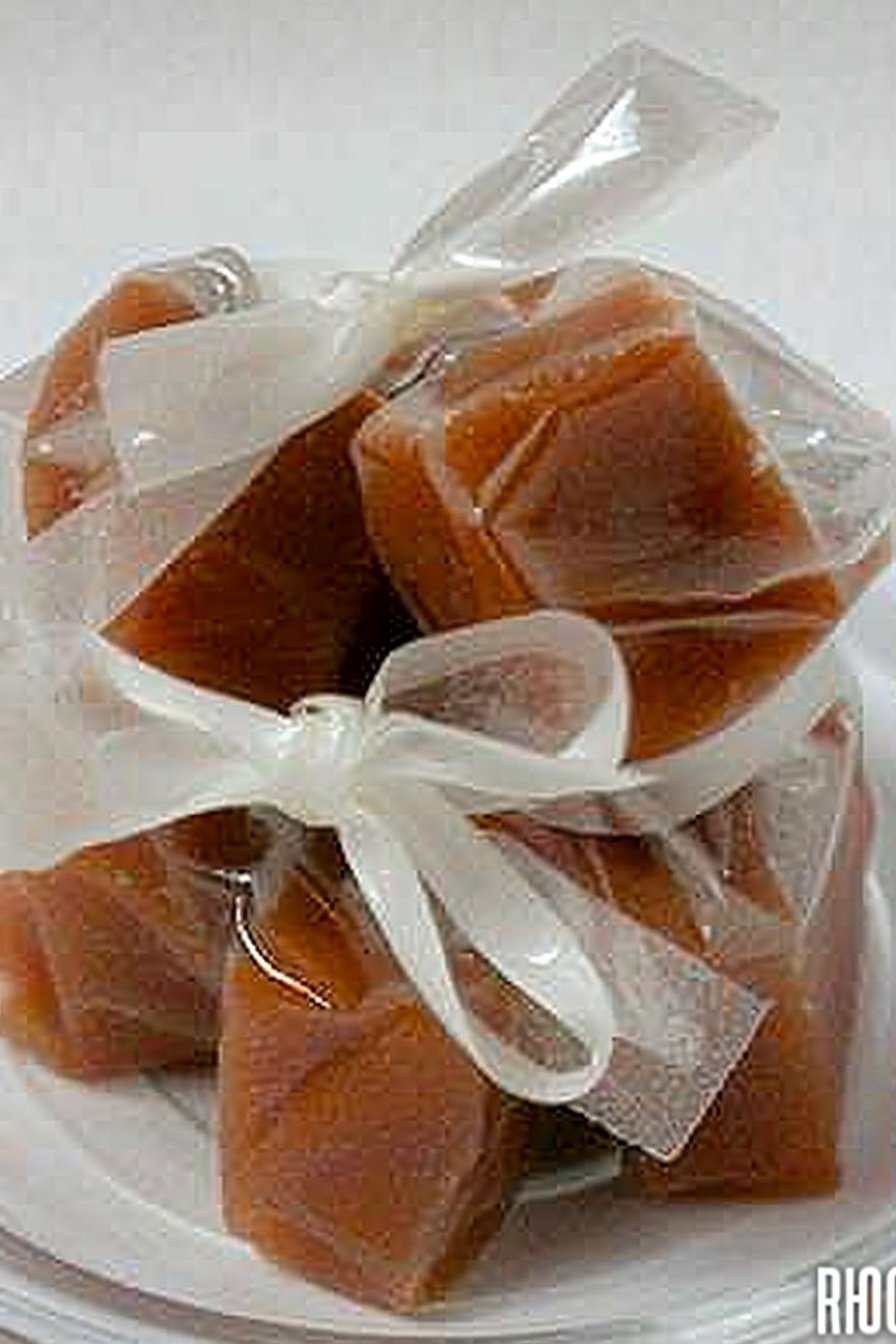
These caramels are wonderful to share. Put a few in a little bag for a friend. It shows you care. A small treat can make a big difference in someone’s day.
This matters because sharing food is sharing love. It is a simple truth. What is the best food gift you have ever received? I would love to hear your story.
Ingredients:
| Ingredient | Amount | Notes |
|---|---|---|
| Eggnog | 1 & 1/2 cups | |
| Sugar | 1/2 cup | |
| Brown Sugar | 1/2 cup | |
| Vanilla | 1 tsp |
A Sweet Slice of Holiday Magic
My grandson calls these my “hug in a candy wrapper.” I think he’s right. Making these caramels fills my kitchen with the warmest, coziest smell. It reminds me of snowy afternoons with my own grandmother. She taught me that the best recipes are made with patience and a happy heart. Let’s make some sweet memories together, shall we?
Step 1
Grab a good, heavy-bottomed saucepan. Pour in your eggnog and both sugars. Turn the heat to medium. Now, you must stir and stir. I like to use a wooden spoon. Keep stirring until you see little bubbles all over the top.
Step 2
Once it’s bubbling, stop stirring. This is important. Now, carefully clip your candy thermometer to the side of the pan. While it heats up, get your pan ready. Line an 8×8 pan with foil. Butter that foil really well. (A hard-learned tip: If you skimp on the butter, you’ll be sorry later!).
Step 3
See those sugary bits on the pan’s sides? We don’t want those. Dip a pastry brush in water. Gently brush the sides of the pan to wash them down. This keeps our caramel perfectly smooth. I still laugh at the first time I forgot this step. My caramels were a bit gritty!
Step 4
Watch that thermometer closely. When it hits 245 degrees, pull the pan off the heat. Stir in the vanilla. Doesn’t that smell amazing? For a softer, chewier candy, I take it off at 237 degrees. It’s my little secret. What’s your favorite kind of candy to get in your stocking? Share below!
Step 5
Pour the hot caramel into your buttered pan. Let it cool on the counter for a bit. Then, tuck it into the fridge. It needs a long nap, about 5 hours or even overnight. The waiting is the hardest part, I know.
Step 6
Time to cut! Lift the whole block out using the foil. Flip it over onto a cutting board. Peel off the foil. Use a sharp knife, and butter the blade so it doesn’t stick. Cut them into little squares. Wrap each one in a twist of wax paper. They keep best in the fridge.
Cook Time: 15–20 minutes
Total Time: 5–6 hours
Yield: About 36 pieces
Category: Dessert, Candy
Three Tasty Twists to Try
Once you master the basic recipe, you can have some fun. I love playing with different flavors. It makes each batch a new little adventure. Here are a few of my favorite ideas to mix things up. They are all so simple, but they feel so fancy.
- A Pinch of Pumpkin Spice. Add a half teaspoon with the vanilla. It tastes like a cozy fall day.
- A Dash of Nutty Fun. Stir in a handful of chopped pecans right before pouring. It adds a lovely little crunch.
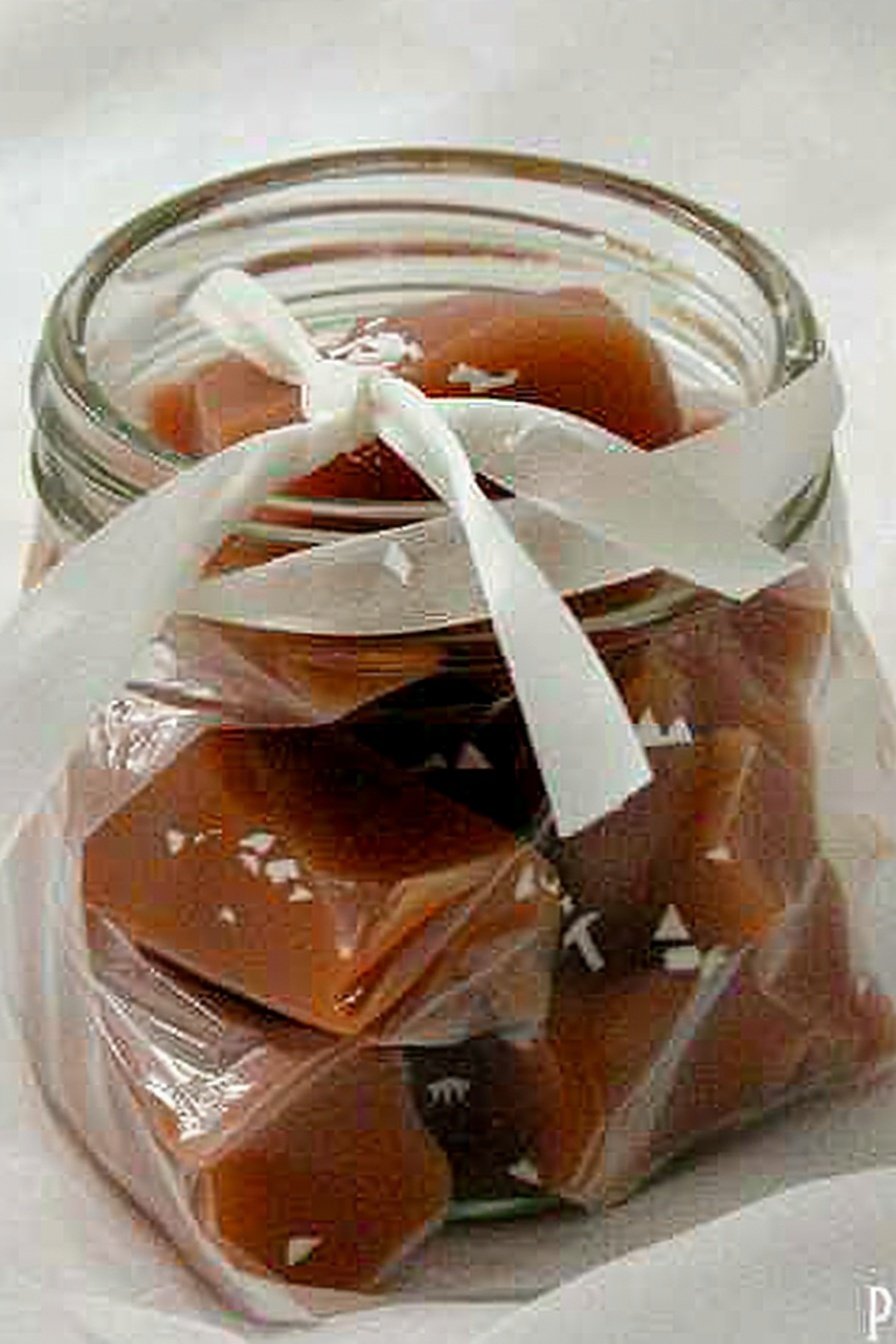
- A Sprinkle of Sea Salt. Just a tiny pinch on top after you pour. The sweet and salty mix is wonderful.
Which one would you try first? Comment below!
Serving Your Sweet Creations
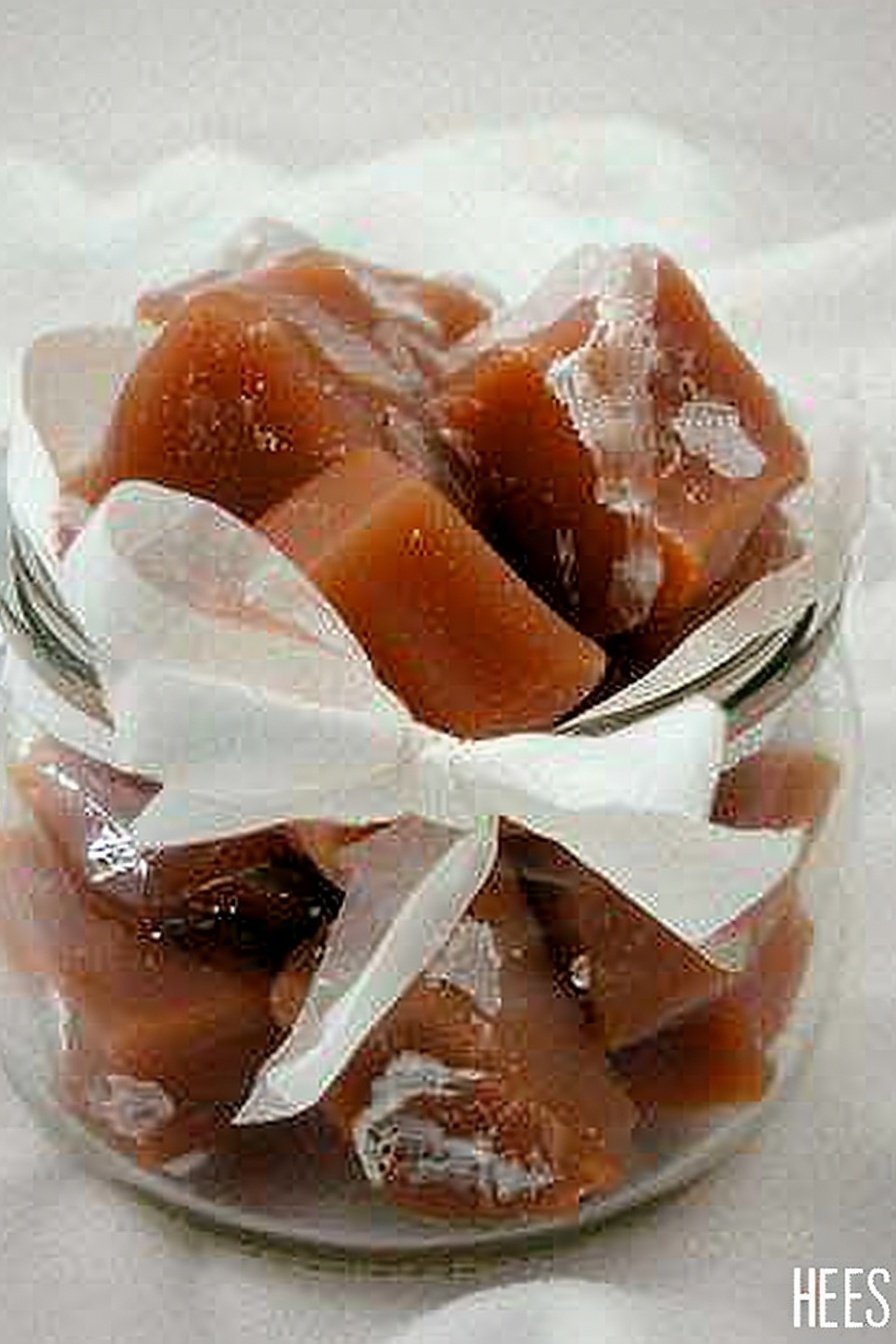
These caramels are wonderful all on their own. But I think food tastes better when it’s shared beautifully. Place a few in a little ceramic dish. It looks so inviting on the coffee table. You could also stack them on a pretty plate as a gift for a neighbor. It’s a gift from the heart.
For a drink, a hot cup of coffee is my go-to. The bitterness pairs so nicely with the sweet candy. For a special treat, a small glass of creamy bourbon is just right for the grown-ups. It feels so festive and warm. Which would you choose tonight?
Keeping Your Caramels Fresh
These caramels are best kept cold. Store them in the fridge in a wax paper lined box. They will stay chewy and delicious for about a week. You can also freeze them for a month. Just wrap them tightly so they do not get freezer burn.
I like to make a double batch. It is the same amount of work for twice the treats. I remember my first batch. I left it on the counter by mistake. It became a sticky puddle. I learned my lesson about the fridge that day.
Batch cooking saves you time later. It means you always have a sweet treat ready for guests. This makes life a little bit sweeter. Have you ever tried storing it this way? Share below!
Caramel Troubles and Easy Fixes
Sometimes caramel can be tricky. Do not worry. I have some easy fixes for you. First, the caramel might not get thick. This means it did not get hot enough. Use your candy thermometer. It is your best friend for this job.
Second, sugar crystals can form on the pan’s sides. I once had a batch turn gritty. Now I always brush the sides with water. This stops those crystals from growing. Getting the temperature right matters for the perfect chewy bite.
Third, cutting caramels can be messy. Your knife must be very sharp and buttered. This gives you clean squares. Fixing small problems builds your cooking confidence. It also makes your food taste much better. Which of these problems have you run into before?
Your Caramel Questions Answered
Q: Is this recipe gluten-free? A: Yes, all the ingredients are naturally gluten-free. Always check your eggnog label to be sure.
Q: Can I make it ahead? A: Absolutely. Make it up to a week ahead. Keep it wrapped in the fridge.
Q: What if I do not have brown sugar? A: You can use all white sugar. The flavor will be a little less rich.
Q: Can I double the recipe? A: Yes, just use a bigger saucepan. It will need a few more minutes to cook.
Q: Any extra tips? A: A pinch of nutmeg makes it taste even more like eggnog. *Fun fact: Eggnog dates back to medieval England!* Which tip will you try first?
A Sweet Note From My Kitchen
I hope you love making these sweet treats. They always remind me of snowy days. My kitchen fills with a wonderful, warm smell. It is a happy feeling.
I would love to see your creations. Sharing food is a way to share joy. Have you tried this recipe? Tag us on Pinterest! You can find me at Grace’s Kitchen. I cannot wait to see your beautiful caramels.
Happy cooking!
—Grace Ellington.
Chewy Eggnog Caramels
Description
Indulge in the festive flavors of the season with these homemade Chewy Eggnog Caramels, a sweet and creamy holiday treat.
Ingredients
Instructions
- In saucepan over medium heat: mix eggnog and sugars.
- Stir continuously until liquid begins to boil.
- Once boiling, stop stirring and attach your candy thermometer.
- While the caramel is cooking, line an 8×8 pan with foil and butter the foil (don’t skimp on the butter).
- Dip a heat resistant brush into water and wipe down the sides of the pan to remove any sugar crystals.
- Once the caramel reaches 245 degrees F, remove from heat and stir in the vanilla. (I heat my caramels to 235-237 degrees for a soft, chewy consistency)
- Pour into the buttered pan and let cool in the fridge for 5-6 hours or overnight.
- To cut, remove the entire caramel block using the foil. Flip upside down on a flat cutting board and peel off the foil. Cut caramels into desired shape and size using a very sharp, buttered knife. Wrap your candies with wax paper and store in the refrigerator. Eat within a week or so.
Notes
- For a softer, chewier caramel, cook to 235-237 degrees F instead of 245 degrees F.