
The Magic of Brown Butter
Let me tell you about brown butter. It is a simple trick. You cook butter until it turns a golden color. It smells like toasted nuts. It makes everything taste richer and deeper.
I learned this from my friend Marie. She used it in her famous cookies. The first time I smelled it, I was amazed. Doesn’t that smell amazing? It turns a simple ingredient into something special. This matters because small changes make big flavors.
Why We Use a Foil Sling
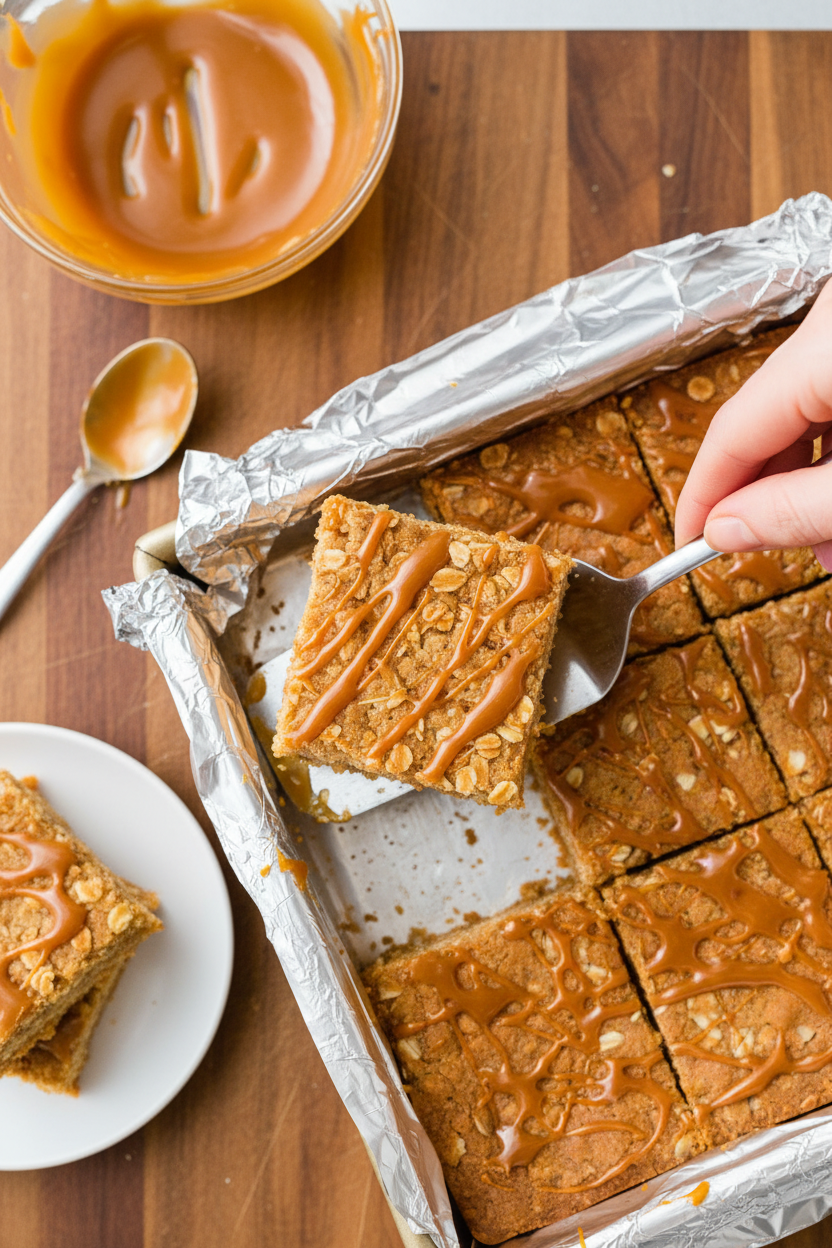
First, we line the pan with foil. This makes a “sling.” It lets you lift the whole batch out later. No stuck corners! No messy knife fights with the pan.
It feels like a little kitchen magic. You just pull up the foil handles. Out comes a perfect sheet of cookie bars. I still laugh at how easy it is. Do you have a favorite kitchen trick that saves you time?
Mixing Hearty Ingredients
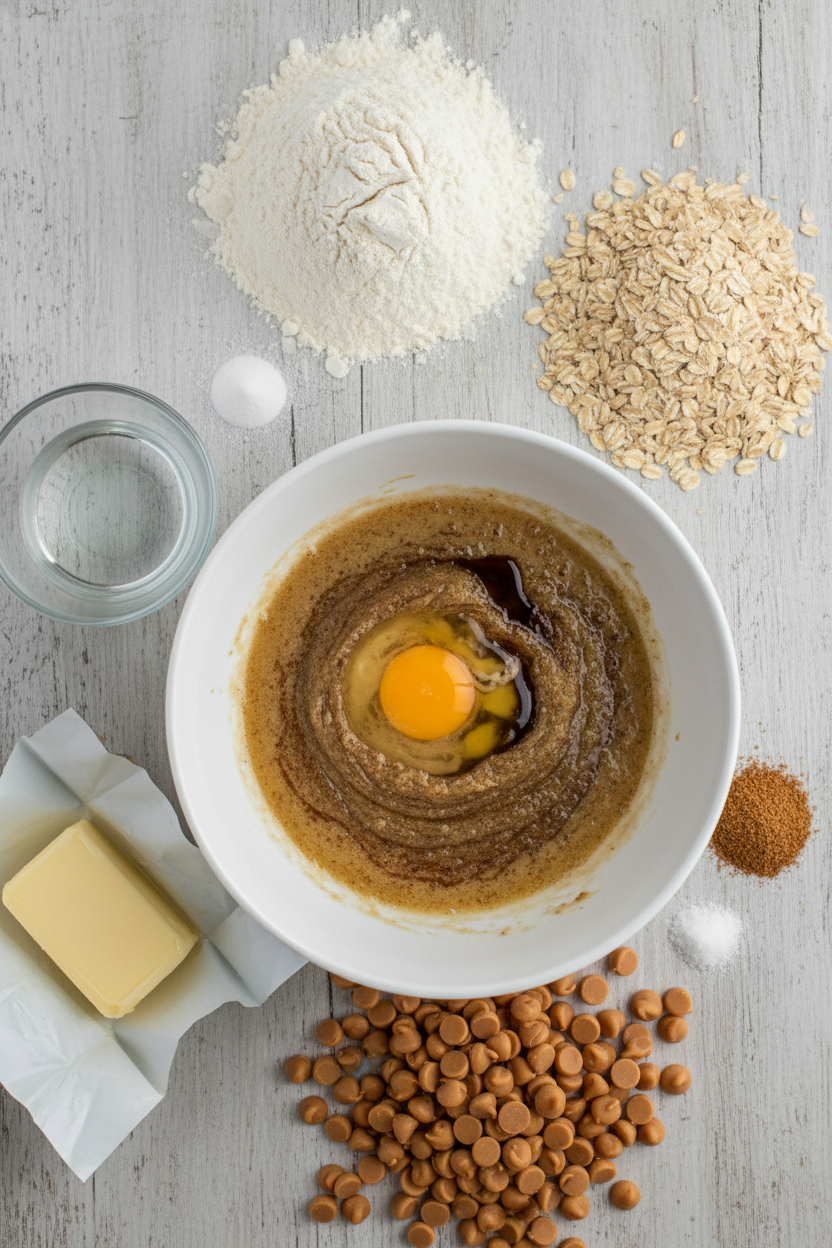
Oats and flour are the base. They make these bars sturdy and chewy. You mix them with the warm, brown butter and butterscotch. The heat melts the chips into a sweet, creamy pool.
Stir in the egg and vanilla last. This brings it all together. The dough will be thick. Pressing it into the pan is fun. You get your hands in there. *Fun fact: Old-fashioned oats are called “rolled oats” because they are steamed and rolled flat!*
Baking and the Final Drizzle
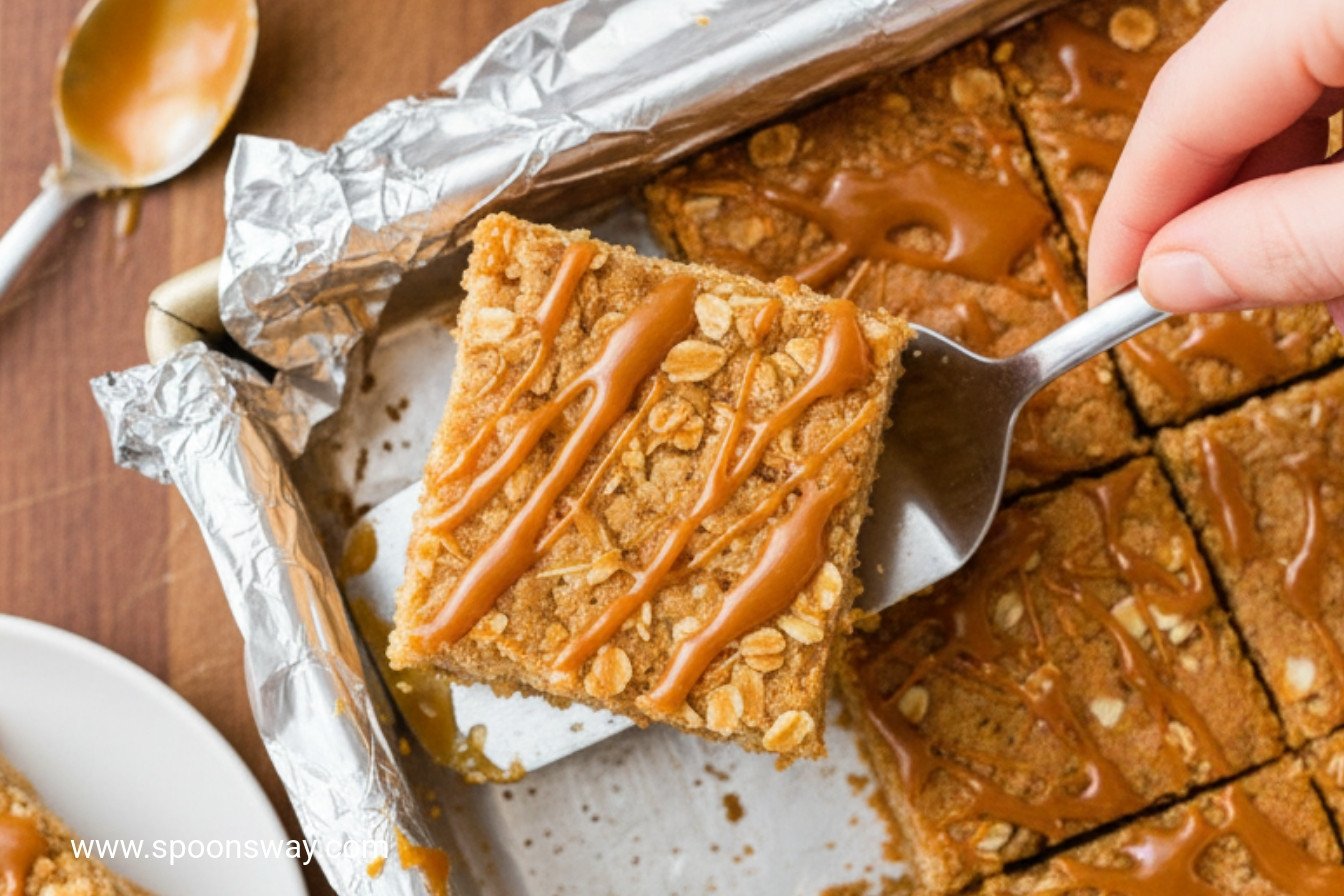
Bake until the edges are golden. The middle should still be a little soft. They keep cooking as they cool. This gives you that perfect chewy texture.
Then comes the glaze. You make a simple syrup with sugar and water. Pour it over more butterscotch chips. Whisk until shiny. Drizzle it over the warm bars. It soaks in just a little. This matters because it adds a sweet, glossy finish. Are you a fan of extra glaze, or do you like things less sweet?
Sharing the Batch
Let them cool completely. Then use the foil to lift them out. Cut them into little squares. You get so many from one pan!
These are perfect for sharing. I always take a plate to my neighbors. Food tastes better when you give some away. It builds a little bridge between kitchens. What’s the last treat you shared with someone?
Ingredients:
| Ingredient | Amount | Notes |
|---|---|---|
| All-purpose flour | 1 ¼ cups (6¼ ounces/177 grams) | For the bars |
| Old-fashioned rolled oats | 2 cups (6 ounces/170 grams) | For the bars |
| Baking soda | ½ teaspoon | For the bars |
| Salt | ½ teaspoon | For the bars |
| Butterscotch chips | ¾ cup (4½ ounces/128 grams) | For the bars |
| Unsalted butter | 16 tablespoons (2 sticks/8 ounces/227 grams) | For the bars, browned |
| Packed dark brown sugar | 1 cup (7 ounces/198 grams) | For the bars |
| Vanilla extract | 2 teaspoons | For the bars |
| Large egg | 1 | For the bars |
| Butterscotch chips | ¼ cup (1½ ounces/43 grams) | For the glaze |
| Packed dark brown sugar | 2 tablespoons | For the glaze |
| Water | 1 tablespoon | For the glaze |
| Salt | ⅛ teaspoon | For the glaze |
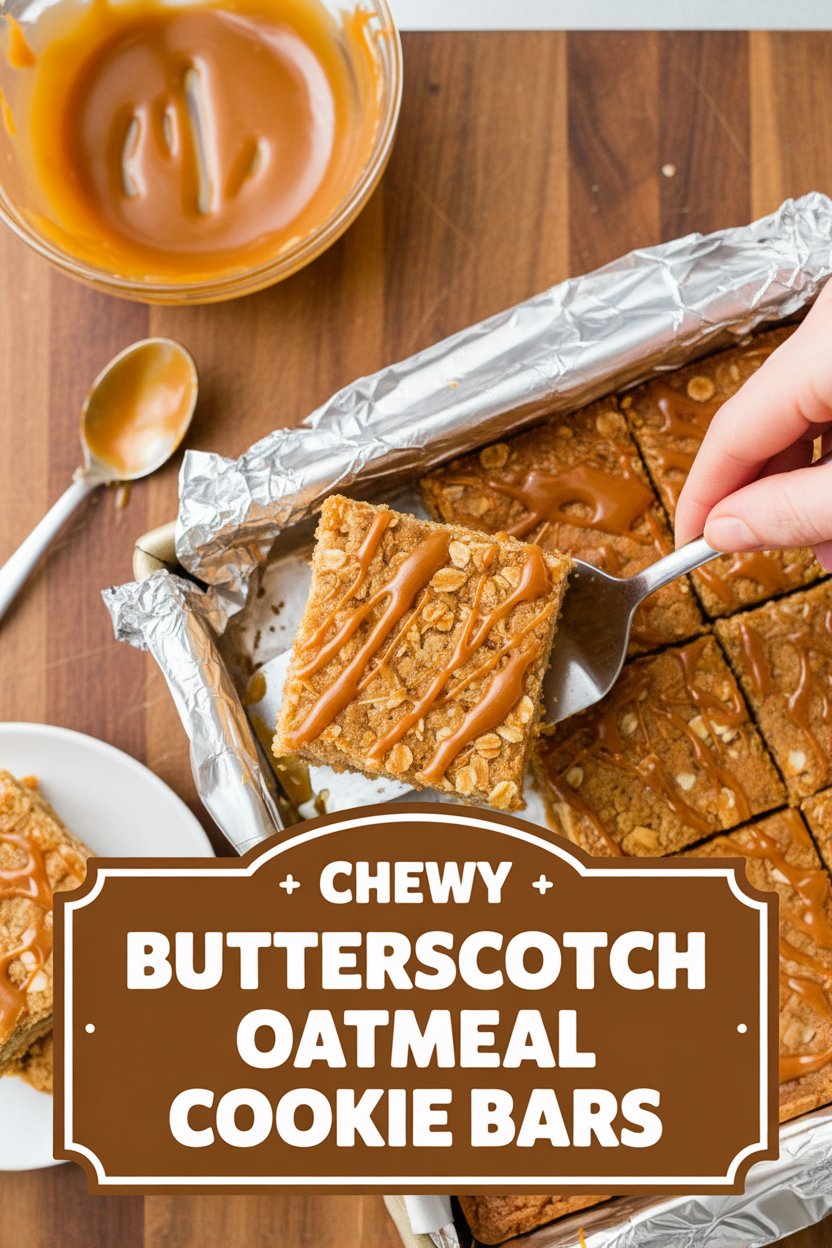
My Chewy Butterscotch Oatmeal Cookie Bars
Hello, dear! Come sit at the counter. I want to share a recipe with you. It’s for my Chewy Butterscotch Oatmeal Cookie Bars. They are my grandson’s absolute favorite. He calls them “sunshine squares.” I think it’s the butterscotch. It makes the whole kitchen smell like warm, sweet candy. Doesn’t that smell amazing? These bars are chewy, a little gooey, and so simple to make. We just mix everything in one bowl. No fancy equipment needed. Let’s bake a batch together. I’ll tell you all my little secrets along the way.
Step 1: Prepare the Pan
First, we get our pan ready. Turn your oven to 350 degrees. Now, we line a 13 by 9-inch pan with foil. This makes it so easy to lift the bars out later. Just criss-cross two sheets. Push the foil right into the corners. Give it a quick grease with butter or spray. (My hard-learned tip: Grease the foil well. It stops those delicious corners from sticking!)
Step 2: Make the Dough
Mix your flour, oats, baking soda, and salt in a bowl. Now, the fun part! Put your butterscotch chips in a big bowl. Melt the butter in a skillet. Keep cooking it until it turns a lovely golden brown. It will smell nutty and wonderful. Pour that hot butter right over the chips. Whisk it smooth. The heat melts the chips perfectly. Then whisk in the brown sugar, vanilla, and one egg. Finally, stir in your flour and oat mixture. The dough will be thick and shiny.
Step 3: Bake
Spread that lovely dough into your prepared pan. Press it into a nice, even layer. Pop it in the oven for about 17 to 19 minutes. Don’t walk away! Rotate the pan halfway through. You’ll know they’re done when the edges are golden. A toothpick should come out with just a few crumbs. I still laugh at that. My first batch I baked too long. They were more like crunchy crackers! Let the pan cool on a rack.
Step 4: The Glaze
While the bars are still warm, make the glaze. It’s just four things! Simmer sugar, water, and salt in a tiny pot. Pour that hot syrup over more butterscotch chips. Whisk until it’s a smooth, pourable glaze. Drizzle it all over the warm bars. Let it set for about an hour and a half. This is the hardest part—waiting! Quick quiz: What makes the butter smell so nutty and special? Share below!
Step 5: Cut and Serve
Time to finish! Use the foil handles to lift the whole slab out. Place it on your rack to cool completely. This keeps the bottom crisp. Then, cut into 36 little squares. I use a big, sharp knife. Wipe it clean between cuts for neat bars. Now, pour a glass of milk. You’ve earned the first bite.
Cook Time: 17–19 minutes
Total Time: About 2 hours (includes cooling)
Yield: 36 bars
Category: Dessert, Snack
Three Fun Twists to Try
Once you master the classic, try playing with it! Baking should be fun. Here are three ideas I love. They make the bars feel new again.
- Salty-Sweet Pretzel Crunch: Stir ½ cup crushed pretzel pieces into the dough with the oats. The salty crunch is wonderful.
- Apple Pie Bars: Fold 1 cup of finely chopped dried apples into the batter. Add a pinch of cinnamon too. It tastes like fall.
- Chocolate Chip Swap: Use chocolate chips instead of butterscotch chips. Drizzle the glaze with melted chocolate. A classic for a reason!
Which one would you try first? Comment below!
Serving Them Up Right
These bars are perfect all on their own. But sometimes, I like to dress them up. For a special treat, place a square on a small plate. Add a tiny scoop of vanilla ice cream on the side. The warm bar makes the ice cream melt just a little. It’s heaven. You could also crumble one over a bowl of plain yogurt for breakfast. I won’t tell!
What to drink? For the grown-ups, a small glass of tawny port is lovely. It’s sweet and nutty, just like the bars. For everyone, a tall, cold glass of whole milk is the best partner. It always has been. Which would you choose tonight?
Keeping Your Cookie Bars Perfect
These bars stay chewy for days. Just cover the pan tightly. They love a cool, dark spot on your counter. For longer storage, I wrap them well and freeze them. They freeze beautifully for a month.
I once sent a whole batch to my grandson. I froze them first for the trip. They arrived perfect and made his whole week. That’s the magic of a good freezer treat. It’s a little gift you can give later.
You can bake a double batch. Just press one into a pan and freeze it unbaked. Bake it straight from the freezer another day. This matters because a ready-to-bake treat saves a busy day. Have you ever tried storing it this way? Share below!
Simple Fixes for Common Hiccups
First, your bars might be too crumbly. This often means you over-baked them. Pull them out when the edges are just golden. I remember when I left my first batch in too long. They were more like crunchy granola!
Second, the glaze might seize up. Make sure your sugar mixture is truly simmering. Pour it over the chips right away. This ensures a smooth, glossy drizzle every time. Getting the glaze right makes them look bakery-perfect.
Third, the bottom might stick. Do not skip greasing the foil! This simple step is a lifesaver. It matters because it builds your confidence. A perfect release feels like a big win. Which of these problems have you run into before?
Your Quick Questions, Answered
Q: Can I make these gluten-free? A: Yes! Use a good gluten-free flour blend. Make sure your oats are certified gluten-free too.
Q: Can I make them ahead? A: Absolutely. The bars taste even better the next day. The flavors get cozy together.
Q: No butterscotch chips? A: Chocolate chips work wonderfully. The recipe is quite forgiving. *Fun fact: Browning the butter gives a lovely nutty flavor no matter what chip you use.*
Q: Can I halve the recipe? A: You can. Bake it in an 8-inch square pan. Just watch the baking time closely.
Q: Any optional tips? A: A pinch of cinnamon in the dough is lovely. It whispers of autumn. Which tip will you try first?
From My Kitchen to Yours
I hope you love baking these chewy bars. I have made them for years. They fill the house with a wonderful, sweet smell. That smell is the smell of home to me.
I would love to hear about your baking adventure. Tell me what your family thought of them. Sharing stories is the best part of food. Have you tried this recipe? Share your experience in the comments.
Happy cooking!
—Grace Ellington.
Chewy Butterscotch Oatmeal Cookie Bars
Description
These irresistible bars combine the nutty flavor of browned butter with sweet butterscotch and chewy oats for a perfect treat.
Ingredients
Bars:
Glaze:
Instructions
- Adjust oven rack to middle position and heat oven to 350 degrees. Make foil sling for 13 by 9-inch baking pan by folding 2 long sheets of aluminum foil; first sheet should be 13 inches wide and second sheet should be 9 inches wide. Lay sheets of foil in pan perpendicular to each other, with extra foil hanging over edges of pan. Push foil into corners and up sides of pan, smoothing foil flush to pan. Grease foil.
- Whisk flour, oats, baking soda, and salt together in bowl. Place butterscotch chips in large bowl. Melt butter in 12-inch skillet over medium-high heat. Continue to cook, swirling skillet constantly, until butter is dark golden brown and has nutty aroma, 1 to 5 minutes. Add browned butter to butterscotch chips and whisk until smooth. Whisk in sugar until dissolved, then whisk in vanilla and egg until combined. Stir in flour mixture in 2 additions until combined.
- Transfer mixture to prepared pan and spread into even layer. Bake until edges are golden brown and toothpick inserted in center comes out with few crumbs attached, 17 to 19 minutes, rotating pan halfway through baking. Transfer pan to wire rack.
- Place butterscotch chips in small bowl. Bring sugar, water, and salt to simmer in small saucepan. Pour hot sugar mixture over butterscotch chips and whisk until smooth. Drizzle glaze over warm bars and let cool until warm to touch, about 1½ hours.
- Using foil overhang, lift bars from pan and transfer to wire rack; let cool completely. Cut into 36 pieces before serving.
Notes
- For clean cuts, use a sharp knife and wipe it clean between slices. Store in an airtight container at room temperature for up to 5 days.