

The First Bite That Hooked Me
I still remember my first spoonful of espresso coffee ice cream. It was at a tiny café in Rome, the rich bitterness melting into sweet cream. The waiter winked and said, “For lovers only.” Ever wondered how you could turn this bold flavor into something unforgettable at home? That moment sparked my obsession. Now, I crave that deep, roasted taste with every summer sunset. What’s your favorite ice cream memory? Share it below!My Kitchen Disaster Turned Win
My first try making this ice cream was messy. I burned the custard because I got distracted texting. The kitchen smelled like charred coffee for days. But the second batch? Pure magic. Mistakes teach us patience—and that’s the secret ingredient in home cooking. Now I always set a timer. Who else has a kitchen fail-turned-success story? Tell me in the comments!Why This Ice Cream Stands Out
– The espresso powder adds a grown-up bitterness that balances the sweet cream. – The custard base makes it extra smooth, not icy like store-bought kinds. Which flavor combo surprises you most—coffee and vanilla or coffee and chocolate? Try both and decide! I’m team vanilla for that hint of warmth.A Scoop of History
Coffee ice cream started in Italy, where gelato makers loved bold flavors. They used leftover espresso to avoid waste. *Did you know the first coffee dessert was served in 17th-century Venice?* Now it’s a global favorite. I like mine with a sprinkle of sea salt. Would you try that or stick to classic toppings?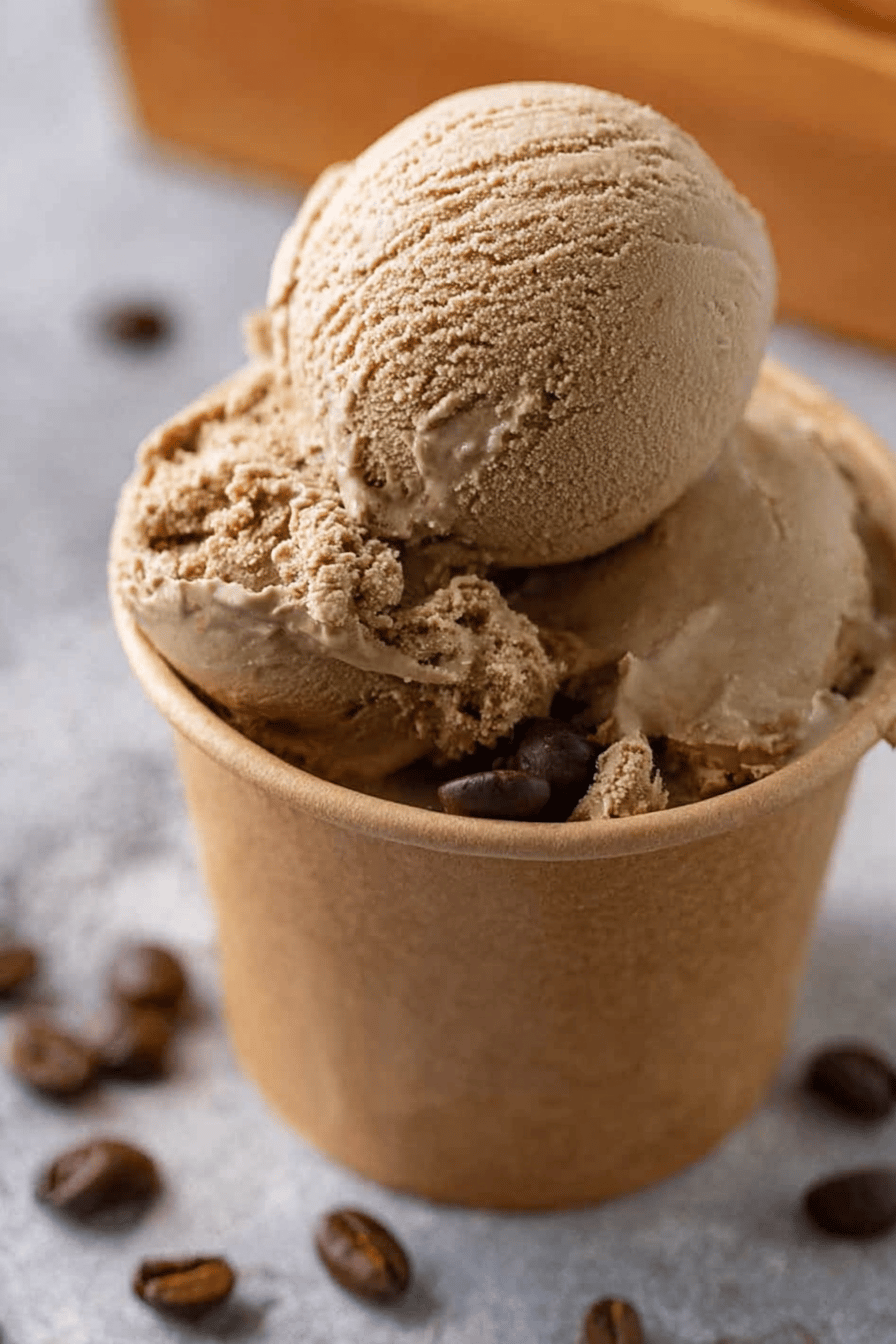
Ingredients:
| Ingredient | Amount | Note |
|---|---|---|
| Heavy cream | 1 ½ cups | |
| Whole milk | 1 ½ cups | |
| Granulated sugar | ¾ cup | |
| Large egg yolks | 4 | |
| Instant espresso powder | 3 tbsp | |
| Vanilla extract | 1 teaspoon | |
| Salt | Pinch | to balance sweetness |
How to Make Bold Espresso Coffee Ice Cream
Step 1 Heat milk, cream, espresso powder, and salt in a saucepan. Stir until steaming but not boiling. Keep the heat medium to avoid scorching. A whisk helps blend everything smoothly. (Hard‑learned tip: Use instant espresso for bold flavor without grit.)
Step 2 Whisk egg yolks and sugar until pale. Slowly add half the hot cream to temper. This prevents scrambled eggs in your custard. Pour the mix back into the saucepan.
Step 3 Cook on medium-low until it coats a spoon. Aim for 170–175°F for perfect thickness. Stir nonstop to avoid lumps. Strain through a sieve for silky texture. What’s the trick to smooth ice cream? Share below!
Step 4 Mix in vanilla and chill for 4+ hours. Overnight cooling gives deeper flavor. Cover with plastic to prevent skin forming. Patience makes creamier results.
Step 5 Churn in an ice cream maker 20–25 minutes. Stop when it’s soft-serve consistency. Scrape into a freezer-safe container. Press parchment on top to block ice crystals.
Step 6 Freeze 4+ hours until firm. Scoop into bowls or cones. Serve with a smile. Store leftovers tightly sealed.
Cook Time: 30 minutes Total Time: 4+ hours Yield: 6 servings Category: Dessert, Frozen Treats
3 Fun Twists on Espresso Ice Cream
Mocha Chip Fold in dark chocolate chunks after churning. The bittersweet bite pairs with coffee.
Salted Caramel Swirl Layer homemade caramel between scoops. Sprinkle flaky salt for balance.
Affogato Style Pour hot espresso over scoops. Instant dessert soup for adults. Which twist would you try first? Vote in the comments!
Serving Ideas & Perfect Pairings
Top with crushed biscotti or cocoa powder. Try it sandwiched between waffle cones. For a fancy touch, add whipped cream. Pair with cold brew for a caffeine kick. Or try a shot of bourbon for warmth. Both highlight the coffee flavor. Which would you choose tonight?
Storing and Serving Tips
Keep your ice cream creamy by storing it in an airtight container. Press parchment on the surface to stop ice crystals. Freeze for 4+ hours before scooping. *Fun fact: I once forgot to chill the custard overnight—still worked, but patience pays off!* Batch-cook note: Double the recipe if you’re hosting. Just churn in two rounds. Why this matters: Proper storage keeps flavors bold and texture smooth. Ever tried adding mix-ins like chocolate chunks? Share your twist below!Common Issues & Fixes
Grainy texture? You might have overcooked the custard. Use a thermometer next time. Too soft? Freeze it longer—up to 6 hours. Not espresso-y enough? Add an extra tablespoon of powder. Why this matters: Small tweaks make big differences in homemade treats. My neighbor swore her first batch was “coffee soup” until she nailed the temp. Which fix helped you most?Your Questions, Answered
Q: Can I make this gluten-free?
A: Yes! All ingredients are naturally gluten-free. Just check your espresso powder label.
Q: How far ahead can I prep this?
A: Make the custard 2 days before. Freeze churned ice cream for up to 2 weeks.
Q: Can I swap the espresso powder?
A: Try 1/4 cup strongly brewed coffee, but reduce milk by 2 tbsp.
Q: What if I don’t have an ice cream maker?
A: Freeze the custard in a shallow pan. Stir every 30 minutes until set.
Q: Can I halve the recipe?
A: Absolutely. Use 2 egg yolks and adjust other ingredients by half.
Wrapping Up
This espresso ice cream is a love letter to coffee fans. Share your creations with me!Tag @SpoonSway on Pinterest so I can cheer you on. Happy cooking! —Sarah Cooper.
Bold Espresso Coffee Ice Cream for Lovers
Description
Rich and creamy homemade espresso coffee ice cream with a bold coffee flavor, perfect for coffee lovers.
Ingredients
Instructions
- In a medium saucepan, whisk the milk, heavy cream, espresso powder, and salt together. Heat over medium until it’s steaming and almost simmering, don’t let it boil.
- In a separate bowl, whisk the egg yolks and sugar together until the mixture looks pale and slightly thickened. Slowly pour in about half of the hot cream while whisking constantly, this helps gently warm the yolks so they don’t scramble. Then, whisk the tempered yolks back into the saucepan with the rest of the cream.
- Keep cooking over medium-low heat, stirring constantly with a wooden spoon or heatproof spatula, until the mixture thickens a bit and coats the back of your spoon—like a thin custard. It should reach about 170–175°F (77–80°C), but don’t let it boil.
- Take the pan off the heat and pour the mixture through a fine mesh sieve into a clean bowl to catch any bits. Stir in the vanilla extract, let it cool for a bit, then cover and chill in the fridge for at least 4 hours, or overnight if you’ve got the time.
- Once it’s fully chilled, pour the custard into your ice cream maker and churn it following the machine’s instructions, usually about 20–25 minutes until it’s softer and more thick, like soft serve.
- Scoop the churned ice cream into an airtight container. Press parchment or plastic wrap right on the surface to keep it smooth and ice-crystal free. Freeze for at least 4 hours until it’s firm and scoopable.
Notes
- For a stronger coffee flavor, increase the espresso powder slightly or add a shot of cooled espresso to the mixture before churning.
Espresso, Coffee, Ice Cream, Dessert, Homemade