
My First Crust
I made my first graham cracker crust when I was twelve. I was so nervous. I thought I would break the bowl. But it was so easy. I just mixed everything together. The kitchen smelled like sweet butter and honey.
That crust was for a lemon icebox pie. My grandpa said it was the best he ever had. I still laugh at that. He was probably just being kind. But it made me feel like a real baker. It matters because it shows anyone can do this.
Why It Works So Well
This crust is not fussy. You only need three things. Crumbs, sugar, and melted butter. The butter is the magic. It holds everything together like a sweet, sandy glue.
When you press it into the pan, press it firmly. A good press means a strong crust. It won’t fall apart when you slice the pie. This matters because a good base makes the whole pie better. What is your favorite pie to put in a crust like this?
A Little Kitchen Secret
Do you know the best tool for crushing crackers? A rolling pin! Put the crackers in a bag. Then roll over them until they are fine crumbs. It is very satisfying. You can also use a food processor.
Fun fact: Graham crackers were invented to stop people from having naughty thoughts. Isn’t that silly? I think they just make people think about pie. I always buy the honey-flavored ones for my crust. They have the best flavor.
The Smell of Memories
Baking this crust for ten minutes fills your home with a warm smell. Doesn’t that smell amazing? It reminds me of summer picnics and family gatherings. That smell is a happy memory all by itself.
Let the crust cool completely before you add your filling. I know it is hard to wait. But a warm crust can make a creamy filling melt. Patience makes a perfect pie. Do you like sweet pies or tart pies more?
Your Turn to Create
This crust is your blank canvas. You can fill it with so many things. A creamy chocolate pudding. A tangy key lime filling. Or even a no-bake cheesecake. The possibilities make me so excited.
I want you to have fun with it. Cooking should be a joy, not a chore. If you try this, will you tell me what you made? I love hearing your kitchen stories. They make my day brighter.

Ingredients:
| Ingredient | Amount | Notes |
|---|---|---|
| Graham cracker crumbs | 1 1/2 cups | About 12 full sheets, crushed |
| Granulated sugar | 1/3 cup | |
| Butter | 6 Tablespoons | Melted |
My Favorite Graham Cracker Crust
Oh, the smell of a graham cracker crust baking. It takes me right back. I used to make this with my own grandmother. She taught me this simple recipe. It only needs three things. Isn’t that wonderful? You probably have them in your kitchen right now. This crust is perfect for a creamy cheesecake or a cool, fluffy pie. Let’s get our hands a little dusty, shall we?
- Step 1: First, turn your oven on to 350°F. This warms it up for our crust. While it heats, let’s make our crumb mixture. Put your graham cracker crumbs in a small bowl. I like to put the whole sheets in a bag and crush them. It’s a fun way to get out any grumpy feelings! Add the sugar and melted butter. Stir it all together until it looks like wet sand.
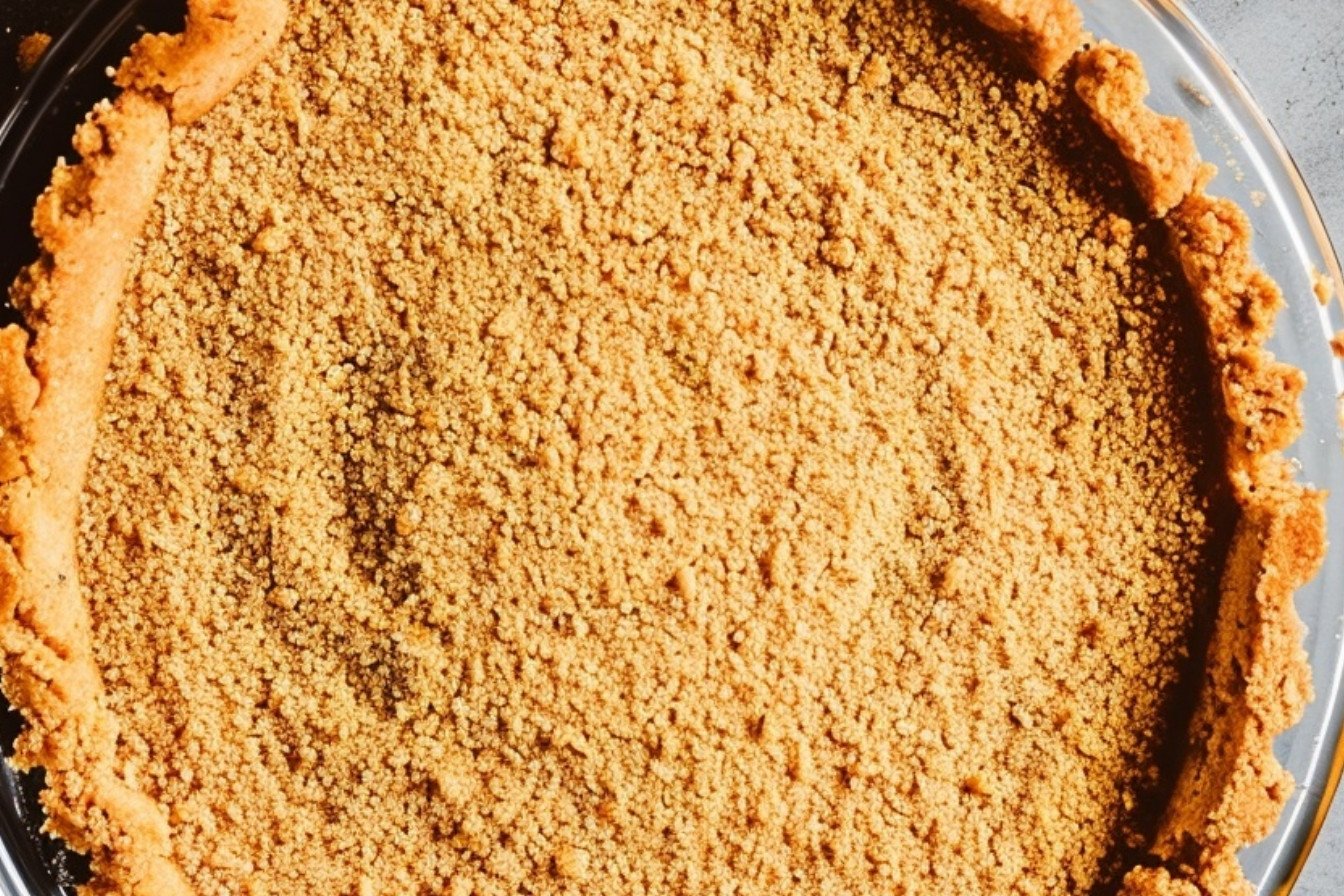
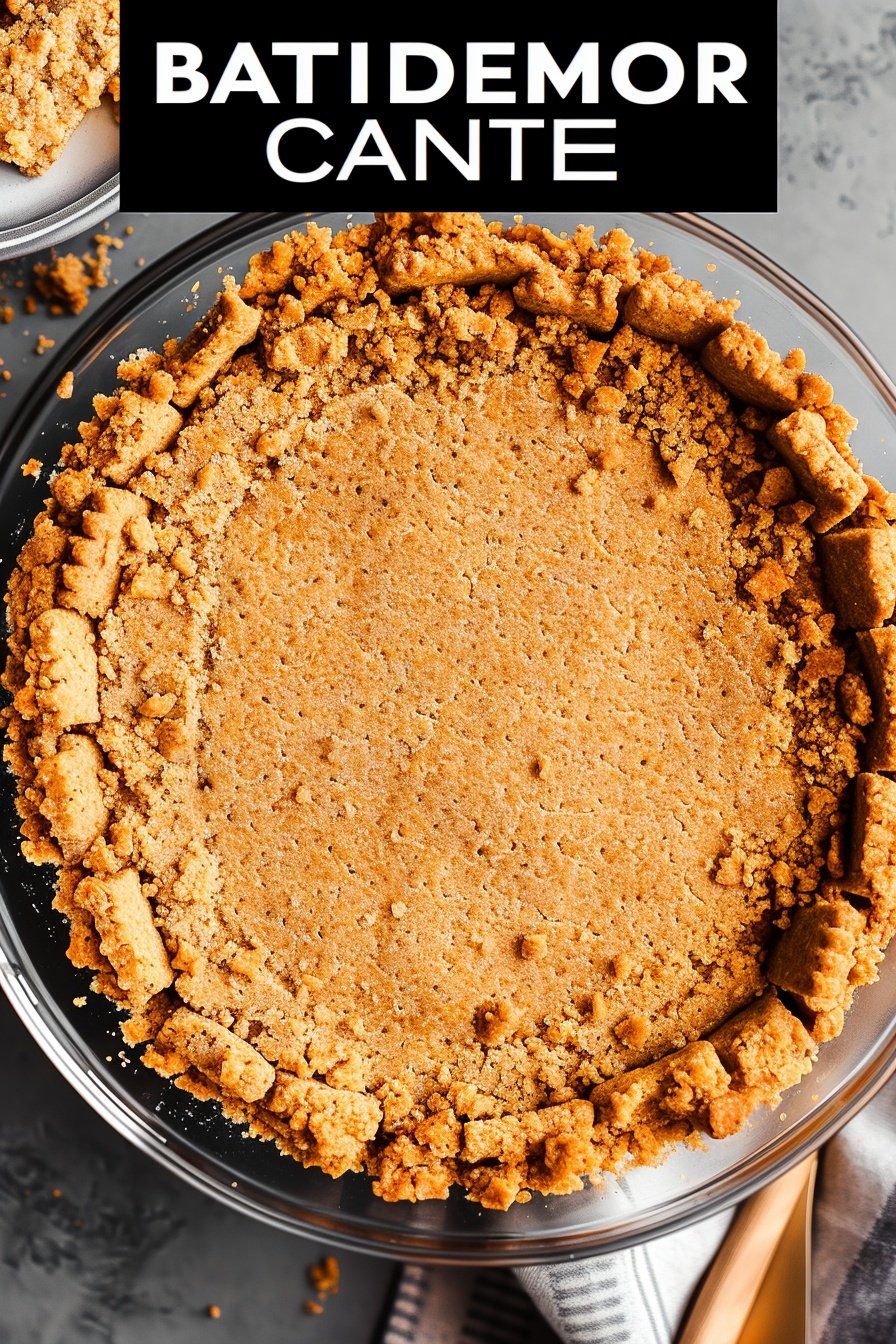
- Step 2: Now, pour your crumbs into a pie pan. Use the back of a spoon to press them down. Press firmly on the bottom and up the sides. I still use the same metal measuring spoons my grandma gave me. (My hard-learned tip: A flat-bottomed glass works great, too, if your hands get tired!). Make sure it’s nice and even.
- Step 3: Pop the pan into your warm oven. Bake it for just 10 minutes. You will know it’s ready by that toasty, sweet smell. It makes the whole house feel cozy. Take it out and let it cool completely. This is the most important part for a crisp crust. What’s your dream pie filling? Share below!
| Cook Time | 10 minutes |
| Total Time | 25 minutes |
| Yield | 1 pie crust |
| Category | Dessert, Baking |
Three Fun Twists on a Classic
This crust is like a perfect blank canvas. You can make it your own. I love to play with the flavors. It reminds me of being a kid and adding my own special touch. Here are a few of my favorite ideas. They are all so simple but feel so fancy.
- Cookie Swap: Use chocolate wafer cookies instead of graham crackers. It’s so rich and chocolatey.
- Spiced Sugar: Add a teaspoon of cinnamon to the sugar. It smells like the holidays.
- Nutty Crunch: Stir in a handful of very finely chopped pecans. It gives a wonderful little crunch.
Each one creates a whole new dessert. It’s like magic in a pie pan. Which one would you try first? Comment below!
Serving Your Sweet Masterpiece
Once your crust is cool, the real fun begins. I love a tall, fluffy lemon meringue pie in this crust. The sweet and tangy taste is perfect. Or you could fill it with a simple chocolate pudding. Top it with a big cloud of whipped cream. Doesn’t that sound lovely?
For a special treat, add a few fresh berries on the side. A little mint leaf makes it look pretty, too. For drinks, a cold glass of milk is always my favorite. For the grown-ups, a sweet dessert wine pairs beautifully. Which would you choose tonight?

Keeping Your Graham Cracker Crust Perfect
You can keep this crust in the fridge for two days. Just wrap the pie pan tightly with plastic wrap. The cold helps the buttery crust stay firm.
You can also freeze this crust for up to three months. I once made three crusts for the holidays. It saved me so much time on baking day.
There is no need to reheat the crust alone. Let it thaw in the fridge overnight. This little bit of planning makes dessert easy.
Batch cooking matters because life gets busy. Having a crust ready means a pie is never far away. Have you ever tried storing it this way? Share below!
Fixing Common Graham Cracker Crust Troubles
Is your crust too crumbly? You probably need a bit more butter. The mixture should stick together when you squeeze it.
I remember when my crust shrank in the pan. I had pressed it way too hard. A gentle but firm press is all you need.
A soggy bottom can happen. Always bake the crust for the full ten minutes. This creates a strong barrier for your filling.
Fixing these issues builds your cooking confidence. A perfect crust also makes the whole pie taste better. Which of these problems have you run into before?
Your Graham Cracker Crust Questions, Answered
Q: Can I make this gluten-free? A: Yes! Just use gluten-free graham crackers. Crush them the same way.
Q: How far ahead can I make it? A: You can make it two days ahead. Keep it covered in the fridge.
Q: What can I use instead of butter? A: Coconut oil works very well. Use the same amount.
Q: Can I double the recipe? A: Absolutely. Double all the ingredients for a bigger pie.
Q: Any other tips? A: A fun fact: graham crackers were invented for a healthy diet! Which tip will you try first?
From My Kitchen to Yours
I hope you love making this simple crust. It is the start of so many wonderful pies. Your family will be so impressed.
I would love to see what you create. Share a picture of your beautiful pie. It makes me so happy to see your baking.
Have you tried this recipe? Tag us on Pinterest! Let’s fill the internet with homemade goodness. Happy cooking!
—Grace Ellington.

Best Homemade Graham Cracker Crust Recipe
Description
The perfect foundation for your favorite pies and cheesecakes, this simple graham cracker crust is buttery, sweet, and incredibly easy to make.
Ingredients
Instructions
- Preheat oven to 350°F.
- Mix graham cracker crumbs, sugar, and melted butter in a small bowl.
- Pour crumb mixture into an 8″ – 9.5″ pie pan and use the back of a measuring spoon to press it firmly in the bottom and up the sides of the pan.
- Bake for 10 minutes. Remove from oven and allow to cool completely before filling with your favorite pie.
Notes
- For a no-bake version, simply chill the crust in the refrigerator for at least one hour before filling.