
The Magic of Meringue
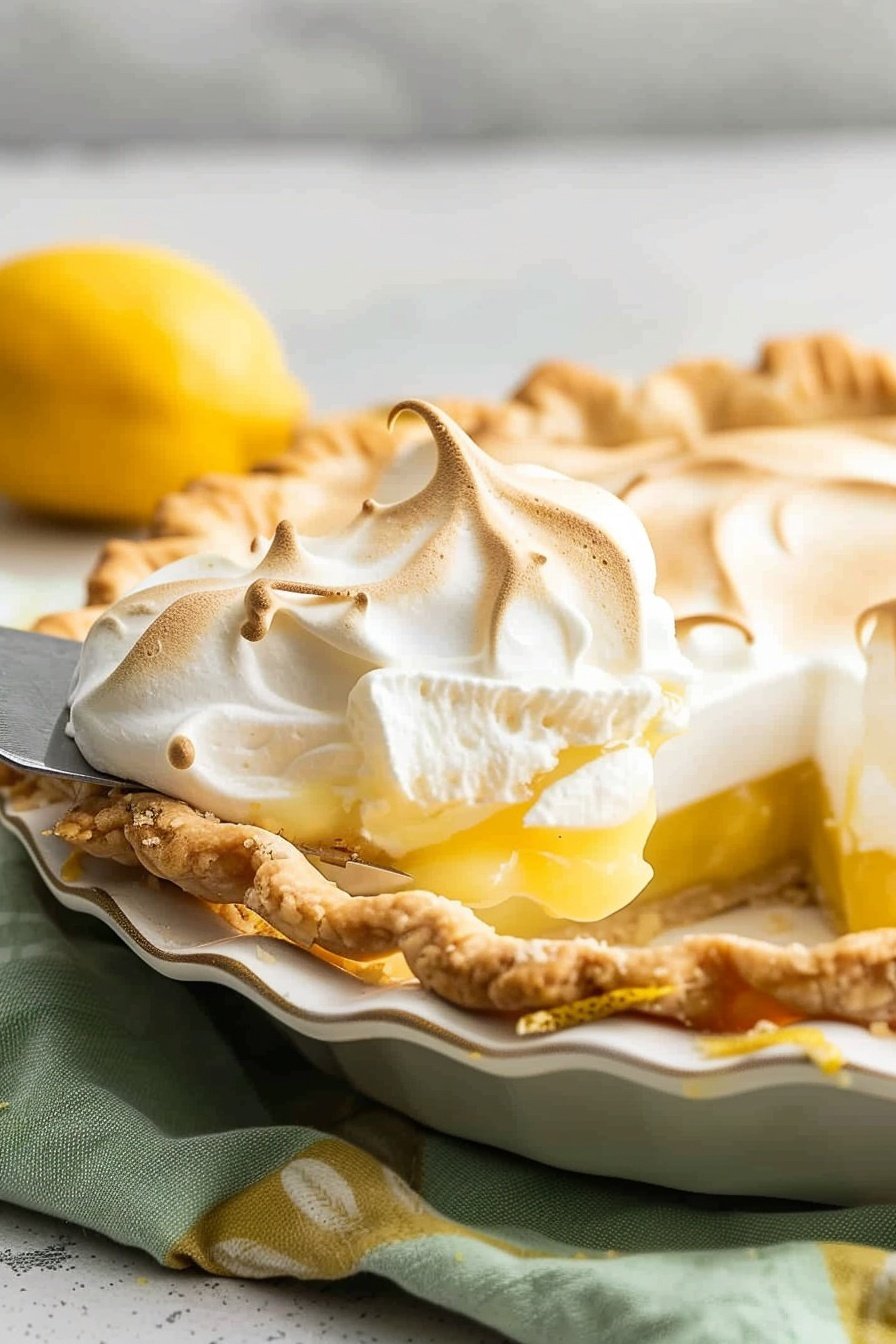
Making meringue feels like magic. You start with simple egg whites. Then you beat them into a fluffy, white cloud. I still laugh at the first time I made it. I was so proud of my fluffy peaks.
That little bit of cornstarch and water is our secret. It helps the meringue stay tall and beautiful. It keeps it from weeping on you later. This little step matters because it makes your pie look store-bought, but taste so much better.
A Sunny Lemon Filling
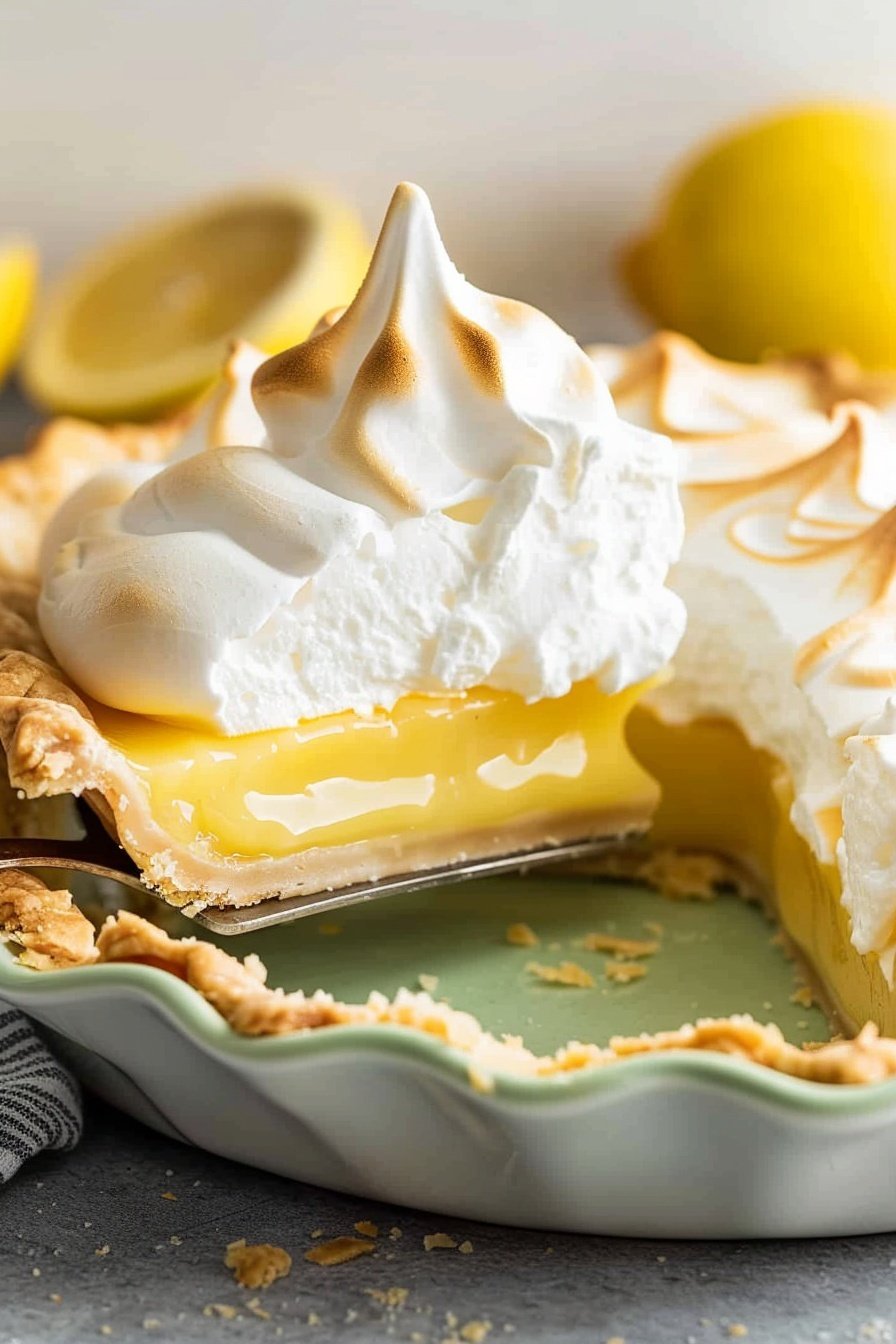
Now for the sunny part. The lemon filling is what makes your mouth happy. It is both sweet and a little bit sour. Doesn’t that smell amazing? It smells like a bright summer day.
When you mix the egg yolks with the hot filling, go slow. This is called tempering. It matters because it keeps the eggs from turning into scrambled eggs in your pie. No one wants that.
Putting It All Together
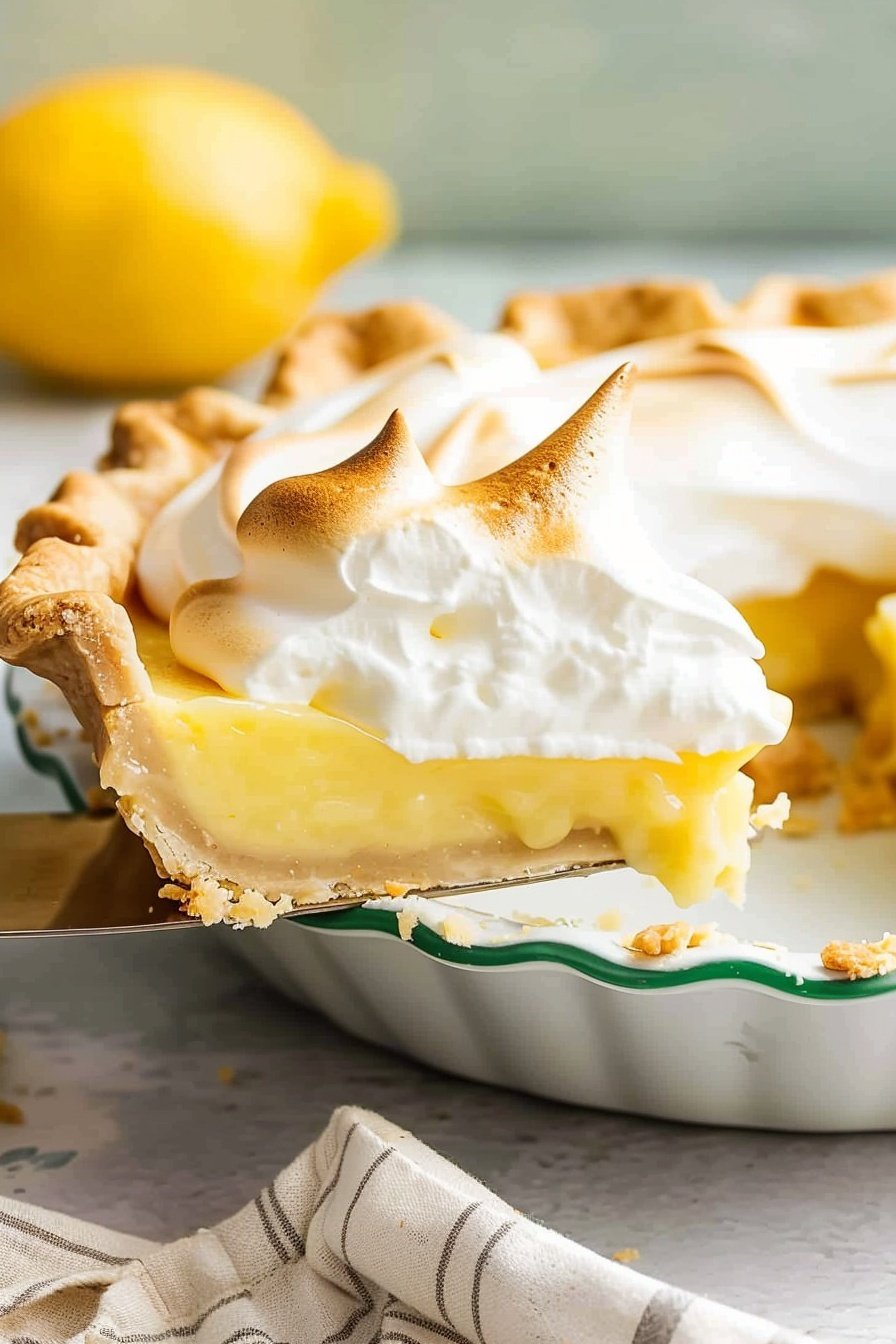
This is my favorite part. You pour the yellow filling into the crust. Then you pile that fluffy meringue on top. You must spread it right to the edge. Seal it up like a warm blanket.
Then, take the back of your spoon. Make little peaks and swirls. These will get golden brown in the oven. It is like drawing on your pie. What is your favorite design to make on top?
A Story of a Wobbly Pie
My first lemon meringue pie was a bit wobbly. The filling was a little runny. I was so sad. But you know what? My family still ate every last crumb.
They told me it was the best pie they ever had. That is the thing about cooking from scratch. The love you put in is the most important ingredient. It always makes things taste better.
Why This Pie is Special
This pie is not just a dessert. It is a labor of love. You are making something beautiful with your own two hands. That feeling matters. It connects us to the food we eat.
Fun fact: The word meringue first showed up in a cookbook in 1692. People have been enjoying this fluffy treat for a very long time! Do you have a family recipe that is very old?
Your Turn in the Kitchen
Now it is your turn. Do not be nervous. Just follow the steps. If something goes a little wrong, that is okay. It will still taste wonderful.
I love hearing your stories. What is the first pie you ever tried to bake? Was it a happy kitchen disaster or a perfect success? Tell me all about it.
Ingredients:
| Ingredient | Amount | Notes |
|---|---|---|
| Pre-baked pie crust | 1 (9-inch) | |
| Granulated sugar | 1 cup + 1/3 cup | Divided (1 cup for filling, 1/3 cup for meringue) |
| All-purpose flour | 2 Tablespoons | |
| Cornstarch | 3 Tablespoons + 1 Tablespoon | Divided (3 Tbsp for filling, 1 Tbsp for meringue) |
| Salt | 1/4 teaspoon | |
| Water | 1 1/2 cups + 1/3 cup | Divided (1 1/2 cups for filling, 1/3 cup for meringue) |
| Lemon juice | 1/2 cup | |
| Lemon zest | 1 Tablespoon | About 1 large lemon |
| Unsalted butter | 2 Tablespoons | |
| Large eggs | 4 | Separated into yolks and whites |
| Cream of tartar | 1/4 teaspoon |
Lemon Meringue Pie Tastes Better From Scratch
My grandson says my lemon meringue pie tastes like sunshine. I think that’s the sweetest thing. Making it from scratch is a small act of love. It fills your whole kitchen with a bright, happy smell. Let’s make some sunshine together, shall we?
- Step 1: First, let’s separate our eggs. Carefully crack them. Keep the yolks in one small bowl. Put the whites in a big, clean bowl for later. I still use my hands to separate them sometimes. It feels like a fun, slippery little game.
- Step 2: Now, we start the meringue’s secret ingredient. Whisk the cornstarch and water in a small pan. Cook it until it gets nice and thick. This little step makes your meringue so stable. It keeps it from turning into a puddle later. (A hard-learned tip: Use a clean, dry bowl for the egg whites. Any grease stops them from fluffing up!).
- Step 3: Mix the cream of tartar with the sugar. Now, beat those egg whites until they are frothy. Slowly add the sugar mixture while beating. Watch them turn glossy and white. Now mix in that thick cornstarch paste. Keep beating until you have beautiful, stiff peaks. Doesn’t that look like a fluffy cloud?
- Step 4: Time for the sunny filling! Whisk the sugar, flour, cornstarch, and salt in a pan. Stir in the water, lemon juice, and zest. Cook this until it starts to bubble. Then take it off the heat and stir in the butter. That smell is pure happiness, isn’t it?
- Step 5: This next part is very important. We must temper the egg yolks. Stir them with a fork. Then, add a spoonful of the hot lemon mix and whisk fast. Do this a few more times. This warms the eggs up slowly so they don’t scramble. Now you can whisk it all back into the pan. What’s the trick to keeping eggs from scrambling in a hot mix? Share below!
- Step 6: Cook it again until it’s beautifully thick. Now, pour the hot filling right into your baked pie crust. Immediately, pile that fluffy meringue on top. Spread it all the way to the edges to seal the pie. Use your spoon to make pretty peaks. They will get golden brown in the oven.
- Step 7: Bake your pie for about 10 minutes. You just want to toast the meringue a lovely light brown. Then, the hardest part begins. Let the pie cool completely on a rack. This takes about two hours. It needs this time to set up properly. I know, the waiting is tough!
Cook Time: 30 minutes
Total Time: 3 hours (includes cooling)
Yield: 8 servings
Category: Dessert, Pie
My Favorite Twists on a Classic
Once you master the classic, it’s fun to play. I love adding little changes for different seasons. It makes an old recipe feel brand new. Here are a few of my favorite ideas to get you started.
- Lemony Lavender Dream. Add a teaspoon of culinary lavender to the filling. It makes the pie taste so elegant and floral.
- Tropical Sunshine Pie. Use lime juice instead of lemon. Then, add a bit of toasted coconut to the meringue. It’s a vacation in every bite.
- Berry Swirl Surprise. Swirl a few tablespoons of raspberry jam into the lemon filling before adding the meringue. You get a lovely pink and yellow surprise inside.
Which one would you try first? Comment below!
Serving Your Slice of Sunshine
This pie is a star all on its own. But I love making it feel extra special. A little garnish makes everyone feel celebrated. It is perfect for a summer picnic or a cozy family dinner.
For serving, I like a simple dollop of whipped cream. A few fresh raspberries or a thin lemon slice on the side looks beautiful. For a drink, a glass of cold iced tea is just perfect. My husband always prefers a cup of hot coffee with his slice. The bitter coffee tastes so good with the sweet, tangy pie. Which would you choose tonight?
Keeping Your Sunshine Pie Fresh
This pie is best enjoyed the day you make it. The meringue is happiest then. If you have leftovers, cover the pie and put it in the fridge.
It will keep for two to three days. I do not recommend freezing this pie. The meringue can get watery and sad. The filling might separate, too.
My first time, I froze a whole slice as a test. It was a soggy mess when it thawed. I learned my lesson the hard way for you.
Batch cooking is a wonderful time-saver. You can bake the pie crust ahead of time. You can also mix the dry filling ingredients in a jar. This makes a busy day feel simpler and less rushed.
Have you ever tried storing it this way? Share below!
No More Pie-anic! Easy Fixes for Common Troubles
Is your meringue weeping? Little beads of water form on top. This happens if the sugar is added too fast. Add the sugar mixture just a spoonful at a time.
This matters because it gives you a stable, beautiful meringue. A good meringue makes the whole pie look special. I remember when my meringue slid right off the pie.
I did not spread it to the crust’s edge. Always seal the meringue to the crust. This keeps it from shrinking back and looking bare.
Is your lemon filling too runny? You might not have cooked it long enough. Cook it until it comes to a gentle boil and thickens nicely.
This matters for a perfect slice that holds its shape. Getting it right builds your confidence in the kitchen. Which of these problems have you run into before?
Your Lemon Meringue Pie Questions, Answered
Q: Can I make this gluten-free? A: Yes! Just use your favorite gluten-free pie crust. The filling is naturally gluten-free.
Q: Can I make any parts ahead? A: You can bake the pie shell a day early. Keep it at room temperature in a bag.
Q: What if I don’t have cream of tartar? A: You can use a teaspoon of lemon juice instead. It helps the egg whites get fluffy. *Fun fact: Cream of tartar comes from grapes!*
Q: Can I double this recipe? A: You can make two pies. I do not recommend making one giant, deep pie.
Q: Any optional tips? A: Use fresh lemon juice. The flavor is so much brighter and sunnier. Which tip will you try first?
Bake a Little Sunshine
I hope this recipe brings joy to your kitchen. It is a classic for a good reason. The mix of tart and sweet is just wonderful.
I love seeing your kitchen creations. It makes my day. Have you tried this recipe? Tag us on Pinterest!
You can find me there sharing more tips. I cannot wait to see your beautiful pies. Happy cooking!
—Grace Ellington.

Lemon Meringue Pie Tastes Better From Scratch
Description
A classic dessert featuring a flaky pie crust, tangy lemon filling, and a light, toasted meringue topping.
Ingredients
Meringue:
Instructions
- Grab 4 eggs and separate the egg yolks from the egg whites and set aside.
- Meringue: In a small saucepan, whisk together cornstarch and water. Cook over medium heat, stirring constantly until thickened. Remove from heat and set aside.
- In a small bowl, stir together cream of tartar and sugar. In a large bowl, beat the egg whites with electric mixers until frothy.
- With the mixers running, add the sugar mixture, a spoonful at a time, until fully incorporated. Continue beating until soft peaks. Add the thickened cornstarch mixture while beating, a spoonful at a time. Mix until stiff peaks form, about 1-2 minutes. Set aside.
- Preheat oven to 350 degrees F.
- Lemon Filling: In a medium saucepan, whisk together 1 cup sugar, flour, cornstarch, and salt. Stir in water, lemon juice and lemon zest. Cook over medium-high heat, stirring frequently, until mixture comes to a boil. Remove from heat and stir in butter.
- Beat the egg yolks with a fork. Add a spoonful of the hot saucepan mixture into the egg yolk mixture and whisk together to temper the eggs. Repeat, with a few more spoonfuls. Whisk the egg yolk mixture back into remaining sugar mixture in the pot.
- Bring to a gently boil and continue to cook while stirring constantly, until thick. Remove from heat.
- Assemble: Pour hot lemon filling into baked pie shell. Immediately add meringue on top, covering every surface, spreading it around all the way to the edge of the pie so there are no gaps between the pie crust and meringue. Use the back of your spoon to create decorative peaks in the meringue.
- Bake in preheated oven for 10 minutes or until the meringue is lightly browned.
- Transfer to a wire rack and cool to room temperature, about 2 hours. This pie is best served the same day.
- Store leftover lemon meringue pie covered in the refrigerator for 2-3 days.
Notes
- For best results, ensure your egg whites are at room temperature to achieve maximum volume for the meringue.

