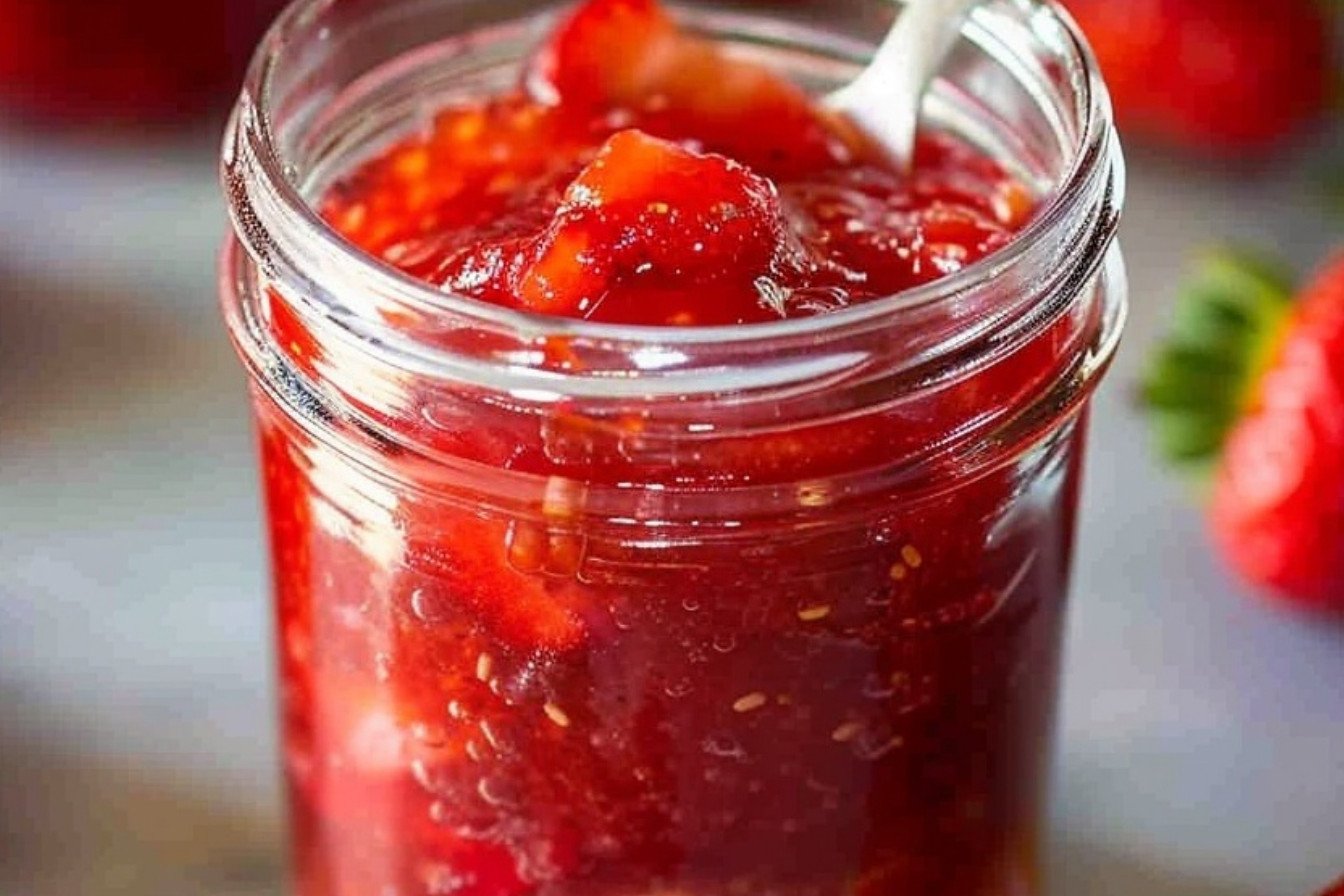
A Sweet Start with Strawberries
I love making jam when strawberries are in season. The kitchen smells so sweet and happy. It feels like summer in a bowl.
My grandson once tried to eat the sugar straight from the cup. I still laugh at that. His face was a funny, sugary mess. This recipe is easy, I promise. You just need to follow the steps.
Getting Your Berries Ready
First, you need to crush your berries. A food processor is perfect for this. Just pulse it a few times.
You want little pieces, not a smoothie. Then, measure exactly two cups. This matters because jam needs the right balance. Too many berries and it won’t set right. It’s like a science project, but tastier.
The Magic of Sugar and Pectin
Next, stir in the sugar. Add one cup at a time. Stir it really well after each cup. Then let it sit for ten minutes.
This waiting time is important. It pulls the sweet juice out of the berries. *Fun fact*: Pectin is what makes jam get thick. It comes from fruit! Isn’t that neat? Now, what’s your favorite fruit to eat in the summer?
Cooking It All Together
While the berries rest, you cook the pectin with water. You have to stir it the whole time. Bring it to a boil and keep stirring for one minute.
Then you mix it into your strawberry bowl. Stir everything for a few minutes. You will see the sugar disappear. Doesn’t that smell amazing? This part makes the magic happen.
Filling Your Jars with Care
Now, get your clean jars ready. I always use my glass mason jars. They look so pretty on the shelf.
Leave a little space at the top of each jar. This is called head-space. It gives the jam room to breathe. Put the lids on and let them sit for a whole day. This matters because it helps the jam set perfectly.
Your Homemade Jam is Ready!
After 24 hours, your jam is done. You can keep it in the fridge for weeks. Or you can freeze it for a whole year.
There is nothing better than your own jam on toast. It tastes like sunshine. What will you put your first spoonful on? I’d love to hear. Making food with your own hands is a special feeling. It connects you to your kitchen and your heart.
Ingredients:
| Ingredient | Amount | Notes |
|---|---|---|
| Crushed strawberries | 2 cups | About 1 quart fully ripe strawberries, stems removed, then diced |
| Granulated sugar | 4 cups | |
| Water | 3/4 cup | |
| Sure Jell Fruit Pectin | 1 box |

My Favorite Strawberry Jam
Hello, my dear! Come sit with me. Strawberry jam always reminds me of my own grandma. She taught me this recipe on a sunny summer day. I can still smell the sweet berries in her kitchen. It is the easiest jam you will ever make. You do not even need to cook the fruit! The secret is a little box of pectin. It makes the jam set perfectly every single time.
Are you ready to make some magic? Let’s get our hands sticky. I will walk you through it, step-by-step. This is a wonderful recipe for a first-time jam maker. You will be so proud of the jars you fill.
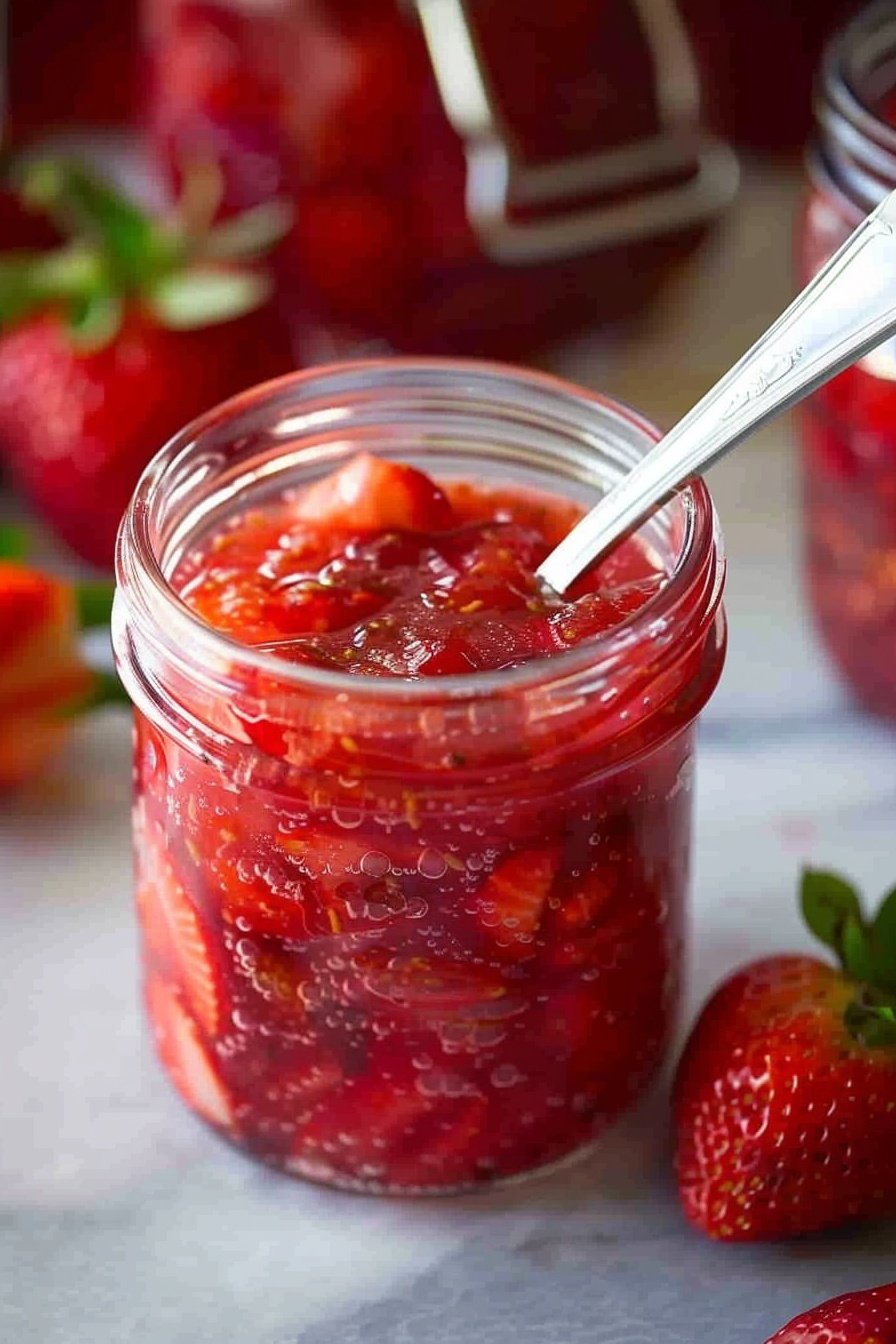
- Step 1: First, we need to get our jars ready. Rinse and dry your containers well. I love the sound of glass mason jars clinking together. Any container with a lid will work just fine, though. This recipe makes about five cups of pure happiness.
- Step 2: Now for the fun part! Put your cleaned strawberries in a food processor. Give them just a few quick pulses. We want them nicely diced, not turned into soup. I still laugh at the time I got distracted and made strawberry sauce instead!
- Step 3: This step is very important. Measure exactly two cups of the crushed berries into a big bowl. Then, add the sugar one cup at a time. Stir it really well after each cup. Let this sweet mixture sit for ten minutes. (My hard-learned tip: measure the berries and sugar exactly. This keeps the jam from being too runny!).
- Step 4: While the berries are resting, let’s work on the pectin. Put the water and the whole box of pectin in a small saucepan. Bring it to a boil over high heat. You must stir it the whole time. Once it is boiling, keep stirring for one more minute.
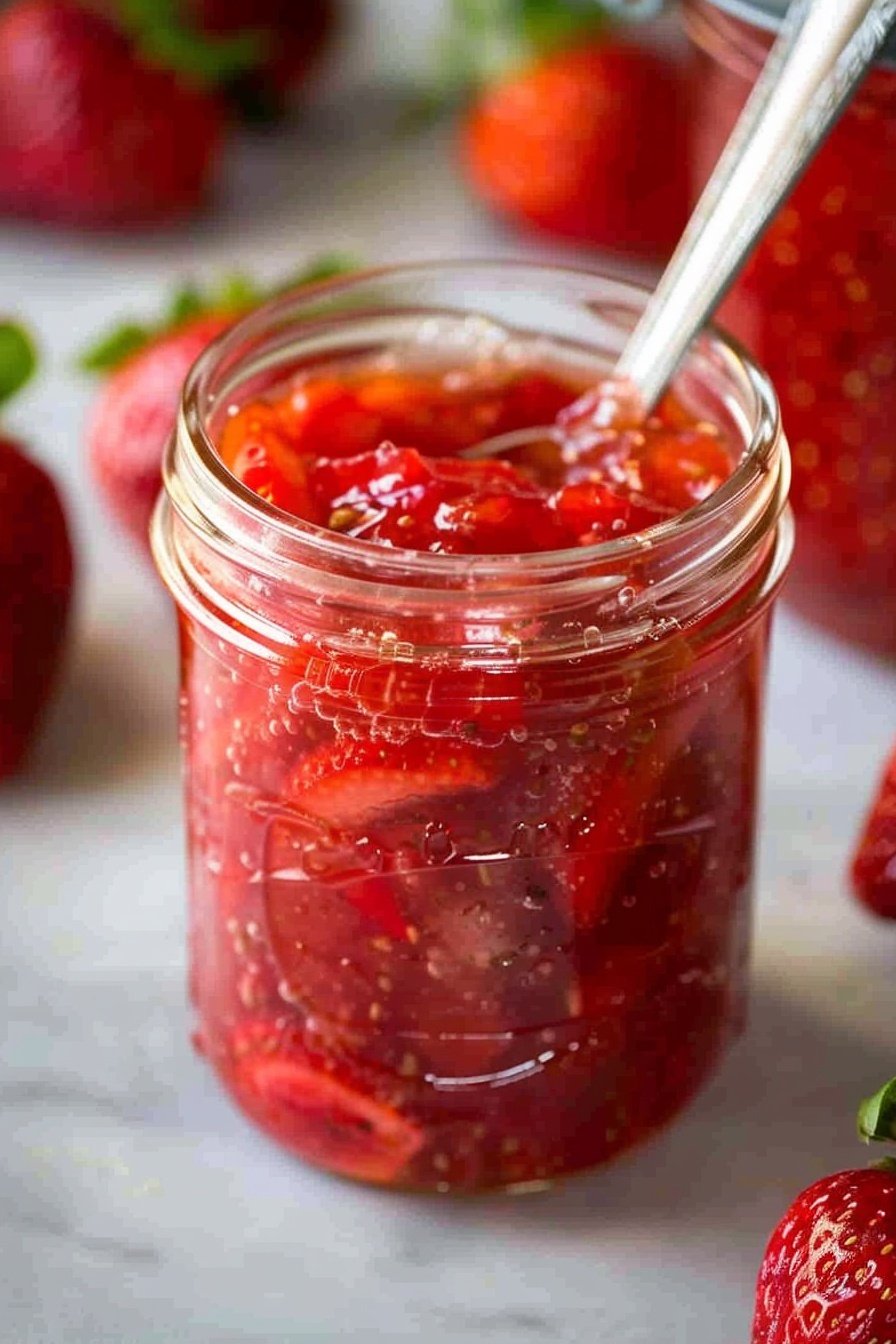
- Step 5: Carefully pour the hot pectin into the strawberry bowl. Now, stir everything together for several minutes. You are looking for the sugar to be completely dissolved. Doesn’t that pink color look amazing? What’s your favorite thing to put jam on? Share below!
- Step 6: Quickly, fill your jars with the jam. Leave a little space at the top, about half an inch. Put the lids on right away. Now, the hardest part begins. You must let the jars sit on the counter for a full day. After that, you can keep it in the fridge or freezer.
Cook Time: 10 minutes
Total Time: 24 hours 15 minutes
Yield: 5-6 half-pint jars
Category: Condiment, Preserves
Fun Twists to Try
Once you master the basic jam, you can get creative. I love adding little surprises to my batches. It makes each jar a special treat. Here are a few of my favorite ideas.
- Stir in a tablespoon of fresh lemon juice and some lemon zest. It makes the strawberry flavor pop even more.
- Add a few sprigs of fresh basil from the garden. It sounds funny, but it is so refreshing.
- Mix in a tiny pinch of black pepper. It gives the jam a warm, interesting little kick.
These are so simple but so delicious. Which one would you try first? Comment below! I would love to hear your own ideas, too.
Serving Your Sweet Jam
Of course, jam is wonderful on toast. But do not stop there! I love to swirl it into my morning yogurt. You can also warm it up and pour it over vanilla ice cream. That is my grandson’s absolute favorite dessert.
What should you drink with it? A cold glass of milk is a perfect match. For the grown-ups, a glass of champagne with a spoonful of jam is divine. It turns into a lovely pink drink. Which would you choose tonight?
Keeping Your Jam Perfect
This jam is so easy to store. It lasts four weeks in your fridge. You can also freeze it for a whole year. I always make a double batch for the freezer.
My first time, I forgot to leave space at the top. The lid popped right off in the freezer. Now I always measure that half-inch. It keeps everything safe and tidy.
Batch cooking saves you time later. A little work now means jam all winter. That is a wonderful feeling. Have you ever tried storing it this way? Share below!
Jam-Making Troubleshooting
Sometimes jam does not set right. If it is too runny, you might not have measured exactly. I remember when my jam was like soup. I had rushed the sugar measurement.
Getting the sugar right matters for the perfect texture. It makes your jam spreadable and lovely. Another issue is sugar that will not dissolve. You must stir for the full few minutes.
Stirring well ensures a smooth jam. No one likes gritty sugar in their jam. Fun fact: Strawberries are the only fruit with seeds on the outside! Which of these problems have you run into before?
Your Jam Questions Answered
Q: Is this jam gluten-free?
A: Yes, it is! All the ingredients are naturally gluten-free.
Q: Can I make it ahead?
A: Absolutely. It is perfect for making on a quiet weekend.
Q: Can I use less sugar?
A: I do not recommend it. The sugar helps the jam set properly.
Q: Can I double the recipe?
A: You can! Just use a very large bowl for mixing.
Q: Any optional tips?
A: A tiny squeeze of lemon adds a nice, bright flavor. Which tip will you try first?
Share Your Kitchen Creations
I hope you love making this sweet jam. It always makes my kitchen smell like summer. I would love to see your beautiful jars.
Share a picture of your creation with me. It makes me so happy to see your cooking. Have you tried this recipe? Tag us on Pinterest!
Happy cooking!
—Grace Ellington.
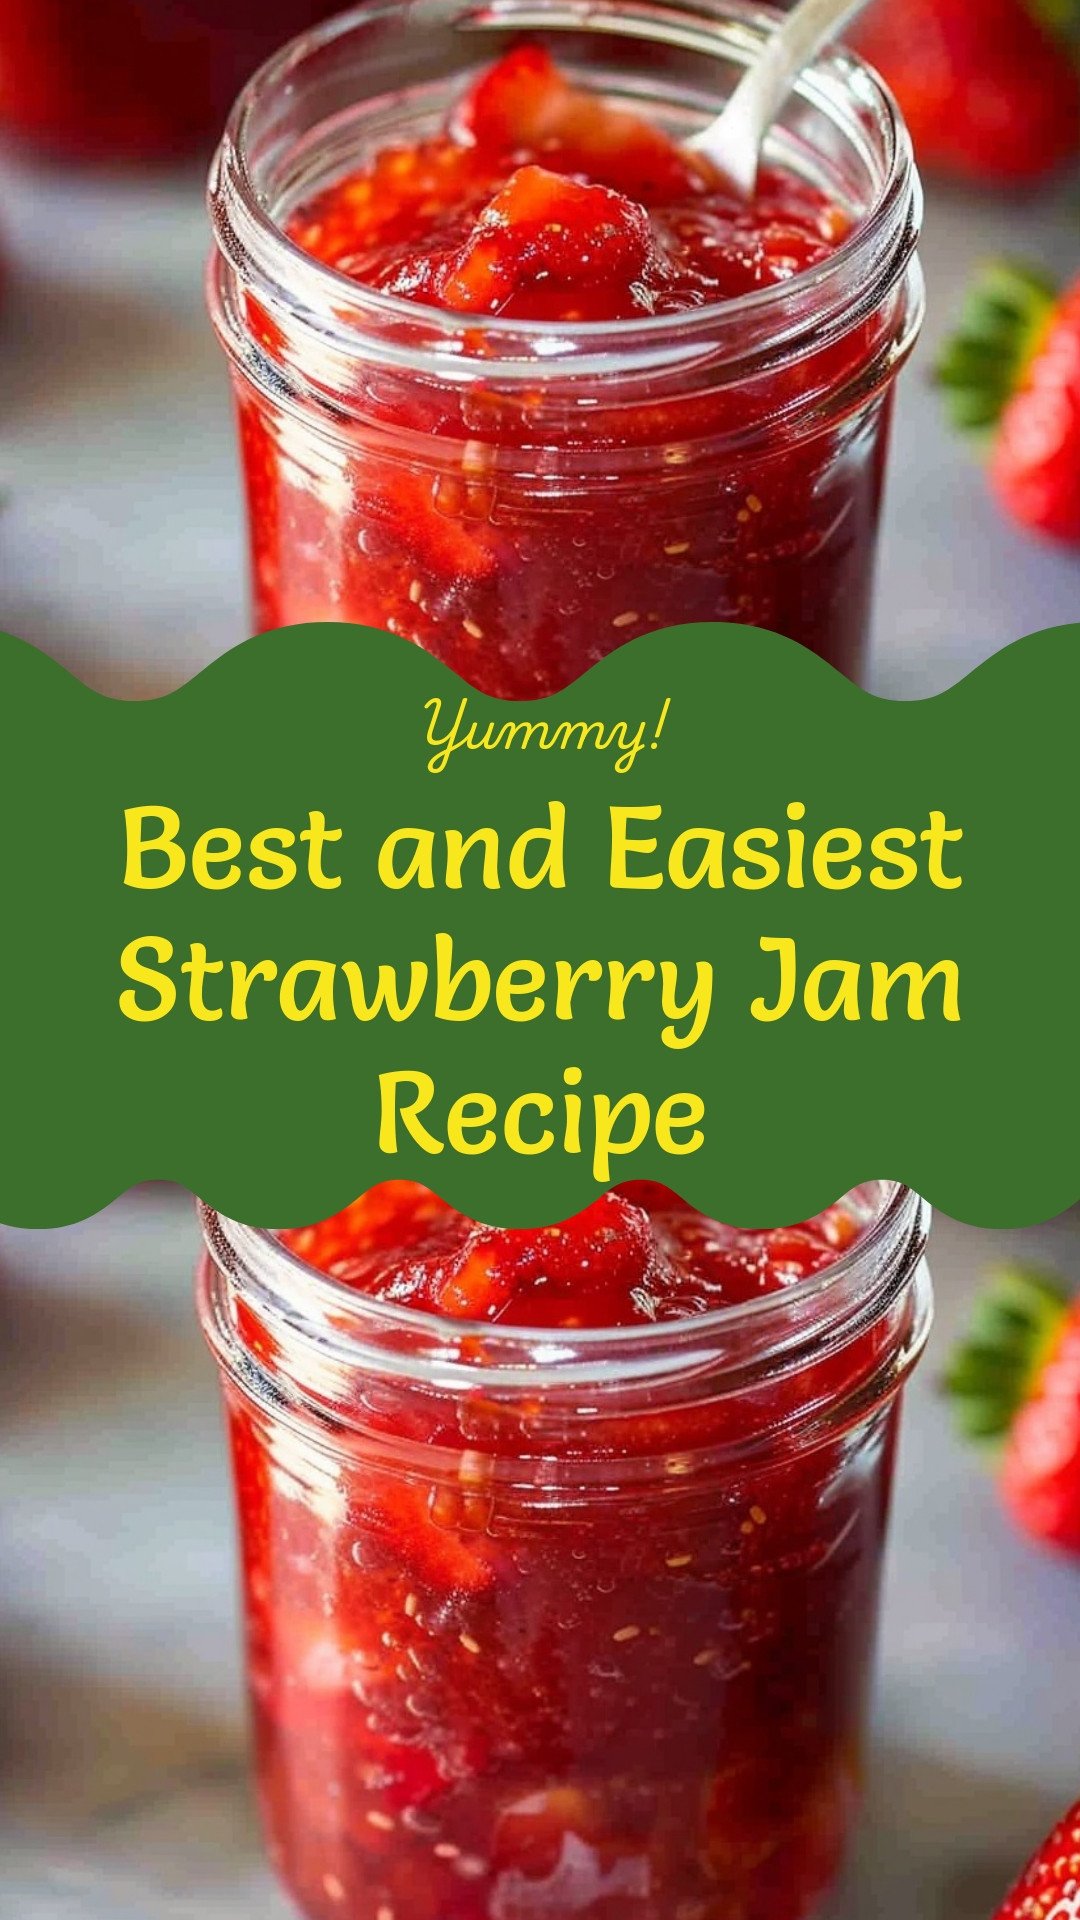
Best and Easiest Strawberry Jam Recipe
Description
Make delicious homemade strawberry jam with this simple and reliable recipe, perfect for beginners.
Ingredients
Instructions
- Rinse and dry the containers you’d like to put the jam in (enough for 5 cups). I always use glass mason jars but plastic containers work great also. This recipe fills 5-6 half pint jars.
- In a food processor add strawberries and pulse just a few times, until strawberries are well diced, but not totally mashed.
- Measure exactly 2 cups of strawberries into a large bowl. (It’s really important to measure the berries and sugar exactly, or the jam will not set properly.)
- Add the sugar, one cup at a time, stirring really well after each addition. Let stand for 10 min., stirring occasionally.
- Meanwhile, add water and pectin package to a small saucepan.
- Bring to a boil over high heat, stirring constantly.
- Once boiling, stir for 1 min. Remove from heat and add it to the strawberry mixture.
- Stir mixture really well, for several minutes, until sugar is well dissolved.
- Fill containers with jam and leave 1/2” of head-space at the top.
- Cover with lids and allow to stand at room temperature for 24 hours.
- After 24 hours you can store jam in the refrigerator for up to 4 weeks or freeze it for up to 1 year!
Notes
- It’s really important to measure the berries and sugar exactly, or the jam will not set properly.

