
A Little Chocolate Magic
Making truffles feels like magic. You pour warm cream over chopped chocolate. Then you watch it melt into a shiny pool.
Stir in the vanilla. Doesn’t that smell amazing? This glossy mix is called ganache. It is the heart of every truffle.
Why does this matter? Because making something beautiful from simple ingredients is a special kind of joy. It reminds you that you can create wonderful things. What is your favorite chocolate smell? Is it melting chocolate or fresh brownies?
The Secret to Rolling
After the mix chills, you get to roll the balls. This part can get messy. And that is perfectly okay.
My grandson tried to help me once. He got more chocolate on his face than in the bowl. I still laugh at that. If the chocolate gets too soft, just pop it back in the fridge.
Fun fact: Real chocolate truffles got their name from a fungus. They look like the expensive truffles that grow underground! Have your hands ever gotten this messy in the kitchen?
Your Truffle, Your Way
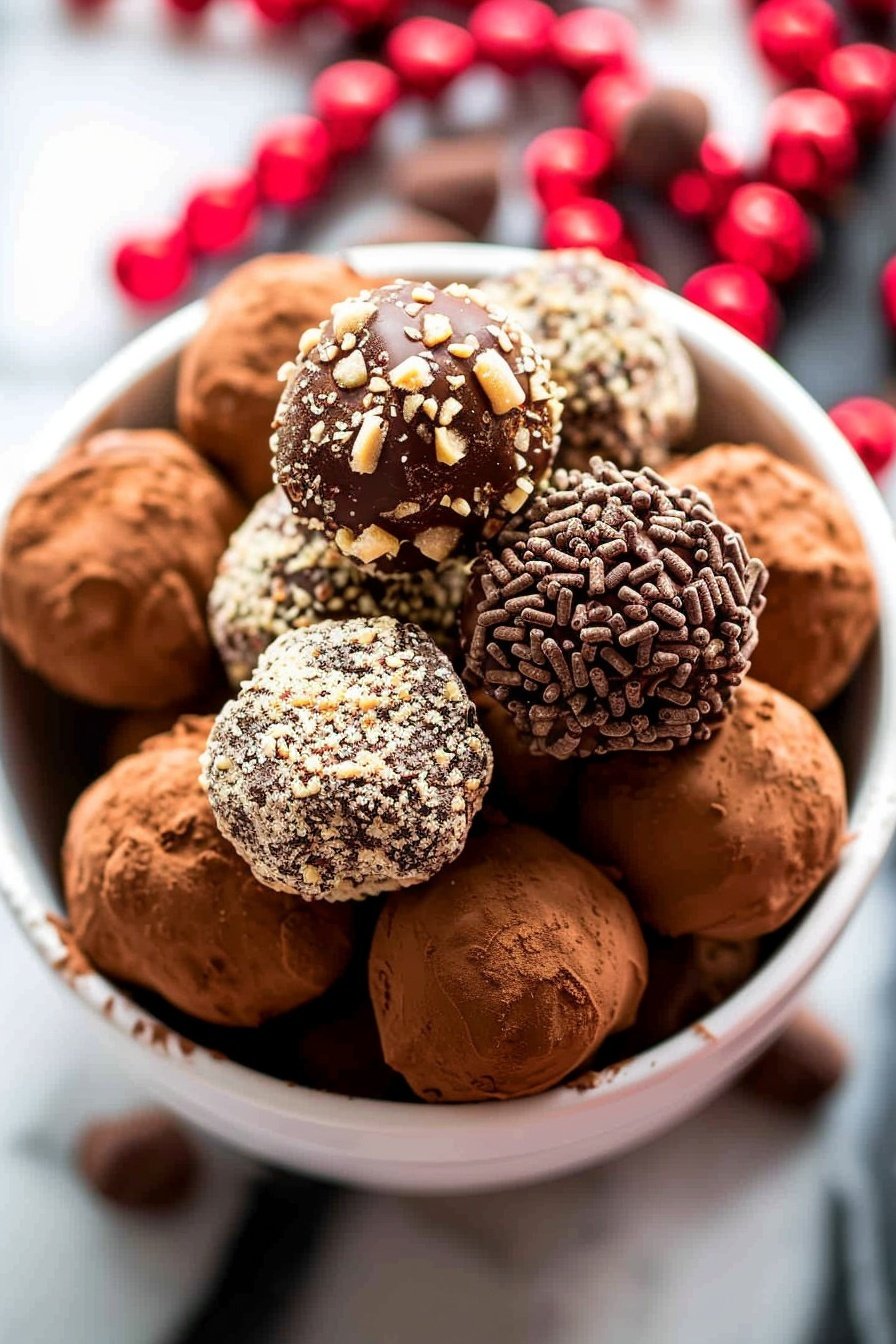
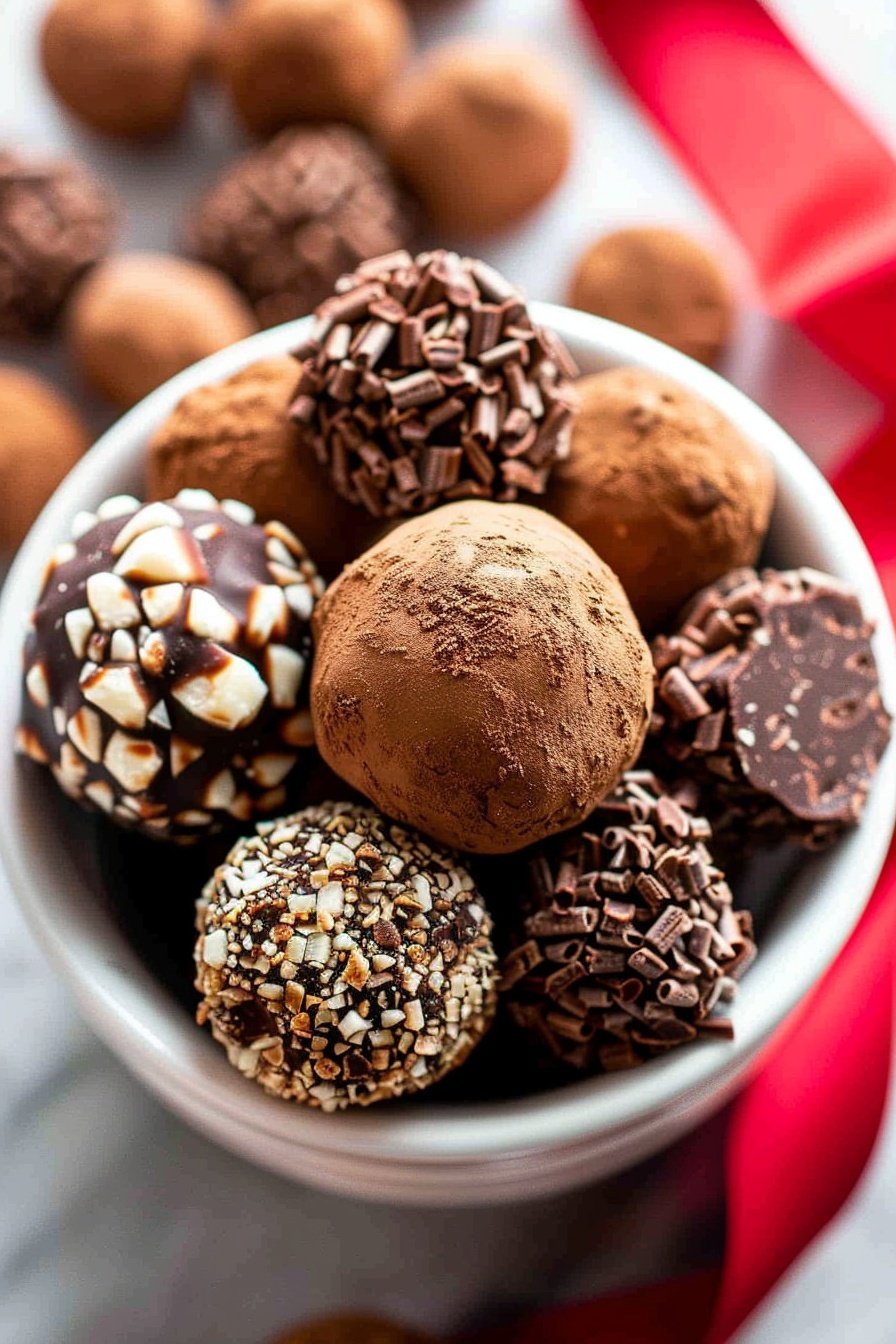
Now for the fun part. Roll your chocolate balls in toppings. I love cocoa powder for a classic look. My neighbor’s child loves rainbow sprinkles.
You can use crushed nuts too. Or a little bit of everything. Why does this matter? It lets you put your own stamp on your creation. Your treats should reflect you.
Which topping would you try first? Let me know if you pick cocoa, nuts, or sprinkles.
A Sweet Lesson in Patience
You must chill the truffles again after rolling. This is the hardest part. You have to wait before you can eat them.
But good things come to those who wait. A firm truffle holds its shape. It feels solid and perfect in your hand.
This little wait teaches us patience. It is a small lesson from the kitchen. It makes that first bite even more special.
Sharing Your Creations
Once firm, store your truffles in a container. Keep them in the fridge. Take them out about 20 minutes before serving.
They taste best at room temperature. The flavor just wakes up. I love putting them on a pretty plate to share.
Seeing someone’s face light up when you offer them a homemade treat? That is the real reward. Who would you share your first batch with?
Ingredients:
| Ingredient | Amount | Notes |
|---|---|---|
| Semi-sweet chocolate bars | 2 (4 oz) bars | Finely chopped |
| Heavy cream | 2/3 cup | |
| Vanilla extract | 1/2 teaspoon | |
| Coating | Unsweetened cocoa powder, crushed nuts, sprinkles |
My Best Chocolate Truffles From Scratch
Hello, my dear. Come sit with me. Let’s make some magic in the kitchen today. We are making my famous chocolate truffles. They are little bites of pure joy. I love how simple they are to make. It feels like a little secret.
You just need a few good things. Good chocolate, some heavy cream, and a dash of vanilla. The rest is just fun and rolling. I remember making these with my own grandchildren. Their little hands got so covered in chocolate. We laughed so much. Are you ready to begin?
Step 1: First, chop your chocolate bars up nice and fine. Put all those little pieces into a big bowl. This bowl needs to be safe for heat. I use my old yellow mixing bowl. It has seen many batches of truffles.
Step 2: Now, let’s warm the cream. Pour it into a small pot. Put it on the stove over a medium heat. Let it get warm until you see little bubbles at the edge. Don’t let it boil over. That makes a big mess. (A hard-learned tip: watch the pot closely. Cream has a mind of its own sometimes.)
Step 3: Carefully pour the hot cream over the chocolate. Oh, doesn’t that smell amazing? Now, the hard part. We walk away. Let it sit for a few minutes. This lets the chocolate get soft and dreamy. I use this time to wash a spoon.
Step 4: Time to stir. Add your vanilla extract. Now stir it all together. Watch the chocolate melt into the cream. It becomes so smooth and shiny. This part is my favorite. It’s like stirring a dark, sweet pond.
Step 5: We need to cool our chocolate mixture. Place a piece of plastic wrap right on top. Press it down onto the surface. This stops water from forming. Now, put the whole bowl in the fridge. It needs to get firm. This takes about an hour.
Step 6: The fun part is here. Scoop up the firm chocolate. Use a tablespoon to make little mounds. Then, roll each one between your palms. Make them into nice round balls. If the chocolate gets too sticky, just chill it again. No worries at all.
Step 7: Now for the decorations. Roll your balls in cocoa powder. Or maybe in some crushed nuts. Sprinkles are always a happy choice. I still laugh at that time I used crushed peppermints. It was a wonderful mess. What is your favorite candy to crush? Share below!
Step 8: Place your finished truffles on a baking sheet. Line it with parchment paper first. Then pop them back in the fridge. Let them get firm and perfect. After that, you can put them in a container. Keep them cool until you are ready to share.
Cook Time: 1–2 hours
Total Time: 1 hour 30 minutes
Yield: About 20 truffles
Category: Dessert, Candy
Three Tasty Twists to Try
Once you know the basic recipe, you can play. I love adding little surprises inside. It makes each truffle a tiny gift. You never know what you will get. Here are a few of my favorite ideas.
Orange Zest Joy: Add a teaspoon of orange zest to the warm cream. It smells like a sunny afternoon. The chocolate and orange are best friends.
Peppermint Swirl: Use a drop of peppermint extract instead of vanilla. Roll the finished truffles in crushed candy canes. So festive and cool.
Salty Surprise: Roll the chocolate balls in crushed, salty pretzels. The sweet and salty mix is just wonderful. It’s a little crunch in every bite. Which one would you try first? Comment below!
Serving Your Sweet Creations
Taking your truffles out of the fridge is important. Let them sit on the counter for about twenty minutes. This makes them soft and creamy inside. I always forget this step. Then I remember halfway through eating one.
Place them in a pretty little paper cup. Or arrange them on a fancy plate. They look so special that way. For a drink, a glass of cold milk is just perfect. For the grown-ups, a small glass of red wine is nice. The dark chocolate tastes even better. Which would you choose tonight?

Keeping Your Truffles Happy
These little chocolate bites need a cool home. Always store them in the fridge. Use an airtight container so they stay fresh.
You can freeze them for a sweet treat later. Just place them in a single layer first. Then you can stack them in a freezer bag.
I once left a batch out too long. They became a soft, melty puddle. It was a delicious mess, but not very pretty.
Let them sit out for about twenty minutes before serving. This makes them soft and creamy again. Batch cooking means you always have a gift ready.
This matters because good food is meant to be shared. Having treats on hand brings people joy. Have you ever tried storing it this way? Share below!
Troubleshooting Your Chocolate Creations
Is your chocolate mixture too runny? It just needs more chill time. Pop it back in the fridge for a bit.
Are your hands melting the truffles as you roll? I remember when this happened to me. My grandson called them chocolate finger-paint.
Wash your hands in cold water first. Then dry them completely. This keeps the chocolate from warming up too fast.
Are your toppings not sticking? Just roll the balls right after shaping. The surface is a little sticky then.
Fixing small problems builds your cooking confidence. It also makes your treats taste even better. Which of these problems have you run into before?
Your Truffle Questions Answered
Q: Are these truffles gluten-free? A: Yes, they are. Just check your chocolate bars to be sure.
Q: Can I make them ahead? A: Absolutely. They are even better the next day.
Q: What can I use instead of heavy cream? A: Coconut cream works very well. It gives a lovely little flavor.
Q: Can I double the recipe? A: You sure can. It is perfect for a party.
Q: Any other fun toppings? A: Try crushed pretzels for a sweet and salty mix. A fun fact: The first truffles were named after a fancy mushroom. Which tip will you try first?
A Little Note From My Kitchen
I hope you have fun making these truffles. Cooking is about making memories. It is about the joy of creating something sweet.
I would love to see what you make. Share a picture of your beautiful truffles. You can show everyone your kitchen success.
Have you tried this recipe? Tag us on Pinterest! It makes my day to see your creations. Happy cooking!
—Grace Ellington.

Best Chocolate Truffles From Scratch
Description
Create rich and decadent chocolate truffles from scratch with this simple recipe, perfect for gifting or a sweet treat.
Ingredients
Instructions
- Place the chocolate in a heat-proof bowl. Set aside.
- Place the cream in a saucepan over medium heat (or you can heat it to simmering, in the microwave). Cook for 2-3 minutes or until cream is simmering.
- Pour the cream over the chopped chocolate and allow mixture to rest for 3-5 minutes.
- Add the vanilla extract then stir until the chocolate has completely melted.
- Place a piece of plastic wrap directly on the surface (to avoid condensation) and refrigerate for one hour, or until firm.
- Scoop the mixture into 1 tablespoon-sized mounds. Roll each into balls.
- If the chocolate gets too soft and starts to melt, you can chill it until it becomes easier to work with again.
- Roll each ball into desired toppings.
- Place them on a sheet pan lined with parchment and chill until firm.
- After the truffles are firm, transfer them to an airtight container.
- Store truffles in an airtight container in the refrigerator. Remove them to come to room temperature about 20 minutes before serving.
Notes
- For best results, use high-quality chocolate. Work quickly when rolling the truffles to prevent melting. Truffles can be stored in the refrigerator for up to 2 weeks.

