My First Pizza Disaster
I remember my first time making pizza dough. I was so nervous. I thought I had ruined it because it looked like a sticky mess. My grandma just smiled and told me to add a little more flour. It turned out perfectly.
That is why I love this recipe. It is very forgiving. You do not need to be a perfect baker to make great pizza. This recipe helps you feel like a chef in your own kitchen. What is your favorite pizza topping? I would love to know.
Let’s Talk About the Secret Ingredient
You might see the vinegar and wonder why it is there. It is our little secret. The vinegar makes the crust extra tender and a little chewy. It is a small thing that makes a big difference.
Trust me on this one. I have tried it without, and it is just not the same. That one teaspoon works a kind of magic. *Fun fact: a tiny bit of vinegar can also help bread stay fresh longer!*
Watching the Dough Come to Life
The best part is watching the yeast foam. You mix it with warm water and sugar. In just five minutes, it gets all bubbly and alive. It smells a little like bread already.
This step matters because it tells you your yeast is happy. Happy yeast makes a dough that rises high and fluffy. It is the heart of your pizza. Does your family like thin and crispy crusts or thick and soft ones?
Why We Knead the Dough
Kneading might seem like hard work. But it is how you make the dough strong. You are building little strands of gluten. These strands trap air and make the crust light.
If you have a mixer, let it do the work. If not, use your hands. Press, fold, and turn the dough for about seven minutes. You will feel it change from shaggy to smooth. I still find this part very satisfying.
So Many Ways to Bake Your Pizza
The great thing about this dough is its flexibility. You can bake it in a regular oven. Or you can try the grill for a smoky flavor. I have even made little pizzas in my air fryer.
Each method gives you a different kind of crust. The grill method is my favorite for summer nights. It feels like a fun adventure. Have you ever tried cooking pizza on a grill? It is easier than you think.
Making Memories in the Kitchen
This is more than just a recipe. It is a way to bring people together. I have made this dough with my grandchildren. We laugh and get flour everywhere. The kitchen is a happy mess.
That is why this matters. The food tastes better when you make it with love. It is not just about eating. It is about the time you spend creating. What is a fun food memory you have from your kitchen?
Ingredients:
| Ingredient | Amount | Notes |
|---|---|---|
| Active dry yeast | 2 1/4 teaspoons | |
| Granulated sugar | 2 teaspoons (8g) | |
| Warm water | 1 1/2 cups (356g) | |
| Olive oil | 3 Tablespoons (45 ml) | |
| Salt | 1 1/2 teaspoons (9g) | |
| White vinegar | 1 teaspoon (5 ml) | |
| Bread flour | 3 3/4 – 4 cups (510-544g) | You may not need all of the flour |
Easy Homemade Pizza Dough for a Cozy Night
Hello, my dear! Let’s make some pizza dough. It is easier than you think. I love the smell of yeast blooming. It smells like my own grandma’s kitchen.
You just need a few simple things from your pantry. The vinegar is my little secret. It makes the crust so crisp. I learned that from a baker friend years ago.
- Step 1: First, wake up your yeast. Put it in warm water with the sugar. Wait five minutes. It should get foamy, like a tiny bubble bath. This means it is alive and happy.
- Step 2: Now, add the rest of your water. Pour in the lovely olive oil. Don’t forget the salt and that secret vinegar. Give it a little stir. Doesn’t that smell amazing already?
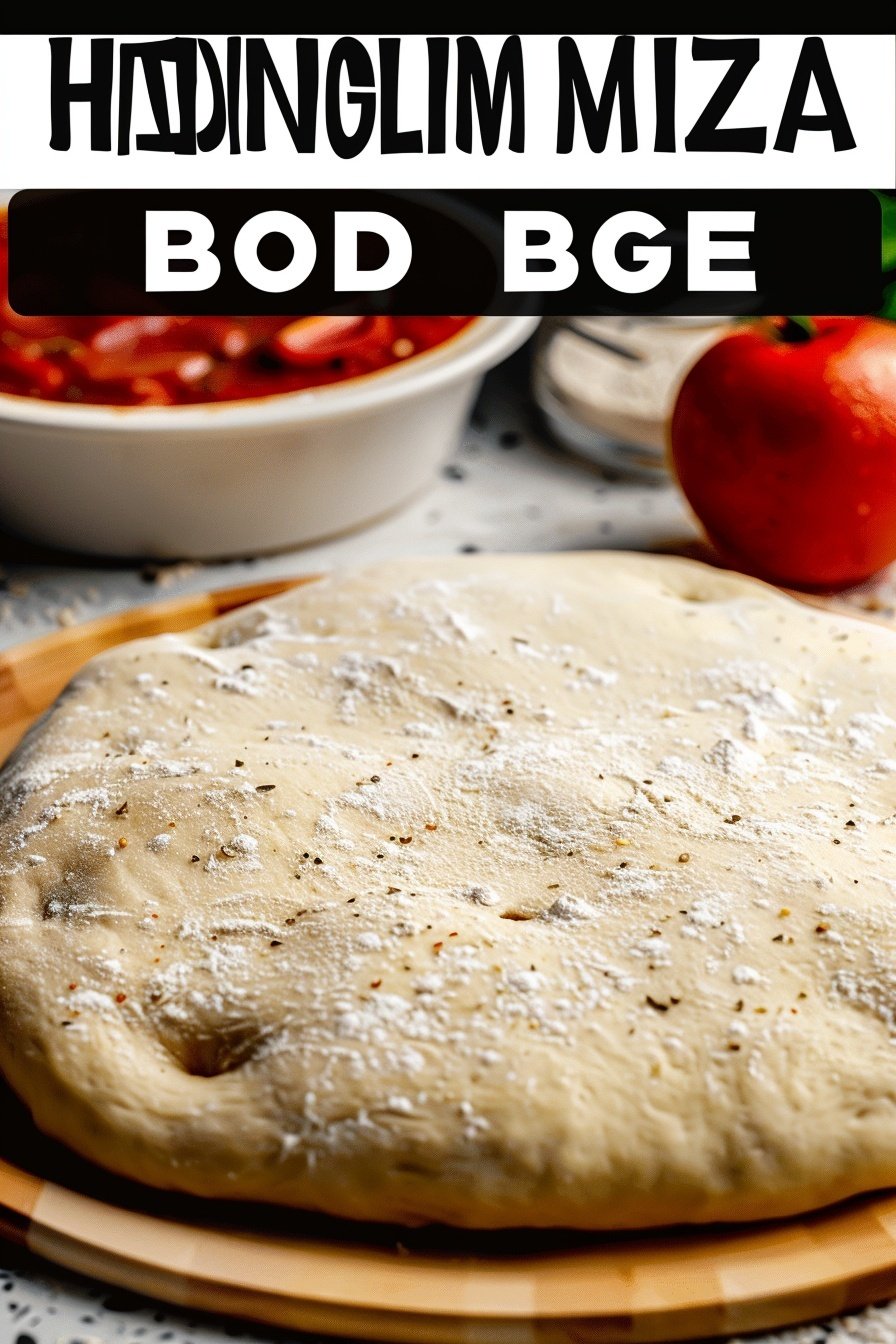
- Step 3: Time to add the flour. Mix it in slowly. Your dough is ready when it is smooth and stretchy. (My hard-learned tip: The dough should be a tiny bit sticky. Too much flour makes a tough pizza!).
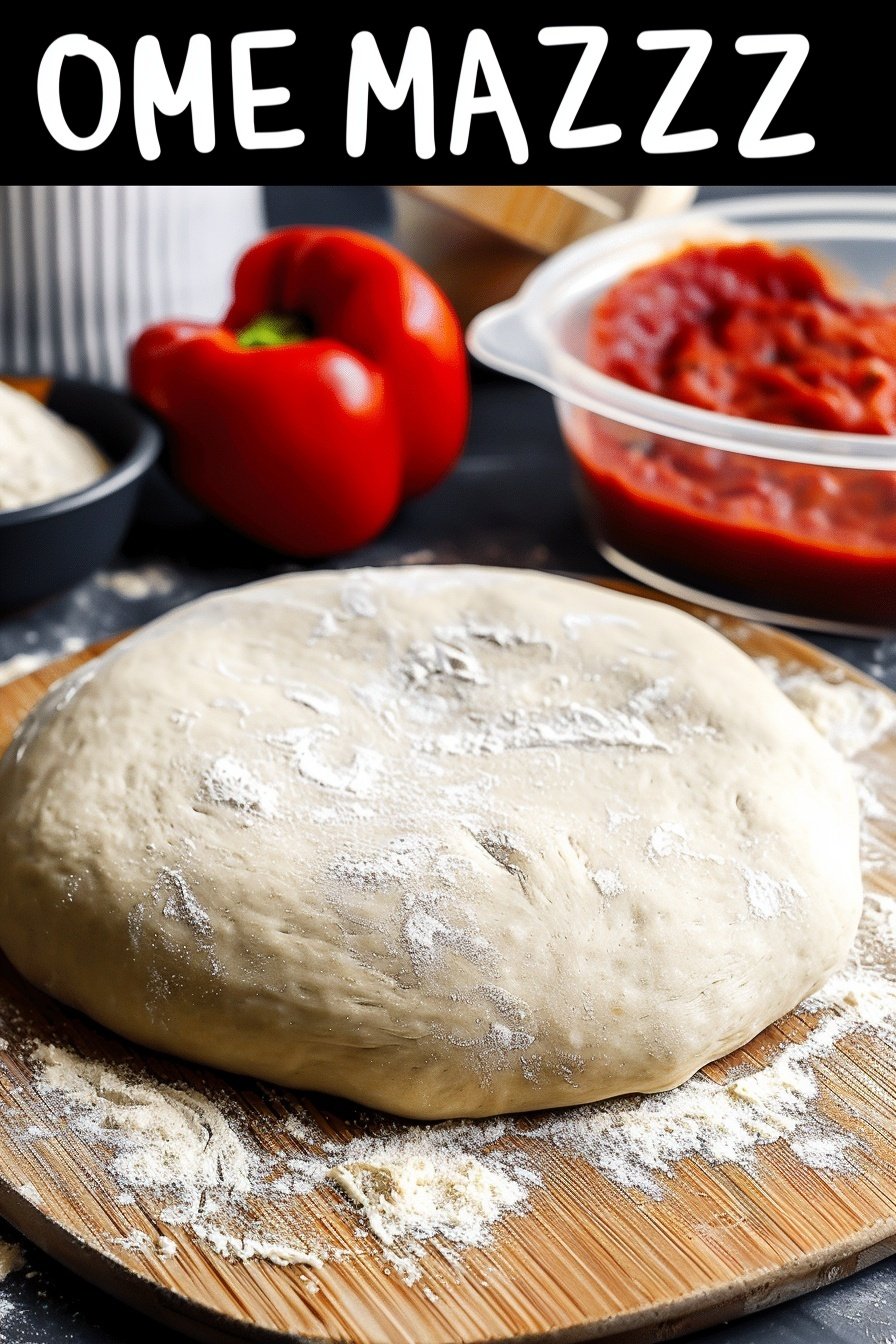
- Step 4: Let your dough take a nap. Put it in a greased bowl and cover it. Let it rest for about an hour. It will get big and puffy. I still laugh at how much it grows.
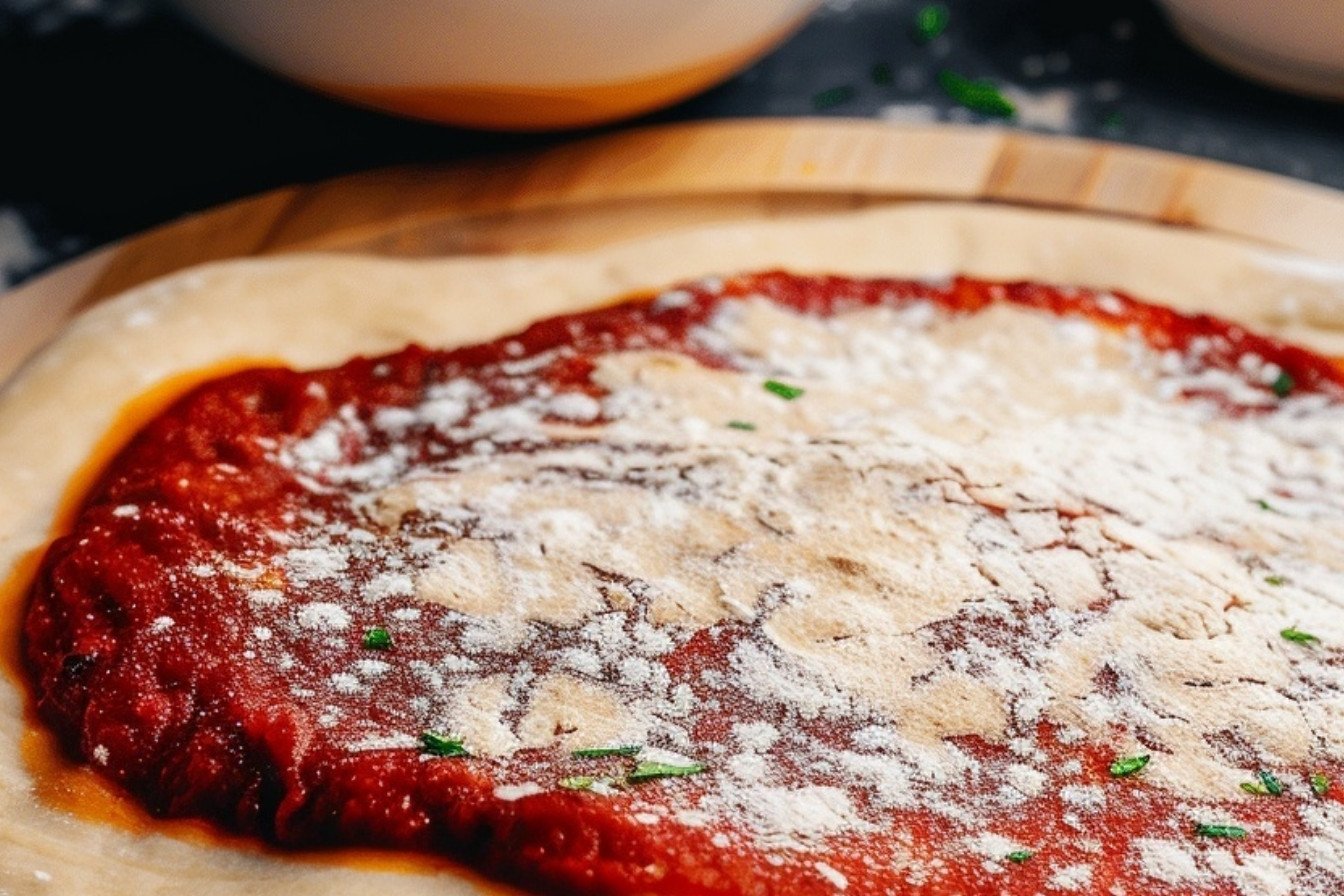
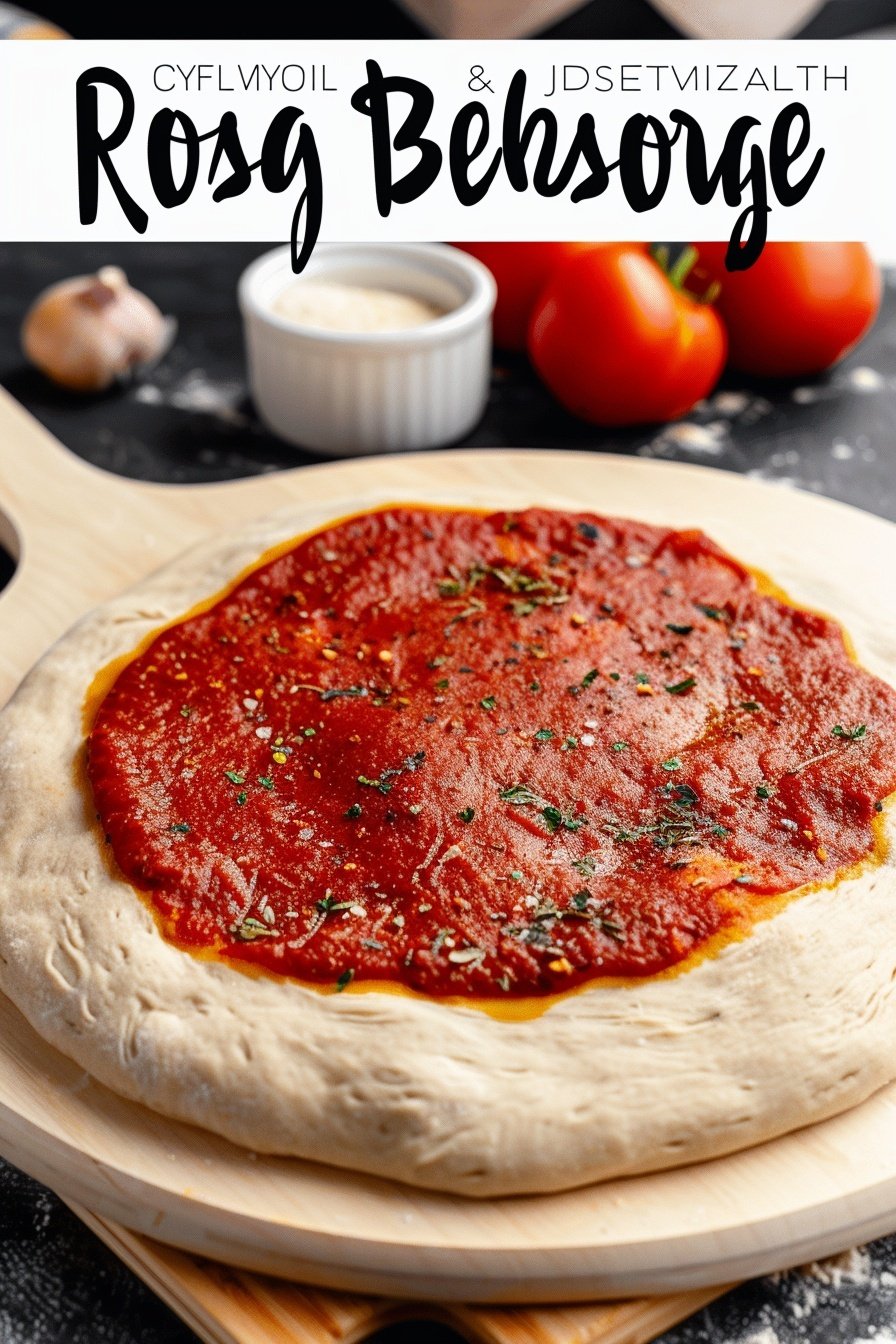
- Step 5: Gently punch the air out. Then divide it into balls. Now you can stretch it into your pizza shape. Brush it with a little oil for a golden crust. What is your favorite pizza topping? Share below!
Cook Time: 10-18 minutes
Total Time: 1 hour 30 minutes
Yield: 2-3 pizzas
Category: Dinner, Main Course
Three Fun Twists for Your Pizza
Once you have your dough, the fun begins. You can top it with anything you like. Here are some of my favorite ideas for you to try.
- Breakfast Pizza: Use sauce, then crack eggs right on top. Add cheese and bacon. Bake until the eggs are just set. It is perfect for a lazy weekend morning.
- Garden Fairy Pizza: Skip the red sauce. Use pesto or just olive oil. Top with tiny potatoes, asparagus, and goat cheese. It tastes like a sunny garden.
- Sweet Cinnamon Pizza: Roll the dough out thin. Brush with butter and sprinkle cinnamon-sugar. Bake until crispy. It is like a giant, warm snickerdoodle cookie.
Which one would you try first? Comment below!
Serving Your Masterpiece
A fresh pizza is a meal all by itself. But I love making it a little special. A simple green salad with a sharp dressing is perfect. It cuts right through the rich cheese.
For a real treat, serve your pizza with roasted vegetables. Some zucchini or bell peppers are lovely. They add such nice color to your plate. And don’t forget a cool drink.
A frosty glass of root beer is a classic pairing. For the grown-ups, a pale ale is very nice with the salty crust. Which would you choose tonight?
Keeping Your Pizza Dough Happy
You can make this dough ahead of time. Just pop it in the fridge for a few days. For longer storage, the freezer is your friend. Wrap each dough ball tightly in plastic wrap. Then place them all in a freezer bag.
I remember my first frozen dough ball. I was so proud to have dinner ready in no time. Thaw it in the fridge overnight when you are ready. Let it sit on the counter for an hour before shaping.
Batch cooking matters because life gets busy. Having dough ready means a fun meal is always close. It turns a busy night into a pizza party. Have you ever tried storing it this way? Share below!
Simple Fixes for Pizza Problems
Is your yeast not foaming? Your water might be too hot or cold. It should feel warm on your wrist, like a baby’s bottle. This step matters because live yeast makes your crust fluffy and light.
Is the dough too sticky? Just add a little more flour, one spoon at a time. I once added too much flour and my pizza was tough. The dough should be soft and a little tacky. This creates a tender crust that is not too chewy.
Is your crust not crispy? Make sure your oven is fully hot before baking. A hot oven gives you that perfect golden crunch. Solving these small issues builds your cooking confidence. Which of these problems have you run into before?
Your Pizza Dough Questions Answered
Q: Can I make this gluten-free? A: Yes, use a good gluten-free flour blend made for bread.
Q: How far ahead can I make the dough? A: You can make it 2-3 days ahead. Keep it in the fridge.
Q: What if I don’t have bread flour? A: All-purpose flour will work just fine in this recipe.
Q: Can I double this recipe? A: Absolutely. It is perfect for a big family or for freezing.
Q: Is the vinegar really needed? A: It helps make the crust tender, but you can skip it. Fun fact: The vinegar works its magic to keep the crust soft! Which tip will you try first?
From My Kitchen to Yours
I hope you love making this pizza dough as much as I do. It is a simple joy to create a meal from scratch. Seeing your family enjoy it is the best feeling. I would love to see your beautiful creations.
Have you tried this recipe? Tag us on Pinterest! Share a picture of your perfect pizza night. It makes this old grandma’s heart so happy. Happy cooking!
—Grace Ellington.

Easy Homemade Pizza Dough Recipe for Beginners
Description
A simple and versatile pizza dough recipe perfect for beginners, with instructions for oven, pizza oven, air fryer, and grill methods.
Ingredients
Instructions
- In a large bowl of a stand mixer, combine ½ cup of the warm water with the sugar and yeast. Stir to dissolve the yeast then let rest for 5 minutes. It should foam on the top.
- Add the remaining 1 cup of warm water, olive oil, salt and vinegar.
- Begin mixing on medium-low speed, gradually adding the flour a cup at a time, and knead the dough for about 7 minutes, or until it’s smooth and elastic. You may not need all of the flour. The dough should be slightly sticky, but not so sticky that it really sticks to your fingertip when touched.
- Transfer dough to a greased bowl and cover with a dry towel or greased plastic wrap. Allow to rise for 1 to 1.5 hours, or until it has about doubled in volume.
- Gently punch the dough down and place on a lightly greased or floured counter top. Divide dough into 2 or 3 equal pieces (makes about two 14” or three 9” pizzas). Roll and stretch the dough to desired size and thickness. Brush dough with olive oil.
- Oven Method: Preheat oven to 450 degrees F (with a pizza stone inside, if you have one). Add cornmeal and flour to a pizza peel or use a pizza pan. Pick the top of the dough a few times with a fork and pre-bake the dough in the pizza pan, or slide onto a hot pizza stone to pre-bake for 3-4 minutes. Remove from oven and add pizza sauce and toppings. Return to oven and bake for 8-15 more minutes or until the crust is golden and the cheese is bubbly.
- Pizza Oven Method: Add cornmeal and flour to a pizza peel and place rolled out dough on top. Add toppings. Slide into preheated pizza oven and cook according to pizza oven instructions.
- Air Fryer Method: Roll dough into small sizes that will fit in air fryer. Cook in air fryer for 1 minute (check after 30 seconds, to make sure it didn’t fold over), then flip sides and cook 1 more minute. Repeat with remaining crusts. Add toppings. Cook at 370 for 1-3 minutes or until bubbly.
- Grill Method: Preheat grill to medium-high. Roll out dough and place on a piece of parchment paper. Spread with oil, then gently flip the pizza onto the grill, oil side down, and peel the parchment paper off. Cover grill lid and cook for 2-3 or until grill marks on bottom. Flip the pizzas onto a plate and add sauce and toppings to cooked side. Reduce heat and slide pizzas back on grill to cook another 3-5 minutes.
Notes
- The dough can be made ahead and refrigerated for up to 3 days or frozen for up to 3 months. Bring to room temperature before using.

