
The Magic of Browned Butter
Let me tell you about browned butter. It is butter that gets cooked a little longer. It turns a pretty golden color and smells like nuts. It makes your whole kitchen smell wonderful.
I learned this trick from my friend Marie. She brought over cookies that tasted incredible. I asked for her secret. She just winked and said, The butter did it. I still laugh at that. This small step makes a huge difference in flavor.
Why We Chill the Dough
I know you want to bake the cookies right away. But we must wait. Chilling the dough is very important. It makes the cookies thicker and chewier.
This matters because patience makes things better. Good things are worth waiting for. While the dough chills, you can clean up. What is your favorite thing to do while you wait for cookies?
A Little Secret Ingredient
Do not forget the sprinkle of salt on top. It seems strange, I know. But trust me. That tiny bit of salt makes the chocolate taste even sweeter.
Fun fact: Salt helps to balance and bring out other flavors in food. It is like a tiny magic trick for your taste buds. This is why a little salt in sweet recipes is such a good idea.
The Best Part: Sharing
My favorite part is taking the first warm cookie. Doesnt that smell amazing? But the real joy is sharing them. I love seeing peoples faces light up.
This matters because food is about more than eating. It is about connection. It is a way to show you care. Who will you share your first batch with?
Your Cookie Adventure
Now it is your turn to try. Do not worry if they are not perfect. My first batch was a little flat. Every batch is a new adventure.
I love hearing your stories. What is your favorite type of chocolate chip cookie? Are you a soft and chewy person or a thin and crispy one? Tell me all about it.
Ingredients:
| Ingredient | Amount | Notes |
|---|---|---|
| unsalted butter | 1 cup (2 sticks) / 227 g | room temperature |
| light brown sugar | 1 cup / 200 g | packed |
| granulated sugar | 1/2 cup / 100 g | |
| vanilla extract | 2 teaspoons / 10 ml | |
| large eggs | 2 | |
| large egg yolk | 1 | |
| all-purpose flour | 2 1/4 cups / 280 g | |
| salt | 1 teaspoon / 5 g | |
| baking soda | 1 teaspoon / 5 g | |
| baking powder | 1/4 teaspoon / 1 g | |
| semi-sweet chocolate chips | 1 cup / 175 g | |
| chocolate chunks | 1/2 cup / 85 g | |
| fine sea salt | for topping | or finishing salt |
The Secret is in the Browned Butter
My grandson calls these my “magic” cookies. I just laugh. The real magic is in the browned butter. It gives them a warm, nutty taste. It makes the whole kitchen smell wonderful. I learned this trick from my own grandmother, can you believe it? Some secrets are worth keeping. Doesn’t that smell amazing?
Step 1: Brown the Butter
Let’s get started. First, we brown that butter. Take one stick of butter. Melt it in a pan over medium heat. Swirl the pan as it melts. It will foam and make little popping sounds. Soon, you’ll see golden bits at the bottom. That’s when you know it’s done. (Don’t walk away! It can burn in a blink.) Pour it into a bowl to cool. I still laugh at that time I got a phone call and ruined a whole batch.
Step 2: Cream the Sugars
Now for the fun part. In a big bowl, mix the other stick of butter with the brown sugar. Mix it for a full three minutes. It will get light and fluffy. This is what makes cookies soft. Then add the white sugar, the cooled brown butter, and the vanilla. Give it a good stir. It will smell like heaven.
Step 3: Combine the Ingredients
Time to bring it all together. Crack in the two eggs and the extra yolk. The yolk makes them extra chewy. Now, add all the flour, salt, baking soda, and baking powder. Mix it just until you can’t see white flour anymore. Then, stir in all those chocolate chips and chunks. Do you like more chips or more chunks? Share below!
Step 4: Chill the Dough
Almost ready! Cover the bowl and put it in the fridge. Let it chill for at least 20 minutes. This helps the flavors get to know each other. While you wait, heat your oven to 350°F. Line your baking sheets with parchment paper. My mama always used a little butter, but parchment is so much easier.
Step 5: Bake to Perfection
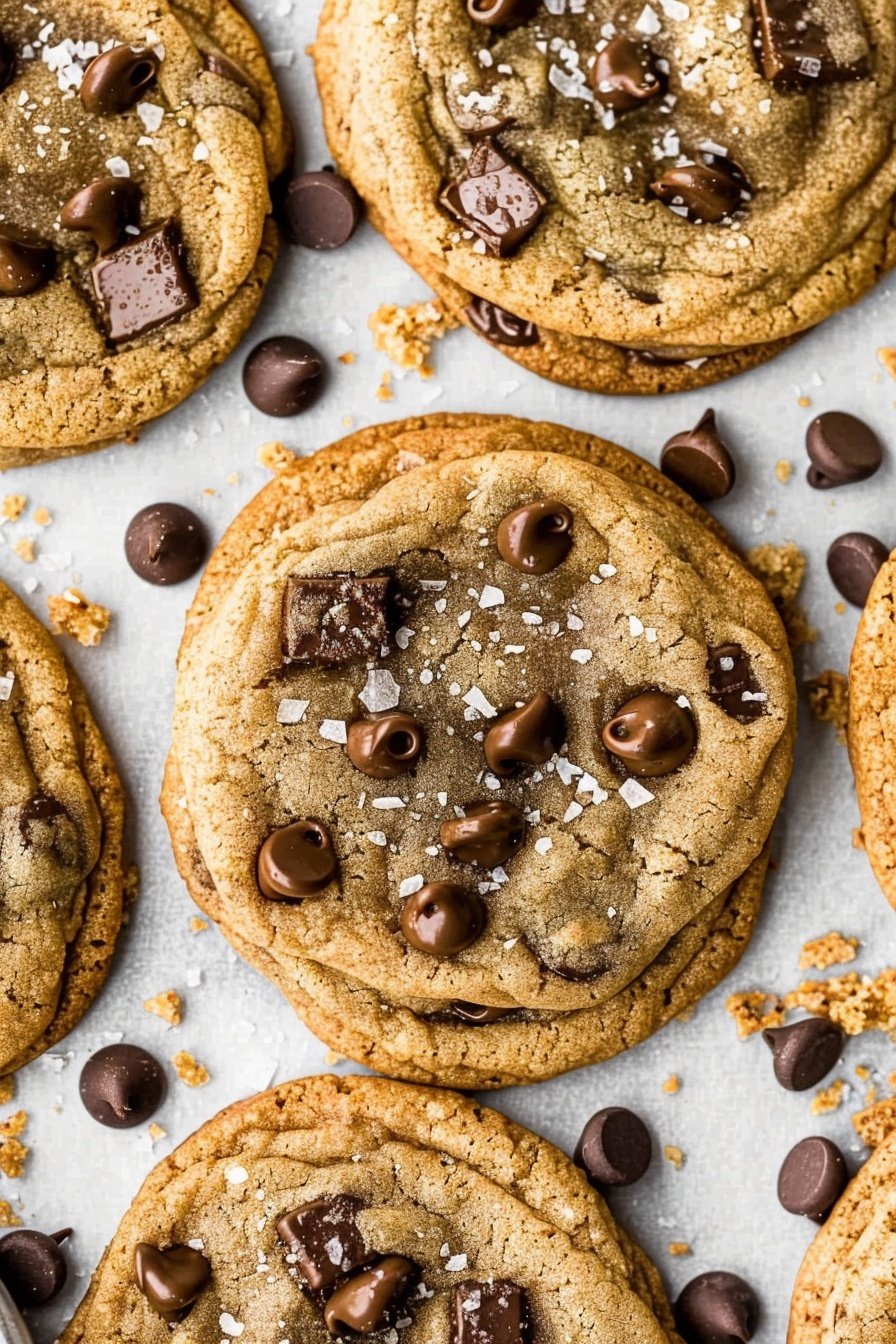
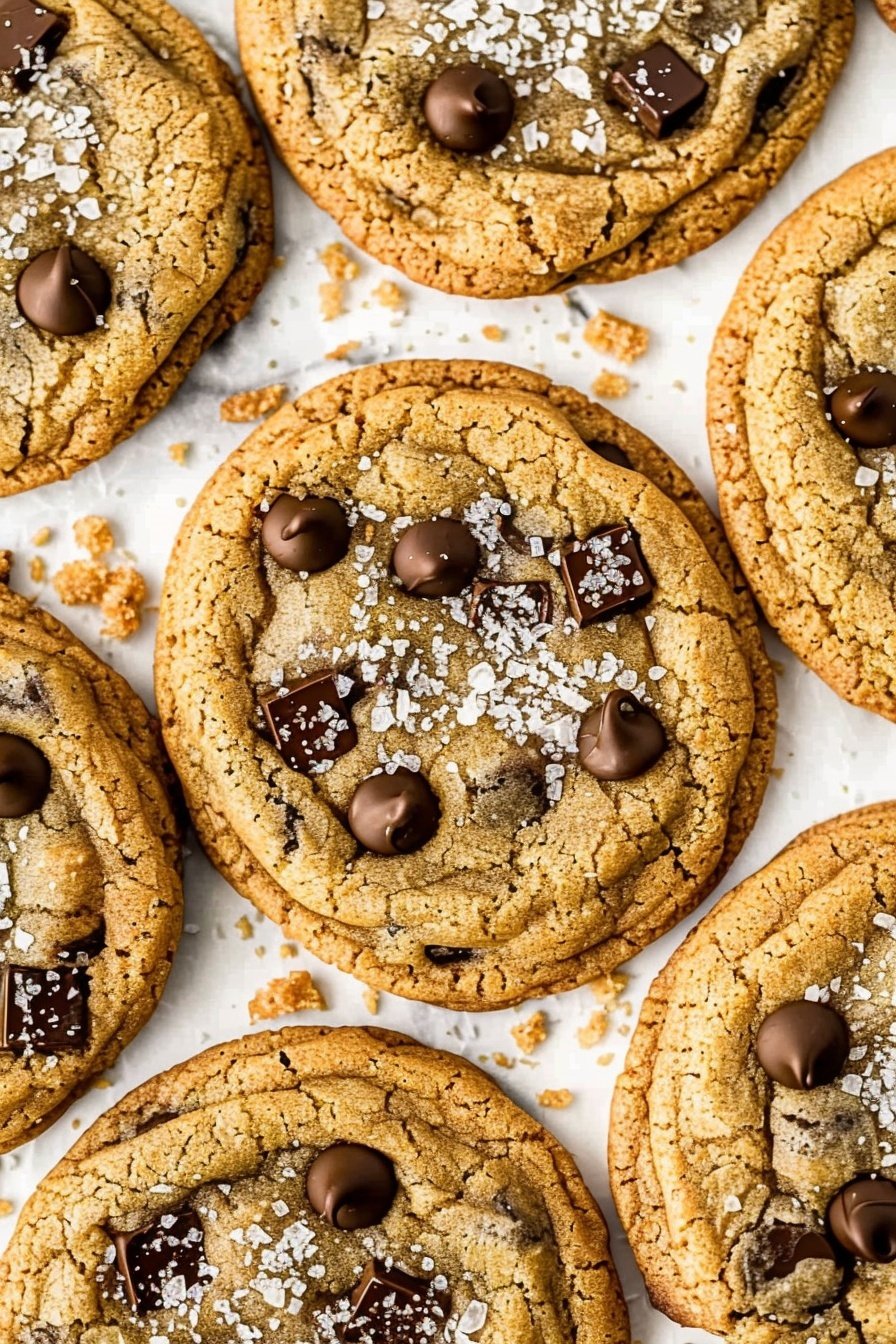
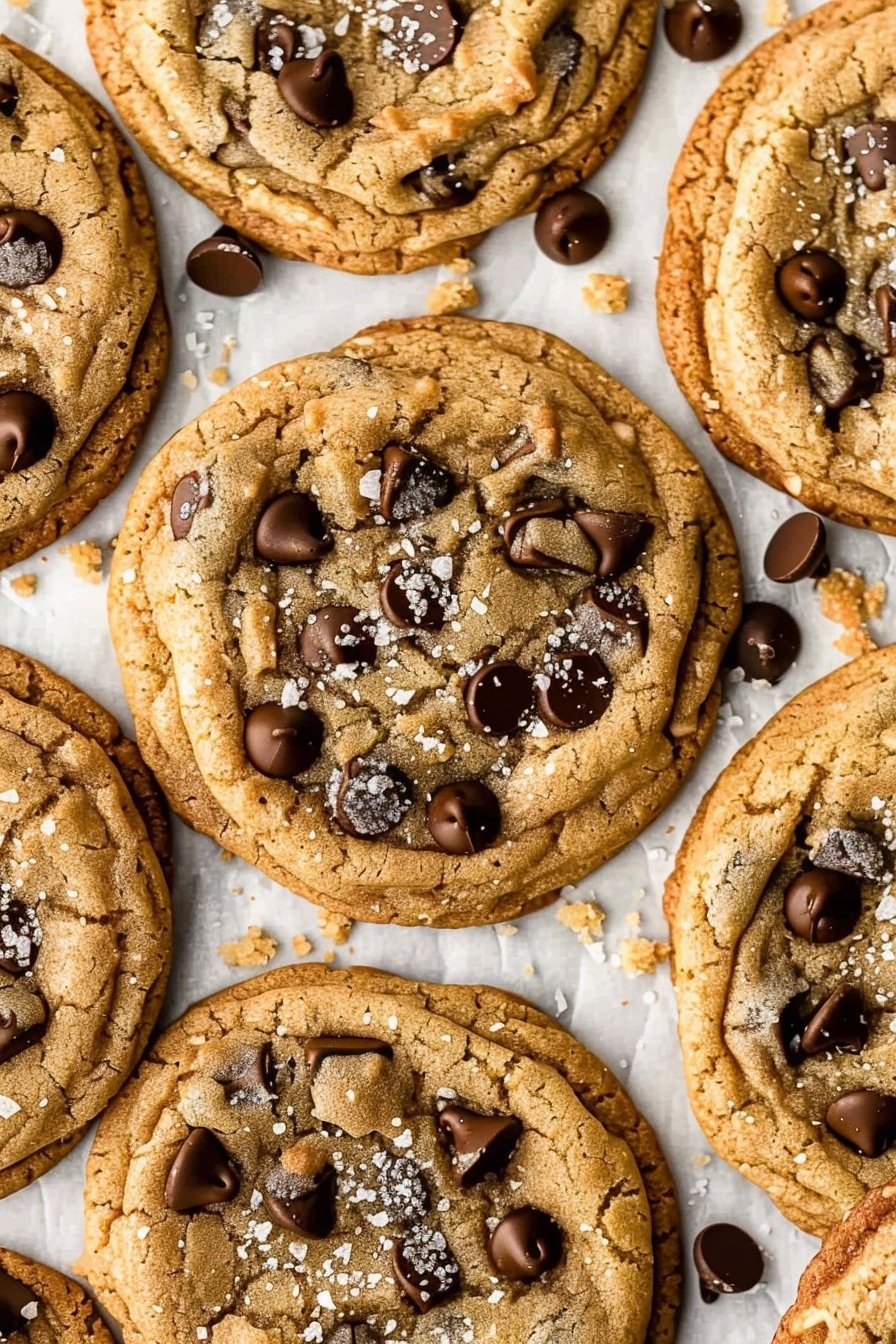
Here comes the best part. Roll the dough into little balls. Make them about two tablespoons big. Place them on the sheet, two inches apart. They need their space to grow. Bake them for 11 to 14 minutes. The edges should be just barely golden. Let them sit on the pan for five minutes. Then, sprinkle a tiny bit of sea salt on top. It makes the chocolate taste even sweeter.
Cook Time: 11–14 minutes
Total Time: About 1 hour
Yield: About 2 dozen cookies
Category: Dessert, Cookies
Let’s Get Creative!
This recipe is like a favorite old sweater. It’s comfortable, but you can always add a new brooch. Try one of these fun twists next time you bake. They are all so delicious in their own way.
- The Pretzel Crunch: Swap half the chocolate for crushed salty pretzels. Sweet and salty is the best combination.
- The Autumn Spice: Add a teaspoon of cinnamon to the dough. It makes the whole house smell like the coziest fall day.
- The Peanut Butter Pocket: Hide a small ball of peanut butter in the center of each dough ball. It’s a lovely, gooey surprise inside.
Which one would you try first? Comment below!
Serving with a Smile
I love serving these cookies warm. They are perfect all on their own. But sometimes, a little extra touch is nice. For a real treat, place one on a small plate. Add a scoop of vanilla bean ice cream right on top. The warm cookie and cold cream are a dream.
What to drink with your creation? A tall, frosty glass of milk is the classic choice. It just feels right. For the grown-ups, a cup of dark roast coffee is wonderful. The bitter coffee and the sweet cookie are old friends. Which would you choose tonight?
Keeping Your Cookies Cozy
Fresh cookies are a special treat. But what about tomorrow? Let’s keep them tasting great. Store cooled cookies in a tight container. They will stay soft for about four days.
You can also freeze the dough. I love having cookie dough balls ready. Just scoop them onto a baking sheet. Once frozen, pop them into a bag.
I once baked a whole batch for my grandson. He ate so many his first day. The next day, the cookies were a bit hard. Now I always freeze half the dough for a fresh-baked surprise later. This matters because a little planning brings fresh joy on a busy day.
Have you ever tried storing it this way? Share below!
Cookie Troubles and Easy Fixes
Sometimes cookies do not turn out right. Do not worry. I have some simple fixes for you. First, if your cookies spread too much, your dough was too warm. Chilling the dough is a very important step.
I remember when I skipped the chill time. My cookies turned into one big, flat cookie sheet! Chilling the butter firms it up. This helps your cookies keep their perfect round shape.
Second, if your cookies are too cakey, you might have over-mixed. Mix the flour just until it disappears. Third, for a chewier cookie, use an extra egg yolk. The yolk adds richness and a soft texture. Getting this right builds your cooking confidence. It also makes the flavor just how you like it.
Which of these problems have you run into before?
Your Quick Cookie Questions
Q: Can I make these gluten-free? A: Yes! Use your favorite gluten-free flour blend. It works just fine.
Q: How far ahead can I make the dough? A: You can keep it in the fridge for two days. Or freeze it for three months.
Q: What if I don’t have chocolate chunks? A: Use all chips. Or chop up a chocolate bar. It is a wonderful swap.
Q: Can I make a smaller batch? A: Of course. Just cut all the ingredients in half. It is easy to do.
Q: Is the sea salt on top needed? A: It is optional. But it makes the chocolate taste even deeper. A tiny sprinkle makes the flavor pop!
Which tip will you try first?
Bake Some Happy Memories
I hope you love baking these cookies as much as I do. The smell of browned butter is pure happiness. It fills your whole kitchen with warmth.
I would be so delighted to see your creations. Share a picture of your cookie stack. Let me know how your family liked them.
Have you tried this recipe? Tag us on Pinterest!
Happy cooking!
—Grace Ellington.
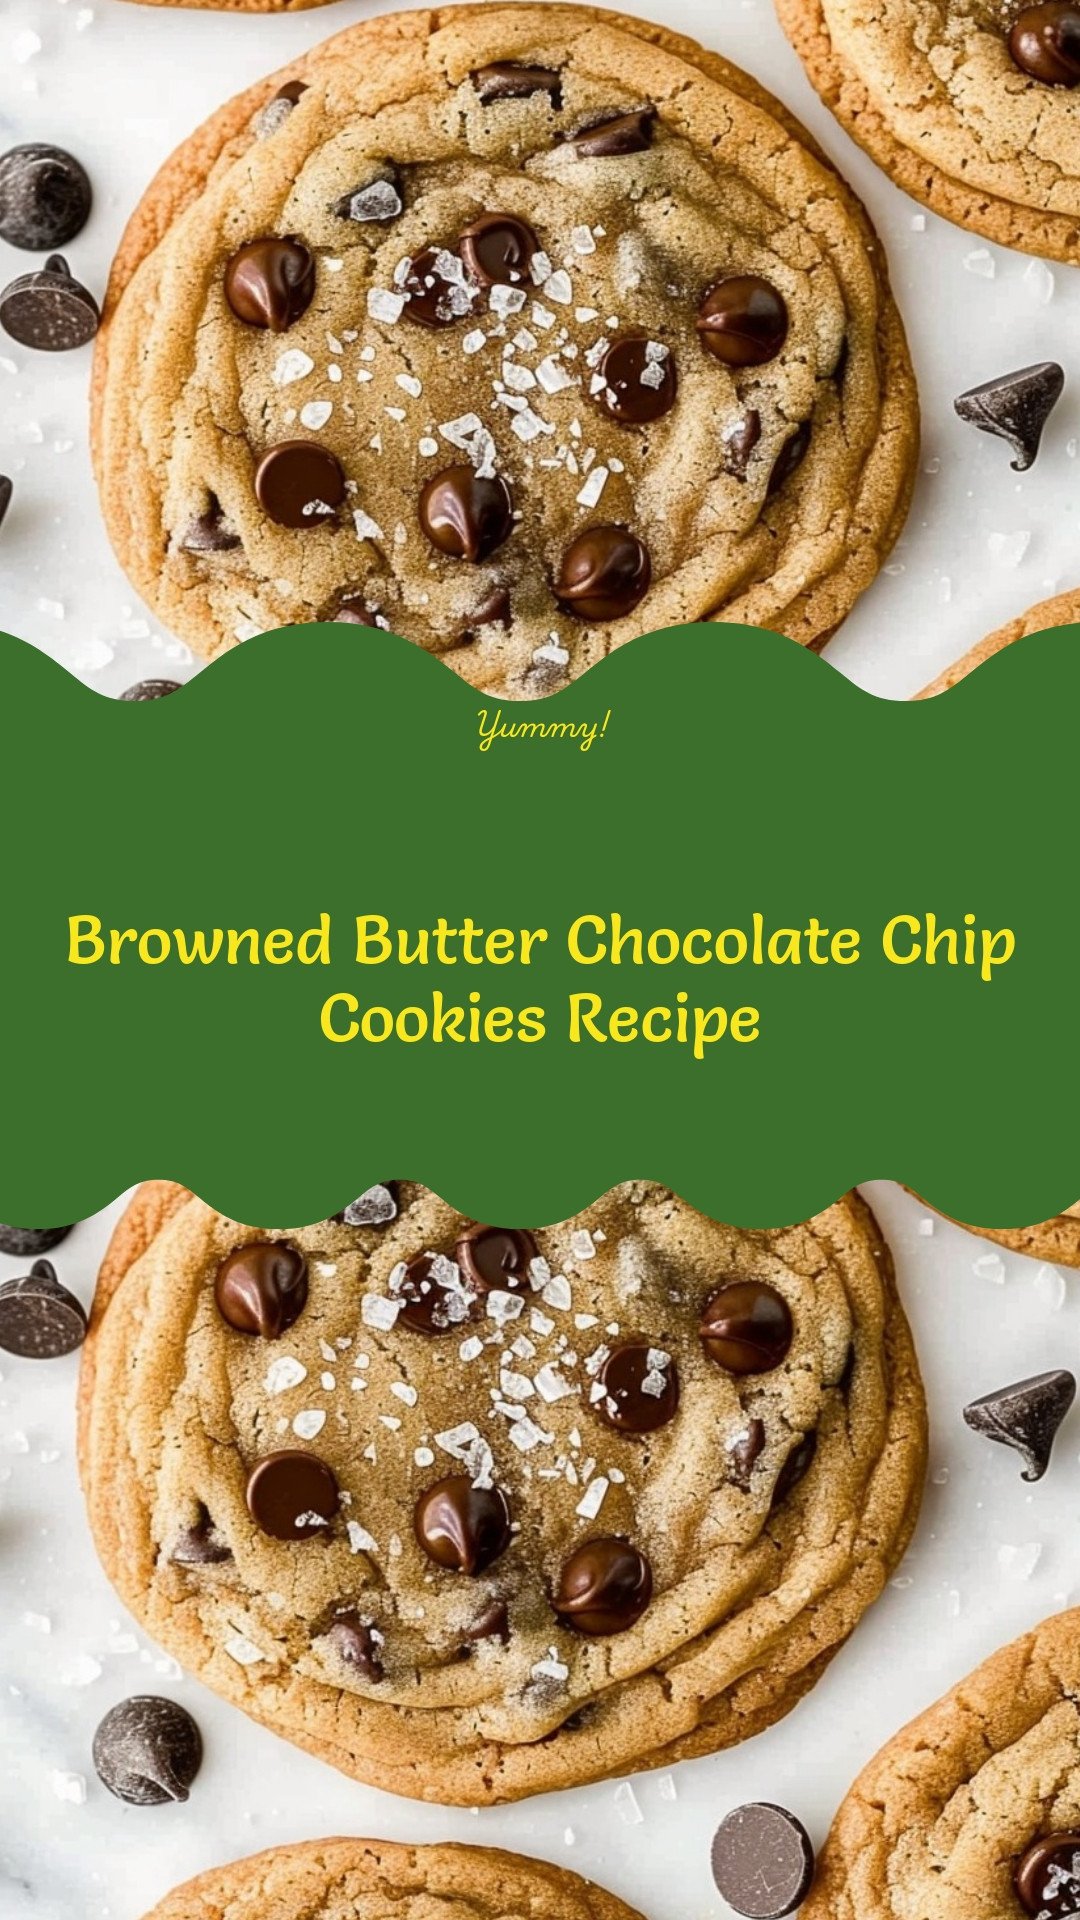
Browned Butter Chocolate Chip Cookies
Description
Irresistibly chewy and flavorful cookies featuring the deep, nutty taste of browned butter, loaded with chocolate chips and chunks.
Ingredients
Instructions
- Brown Butter: Place 1/2 cup (1 stick) of butter in a medium skillet. Melt over medium heat, swirling the pan frequently, as it begins to foam and froth and develop a nutty smell. Once it turns light golden/amber colored, remove from heat and pour into a small bowl. Allow it to cool to room temperature before making the cookie dough.
- Cookie Dough: Add remaining stick of butter to a mixing bowl with brown sugar and mix for 3 minutes, until fluffy and smooth. Add granulated sugar, cooled browned butter and vanilla extract and mix well. Add egg and egg yolk and mix. Add the flour, salt, baking powder, and baking soda, mixing on low speed just until incorporated. Stir in chocolate chunks.
- Chill dough: Cover the dough with plastic wrap and refrigerate for at least 20 minutes. Preheat oven to 350°F and line two baking sheets with parchment paper.
- Scoop 2 tablespoon-size portions of dough and roll into balls. Place on prepared baking sheets, 2 inches apart.
- Bake for 11 to 14 minutes, or until just barely golden on the edges.
- Remove from oven and cool on the baking sheet for 5 minutes before transferring to a wire cooling wrack to cool completely. Sprinkle the tops with a sea salt or flake salt, if desired.
Notes
- For best results, do not skip the step of browning the butter and chilling the dough, as this develops the flavor and prevents the cookies from spreading too much.

