
The Best Snack is a Simple Snack
I have always loved having a jar of nuts on my counter. They are perfect for a little energy boost. My grandkids always sneak a handful when they think I am not looking. I just smile. It makes me happy.
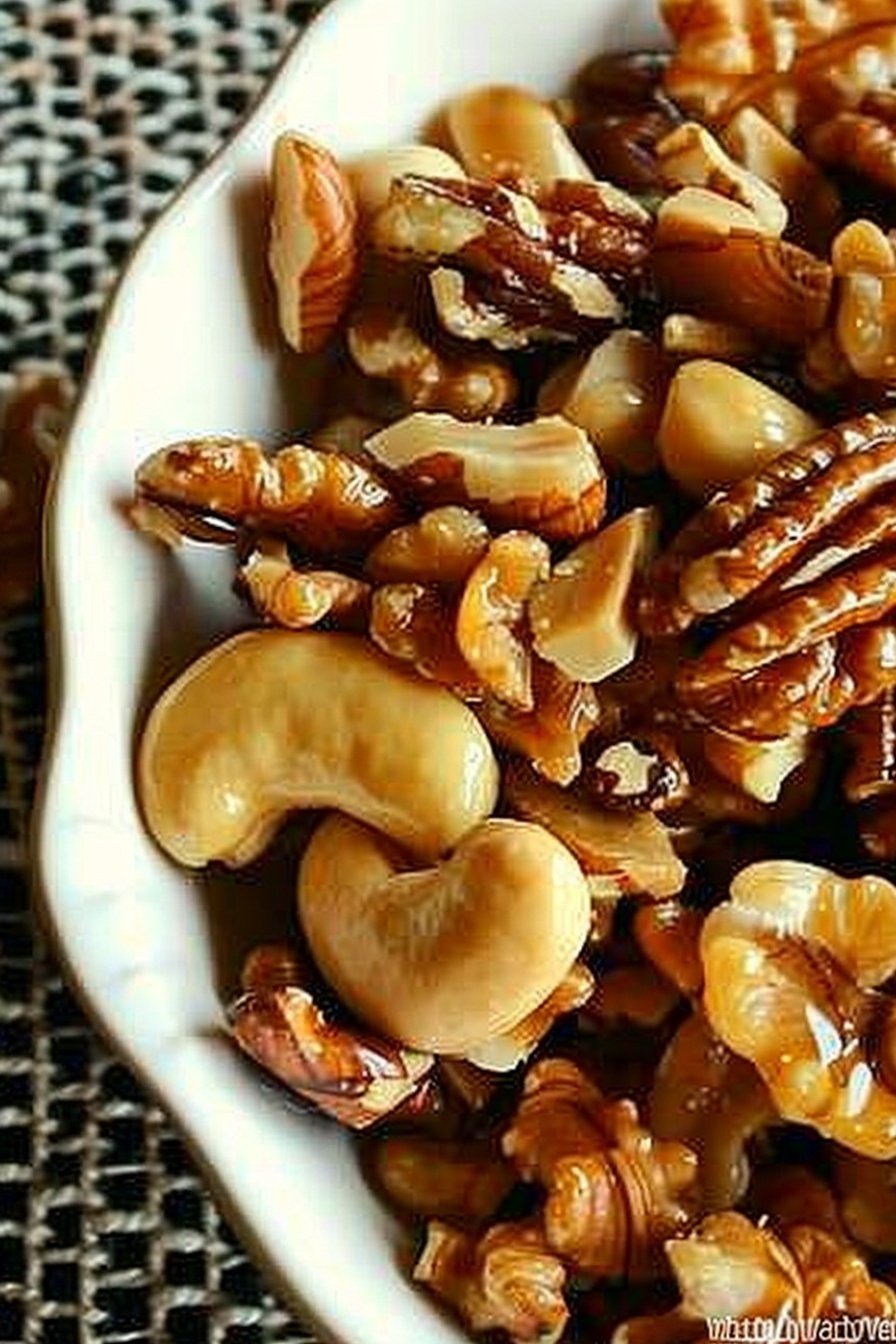
This recipe is my favorite way to make them. It turns simple nuts into something special. The honey makes them sweet and a little salty. It is a treat that also feels good for you.
A Little Secret from My Kitchen
Let me tell you a little story. Once, I was making these for a party. I got a phone call and forgot the nuts on the stove. I came back to a very sticky, dark pan. I was so sad.
But I learned my lesson. Now I never walk away from toasting nuts. They need your full attention. This matters because good food is made with care. It is a small act of love for the people you feed.
Why We Toast and Roast
Toasting the nuts in the pan first is the most important step. It wakes up their oils. This makes them taste rich and nutty. Doesn’t that smell amazing when they heat up?
Then the honey and butter create a shiny coat. The oven bake makes them wonderfully crunchy. *Fun fact*: The apple cider vinegar is my secret. It keeps the sweetness from being too much. It adds a tiny tang you will love.
Your Turn to Make Some Magic
This recipe is so forgiving. You can use any nuts you have in your pantry. I used pecans, walnuts, and sunflower seeds. But you can use whatever you like best.
What is your favorite nut or seed to snack on? Do you like salty snacks or sweet ones more? Tell me, I would love to know. It helps me think of new recipes to share.
The Final, Tasty Cool-Down
After they come out of the oven, you must let them cool. I know it is hard to wait. But this is when the magic happens. The sticky glaze turns into a perfect, crunchy shell.
This matters because patience makes the best snacks. I still laugh at how my husband tries to eat them when they are too hot. He never learns. Have you ever burned your mouth on a hot snack? I think we all have.
A Jar Full of Happiness
Once they are cool, I put them in a big glass jar. It sits on my kitchen counter. It is a little promise of a tasty bite anytime. It makes the whole room feel warm and welcoming.
Making food to share is one of life’s great joys. It connects us. If you make these, will you share them with friends or keep them all for yourself? There is no wrong answer.
Ingredients:
| Ingredient | Amount | Notes |
|---|---|---|
| Nuts & Seeds | 4 cups | e.g., pecans, walnuts, sliced almonds, peanuts, sunflower seeds |
| Honey | 1/4 cup | |
| Butter | 1 tablespoon | cut into 4 cubes |
| Apple Cider Vinegar | 1 tablespoon | optional |
| Salt | to taste |

My Favorite Honey Roasted Nuts
Oh, the smell of honey and toasting nuts fills my whole kitchen. It reminds me of my own grandma. She always had a jar of these out for us kids. Making them is like a little kitchen dance. You just stir and watch the magic happen. It is so simple and so good.
Let’s get started. You will need a big pan and a little patience. I like to use a mix of nuts for fun. It makes every handful a little surprise. Are you ready?
- Step 1: Grab your big pan. Put all your nuts and seeds into it. Turn the heat to medium-low. Stir them around for about four minutes. You will start to smell their wonderful, toasty scent. It smells like a cozy afternoon.
- Step 2: Now, drop in your butter cubes. I still laugh at the sizzle sound it makes. Keep stirring until the butter melts all over the nuts. This makes everything rich and happy. Your kitchen will smell amazing now.
- Step 3: Turn the heat up to medium. Pour in the honey and the apple cider vinegar. The vinegar is my secret. It keeps the sweetness from being too much. Stir, stir, stir until the liquid is gone. The nuts will look all shiny and sticky.
- Step 4: Dump the nuts onto a cookie sheet with parchment paper. Spread them out as best you can. They will be very sticky! Now is the time to sprinkle your salt. (My hard-learned tip: Salting them now makes the flavor just perfect).
- Step 5: Let them cool for ten minutes. Meanwhile, heat your oven to 350 degrees. Then bake them for ten minutes. Watch them closely at the end. They can go from golden to dark very fast. Let them cool completely before you break them apart. Do you like your snacks sweet or salty? Share below!
Cook Time: 10 minutes
Total Time: About 30 minutes
Yield: About 4 cups
Category: Snack
Three Fun Twists to Try
You can make this recipe your own. It is so easy to play with. I love trying new flavors. It keeps things exciting in my kitchen. Here are a few of my favorite ideas.
- Spicy Kick: Add a big pinch of cayenne pepper with the salt. It gives you a sweet and spicy surprise.
- Winter Warmth: Mix in a teaspoon of cinnamon at the very end. It will make your house smell like the holidays.
- Herby Delight: Stir in some dried rosemary after baking. It tastes so fancy and fresh.
Which one would you try first? Comment below!
Serving Your Sweet & Salty Snack
I keep a big jar of these on my counter. They are perfect for when friends stop by. You can also sprinkle them over a green salad. It adds a lovely crunch. Or put a small bowl next to a cheese plate.
For a drink, a cold glass of apple cider is wonderful. The tartness is so nice with the sweet nuts. For the grown-ups, a pale ale beer is a great match. Its bitterness balances the honey. Which would you choose tonight?

Keeping Your Honey Roasted Nuts Perfect
Let’s talk about keeping these nuts tasty. Store them in a jar on the counter for a week. They will stay wonderfully crunchy.
You can freeze them too. Just use a freezer bag. They will last for months that way.
I once stored a warm batch in a closed container. They got a bit soft. Now I always let them cool completely first.
Batch cooking saves you time later. You can make a big amount for parties or snacks. This matters because a ready snack stops you from buying less healthy options.
Have you ever tried storing it this way? Share below!
Fixing Common Honey Roasted Nut Troubles
Is your nut coating sticky? You might not have cooked it long enough. Keep stirring over the heat until the liquid disappears.
I remember when I burned my first batch. I walked away for just a minute. Now I watch them closely at the end of baking.
Are the nuts not salty enough? You must add the salt right after spreading them on the pan. The warm glaze helps the salt stick. This matters because good flavor makes every bite special.
Fixing small problems builds your cooking confidence. You learn that mistakes are okay. This matters because a confident cook is a happy cook.
Which of these problems have you run into before?
Your Honey Roasted Nuts Questions Answered
Q: Is this recipe gluten-free? A: Yes, it is naturally gluten-free. Just check your nut packages to be sure.
Q: Can I make these ahead? A: Absolutely. They are a great make-ahead snack for the whole week.
Q: What nuts can I swap? A: Use any nuts you like. My favorite mix is pecans and almonds.
Q: Can I double the recipe? A: You can. Just use a bigger pan so the nuts toast evenly.
Q: Is the vinegar needed? A: No, it is optional. It just adds a little tangy flavor. *Fun fact: a bit of acid makes sweet things taste even sweeter!*
Which tip will you try first?
A Little Note From My Kitchen
I hope you love making these sweet, salty nuts. They always make my kitchen smell like happiness.
I would be so thrilled to see your creations. It makes my day to see your cooking adventures.
Have you tried this recipe? Tag us on Pinterest!
Happy cooking!
—Grace Ellington.

Honey Roasted Nuts Recipe WonkyWonderful
Description
A sweet and savory snack of perfectly toasted nuts and seeds coated in a honey glaze, finished with a sprinkle of salt.
Ingredients
Instructions
- Begin toasting your nuts and seeds in a pan over medium-low heat. Stir and cook for about four minutes.
- Add the butter and stir constantly until it has melted and coated the nuts.
- Increase heat to medium and add the honey and apple cider vinegar. Continue to stir until there is no longer liquid in the pan and the glaze has thickened and adhered to the nuts (about five minutes).
- Remove from heat and transfer to a parchment lined cookie sheet. Spread nuts into an even layer onto the cookie sheet, they will be extremely sticky at this point. This is when I sprinkle with salt so that I can get an even layer of saltiness.
- Let them sit and cool for about ten minutes while the oven is preheating to 350 degrees. Bake for ten minutes and be sure to check on them frequently towards the end so the nuts do not begin to burn (it can happen fast). Remove from heat and allow to cool.
Notes
- I used pecans, walnuts, sliced almonds, peanuts and sunflower seeds. Feel free to use your favorite nut and seed combination.

