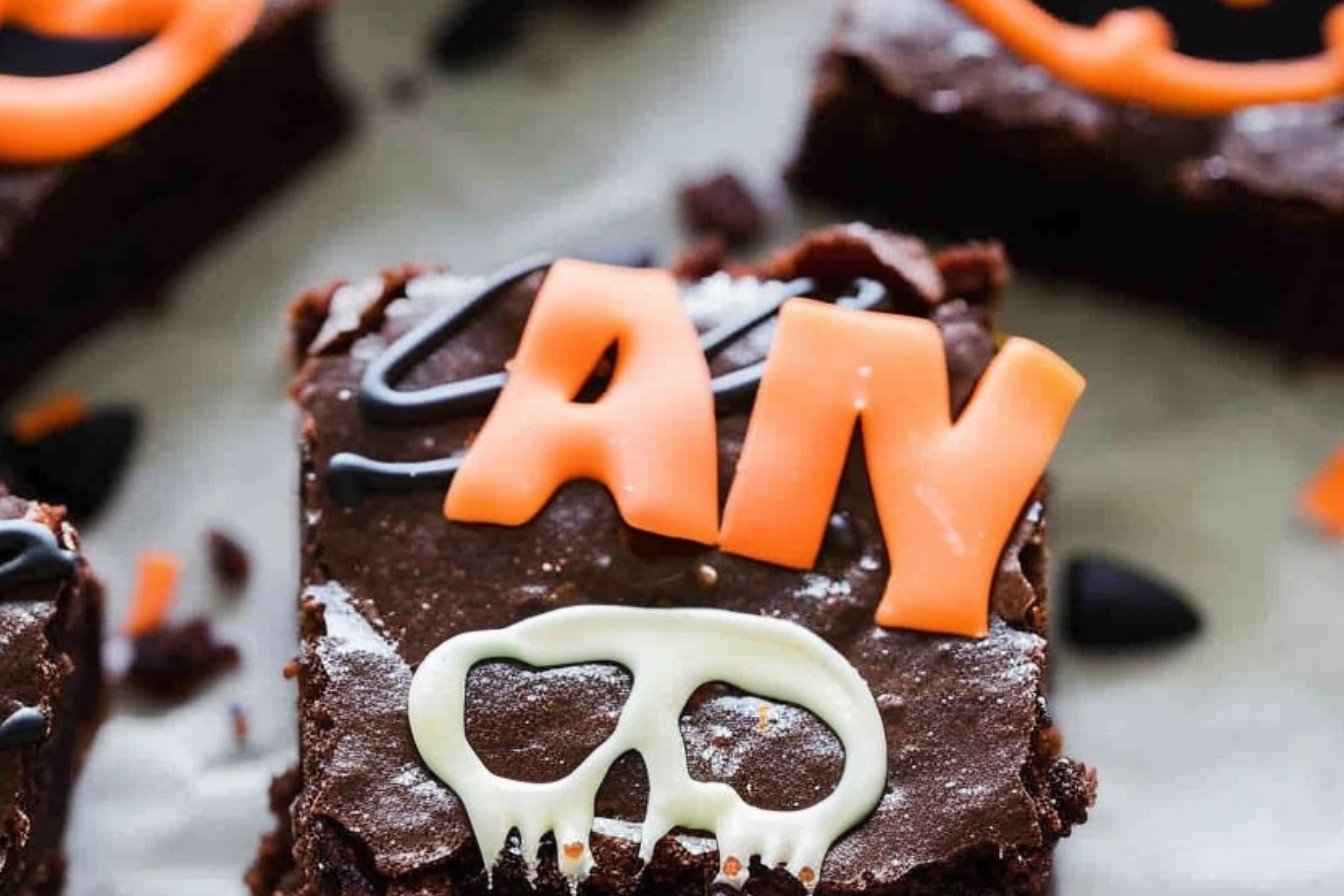
My Spooky Brownie Secret
I love making treats that tell a little story. These graveyard brownies are my favorite. They look fancy but are so simple to put together.
The secret is in the parchment paper. Lining your pan makes the brownies easy to lift out. No more broken corners! I still laugh at the time I forgot this step. What a sticky mess that was.
A Sweet Little Story
I first made these for my grandson’s Halloween party. He was so proud to show them off. His friends thought they were from a bakery!
That’s why this matters. Food made with love makes the best memories. It’s not about being perfect. It’s about the joy you share. What was your favorite Halloween treat as a kid?
Making Your Green “Grass”
Let’s whip up the green frosting. It’s just butter, sugar, and a splash of milk. Mix it for two whole minutes. Doesn’t that smell amazing?
You want it light and fluffy. If it’s too thin, add a bit more sugar. Too thick? A tiny drop of milk will fix it. Then, add your green food coloring drop by drop.
Building Your Graveyard
Now for the fun part. Use the black gel pen to write R-I-P on the Milano cookies. These are your headstones. Press each cookie into a brownie.
*Fun fact: The first headstones were just simple wooden markers. Ours are much tastier! Do you like to draw or write on your food creations?
The Final Touches
Spoon a little green frosting near the headstone. This is your spooky grass. Then, place a candy pumpkin on top. It adds a nice pop of color.
This step matters because details make things special. Anyone can make a brownie. But a graveyard brownie? That starts conversations. It makes people smile.
Time to Share Your Treats
There you have it. A spooky, silly, and delicious dessert. I hope you have as much fun making these as I do.
Will you be making these for a party or just for fun? Tell me all about it. I love hearing your kitchen stories.

Ingredients:
| Ingredient | Amount | Notes |
|---|---|---|
| Prepared brownie batter | for an 8″ pan | |
| Milano cookies | 12 | |
| Black decorating gel | ||
| Candy pumpkins | 12 | |
| Powdered sugar | 1 cup | For the frosting |
| Butter, softened | 1/4 cup | For the frosting |
| Milk | 2 teaspoons | For the frosting |
| Green food coloring | a few drops | For the frosting |
Graveyard Halloween Brownies Recipe From Scratch
Oh, Halloween baking is my favorite. It reminds me of my own kids, all dressed up. We would always make a spooky treat together. These brownies are just the thing. They look fancy but are so simple. Let’s make some fun memories in the kitchen.
Step 1: Prepare the Brownie Base
First, line your pan with parchment paper. Let the paper hang over the sides a little. This is your secret trick for perfect brownies. Pour your batter in and smooth the top. Now, bake them just like your recipe says. The smell is just amazing, isn’t it?
Step 2: Cool and Cut
Let those brownies cool all the way. I know, it’s hard to wait. But a warm brownie will crumble on you. Once cool, lift the paper to pull them out. Then, cut them into rectangles. I like to make twelve. They look just like little plots of dirt.
Step 3: Make the Green Frosting
Time for the green frosting. Mix the powdered sugar and soft butter together. Add a splash of milk. Now, mix for two whole minutes. (A hard-learned tip: set a timer! It makes the frosting wonderfully fluffy). Finally, stir in a few drops of green food coloring. Make it as spooky as you like.
Step 4: Create the Headstones
Let’s make the headstones. Grab your Milano cookies. Use the black gel to write “RIP” on them. You can also cut a sliver off the bottom. This makes them look older, like real stones. I still laugh at my first wobbly letters. It gives them character!
Step 5: Assemble the Graveyard
Press a cookie into each brownie. It’s like planting a little grave. Then, spoon a bit of green frosting nearby. Place a candy pumpkin on the frosting. And you’re done! You have a graveyard of treats. What’s your favorite Halloween candy to decorate with? Share below!
| Cook Time | As per your brownie recipe |
| Total Time | About 1 hour plus cooling |
| Yield | 12 spooky brownies |
| Category | Dessert, Halloween |
Spooky & Sweet Twists
You can easily change this recipe up. It’s fun to get creative. Here are a few ideas I’ve tried over the years. My grandkids each have a different favorite. They love helping me choose the decorations.
- Gummy Worm Garden: Add wiggly gummy worms crawling out of the “dirt”.
- Ghostly Graveyard: Use white frosting to draw little ghosts near the headstones.
- Candy Corn Patch: Scatter candy corn instead of pumpkins for a brighter look.
All of these are so simple and fun. They make your dessert table extra special. Which one would you try first? Comment below!
Serving Your Spooky Treats
Presentation is part of the fun. I like to put my brownies on a big platter. You can crumble a few Oreos around them for extra “dirt”. A little fake spider web from the craft store looks wonderful too. It sets the scene perfectly.
For drinks, a chilled glass of apple cider is perfect. The grown-ups might like a hard cider instead. Both taste so nice with the rich chocolate. It’s a lovely, cozy combination for a chilly night. Which would you choose tonight?
Keeping Your Graveyard Brownies Fresh
These spooky treats are best the day you make them. But you can keep them fresh. Just cover the pan tightly with plastic wrap. They will last two days on the counter.
You can also freeze them for later. I wrap each brownie in plastic. Then I put them all in a freezer bag. This stops them from getting freezer burn. I once forgot to wrap one properly. It tasted like my freezer felt! Not good.
Making a double batch is a smart idea. You can have one for now and one for a surprise. This saves you time and energy later. It means you are always ready for a fun treat. Have you ever tried storing it this way? Share below!
Simple Fixes for Brownie Troubles
Sometimes brownies can be tricky. If your frosting is too runny, do not worry. Just add a little more powdered sugar. Stir it in slowly until it gets thick.
If your headstone cookies will not stand up, try this. I remember my first batch had wobbly headstones. I let the brownies cool completely first. A warm brownie is too soft for the cookie to stand.
Getting clean cuts is easy. Use a clean, sharp knife. Wipe it off between each cut. This makes your brownies look neat and pretty. Fixing small problems builds your cooking confidence. It also makes your food taste better because it looks good. Which of these problems have you run into before?
Your Brownie Questions Answered
Q: Can I make these gluten-free?
A: Yes! Use your favorite gluten-free brownie mix. Find gluten-free cookies for the headstones.
Q: Can I make them ahead of time?
A: You can bake the brownies a day early. Wait to add the frosting and decorations until the day you serve them.
Q: What if I do not have candy pumpkins?
A: Use any small Halloween candy instead. Candy corn or orange M&Ms would look cute.
Q: Can I double this recipe?
A: Absolutely. Just use a 9×13 inch pan. You will need to bake them a few minutes longer.
Q: Do I have to cut the cookies?
A: No, that is just my little trick. It makes them look more like short headstones. Which tip will you try first?
A Final Word From My Kitchen
I hope you have so much fun making these. Cooking is about making memories with those you love. My grandkids still talk about our first graveyard brownies.
*Fun fact: The first brownie recipe appeared in a cookbook in 1896!* I would love to see your creepy creations. Show me your spooky dessert masterpieces. Have you tried this recipe? Tag us on Pinterest!
Happy cooking!
—Grace Ellington.
Graveyard Halloween Brownies Recipe From Scratch
Description
A spooky and fun Halloween treat featuring fudgy brownies, Milano cookie headstones, and green buttercream frosting.
Ingredients
For the Green Buttercream Frosting:
Instructions
- Line an 8” baking pan with parchment paper, leaving a little bit of overhang on the sides so that you’ll be able to easily pull the brownies out of the pan. Pour brownie batter into the prepared pan and smooth it into an even layer. Bake according to recipe instructions.
- Allow brownies to cool completely. Pull up on the parchment paper and transfer the brownies to a flat surface. Cut the brownies into rectangles. (I cut mine 4 x 3 to make 12 rectangle brownies).
- Mix all of the frosting ingredients together in a bowl. Mix for 2 minutes until light and fluffy. Add a little more powdered sugar to make the mixture thicker, or another dash of milk to make it thinner, as needed. Mix in a few drops of green food coloring. Set aside.
- Use the black (edible) gel pen to write the letter R-I-P on the top of each milano cookie. I also cut the very bottom edge off of my cookies to make the “headstones” a little shorter, but you don’t have to.
- Press each cookie into the top of the brownie, as if it were a grave headstone. Spoon a a little green frosting near the headstone and place a pumpkin candy on top.
Notes
- *Use your favorite homemade or store-bought brownie mix. *Ensure the decorating gel is edible.

