
The Story of Potato Skins
I first had potato skins at a little diner with my grandpa. He said they were the best thing on the menu. I still laugh at that because he always said that about cheesy food.
Making them at home feels just as special. It turns a simple potato into something fun and shareable. That is why this matters. Food is best when it brings people together.
Getting Your Potatoes Ready
First, we bake those potatoes. Poke them with a fork so they do not get too steamy. The oven makes the skins nice and strong for holding our toppings.
Let them cool a bit before you handle them. I know, it is hard to wait. But trust me, it is worth it. What is your favorite type of potato to cook with?
The Fun Part: Scooping and Stuffing
Now, we cut them and scoop out some of the soft inside. Do not scoop it all. Leave a little potato in there. It makes the skin tasty and sturdy.
Then we brush them with melted butter. Doesn’t that smell amazing? The butter makes the insides get all crispy in the broiler. This step is a secret for great flavor.
Time for the Good Stuff
Now for the cheese and bacon. Pile it on high. I like to use a good sharp cheddar. The salty bacon and the melty cheese are a perfect team.
Fun fact: The potato skin itself has lots of good nutrients and fiber. So you are eating something yummy and good for you. Do you have a favorite cheese you like to melt on things?
Why This Recipe Matters
This is more than a snack. It is a way to make a memory. Cooking with family or friends is a wonderful thing. That is why this matters.
You can talk and laugh while you stuff the potato skins. It does not feel like a chore. It feels like a little party in the kitchen. What is a food that always makes you think of your family?
Serving Your Masterpiece
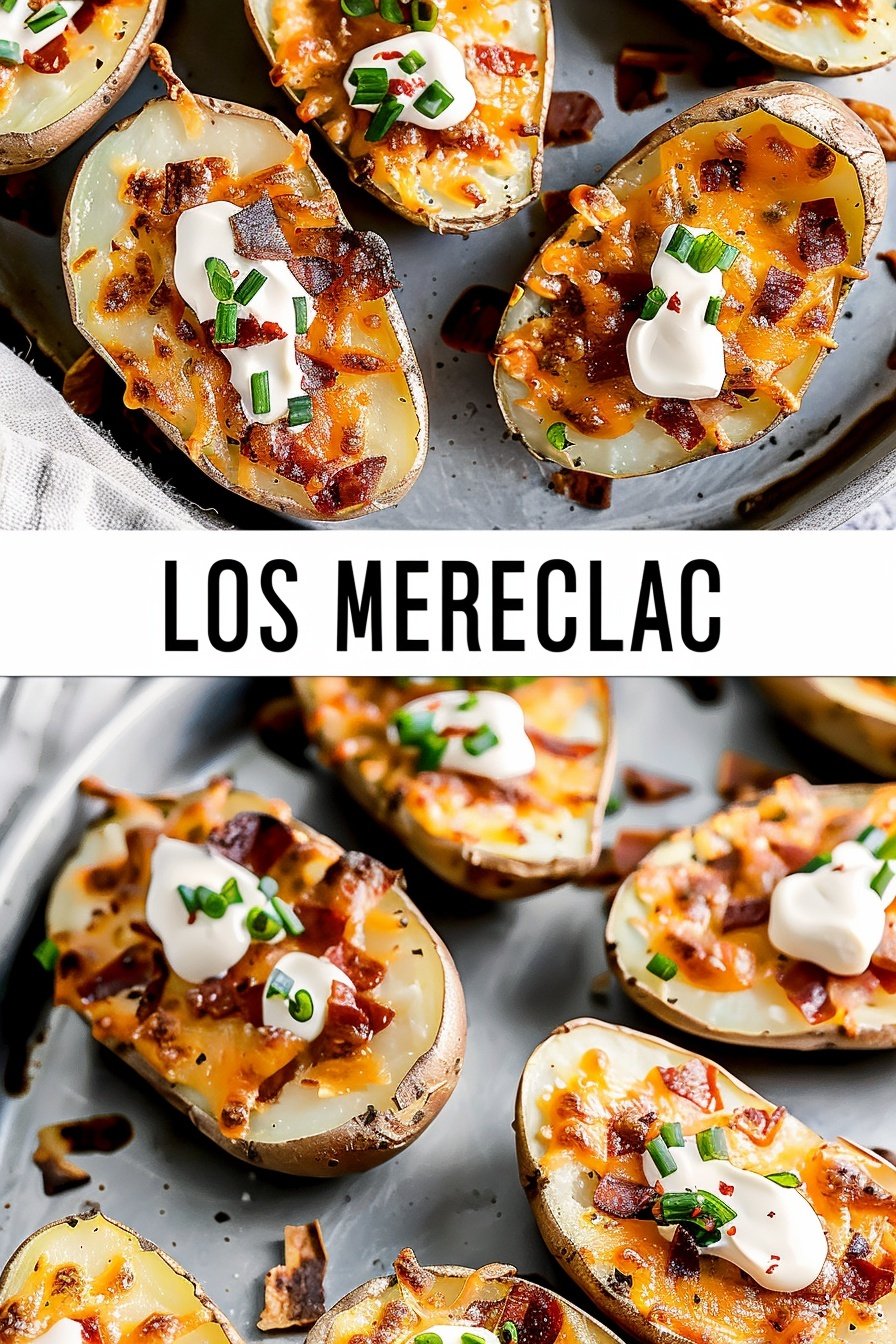
Take them out when the cheese is bubbly. Then add a cool dollop of sour cream. The green chives on top make it look so pretty.
These are perfect for sharing. Put them on a big plate in the middle of the table. Everyone can just grab one. I love seeing everyone’s hands reach for them at once.
Ingredients:
| Ingredient | Amount | Notes |
|---|---|---|
| Russet potatoes | 6 small to medium sized | washed and pat dry |
| Cheddar cheese | 8 ounces | shredded |
| Bacon | 8 slices | cooked and crumbled |
| Unsalted butter | 1/4 cup | melted (half of a stick) |
| Sour cream | – | for topping |
| Chives (or green onion) | – | chopped, for topping |
| Salt | – | to taste |
| Freshly ground black pepper | – | to taste |

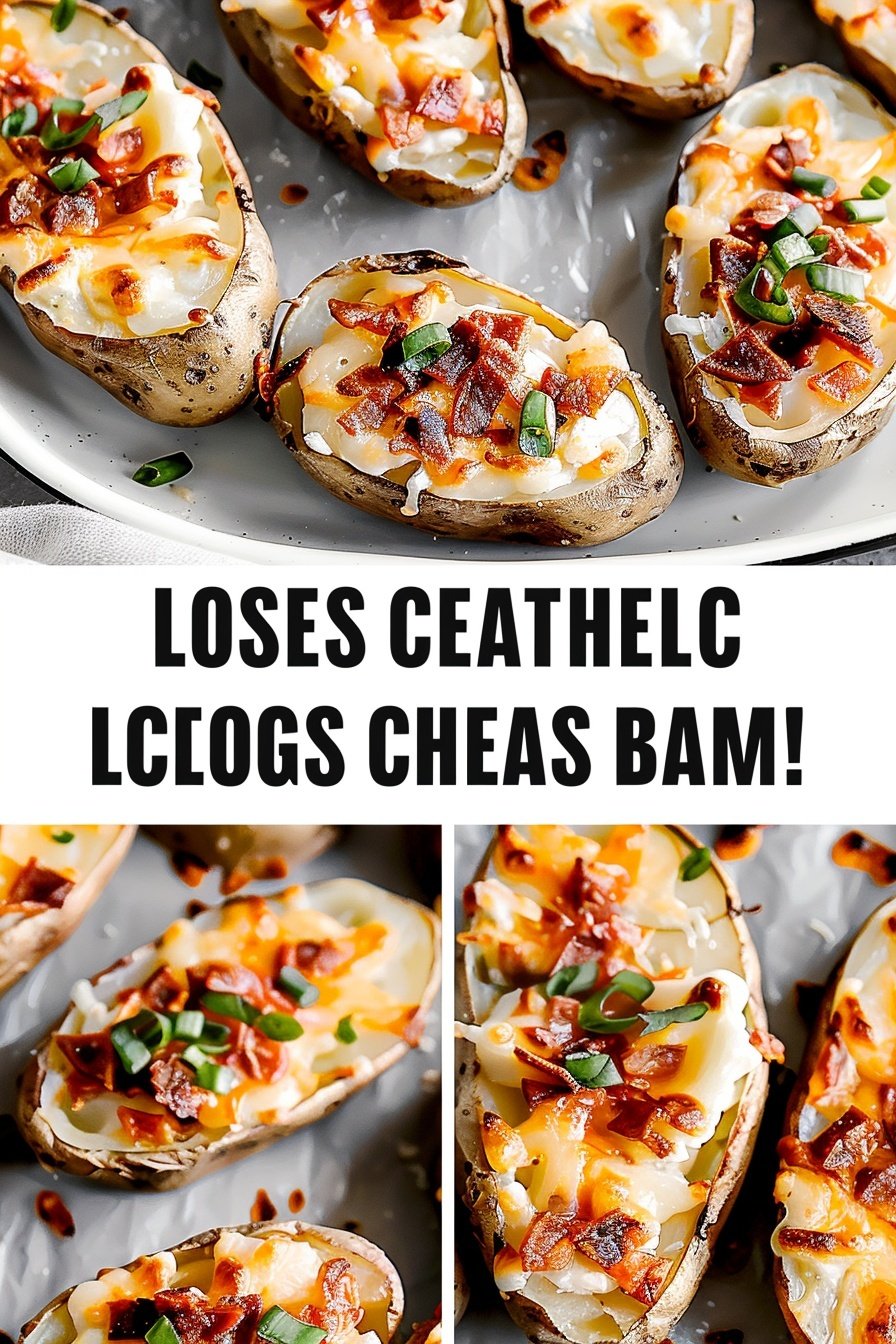
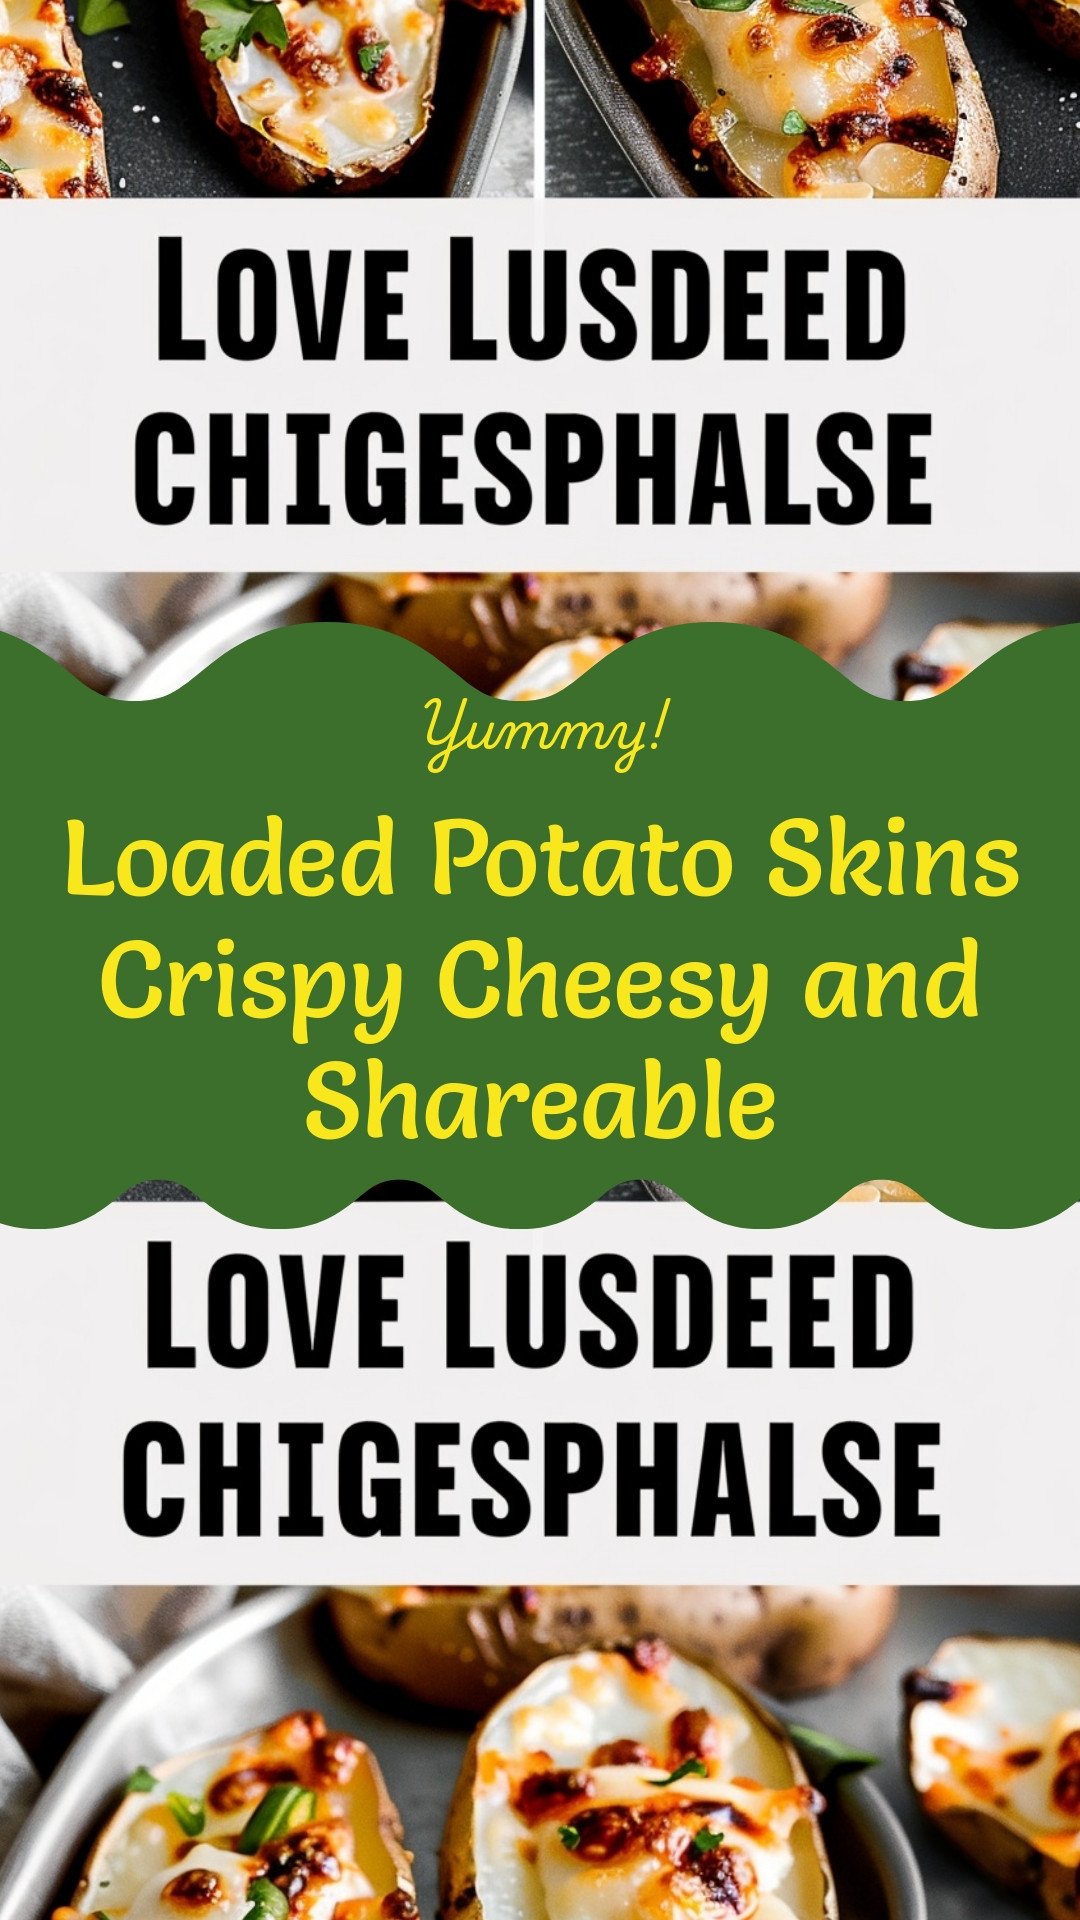
Loaded Potato Skins: Crispy, Cheesy, and Made for Sharing
Hello, my dear! Let’s make my favorite snack. These potato skins are perfect for a fun family night. I love how crispy they get. The cheesy, bacon-y smell fills the whole kitchen. Doesn’t that sound wonderful?
I first made these for my book club years ago. The whole tray disappeared in minutes! Now I always make a double batch. It’s a simple recipe, but I have a few tricks. Let’s get our hands busy, shall we?
Ingredients
- 4 large russet potatoes
- 2 tablespoons melted butter
- 1 cup shredded cheddar cheese
- 1/2 cup cooked, crumbled bacon
- 1/4 cup sour cream
- 2 tablespoons chopped fresh chives
- Salt and pepper to taste
Instructions
Step 1: First, heat your oven to 400 degrees. Poke your clean potatoes with a fork a few times. This lets the steam out while they bake. I still laugh at that one time I forgot to poke them. What a mess we had to clean up!
Step 2: Once the potatoes are cool, we cut them. For big ones, slice them into three long pieces. For small potatoes, just cut them in half. You’ll get little potato boats. The middle piece is cook’s treat! (Hard-learned tip: Let them cool completely. Hot potato steam can surprise your hands!).
Step 3: Now, scoop out some of the soft inside. Use a small spoon. Leave a good thick layer of potato near the skin. We want it to be sturdy. This hollow part is where all the good stuff goes later.
Step 4: Change your oven to broil. Brush melted butter all over your potato boats. Don’t be shy! Butter makes them golden and delicious. Sprinkle them with a little salt and pepper. This simple step makes all the difference.
Step 5: Broil them for about 8 minutes. This makes the insides a bit crispy. Watch them closely! The broiler works very fast. I love that buttery, toasty smell. Doesn’t that smell amazing?
Step 6: Take them out and add the cheese and bacon. Pile it high! I always use extra cheddar. The heat from the potato will start melting it right away. What’s your favorite cheese for melting? Share below!
Step 7: Pop them back under the broiler. Wait just 3-4 minutes. You want the cheese bubbly and a little brown. It’s the best part. Then, add a dollop of cool sour cream and some green chives. The mix of hot and cool is so good.
Cook Time: 1 hour 15 minutes
Total Time: 1 hour 30 minutes
Yield: 4-6 servings
Category: Appetizer, Snack
Three Fun Twists to Try
Once you master the classic, you can get creative. I love playing with new flavors. It keeps things exciting in the kitchen. Here are a few of my favorite ideas for these potato skins.
Taco Night Twist Use pepper jack cheese. Top with a spoonful of seasoned ground beef after baking. Add a little fresh salsa and a drizzle of crema. Olé!
Garden Veggie Delight Skip the bacon for a vegetarian version. Mix chopped broccoli and red bell peppers right in with the cheese. It’s so colorful and tasty.
Everything Bagel Style After adding the cheese, sprinkle on some everything bagel seasoning. Top with fresh dill after they bake. It tastes just like your favorite breakfast.
These are so fun to make your own. Which one would you try first? Comment below! I love reading your ideas.
Serving Them Up Right
These potato skins are a meal all by themselves. But I love making a little spread. It feels like a party. A simple, crisp salad on the side is perfect. It balances the richness of the cheese and bacon.
For a real treat, serve them with a small cup of tomato soup. Dipping a cheesy potato skin into soup is pure comfort. My grandson taught me that one. For drinks, a cold glass of milk is my go-to. For the grown-ups, a chilled lager beer pairs wonderfully.
So many delicious choices. Which would you choose tonight? A cool salad or a warm soup for dipping?
Keeping Your Potato Skins Perfect
Let’s talk about keeping these tasty treats for later. Store cooled leftovers in the fridge for up to three days. I always use an airtight container. This keeps them from getting dry.
You can freeze them before adding the cold toppings. Just wrap each skin tightly in plastic wrap. They will be good for one month. I once forgot to wrap them well. They got a little frosty, and we don’t want that.
To reheat, use your oven or air fryer. This brings back their wonderful crunch. Microwaving makes them soft. Batch cooking saves you time on a busy night.
Having a ready-made snack matters. It means a happy family without the fuss. Have you ever tried storing it this way? Share below!
Simple Fixes for Common Hiccups
Sometimes, our cooking needs a little help. If your potato skins are not crispy, the broil time was too short. Make sure your oven is fully hot. I remember when my first batch came out soft. We still ate them, of course.
If the cheese is browning too fast, your rack is too high. Move it to the middle of the oven. If the potato skin tears, do not worry. The cheese will hold it all together. Getting the crisp right matters. It makes the whole experience more fun to eat.
Fixing small problems builds your confidence in the kitchen. You learn that little mistakes are okay. Fun fact: The potato skin holds lots of good nutrients. Which of these problems have you run into before?
Your Potato Skin Questions Answered
Q: Are these potato skins gluten-free? A: Yes, this recipe is naturally gluten-free. Just check your bacon labels to be sure.
Q: Can I make them ahead of time? A: You can bake and scoop the potatoes a day early. Keep them covered in the fridge.
Q: What can I use instead of bacon? A: Try chopped ham or black beans. They are both very tasty.
Q: Can I double this recipe for a party? A: Absolutely. Just use two baking sheets. You may need to broil in two batches.
Q: Is the sour cream necessary? A: No, it is optional. A cool dollop just makes the flavor perfect. Which tip will you try first?
From My Kitchen to Yours
I hope you love making these cheesy potato skins. They always remind me of family game nights. My grandchildren gobble them up so fast.
I would be so thrilled to see your creations. Sharing food is one of life’s greatest joys. Have you tried this recipe? Tag us on Pinterest!
Happy cooking!
—Grace Ellington.
Loaded Potato Skins Crispy Cheesy and Shareable
Description
Loaded Potato Skins Crispy Cheesy and Shareable
Ingredients
Instructions
- Bake Potatoes: Preheat oven to 400 degrees F. Poke potatoes with a fork, place on a baking sheet and cook for 1 hour. Remove from the baking sheet, and allow to cool for about 15 minutes or until cool enough to handle.
- Cut Potatoes: For large potatoes, cut each potato lengthwise, into three sections, creating three long slices. (So each potato should yield two skins, plus a middle section that you can discard or use to make baked potato salad). For small potatoes, just cut in half.
- Hollow out: Use a small spoon to scoop out some of the potato flesh in the center, leaving a thick layer near the skin, but hollowing it out slightly to create a boat.
- Season: Turn your oven on to a high broil. Brush the potatoes with butter on the inside and outside and place them back onto the baking sheet. Season with salt and pepper.
- Broil for 7-8 minutes until the insides get a bit crispy from the melted butter.
- Add Cheese and bacon: Remove from the oven and add a generous amount of shredded cheese into each skin, topping with bacon pieces.
- Broil: Place back under the broiler for about 3-4 minutes until the cheese is melted and bubbly.
- Serve: Remove from oven and top with sour cream, chives or green onion. Serve warm.
- Store leftover potato skins in the refrigerator. Rewarm them in the oven or air fryer.
Notes
- For extra crispiness, you can brush the potato skins with a little more butter before the final broiling step.

