
The Magic of Foamy Yeast
Let’s start with the yeast. You mix it with warm water and a pinch of sugar. Then you wait. In a few minutes, it gets all foamy and bubbly. It looks like a tiny science experiment in your cup. I still laugh at that. This foam means your yeast is alive and happy.
Happy yeast makes your dough puff up high. If it doesn’t foam, your yeast might be sleepy. Then you should start over. This step matters because it gives your knots their soft, airy texture. What is your favorite thing to make with yeast? I love hearing your ideas.
Making the Perfect Dough
Now we make the dough. You add the foamy yeast to your mixer bowl. Then in goes the milk, butter, egg, and sugar. It’s a lovely, messy mix. The flour goes in slowly. You want the dough to be soft and a little bit sticky.
It should pull away from the sides of the bowl. Don’t worry if you have leftover flour. Every batch is a little different. *Fun fact:* Kneading the dough makes strong gluten strands. That’s what gives your knots their chewy pull. Do you like using a mixer or your hands for dough? I’m a hands-on person myself.
A Story of Two Rises
This dough needs to rise twice. The first time, it sits in a warm, greased bowl. Cover it with plastic wrap. I always set mine near a sunny window. Watching it double in size feels like magic. It takes about an hour.
My grandson calls this the “dough’s naptime.” Then you punch it down. It puffs right back up a second time after you shape the knots. This second rise matters. It makes the knots light and fluffy, not dense. Patience is a secret ingredient in baking.
Tying the Knots
Now for the fun part. Take a piece of dough the size of a golf ball. Roll it into a little rope. Then just tie it in a simple knot. It doesn’t have to be perfect. My first ones looked like little doughy snails.
Place each knot on your baking sheet. They will be small, but they grow. This is where you can see your hard work taking shape. What shape is the most fun for you to make with dough? Rolls, twists, or knots?
The Smell of Baking
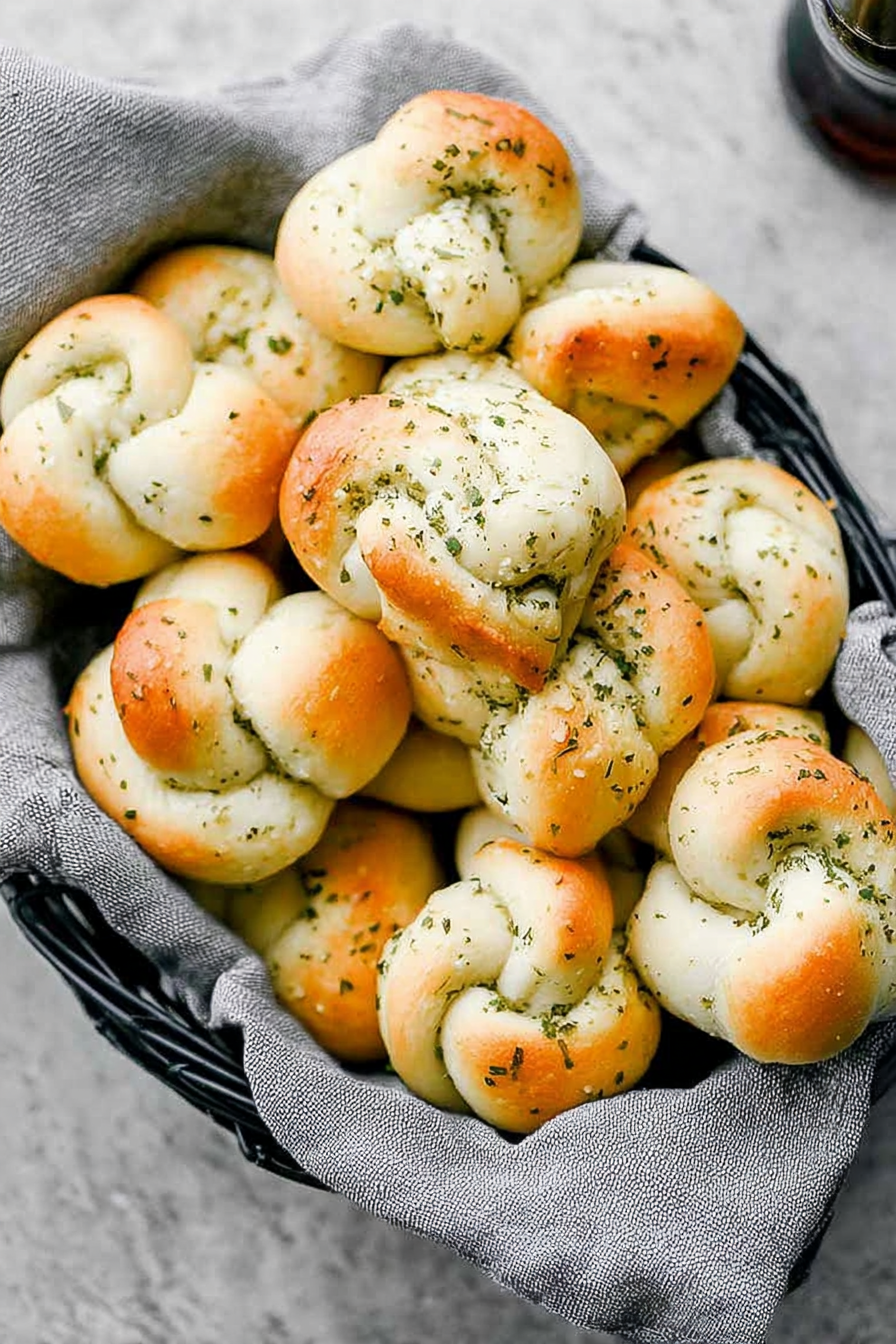
While the knots bake, make the garlic sauce. Just mix melted butter, olive oil, and garlic powder. Doesn’t that smell amazing? Your kitchen will start to smell like a pizzeria. It makes my stomach rumble every time.
Bake the knots until they are lightly golden. As soon as they come out of the oven, brush them with the garlic sauce. The warm bread soaks it all up. This step matters because it adds so much flavor right where you can taste it.
Time to Share
Let the knots cool for just a minute. Then pull one apart. That warm, soft inside is the best part. I love to dip mine in a little marinara sauce. It’s pure comfort.
Food always tastes better when you share it. These are perfect for a family dinner. What is your favorite food to dip? Tell me all about it. I hope you enjoy making these as much as I do.
Ingredients:
| Ingredient | Amount | Notes |
|---|---|---|
| Warm Water | 1/3 cup (79g) | Very warm, for proofing yeast |
| Active Dry Yeast | 2 1/4 teaspoon | |
| Granulated Sugar | 1/4 cup + 1/4 teaspoon (51g) | Divided use |
| Milk | 1 1/3 cup (332g) | Warmed |
| Butter | 5 tablespoons (76g) | Softened |
| Egg | 1 large | |
| Salt | 1 1/2 teaspoon | |
| All-Purpose Flour | 4 – 4 1/2 cups (500g) | Add until dough is smooth and elastic |
| Olive Oil | 1 Tablespoon | For garlic topping |
| Butter | 1 Tablespoon | Melted, for garlic topping |
| Garlic Powder | 1 teaspoon | For garlic topping |
| Dried Parsley Flakes | 1/2 teaspoon | For garlic topping |
| Marinara Sauce | For dipping | Optional |

Let’s Make Some Cozy Garlic Knots
Oh, the smell of garlic knots baking is pure happiness. It reminds me of my tiny first apartment kitchen. My husband would always wander in, asking when they would be ready.
Making dough from scratch feels like a little miracle. You mix simple things and get something wonderful. It’s easier than you think, I promise. Let’s make some magic together.
- Step 1: First, we wake up the yeast. Mix the warm water, yeast, and that tiny bit of sugar. Let it sit for about five minutes. You will see it get all foamy and bubbly. That means it’s alive and ready to help our dough rise.
- Step 2: Now, pour that foamy yeast into a big bowl. Add the rest of the sugar, warm milk, butter, egg, and salt. Give it a good stir until it’s all mixed together. Then, slowly add the flour while mixing. (My hard-learned tip: you might not need all the flour! Stop when the dough is soft and just a tiny bit sticky.)
- Step 3: Grease a clean bowl with a little oil. Place your dough ball inside and turn it over. This coats it so it doesn’t dry out. Cover the bowl with plastic wrap. Let it rest in a warm spot for about an hour. It will get big and puffy! What’s your favorite warm spot in your kitchen? Share below!
- Step 4: Gently punch the dough down. It’s fun, like popping a bubble. Then, take small pieces and roll them into little ropes. Tie each rope into a loose knot. Place them on your baking sheet. They look a bit messy now, but that’s the charm.
- Step 5: Cover your knots and let them rise again. This makes them extra soft. While you wait, preheat your oven to 400° F. They need about another hour to get nice and plump.
- Step 6: Time to bake! Pop them in the oven for 10 to 12 minutes. They should turn a lovely light gold. Your kitchen will smell amazing now. I still laugh at how my cat sniffs the air when these are baking.
- Step 7: While they bake, mix the garlic topping. Just stir the oil, melted butter, garlic powder, and parsley. As soon as the knots come out, brush this sauce all over them. It sizzles and soaks right in. That’s the secret to the best flavor.
Cook Time: 12 minutes
Total Time: About 2 hours 30 minutes
Yield: About 24 knots
Category: Bread, Snack
Fun Twists for Your Knots
The basic recipe is wonderful. But sometimes, it’s fun to play with your food. Here are a few ideas to make them your own. I love trying new things in the kitchen.
- Cheesy Pull-Apart: Sprinkle a little grated parmesan cheese over the knots before they bake. It gets all crispy and golden.
- Pizza Party Knots: Mix a pinch of Italian seasoning into the dough. After baking, brush with sauce and sprinkle with mozzarella.
- Herb Garden Delight: Use fresh, chopped herbs like rosemary or basil in the garlic butter. It tastes like a summer garden.
Which one would you try first? Comment below!
Serving Your Garlic Knots
These knots are perfect with a big bowl of spaghetti. They are also wonderful for dipping into warm marinara sauce. For a real treat, serve them with a simple salad on the side.
What to drink? A cold glass of milk is my favorite. It’s so comforting. For the grown-ups, a chilled glass of pinot grigio pairs nicely. Which would you choose tonight?

Keeping Your Garlic Knots Fresh
Let’s talk about keeping your garlic knots yummy. They are best the day you make them. But you can save them for later.
To freeze them, let the baked knots cool completely. Then put them in a freezer bag. I once forgot to let them cool first. The bag got all steamy and the knots were soggy. You can just pop a frozen knot in the toaster oven to reheat.
Making a double batch is a smart idea. You get a treat now and one for later. This saves you time on a busy weeknight. A warm, homemade snack is always a good thing to have.
Have you ever tried storing it this way? Share below!
Easy Fixes for Common Garlic Knot Troubles
Sometimes, our baking does not go as planned. Do not worry. Here are some easy fixes.
First, if your dough won’t rise, check your yeast. The water must be warm, not hot. I remember when I used hot water. It made my yeast very sleepy. This matters because live yeast makes your knots light and fluffy.
Second, if your dough is too sticky, add a little more flour. Go one tablespoon at a time. Third, if the knots are tough, you might have over-kneaded the dough. Fun fact: gluten develops when you knead, which gives bread its structure. Handling the dough gently makes for a softer bite.
Which of these problems have you run into before?
Your Garlic Knot Questions, Answered
Q: Can I make these gluten-free?
A: Yes! Use a good gluten-free flour blend made for bread.
Q: Can I make the dough ahead?
A: You can. Let it rise once in the fridge overnight.
Q: I don’t have milk. What can I use?
A: Warm water works just fine in a pinch.
Q: Can I double this recipe?
A: Of course! Just use a bigger bowl for mixing.
Q: Is the marinara sauce needed?
A: It is optional, but it is a delicious dip.
Which tip will you try first?
A Little Note From My Kitchen to Yours
I hope you love making these garlic knots. The smell of them baking is pure joy. It reminds me of my own grandma’s kitchen.
I would love to see your beautiful creations. Sharing food is a way to share love. It connects all of us home cooks.
Have you tried this recipe? Tag us on Pinterest!
Happy cooking!
—Grace Ellington.
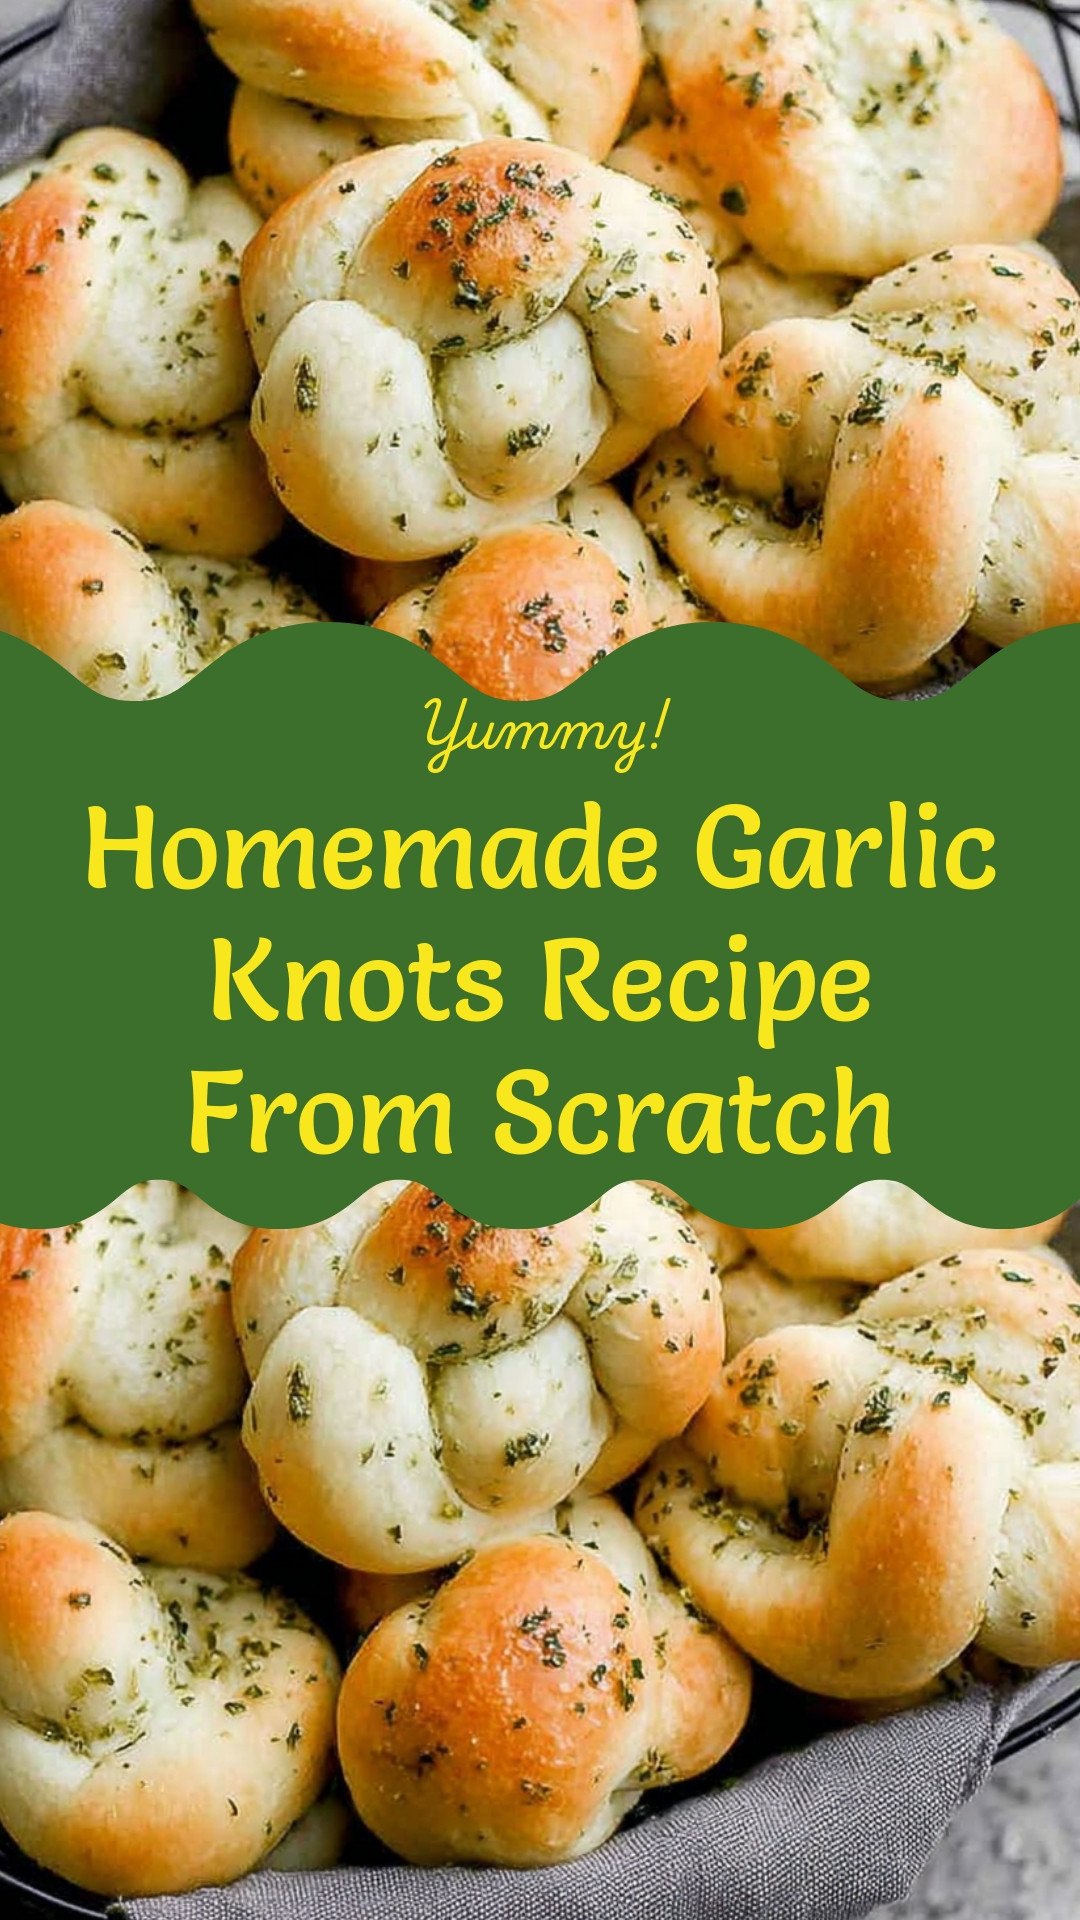
Homemade Garlic Knots Recipe From Scratch
Description
Homemade Garlic Knots Recipe From Scratch
Ingredients
Garlic Topping:
Instructions
- Proof Yeast: Combine warm water, yeast, and ¼ tsp sugar and stir–allow to rest for 5-10 minutes until foamy.
- Make Dough: Pour yeast mixture into the bowl of an electric stand mixer. Add remaining ¼ cup sugar, warm milk, butter, egg and salt. Blend mixture until combined. Add the flour slowly, mixing until the dough is smooth and elastic, about 5 – 6 minutes. You may not use all of the flour called for. The dough should be soft, very slightly sticky when touched with a clean finger, and pulling away from the sides of the mixer.
- Allow Dough to Rise: Grease a large bowl with cooking spray or a tiny bit of oil. Place the dough in the bottom of the bowl and turn it over once to coat all sides in oil. Cover the bowl with plastic wrap. Allow to rise in a warm place until double in size, about 1 hour.
- Shape Dough: Gently punch the dough down. Add a little flour to your countertop or work surface. Grab a ball of dough, about the size of a golf ball, and roll it out into a long rope (about ½ inch thick and around 9 inches long). Tie the rope into a knot and place it on prepared baking sheet.
- Second Rise: Cover garlic knots loosely with plastic wrap and allow to rise again in a warm place until double in size, about 1 hour.
- Bake: Preheat oven to 400° F. Spray a baking sheet with non-stick cooking spray or line it with parchment paper. Bake for 10-12 min. or until lightly golden on top.
- Brush with Garlic Sauce: Combine all ingredients in a small bowl while the knots are baking. After removing knots from oven, brush them lightly with garlic sauce while they are still warm.
Notes
- For best results, ensure your milk and water are warm but not too hot to touch (about 110°F) to properly activate the yeast without killing it.

