A Sweet Memory in the Kitchen
My grandson, Leo, helped me make these last fall. He was so excited. He got flour all over his nose.
I still laugh at that. He said the batter looked like orange play dough. These blondies are more than a treat. They are a memory you can bake.
Why We Use Real Pumpkin
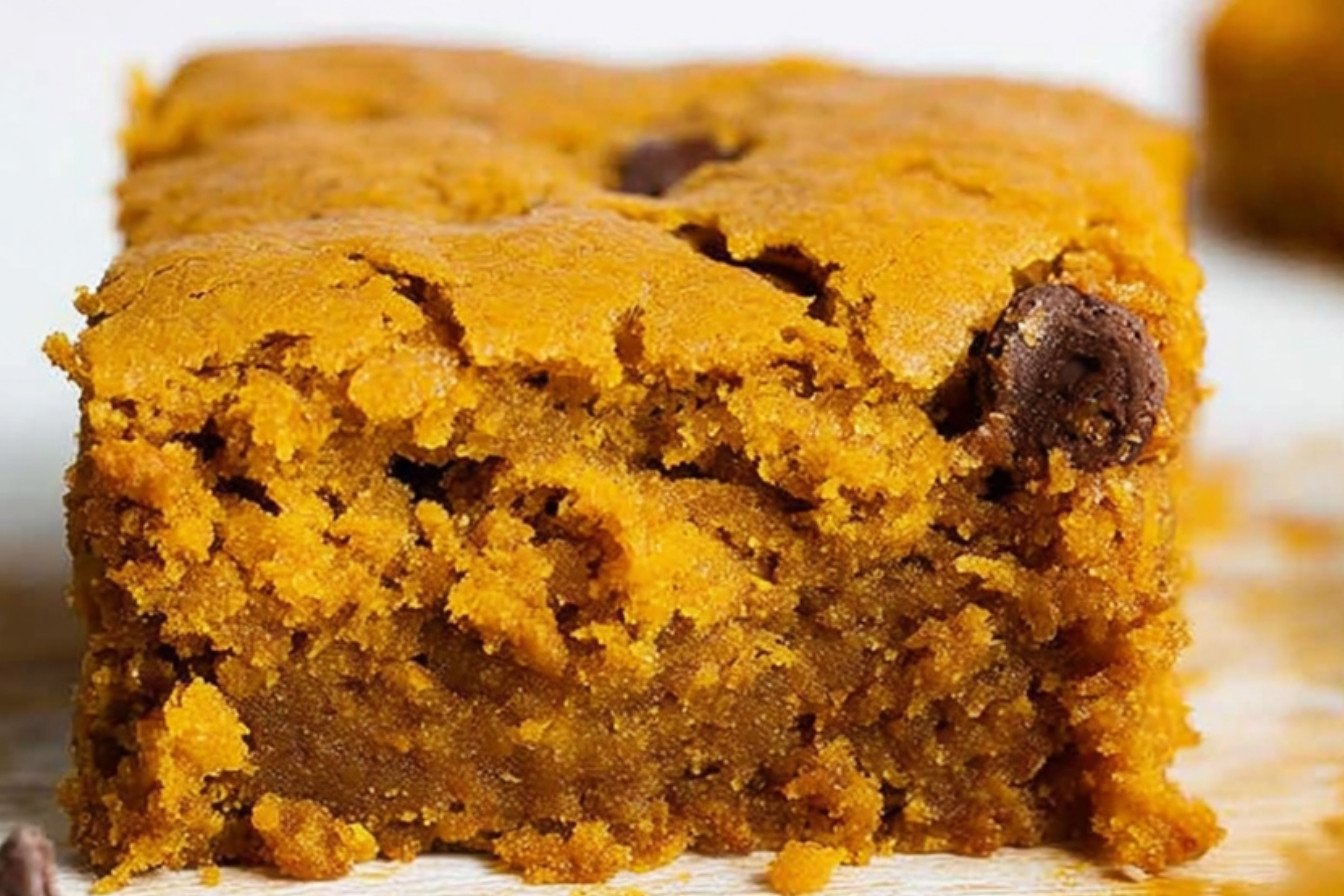
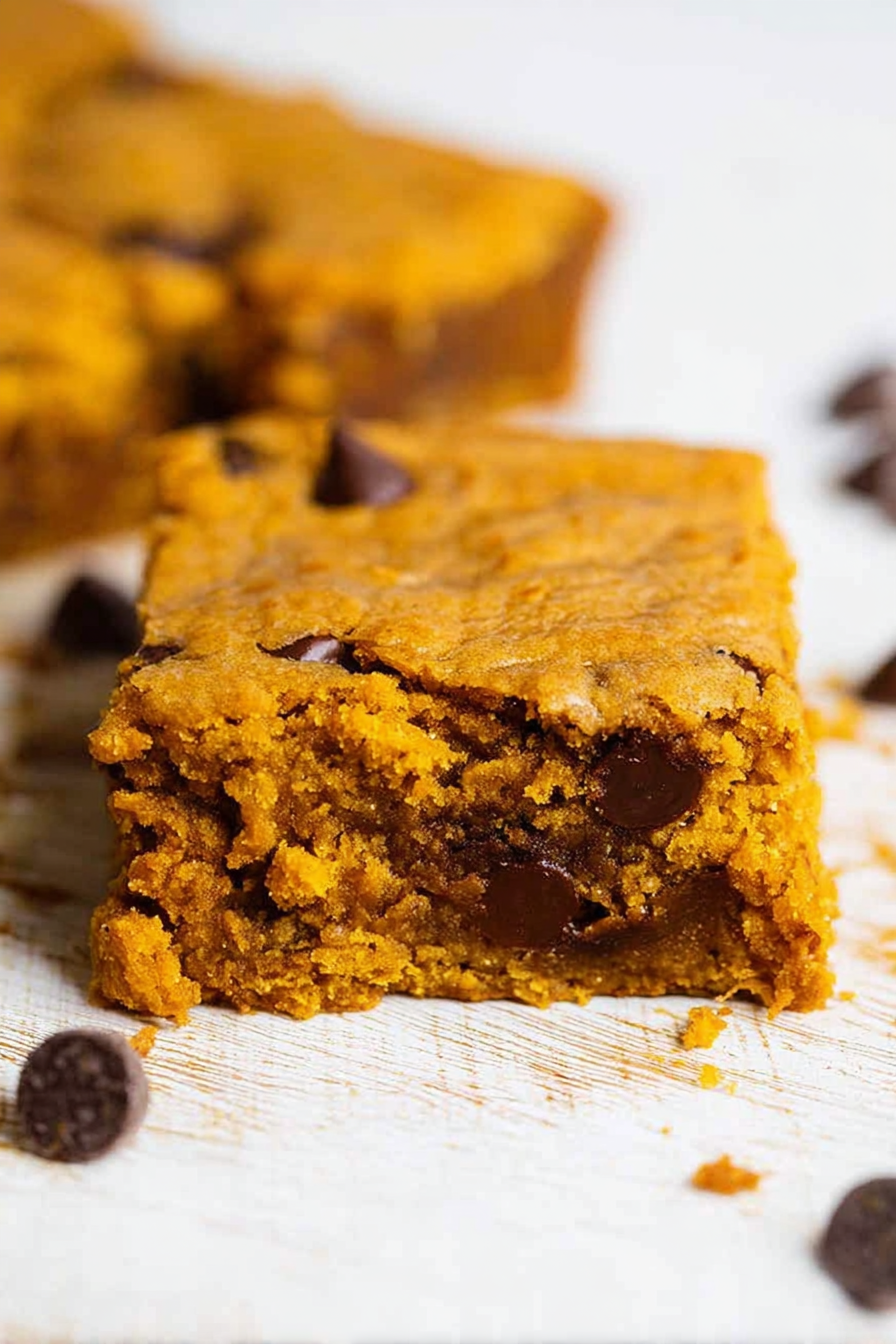
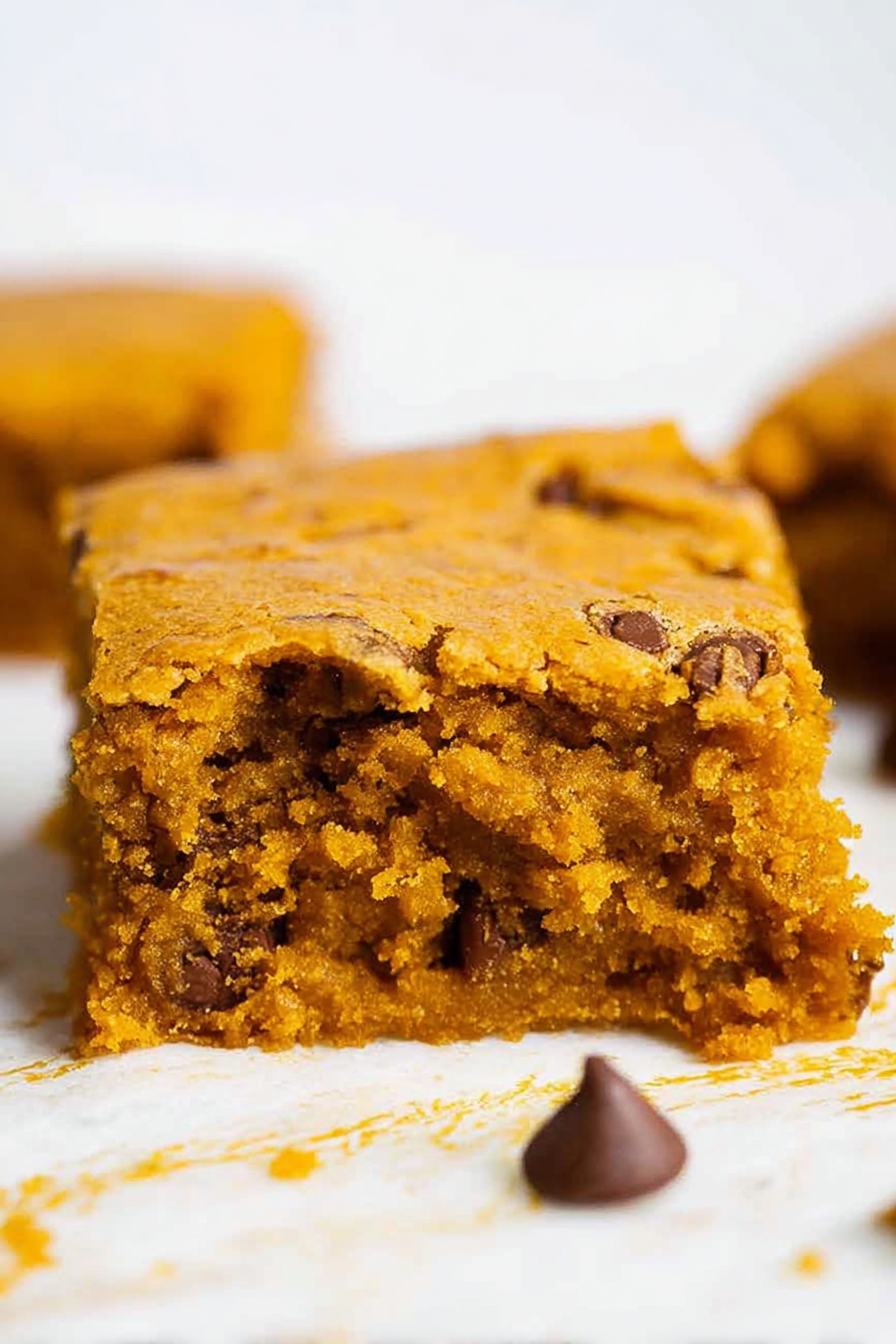
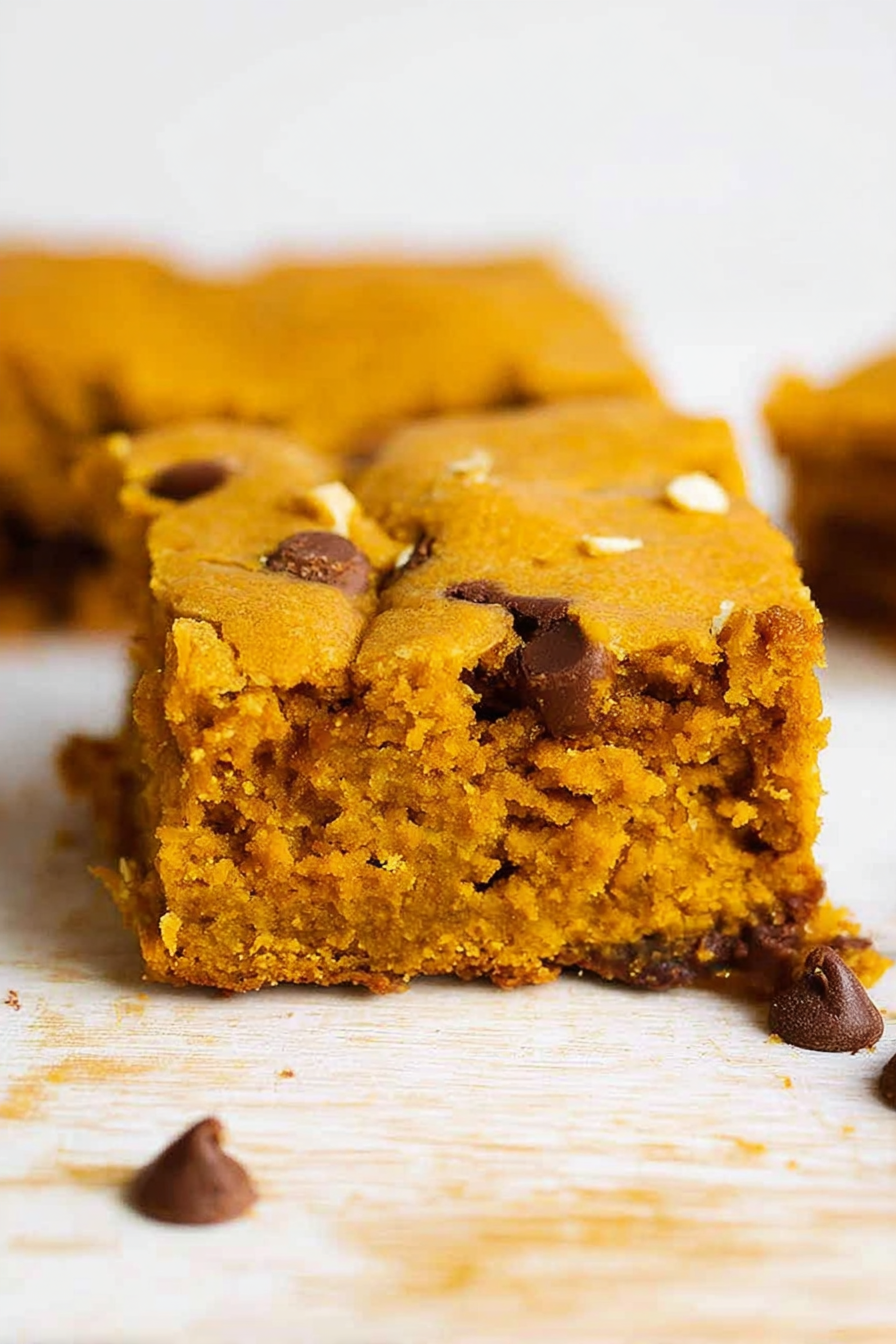
That can of pumpkin puree is magic. It makes these bars so soft and moist. It also gives them a beautiful orange color.
Using real pumpkin matters. It connects us to the harvest season. It feels good to use simple, real food. Doesn’t that smell amazing when it bakes?
Let’s Get Baking Together
First, heat your oven to 350 degrees. Get your big bowl ready. Whisk the flour, pumpkin spice, and salt together.
In another bowl, beat the butter and sugar. It will get light and fluffy. Then mix in the egg, pumpkin, and vanilla. This part is fun. What is your favorite part of baking? Is it mixing or tasting?
The Secret to Perfect Blondies
Now, gently mix the dry stuff into the wet stuff. Do not mix too much. Just until you see no more flour.
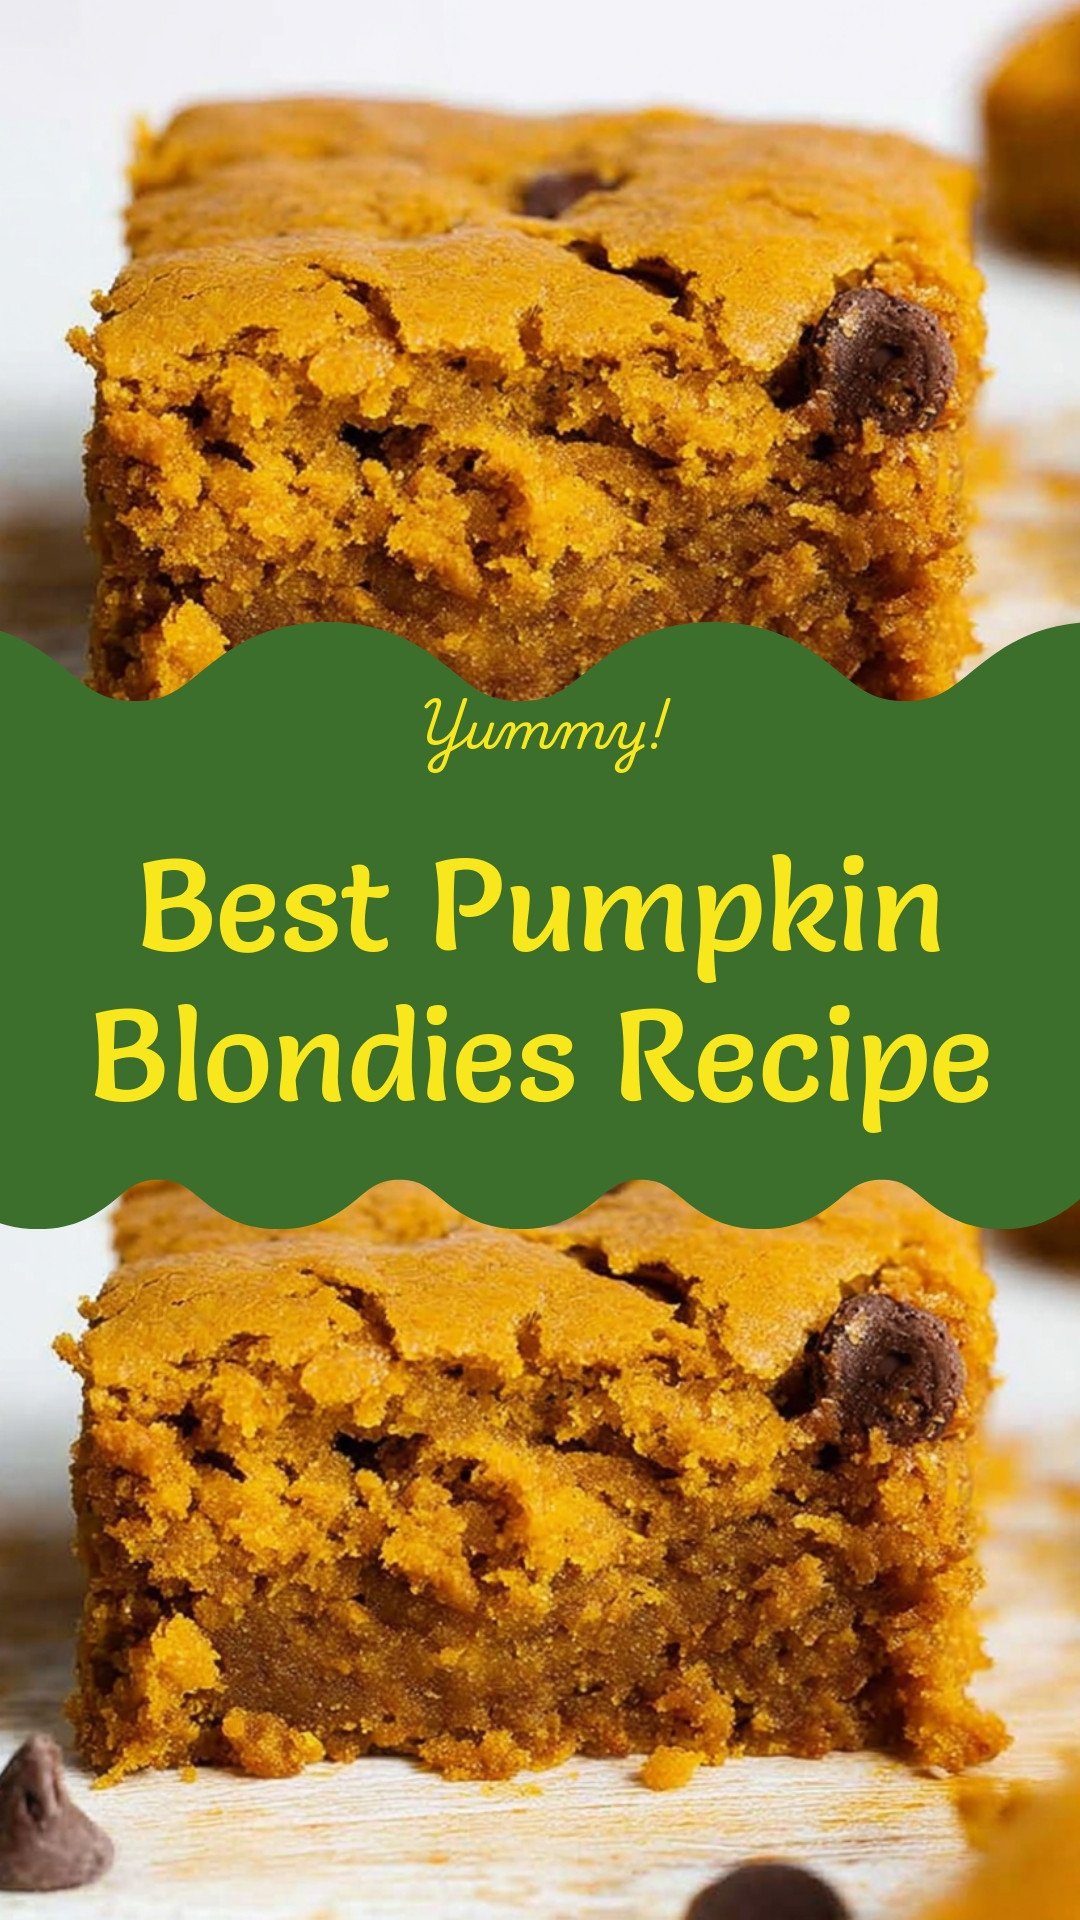
Then, fold in the chocolate chips. I always use a whole cup and a half. This matters because every bite should have a little chocolate. It is a small joy.
A Little Kitchen Magic
Pour the batter into your pan. Spread it evenly. Now it is ready for the oven.
Fun fact: The word “blondie” comes from the color. They are like brownies but without cocoa. That is why they are “blonde.” Do you prefer blondies or brownies? Tell me why.
The Hardest Part: Waiting
Bake them for about 35 to 45 minutes. Your kitchen will smell wonderful. If the top gets too dark, just lay some foil over it.
Let them cool in the pan. This is the hardest part. Waiting matters. It lets the flavors settle. It makes them easier to cut.
Your Turn to Share
Finally, cut them into squares. Enjoy one with a glass of cold milk. It is the perfect snack.
I would love to see your creations. Did you add nuts or white chocolate chips? Share a picture of your finished blondies with someone you love.
Ingredients:
| Ingredient | Amount | Notes |
|---|---|---|
| all-purpose flour | 2 ½ cups | |
| pumpkin pie spice | 1 Tablespoon | |
| baking soda | 1 ½ teaspoons | |
| Kosher salt | 1 teaspoon | or 1/2 tsp regular salt |
| unsalted butter | 1 cup | |
| granulated sugar | 1 ¾ cups | |
| egg | 1 large | |
| pumpkin puree | 1 ½ cups | |
| vanilla extract | 2 Tablespoons | |
| chocolate chips | 1 to 1 ½ cups |
My Cozy Pumpkin Blondies
Oh, the smell of pumpkin and spice in the oven. It just feels like a hug, doesn’t it? This recipe is one of my absolute favorites for autumn. I’ve been making these blondies for years. My grandson calls them “orange brownies.” I still laugh at that.
They are wonderfully soft and full of chocolate. Let’s get our bowls ready. I promise it’s simple. We’ll make some happy memories together in this kitchen.
Step 1
First, let’s wake up that oven. Set it to 350°F. Now, take your baking dish. I always line mine with parchment paper. A little butter on the paper stops everything from sticking. (This is my hard-learned tip! It makes lifting out the blondies so easy.)
Step 2
Grab a big bowl for your dry things. Whisk the flour, pumpkin pie spice, baking soda, and salt together. This makes sure every bite is perfectly spiced. Doesn’t that smell amazing already? It reminds me of crisp fall days.
Step 3
In another bowl, beat the butter until it’s pale and happy. Then add the sugar and beat until it’s fluffy. Mix in the egg, pumpkin, and vanilla. Now, slowly add your flour mixture. Finally, fold in those lovely chocolate chips. Milk chocolate or dark chocolate chips? Share below!
Step 4
Spread the batter evenly in your dish. Pop it in the oven for 35 to 45 minutes. Use a toothpick to check if it’s done. If it comes out clean, they’re perfect! If the top browns too fast, just lay a piece of foil over it.
Step 5
The hardest part is waiting. Let the pan cool for 20 minutes. Then, move the whole slab to a wire rack. Once completely cool, you can cut them into bars. Then, dig in!
Cook Time: 35–45 minutes
Total Time: 1 hour
Yield: 24 bars
Category: Dessert, Snack
Let’s Get Creative!
This recipe is like a cozy sweater. You can always accessorize it! Here are a few fun twists I like to try. They make each batch a little different and special.
Nutty Crunch
Swap half the chocolate chips for chopped pecans or walnuts. It gives a wonderful crunch.
Blondie Surprise
Hide a layer of creamy peanut butter in the middle. Just spread half the batter, then the peanut butter, then the rest.
Salty Sweet
Sprinkle the top with a little flaky sea salt before baking. It makes the chocolate taste even richer.
Which one would you try first? Comment below!
Serving Them Up Right
A warm blondie is a beautiful thing on its own. But why not make it extra special? I love serving these with a little flair. It feels like you’re at a fancy bakery.
For a real treat, top a warm blondie with a scoop of vanilla ice cream. The way it melts is just dreamy. A dollop of whipped cream is lovely, too. For a pretty plate, dust them with a little powdered sugar.
What to drink? A cold glass of milk is the classic choice. It’s perfect for kids and adults alike. For a grown-up pairing, I find a sweet Riesling wine goes beautifully. Which would you choose tonight?
Keeping Your Pumpkin Blondies Fresh
Let’s talk about keeping these treats yummy. Cool them completely first. Then store them in a sealed container. They will stay soft on your counter for three days.
You can also freeze them for later. I wrap each one tightly in plastic wrap. Then I put them all in a freezer bag. This way, you have a sweet snack anytime.
I once left a whole pan out overnight. They were a bit dry the next day. Now I always tuck them away. This matters because it saves your hard work.
You can easily double the batch. Just use two baking dishes. It is perfect for a school bake sale. Have you ever tried storing it this way? Share below!
Fixing Common Blondie Troubles
Sometimes the middle does not bake through. Your oven might be too hot. Next time, try lowering the temperature a little. The edges will not burn before the center is done.
I remember when my blondies were too cakey. I had mixed the batter too much. Now I fold it gently until just combined. This matters because gentle mixing keeps them dense and chewy.
If your blondies are too soft, they need more time. The toothpick test is your best friend. It should come out with just a few crumbs. Getting this right builds your cooking confidence.
Which of these problems have you run into before?
Your Pumpkin Blondie Questions, Answered
Q: Can I make these gluten-free? A: Yes! Use your favorite gluten-free flour blend. It works just as well.
Q: Can I make them ahead? A: Absolutely. Bake them a day before you need them. The flavor gets even better.
Q: What can I use instead of chocolate chips? A: Butterscotch chips are a wonderful swap. My grandson loves them this way.
Q: Can I make a smaller batch? A: Sure. Just cut all the ingredients in half. Use an 8×8 inch pan.
Q: Any optional tips? A: A sprinkle of sea salt on top is lovely. It makes the chocolate taste richer. Which tip will you try first?
Bake Some Happy Memories
I hope you love baking these pumpkin blondies. They always make my kitchen smell like autumn. Sharing them with family is the best part.
I would love to see your creations. Your bars might look even better than mine. Have you tried this recipe? Tag us on Pinterest!
Thank you for spending time with me in my kitchen. I hope you feel inspired to bake. Happy cooking!
—Grace Ellington.
Best Pumpkin Blondies Recipe
Ingredients
Instructions
- Preheat the oven to 350°F. Butter or spray a piece of parchment paper with nonstick cooking spray and place in a 9×13-inch baking dish.
- In a large bowl, whisk together the flour, pumpkin pie spice, baking soda, and salt.
- In a separate bowl, beat the butter with an electric mixer until pale and creamy. Add the sugar and beat until fluffy. Mix in the egg, pumpkin puree, and vanilla. Slowly add in the flour mixture and mix until combined. Fold in the chocolate chips with a rubber spatula. Spread evenly into baking dish.
- Bake 35 to 45 minutes, or until a toothpick inserted in the center comes out clean. Cover with foil if browning too fast before center is done.
- Let cool 20 minutes in dish before transferring to a wire rack to cool completely. Cut into bars and enjoy!
Notes
- For best results, ensure all ingredients are at room temperature before beginning. Store in an airtight container for up to 5 days.

