
A Simple, Happy Treat
I have always loved banana pudding. It is a simple, happy treat. It reminds me of sunny afternoons and big family smiles. Making it in little cups feels special. Everyone gets their own little jar of joy.
This recipe is so easy. You just mix a few things together. Then you layer them up. It is a perfect first recipe for a young cook. What was the first dessert you ever learned to make?
The Magic of Layers
Let me tell you why layers matter. They give you a little bit of everything in one spoonful. You get the creamy pudding and the crunchy cookie. Then you get the soft, sweet banana. It is a party in your mouth!
I still laugh at this. My grandson once ate just the wafers from the bottom. He left all the pudding! Now he helps me make the layers just right. Doing things step-by-step makes the result so much better. This is a good lesson for cooking and for life.
A Little Story About Nilla Wafers
That little yellow box has been in my pantry for years. Those vanilla-smelling wafers are so good. They are not just for eating straight from the box. They are the best base for our pudding cups.
Fun fact: Nilla Wafers have been around since 1901! That is a very long time. Does your family have a favorite cookie they always keep in the house?
Why This Pudding Matters
This is more than just a dessert. It is about making something with your own hands. It is about sharing it with people you love. That feeling is the real treat. The pudding is just a sweet bonus.
It also teaches you to be patient. You have to let the pudding chill. Waiting makes it taste so much better. Good things come to those who wait. And to those who stir!
Let’s Make It Together
First, whisk the pudding mix and cold milk. Get all the lumps out. Doesn’t that smell amazing? Let it sit in the fridge for five minutes. It will get nice and thick.
Then, gently fold in the Cool Whip. Now for the fun part! Crush some Nilla Wafers. I use my hands. It is very satisfying. Start layering the crumbs and pudding in your cups. Do you like a lot of crumbs or a lot of pudding in each layer?
The Perfect Finish
Just before serving, add the banana slices on top. Pop a whole Nilla Wafer right in the middle. It makes it look so pretty. We eat with our eyes first, you know.
This final touch shows you care. It turns a simple cup into a special gift. It tells the person, “I made this just for you.” And that is the best ingredient of all.

Ingredients:
| Ingredient | Amount | Notes |
|---|---|---|
| Banana pudding mix | 1 (3.4oz) box | |
| Cold milk | 2 cups | |
| Cool Whip | 1 (8oz) tub | |
| Nilla Wafers (crushed) | 20 wafers | For the layers |
| Nilla Wafers (whole) | 8 wafers | For garnish |
| Large banana | 1 | Sliced, for garnish |
| Plastic cups | 8 | For serving |

A Sweet Treat from My Kitchen to Yours
I have always loved making banana pudding. It reminds me of summer afternoons with my grandkids. We would make a big bowl to share. This version is perfect for making your own little cups.
It is so simple and fun to put together. You can even get your friends to help you layer it. The best part is you do not need to turn on the oven. Let me show you how it is done.
Step 1: Grab a big mixing bowl. Pour in the banana pudding mix and the cold milk. Whisk them together until they are smooth. You do not want any little lumps in there. I still laugh at the time I did not whisk enough. We had lumpy pudding!
Step 2: Now, pop the bowl into the refrigerator. Let it sit for about five minutes. This lets the pudding get nice and thick. It is a good time to wash your whisk. Doesn’t that smell amazing already?
Step 3: Take the bowl out of the fridge. Gently fold in the tub of Cool Whip. (A hard-learned tip: Do not stir too hard! You want it to stay fluffy). Just mix until the white streaks disappear. It looks like a sweet, fluffy cloud.
Step 4: Get your eight plastic cups ready. Put half of your crushed Nilla wafers into the bottoms. I love the crunchy sound this makes. Then, spoon the pudding mixture on top, filling each cup halfway.
Step 5: Repeat your layers! Add the rest of the crushed wafers. Then top them with the rest of the pudding. Now, just chill the cups until you are ready to eat. The waiting is the hardest part, I think.
Step 6: Right before serving, slice your banana. Place a few slices on top of each cup. Finish it with a whole Nilla wafer. It makes each one look so special. Do you like your banana slices on top or mixed in? Share below!
Cook Time: 15 minutes
Total Time: 20 minutes
Yield: 8 servings
Category: Dessert
Let’s Get Creative with Your Pudding!
The basic recipe is wonderful. But sometimes, it is fun to change things up. You can make these cups your very own. Here are a few of my favorite twists to try on a sunny day.
Cookie Swap: Use crushed chocolate chip cookies instead of Nilla wafers. It tastes like a banana split!
Berry Blast: Add a layer of fresh strawberries or blueberries. The little burst of fruit is so good.
Nutty Crunch: Mix some chopped peanuts or pecans into the crushed wafers. It gives a nice, happy crunch.
I love seeing what everyone creates. Which one would you try first? Comment below!
Serving Up Your Sweet Creation
These pudding cups are a treat all by themselves. But you can make them part of a bigger party. I like to set them on a big platter for everyone to grab. It always makes people smile.
For a real treat, serve them with a small, chewy brownie on the side. The chocolate and banana are a perfect pair. Or, add a tiny sprig of mint on top for a fresh look. It is such a pretty green color.
What should you drink with it? A cold glass of milk is always my first choice. For the grown-ups, a sweet glass of Riesling wine is lovely. It is not too dry. Which would you choose tonight?
Keeping Your Pudding Cups Perfect
These pudding cups are best eaten the same day. The bananas can turn brown. You can make the pudding part a day ahead.
Just keep it covered in your fridge. Add the wafers and bananas right before you serve. I once made them too early for a picnic.
The wafers got a bit soft. It still tasted wonderful though. This is why planning matters for a happy dessert.
You can also make a big batch of the pudding. Then assemble cups throughout the week. This saves you so much time on busy days.
Have you ever tried storing it this way? Share below!
Simple Fixes for Common Pudding Problems
Is your pudding too runny? Make sure you use cold milk. Chilling it for five minutes is a key step.
I remember when my grandson skipped the chill. We had banana pudding soup. Getting the texture right makes you feel like a real cook.
Are the bananas browning too fast? A little lemon juice on the slices helps. This keeps them looking pretty and fresh.
Are the wafers too soggy? Put them in just before eating. A crispy wafer gives a lovely crunch. This makes the flavor and feel just right.
Which of these problems have you run into before?
Your Banana Pudding Questions Answered
Q: Can I make this gluten-free?
A: Yes! Use your favorite gluten-free vanilla cookies instead of Nilla Wafers.
Q: How far ahead can I make it?
A: Make the pudding one day ahead. But assemble the cups the day you eat them.
Q: What can I use instead of Cool Whip?
A: You can use real whipped cream. Just whip it until it is stiff.
Q: Can I make a bigger batch?
A: Of course. Just double all the ingredients. You will need more cups too.
Q: Any other fun tips?
A: Try a sprinkle of cinnamon on top. Fun fact: Cinnamon was once a gift for kings!
Which tip will you try first?
Sharing the Sweetness
I hope you love making these little cups. They always bring a smile to my table. Food is best when we share it.
I would love to see your creations. Show me your beautiful pudding cups. It makes me so happy to see your kitchen adventures.
Have you tried this recipe? Tag us on Pinterest!
Happy cooking!
—Grace Ellington.

Easy Banana Pudding Cups Recipe
Description
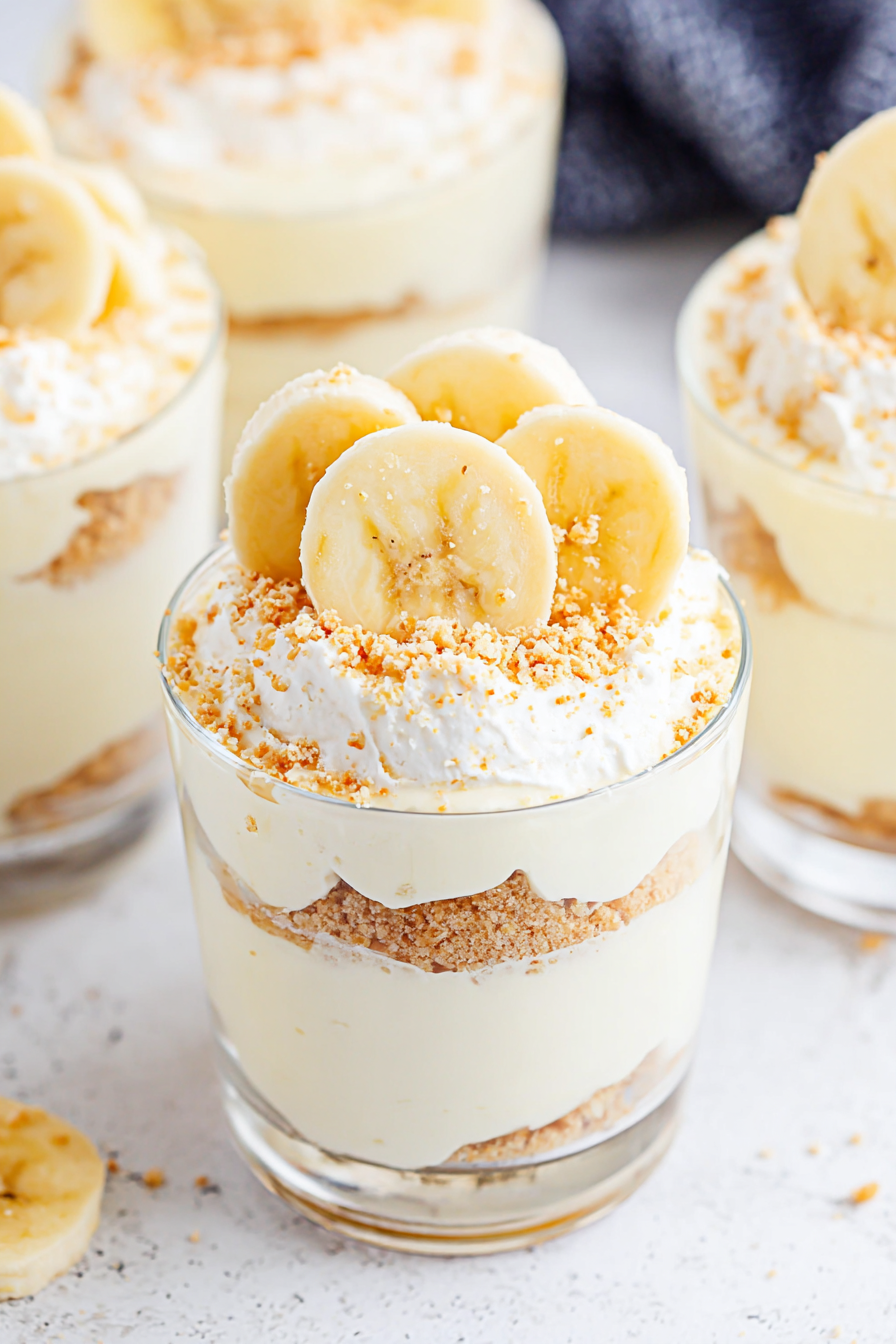
These easy Banana Pudding Cups are a delightful no-bake dessert, featuring layers of creamy banana pudding, crushed vanilla wafers, and fresh banana slices.
Ingredients
Instructions
- Whisk together pudding mix and cold milk in a large mixing bowl until well combined and no lumps remain.
- Chill mixture in the refrigerator for 5 minutes to thicken up.
- Mix the Cool Whip into the pudding until just combined.
- Divide half of the crushed Nilla wafers between your 8 serving cups.
- Add a few scoops of the banana pudding mixture to each cup to fill halfway.
- Repeat the layers with the remaining crushed wafers and pudding.
- Chill in the refrigerator until ready to serve.
- Garnish the top of each pudding cup with several banana slices and a whole Nilla wafer before serving.
Notes
- For best results, serve the pudding cups the same day they are made to prevent the bananas from browning.

