
The Crunch That Started It All
The first time I tasted dill oyster crackers, I was hooked. A friend brought them to a picnic, and the herby, garlicky crunch stole the show. Ever wondered how you could turn plain crackers into something unforgettable? These little bites are magic—perfect for soups, salads, or straight from the jar. Trust me, once you try them, you’ll make them weekly. What’s your go-to snack for gatherings? Share below!My First Batch (And the Mess!)
My first try at these crackers was… messy. I forgot to line the baking sheet, and some oil pooled at the edges. The crackers still tasted great, though—crispy and full of flavor. Home cooking reminds us that perfection isn’t the goal; joy is. Even a little chaos can lead to delicious results. Have you ever salvaged a kitchen mishap? Tell me your story!Why These Flavors Work
– The dill and garlic combo is fresh but not overpowering. – Slow baking keeps the crackers light and crispy, not greasy. Which flavor combo surprises you most? I’d love to hear if you’d tweak the spices. Maybe add a pinch of paprika? Try it and report back!A Bite of History
Oyster crackers date back to the 1800s, originally paired with seafood stews. This herby version is a modern twist on a classic. *Did you know oyster crackers got their name from their shape, not their taste?* They’re a humble snack with a rich past. What’s your favorite old-school food with a new twist?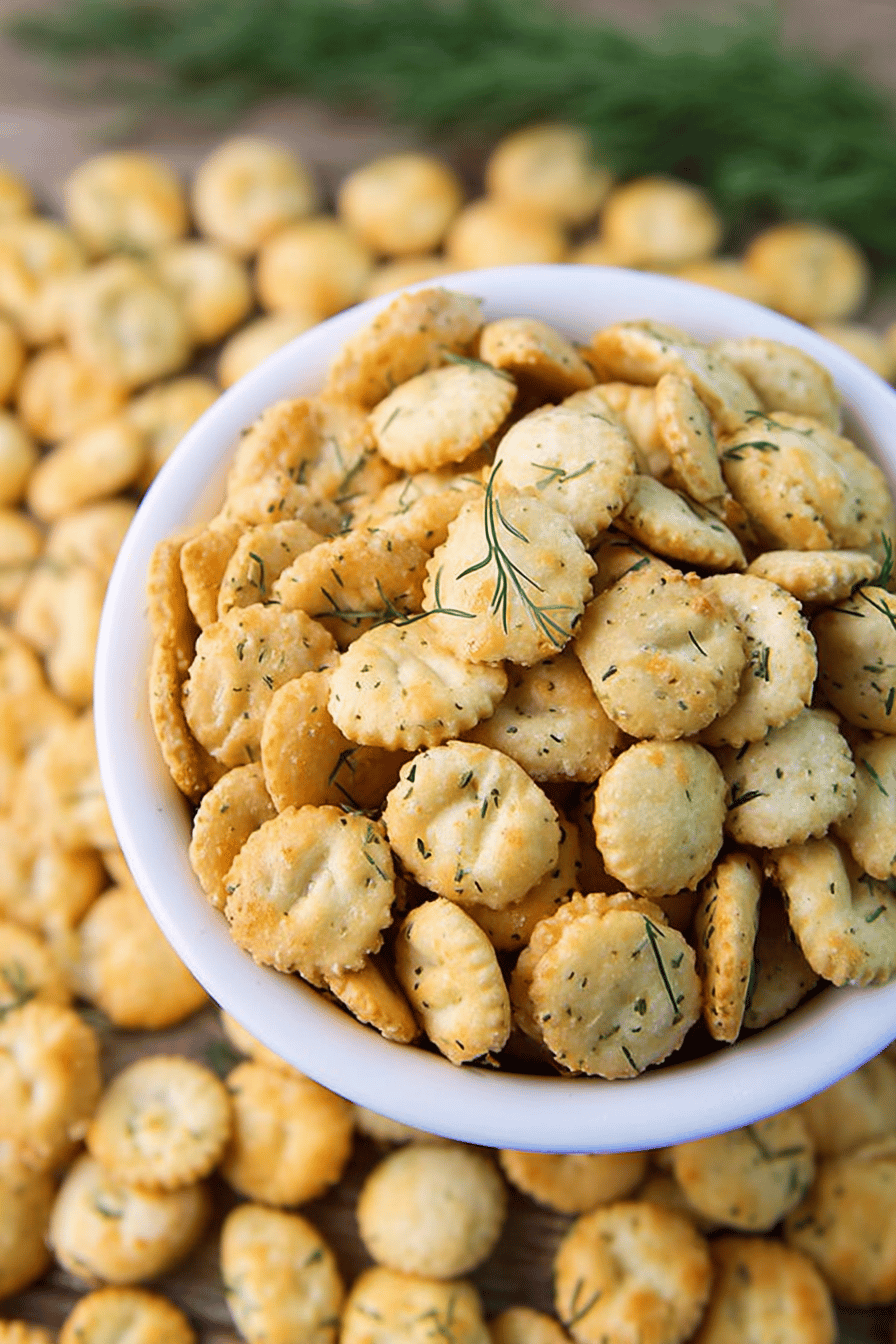
Ingredients:
| Ingredient | Amount | Note |
|---|---|---|
| Oyster crackers | 10 ounces | |
| Fresh dill | 1/3 cup | minced |
| Garlic powder | 2 tablespoons | |
| Ground black pepper | 1/2 teaspoon | |
| Fine sea salt | 1/2 teaspoon | |
| Light extra virgin olive oil | 1/3 cup |
Easy Dill Oyster Crackers: A Crunchy Crowd-Pleaser
Step 1 Preheat your oven to 250°F. Line a baking sheet with foil or parchment. This saves scrubbing later. *Fun fact: Low heat keeps crackers crisp, not burnt.*
Step 2 Mix dill, garlic powder, pepper, salt, and oil in a bowl. Toss in crackers gently. Coat every nook and cranny. (Hard-learned tip: Use a big bowl to avoid spills!)
Step 3 Spread crackers in one layer on the sheet. Bake 20 minutes. Turn off oven, leave inside 20-30 more. They’ll crisp up perfectly.
Step 4 Serve warm or store airtight. They stay fresh a month. Great for soups, salads, or snacking. What’s your favorite cracker flavor? Share below! Cook Time: 45 minutes Total Time: 50 minutes Yield: 2 cups Category: Snack, Topping
3 Twists on Dill Oyster Crackers
Spicy Kick Add 1/2 tsp cayenne or smoked paprika. Heat lovers will beg for more.
Cheesy Herb Swap dill for 1/4 cup grated parmesan and 1 tbsp dried oregano. Salty, savory bliss.
Lemon Zest Stir in 1 tbsp lemon zest with the oil. Brightens up any dish. Which twist would you try first? Vote in the comments!
Serving & Sipping Ideas
Toss these on chowder or a fresh garden salad. Sprinkle over deviled eggs for extra crunch. Pair with iced tea or a crisp lager. *Fun fact: The saltiness balances sweet drinks.* Which would you choose tonight?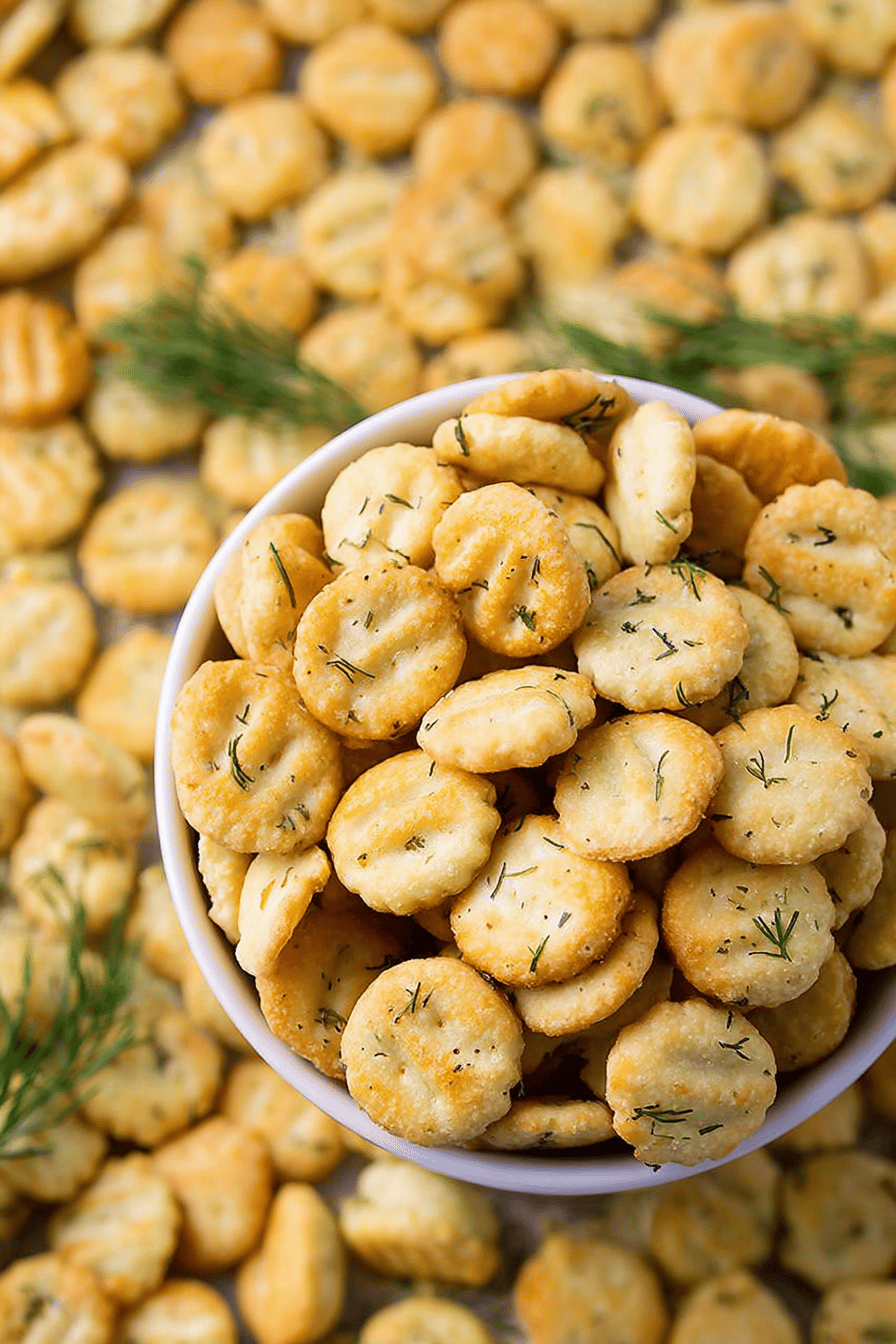
Storage and Reheating Tips
Keep these crackers fresh in an airtight container for up to a month. No fridge needed—room temp is perfect. Freezing isn’t ideal; they lose crunch. *Fun fact*: I once forgot a batch in my pantry for two months—still tasty! Why this matters: Proper storage saves money and reduces waste. Want to make a big batch? Double the recipe, but bake in two sheets for even seasoning. Ever tried reviving stale crackers? Toast them at 200°F for 5 minutes. What’s your go-to snack storage hack?Troubleshooting Common Issues
Too oily? Blot crackers with paper towels before baking. Seasoning uneven? Toss every 10 minutes while baking. Burnt edges? Check oven temp with a thermometer—mine runs hot! Why this matters: Small tweaks ensure perfect results every time. My grandkids once dubbed my first batch “garlic bombs” until I adjusted the powder. Share your kitchen fails—we’ve all been there!Your Questions Answered
Q: Can I use gluten-free crackers?
A: Yes! Swap regular oyster crackers with gluten-free ones—same method.
Q: How far ahead can I make these?
A: Up to 3 days before serving. They stay crisp if sealed tight.
Q: What oil swaps work?
A: Try melted butter or avocado oil for richer flavor.
Q: Can I halve the recipe?
A: Absolutely. Use a smaller sheet and bake 15 minutes.
Q: Fresh vs. dried dill?
A: Fresh adds brightness, but dried works (use 1 tablespoon).
Let’s Keep the Conversation Going
These dill oyster crackers are my go-to for book club nights. Tag @SpoonSway on Pinterest with your creations! Did you try a twist? Tell me below. Happy cooking! —Sarah Cooper.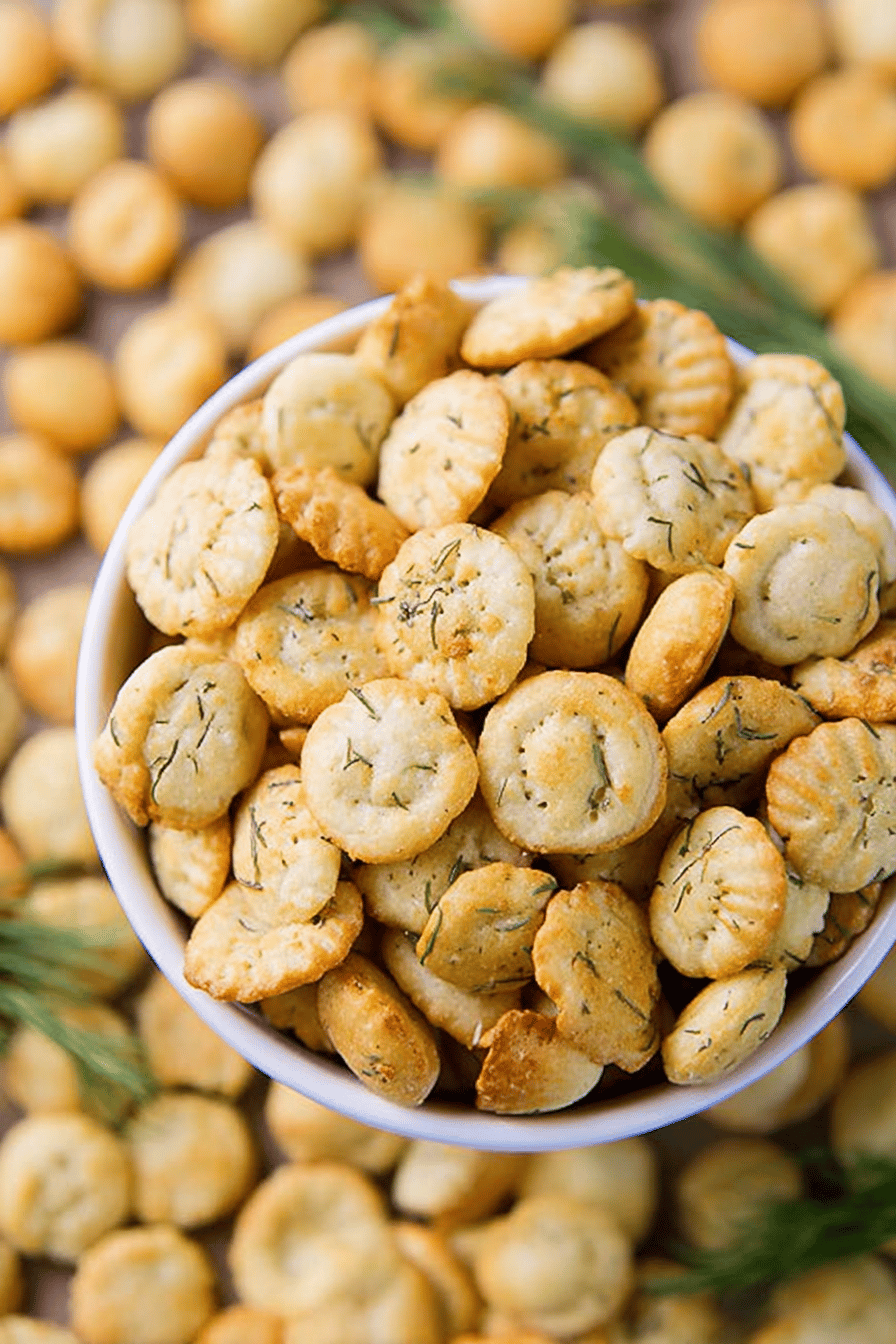
Dill Oyster Crackers: Versatile Snack and Topping
Description
Versatile Snack and Topping Ingredient.
Ingredients
Instructions
- Preheat the oven to 250°F. Cover a large rimmed baking sheet with aluminum foil or parchment paper for easy clean up and to prevent sticking.
- In a medium mixing bowl combine the dill, garlic powder, pepper, salt and olive oil. Add the oyster crackers and gently toss until all are equally covered in the seasoning. Spread the crackers in a single layer on the prepared baking sheet.
- Bake them for 20 minutes. Turn off the oven and allow them to sit for an additional 20-30 minutes. Crackers might be slightly brown, but pretty much maintain the same original color.
- Remove, serve warm or place in an airtight container. Crackers will still good for at least a month if stored properly.
Notes
- For added flavor, experiment with different herbs or spices like onion powder or smoked paprika.
Dill, Oyster Crackers, Snack, Topping

