The First Bite That Started It All
I still remember my first bite of a chocolate tartlet. The crust crumbled just right, and the filling melted like a dream. It was at a tiny bakery in Paris, tucked between two noisy cafes. Ever wondered how you could turn these mini treats into something unforgettable for your next gathering? That moment made me obsessed with recreating that magic at home. Now, I want you to feel that same joy—no plane ticket needed.My Messy (But Delicious) First Try
My first batch of tartlets looked more like abstract art than desserts. The crust stuck to the pan, and the filling was lumpy. But the taste? Pure heaven. Home cooking isn’t about perfection—it’s about the love you pour in. My kids still laugh about those “wonky” tartlets, but they ate every crumb. That’s the real win.Why These Tartlets Shine
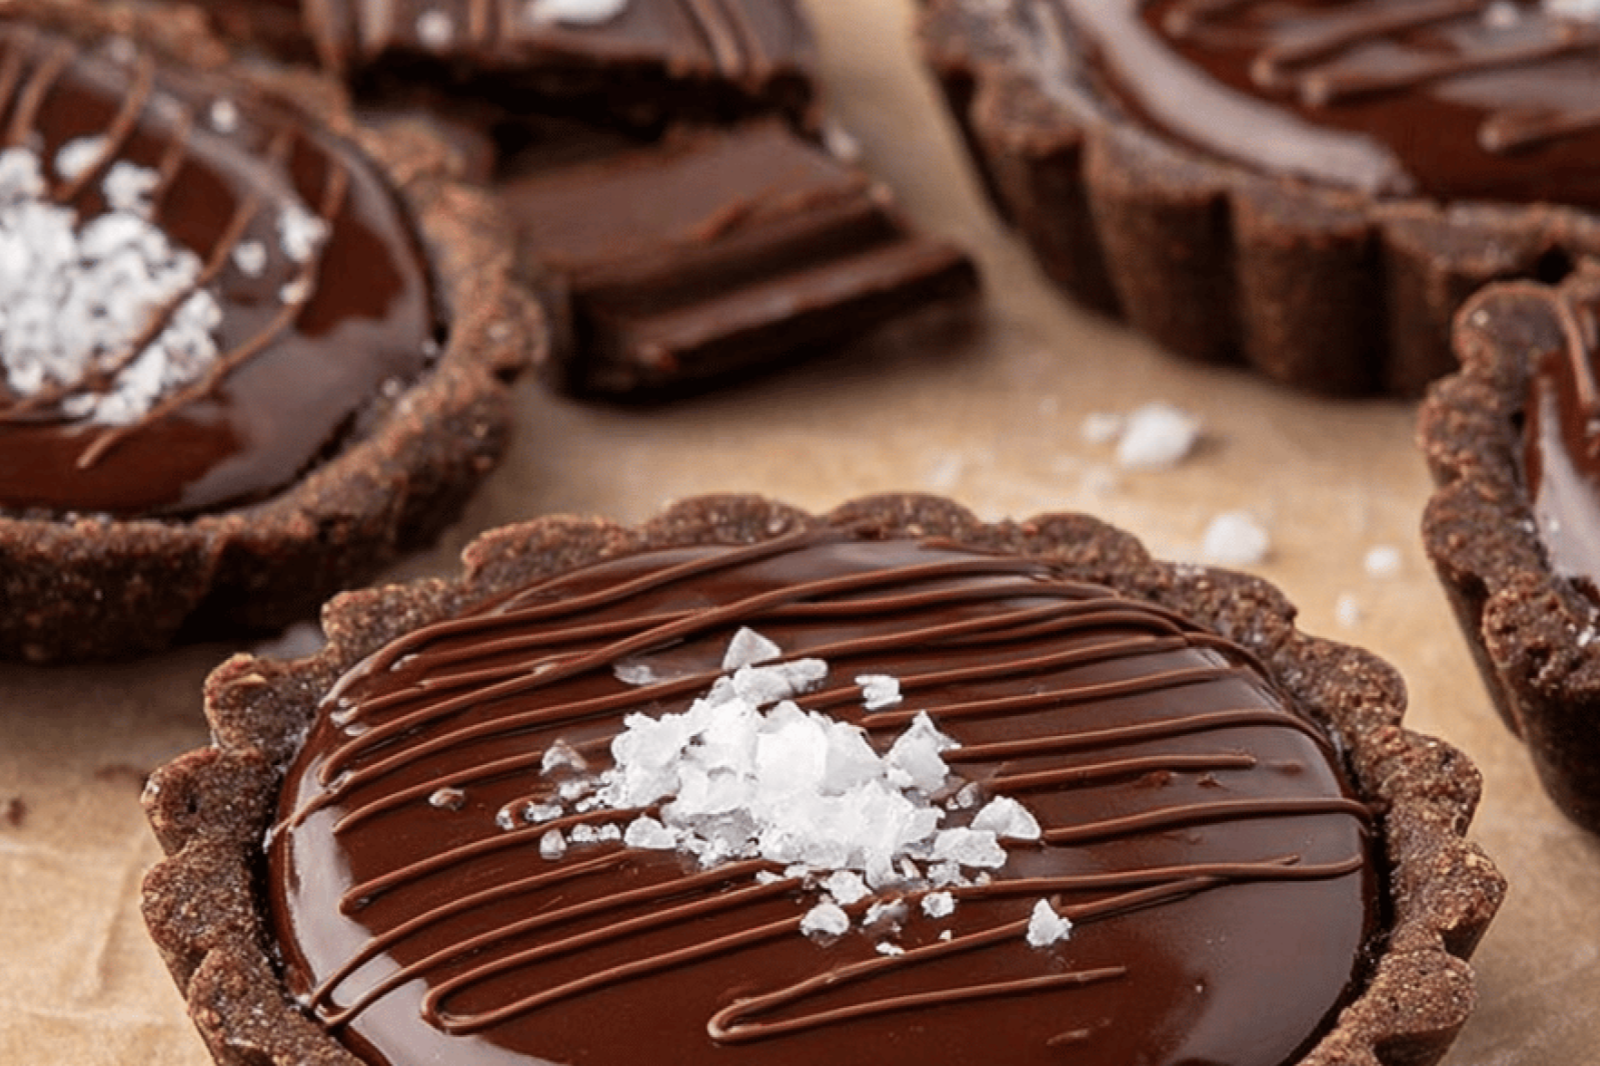
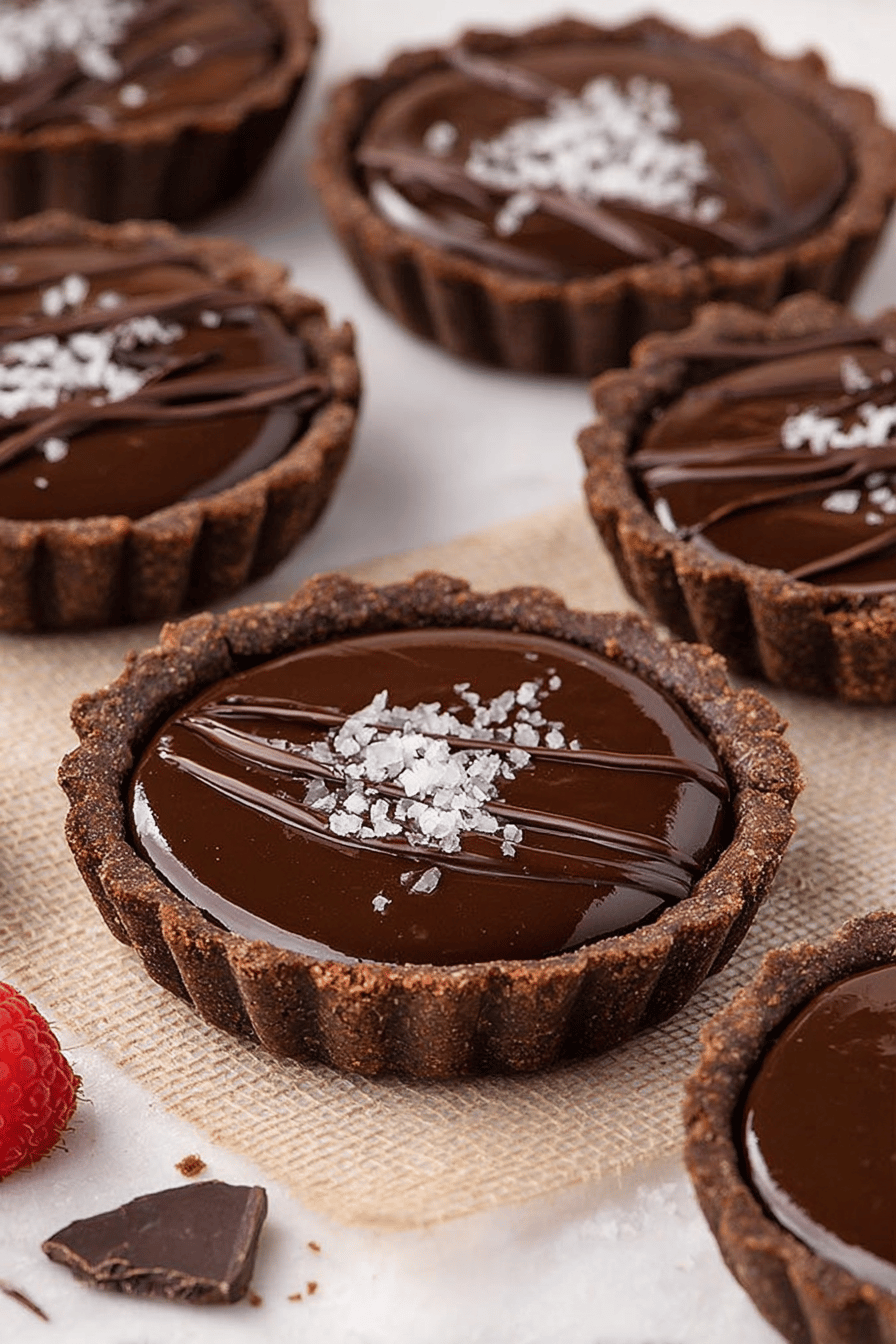
– The cocoa crust adds a bitter kick that balances the sweet filling. – The ganache is silky but firm, so it holds its shape when sliced. Which flavor combo surprises you most—berries, caramel, or fleur de sel? I’m team salty-sweet, but my neighbor swears by raspberries. Try both and decide!A Bite-Sized History
These tartlets trace back to 18th-century France, where chocolate was a luxury for the rich. Bakers made them small to stretch precious ingredients. *Did you know the word “tart” comes from the Old French “tarte,” meaning pie?* Today, they’re a global favorite—proof that good things come in small packages. What’s your favorite mini dessert? Share below!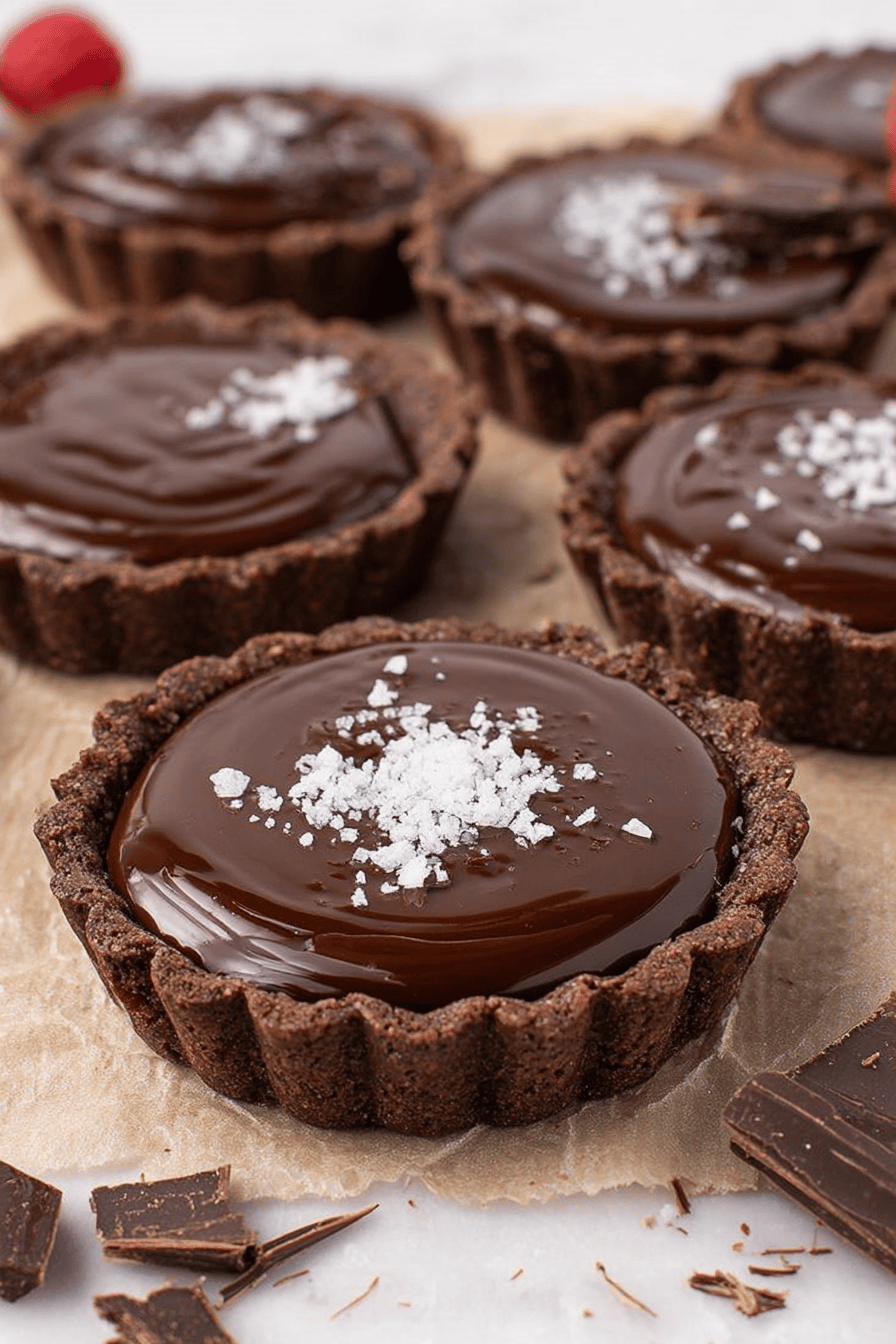
Ingredients:
| Ingredient | Amount | Note |
|---|---|---|
| Flour | 2 cups | |
| Dark cocoa powder | ¼ cup | |
| Granulated sugar | 3 tablespoons | |
| Butter | ½ cup | cold |
| Egg | 1 | |
| Heavy cream | 1 cup | |
| Semi-sweet chocolate | 8 ounces |
Easy Mini Chocolate Tartlets You’ll Love
Step 1 Preheat your oven to 350°F. Grab your food processor for quick mixing. Blend flour, cocoa, and sugar until smooth. Cold butter goes in next—pulse to crumbs.
Step 2 Add the egg to bind the dough. A splash of water helps if it’s dry. Press crumbs into tartlet pans firmly. Trim edges for a clean look.
Step 3 Prick crusts with a fork to prevent bubbles. Use parchment and pie weights when baking. Bake 12-15 minutes until set. Cool completely before filling.
Step 4 Heat cream until it simmers—don’t boil. Pour over chopped chocolate, wait 2 minutes. Whisk until glossy, then fill tart shells. Chill 1 hour to set. (Hard-learned tip: Freeze crusts 10 minutes before baking for extra crispness.) What’s your go-to dessert garnish? Share below!
Cook Time: 30 minutes
Total Time: 1 hour 40 minutes
Yield: 6 servings
Category: Dessert, Baking
Fun Twists on Classic Tartlets
Peanut Butter Swirl Mix melted peanut butter into the chocolate filling. Swirl with a knife for a pretty effect.
Orange Zest Boost Add grated orange zest to the crust. Pair with dark chocolate for a bright kick.
Minty Fresh Stir peppermint extract into the filling. Top with crushed candy canes for holiday cheer. Which twist would you try first? Vote in the comments!
Serving Ideas & Perfect Pairings
Serve tartlets with fresh berries for a pop of color. A dollop of whipped cream adds lightness. Pair with coffee for a cozy treat. Or try red wine for a fancy touch. Which would you choose tonight?
Storage & Make-Ahead Tips
Keep tartlets fresh in the fridge for 3 days. Cover them loosely to avoid condensation. Freeze unbaked crusts for up to a month—just thaw before filling. *Fun fact*: Chilled dough is easier to handle! Batch-cook crusts and freeze. Why this matters? Prep now means dessert-ready in minutes later. Ever tried freezing filled tartlets? Share your results!Troubleshooting Common Issues
Crumbly dough? Add a splash of cold water. Filling too thick? Warm cream slightly more next time. Soggy crust? Bake longer or use pie weights. Why this matters? Small tweaks save time and stress. My neighbor once overbaked hers—still delicious with extra whipped cream! What’s your biggest baking fail?Your Questions, Answered
Q: Can I make these gluten-free?
A: Swap flour for a 1:1 gluten-free blend. Add xanthan gum if needed.
Q: How far ahead can I assemble these?
A: Fill crusts 1 day before serving. Keep chilled until ready.
Q: Any butter swaps?
A: Coconut oil works, but crust may be softer.
Q: Can I double the recipe?
A: Yes! Use two pans or bake in batches.
Q: Best garnish for a party?
A: Fresh berries or edible flowers—color pops!
Final Thoughts
These tartlets are my go-to for last-minute guests. Rich, fuss-free, and always impressive. *Fun fact*: Kids love decorating them!Tag @SpoonSway on Pinterest with your creations—I’d swoon over them! Happy cooking! —Sarah Cooper.
Decadent Mini Chocolate Tartlets for Every Occasion
Description
Decadent Mini Chocolate Tartlets for Every Occasion
Ingredients
Instructions
- Preheat the oven to 350°F.
- In a food processor, combine the flour, dark cocoa powder, and granulated sugar. Pulse a few times to mix.
- Add the cold butter and pulse until the mixture resembles fine crumbs.
- Add the egg and pulse until the dough just comes together. If needed, add 1 tablespoon of cold water to help bind the dough.
- Divide the mixture evenly among 6 small tartlet pans. Press the crumbs firmly into the bottom and sides of each pan to form a crust. Trim any excess around the edges.
- Prick the bottoms of the tart shells with a fork then fill with parchment paper and pie weights to prevent puffing. Bake for 12-15 minutes, or until set. Allow to cool completely.
- Heat the heavy cream in a small saucepan over medium heat until it just begins to simmer (do not boil).
- Remove from heat and pour over the chopped semi-sweet chocolate in a heatproof bowl. Let sit for 2-3 minutes, then whisk until smooth and glossy.
- Pour the chocolate filling into the cooled tart shells, filling them just below the rim. Smooth the tops with a spatula if necessary.
- Refrigerate the tartlets for at least 1 hour, or until the filling is set. Serve chilled, garnished with leftover chocolate drizzle, whipped cream, berries, caramel sauce, sprinkles, melted chocolate or a pinch of fleur de sel, if desired.
Notes
- For best results, ensure all ingredients are cold before preparing the dough.
Chocolate, Tartlets, Dessert, Baking

