A Cake with a Secret
This cake has a wonderful secret. It uses olive oil, not butter. I know, it sounds strange. But trust me. It makes the cake so soft and rich.
My friend Rosa taught me this. She grew up in Italy. She said her nonna always baked with olive oil. I tried it and was amazed. The cake stays moist for days. Have you ever baked with olive oil before?
Why This Trick Matters
Using oil instead of butter matters. It makes the cake’s texture beautiful. It feels tender and a bit springy. Butter can sometimes make cakes dry out faster.
This is a good lesson. Sometimes, a small swap changes everything. It teaches us to be brave in the kitchen. Trying new things can lead to happy surprises. I still laugh at how worried I was the first time I tried it.
Mixing Up the Magic
First, melt the chocolate with the oil. Doesn’t that smell amazing? It becomes a glossy, dark pool. Let it cool a little. Then, whisk your wet things and dry things separately.
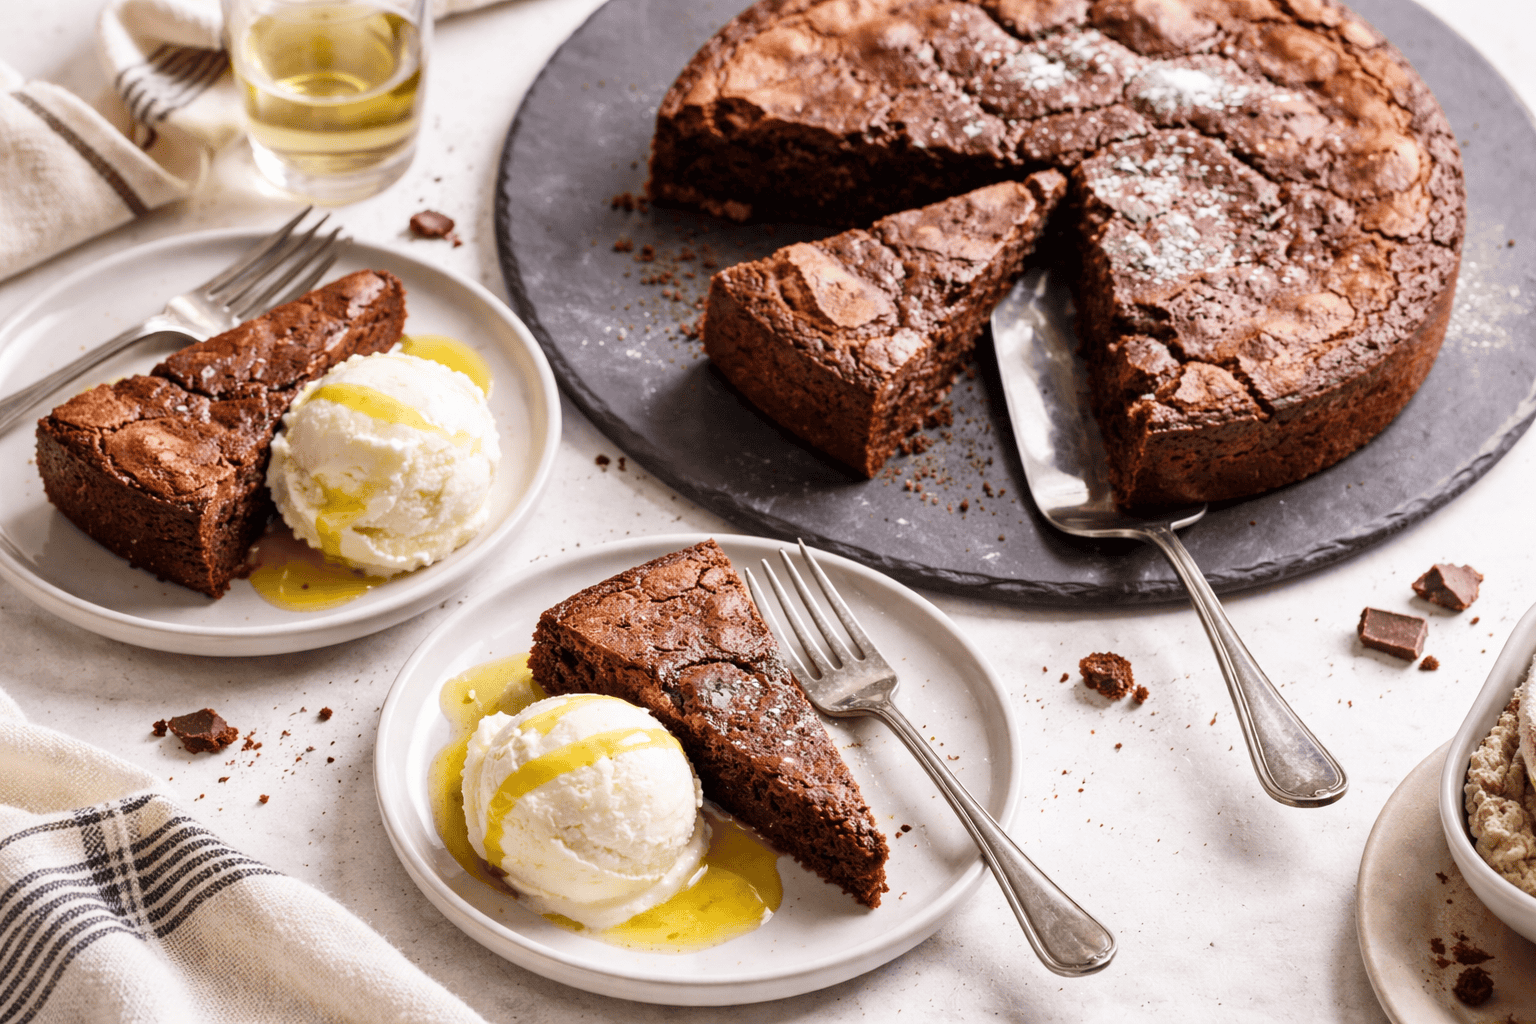
Now, mix them together. The batter will be thin and shiny. That’s perfect. Pour it into your pan. Here’s a fun step. Sprinkle the top with two spoonfuls of sugar. It gives the crust a little sparkle and crunch. Fun fact: That sugary top is called a “crackly crust.”
A Quiet Oven Story
While it bakes, your kitchen will smell like a dream. I like to sit with a cup of tea. I remember baking this for my grandson’s birthday. He said it was the “grown-up” chocolate cake he loved.
The cake is done when a skewer poked in comes out mostly clean. Let it cool completely. This is the hard part! Waiting makes the cake set just right. What’s your favorite thing to do while a cake cools?
Slice and Savor
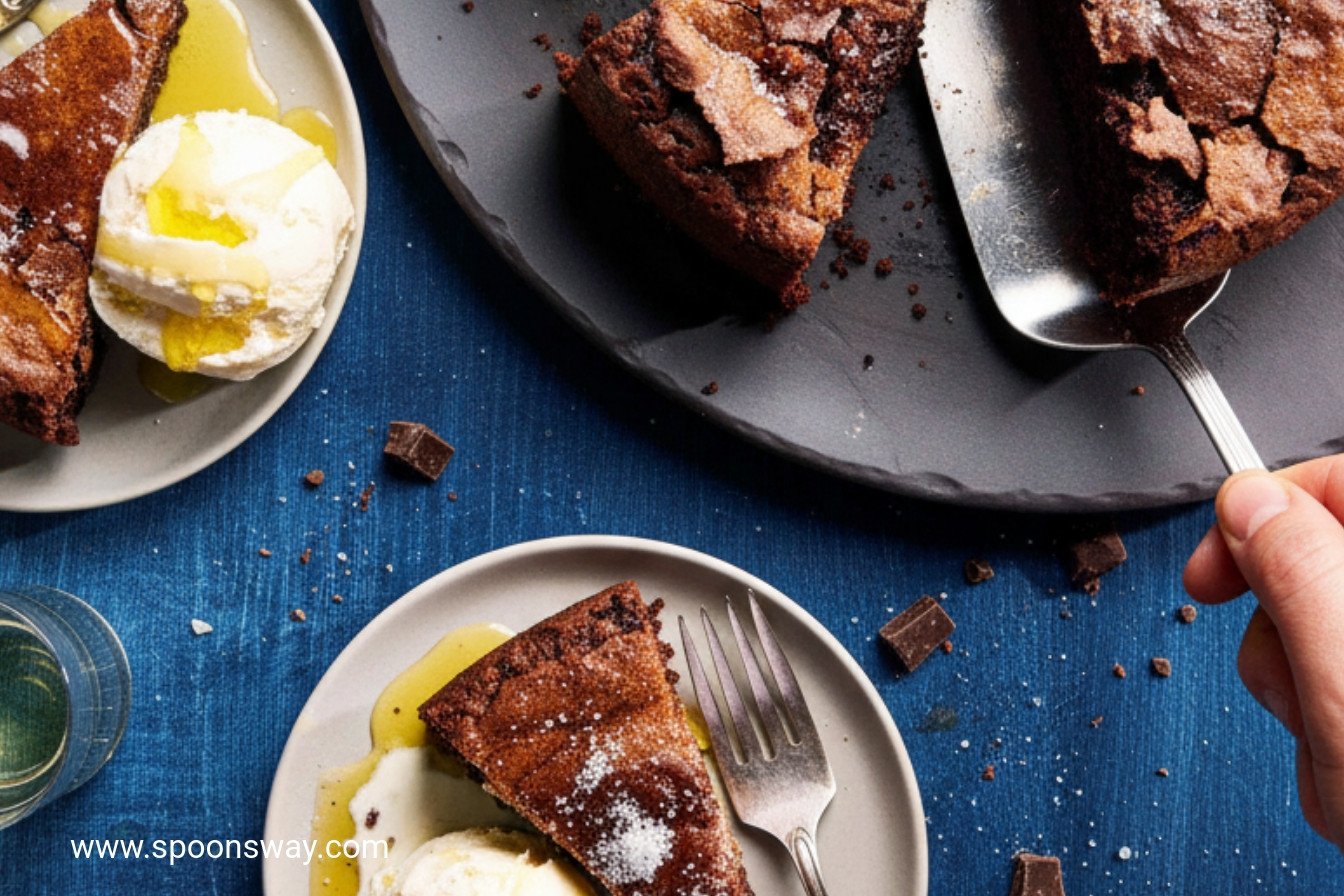
Once cool, run a knife around the edge. Unlock the pan. You’ll see your beautiful, dark cake. It looks simple, but the flavor is deep and complex.
Slice it into wedges. It doesn’t need frosting. The olive oil lets the true chocolate taste shine. This matters because real food tastes good on its own. Share a piece with someone you like. Tell me, who would you share this cake with?
Ingredients:
| Ingredient | Amount | Notes |
|---|---|---|
| Extra-virgin olive oil | ½ cup | |
| Bittersweet chocolate | 3 ounces (85 grams) | Chopped |
| All-purpose flour | ¾ cup (3¾ ounces/106 grams) | |
| Dutch-processed cocoa powder | ¼ cup (¾ ounces/21 grams) | |
| Baking powder | ¾ teaspoon | |
| Baking soda | ¼ teaspoon | |
| Table salt | ½ teaspoon | |
| Sugar | 1 cup (7 ounces/198 grams) plus 2 tablespoons, divided | |
| Eggs and yolk | 2 large eggs plus 1 large yolk | |
| Milk | ½ cup |

My Secret Chocolate Cake
Hello, my dear. Come sit at the counter. I want to tell you about my favorite chocolate cake. It sounds fancy, but it’s so simple. It uses olive oil instead of butter. I know, it sounds strange! But it makes the cake so moist and rich. My friend Lucia taught me this recipe years ago. We laughed so much that afternoon. I still laugh at that. The kitchen was a wonderful, chocolatey mess.
This cake is not too sweet. It has a deep, grown-up chocolate flavor. But kids love it too. The top gets a little crackly from the sugar sprinkle. Doesn’t that smell amazing? It fills the whole house with warmth. Let me walk you through it. We’ll take it nice and slow. Just like Lucia did for me.
Step 1: First, get your oven ready. Heat it to 350 degrees. Grab your springform pan. Give it a light spray with oil. Then wipe the sides with a paper towel. This little trick stops the cake from sticking. Now, melt the chocolate and olive oil together. Just microwave it for a minute. Stir it until it’s smooth and glossy.
Step 2: In another bowl, mix your dry stuff. That’s the flour, cocoa, baking powder, soda, and salt. Give it a good whisk. Now, in a big bowl, whisk the sugar, eggs, and extra yolk. Pour in that beautiful chocolate oil. Whisk it all together. Then add the milk. Finally, stir in the flour mixture. Just until it’s smooth.
Step 3: Pour the batter into your prepared pan. Sprinkle the top with those last two tablespoons of sugar. This makes a lovely, crackly crust. (Here’s a hard-learned tip: Hold the pan clip shut! Give the pan one gentle tap on the counter. This gets rid of air bubbles so your cake bakes evenly.)
Step 4: Bake it for 30 to 35 minutes. You’ll know it’s done when a skewer poked in comes out mostly clean. A few crumbs are perfect. It means the cake is still tender. Let the cake cool completely in the pan. This takes patience, about two hours. I know, it’s hard to wait!
Step 5: Once it’s cool, run a knife around the edge. Then pop the side of the pan off. Slice it into wedges. It’s so dark and beautiful. What’s your favorite smell from the kitchen? Share below! Now, for the details.
Cook Time: 35 minutes
Total Time: 2 hours 50 minutes (includes cooling)
Yield: One 9-inch cake (8-10 servings)
Category: Dessert, Baking
Three Fun Twists to Try
This cake is wonderful plain. But sometimes, it’s fun to play. Here are three easy ideas. They make it feel brand new.
Orange Zest Joy: Add the zest of one orange to the batter. It brightens the deep chocolate so nicely.
Sea Salt Sparkle: Sprinkle a tiny bit of flaky sea salt on top with the sugar. Sweet and salty is magic.
Berry Surprise: Serve each slice with a handful of fresh raspberries. Their tart pop is just perfect.
Which one would you try first? Comment below!
Serving It Up Sweet
This cake is a star all by itself. But a little extra touch makes it special. For a simple treat, just dust it with powdered sugar. For something fancier, add a dollop of whipped cream. A scoop of vanilla ice cream melting on a warm slice is heaven. I love that.
What to drink with it? For the grown-ups, a small glass of ruby port wine is lovely. It tastes like berries and spice. For everyone, a cold glass of milk is the classic choice. Or try a sparkling raspberry lemonade. Which would you choose tonight?

Keeping Your Chocolate Cake Happy
This cake is best at room temperature. Wrap leftovers tightly. It stays yummy for three days. You can freeze it for a month, too. Wrap slices in plastic, then foil.
Thaw it on the counter for a few hours. I once froze a whole cake for my grandson’s visit. It tasted just-baked when he arrived. That’s the magic of a good recipe.
Storing food well saves money and time. It means a sweet treat is always ready. Have you ever tried storing cake this way? Share below!
Simple Fixes for Common Cake Troubles
Is your cake sticking to the pan? Wipe the oiled pan with a paper towel. This leaves a thin, perfect layer. I remember a cake that stuck once. It became a delicious “trifle” dessert instead!
Is the top cracked? That is actually just fine. It is a sign of a moist cake. The sugar on top makes a lovely crust. Is the center not baking through? Your oven might run cool. Use an oven thermometer to check.
Knowing these fixes builds your kitchen confidence. A small change can make your food taste its best. Which of these problems have you run into before?
Your Cake Questions, Answered
Q: Can I make this gluten-free? A: Yes. Use a good gluten-free flour blend. I like the ones with xanthan gum already in them.
Q: Can I make it ahead? A: Absolutely. Bake it a day before you need it. The flavors get even better overnight.
Q: What if I don’t have bittersweet chocolate? A: Use semi-sweet chocolate chips. The cake will be a little sweeter, but still wonderful.
Q: Can I double the recipe? A: For two cakes, yes. Mix each batch separately for the best results.
Q: Any special tip? A: Use good olive oil. It gives the cake a special, rich flavor. *Fun fact: Olive oil makes cakes very moist!* Which tip will you try first?
From My Kitchen to Yours
I hope you love making this cake. It is a simple joy to share. Food is a way to show people you care. I think that matters most of all.
Thank you for letting me share my kitchen with you. I would love to hear about your baking adventure. Have you tried this recipe? Tell me about your experience in the comments.
Happy cooking!
—Grace Ellington.
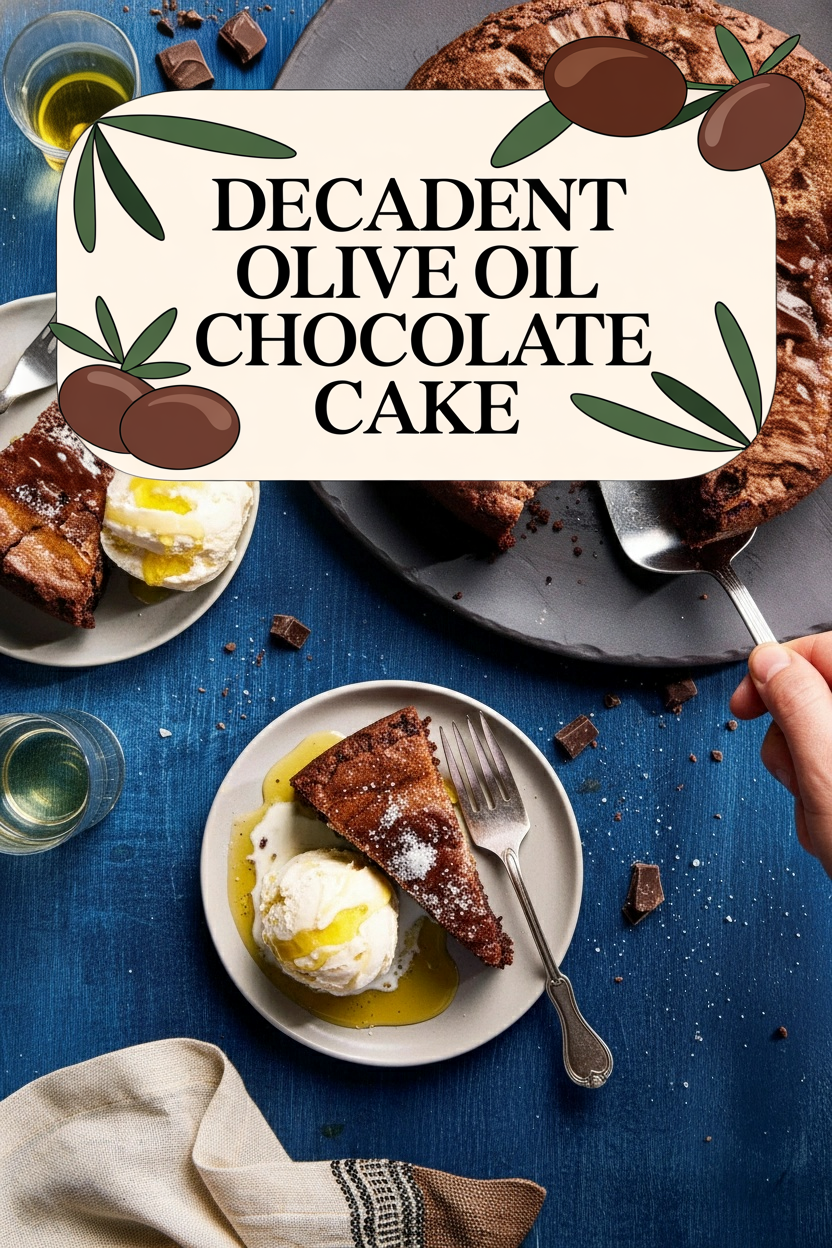
Decadent Olive Oil Chocolate Cake
Description
A rich and moist chocolate cake with a sophisticated depth of flavor from extra-virgin olive oil.
Ingredients
Instructions
- Adjust oven rack to middle position and heat oven to 350 degrees. Lightly spray bottom and sides of 9-inch springform pan with vegetable oil spray. Using paper towel, wipe sides of pan, leaving only thin film of oil. Combine olive oil and chocolate in bowl and microwave until chocolate is melted, about 1 minute. Stir until combined. Whisk flour, cocoa, baking powder, baking soda, and salt together in medium bowl.
- Whisk 1 cup sugar, eggs, and yolk in large bowl until combined. Whisk in olive oil mixture until fully incorporated. Whisk in milk until incorporated. Whisk in flour mixture until smooth. Transfer batter to prepared pan; sprinkle remaining 2 tablespoons sugar over surface. Secure pan clip with your hand to prevent pan from opening and rap pan gently on counter to dislodge surface air bubbles. Bake until skewer inserted diagonally into crack and aimed toward center of cake comes out with few crumbs attached, 30 to 35 minutes.
- Transfer pan to wire rack and let cake cool completely, about 2 hours. Run knife around edge of cake to loosen. Remove side of pan. Cut cake into wedges and serve. (Leftover cake can be wrapped and stored at room temperature for up to 3 days.)
Notes
- For best results, use a high-quality extra-virgin olive oil and Dutch-processed cocoa powder. The cake is very moist and will keep well at room temperature.

