My Favorite Summer Treat
I think of these bars every July. That’s when wild raspberries grow by my old fence. I would pick them with my grandkids.
We’d come inside with purple fingers. The kitchen smelled like sweet fruit and warm butter. I still laugh at that messy, happy time. It’s why this recipe matters to me. It’s not just food. It’s a memory you can taste.
Why The Crumb Is Key
Let’s talk about that buttery layer. It’s both the base and the topping. You mix it all in one bowl. That’s my kind of simple cooking.
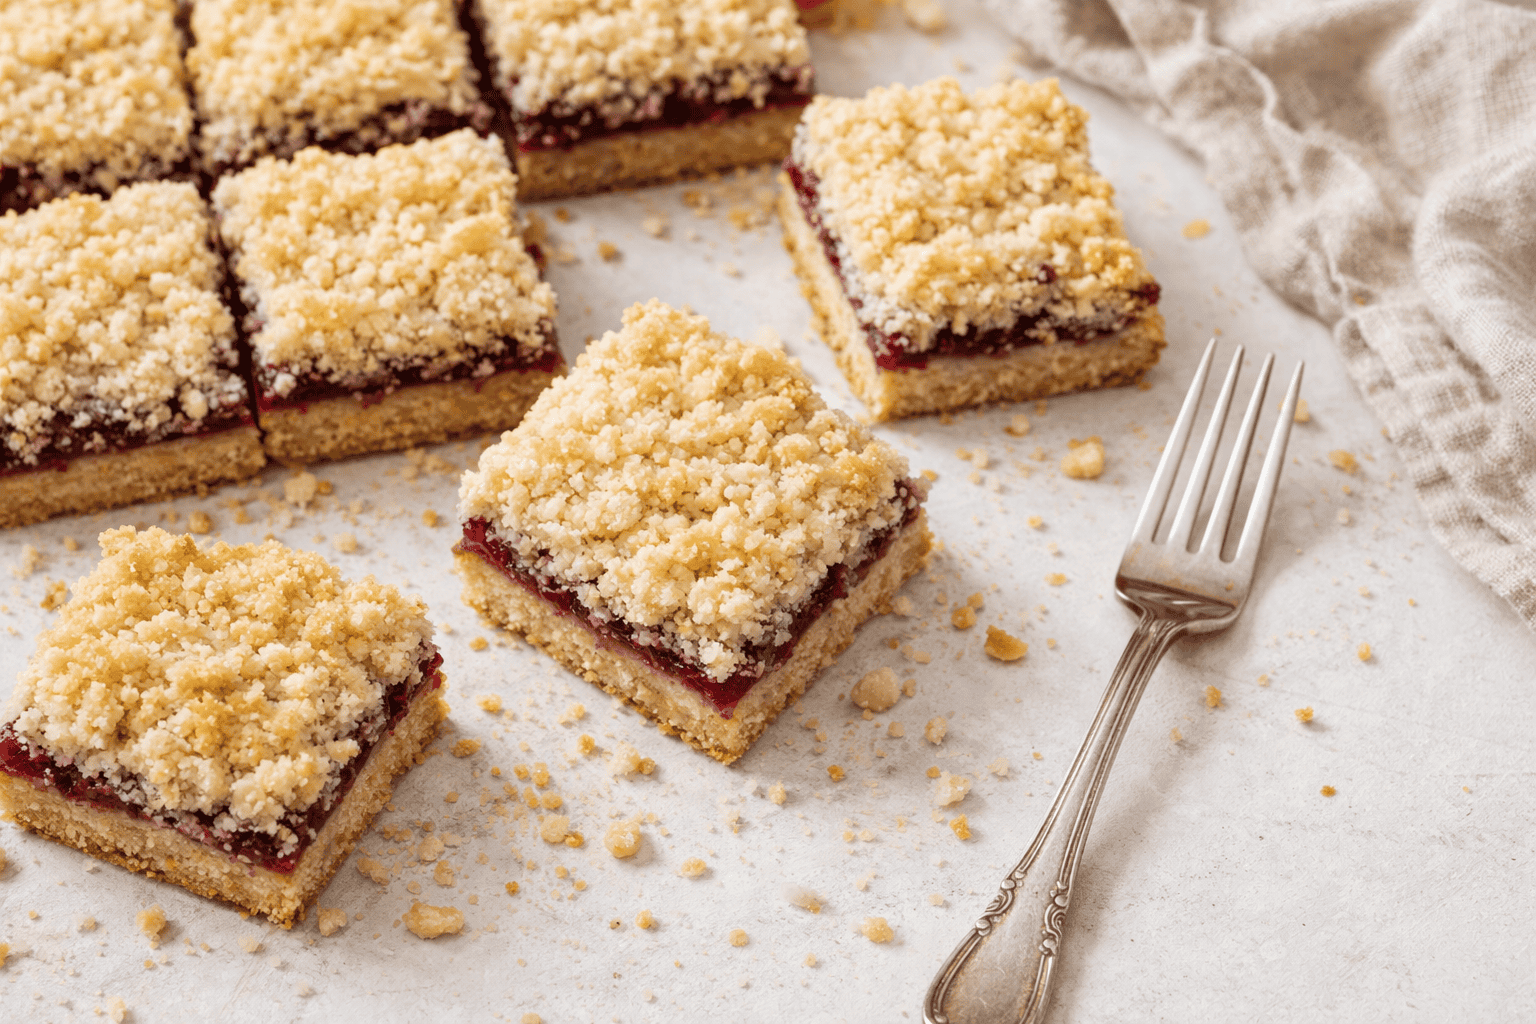
You press most of the crumbs into the pan. The rest gets sprinkled on top. This creates a wonderful surprise. You get a soft middle and a crunchy top. Doesn’t that sound amazing? What’s your favorite part of a crumb bar? Is it the crust, the filling, or the topping?
A Little Helper From The Foil
Now, lining the pan with foil seems like an extra step. But trust your kitchen grandma here. It is a lifesaver. I learned this after a sticky disaster years ago.
The whole block lifts out so easily. Then you can cut perfect little squares. This matters because you want to share beauty, not a crumbled mess. *Fun fact: This trick works for any super-sticky bar cookie, like lemon bars or date squares.*
The Heart of the Bar
That layer of raspberry preserves is the heart. Use a good, fruity one. When it heats up, it bubbles around the edges. That’s how you know it’s ready.
The smell fills your whole house. It smells like a hug. Have you ever tried making your own jam? It’s a fun weekend project.
Patience is a Secret Ingredient
Here is the hardest part. You must let the pan cool completely. I know, it’s so tempting to cut in. But if you wait, you get clean squares.
The flavors also settle and get friendlier. This waiting matters. It teaches us that good things take time. What kitchen smell makes you the most impatient while you wait?
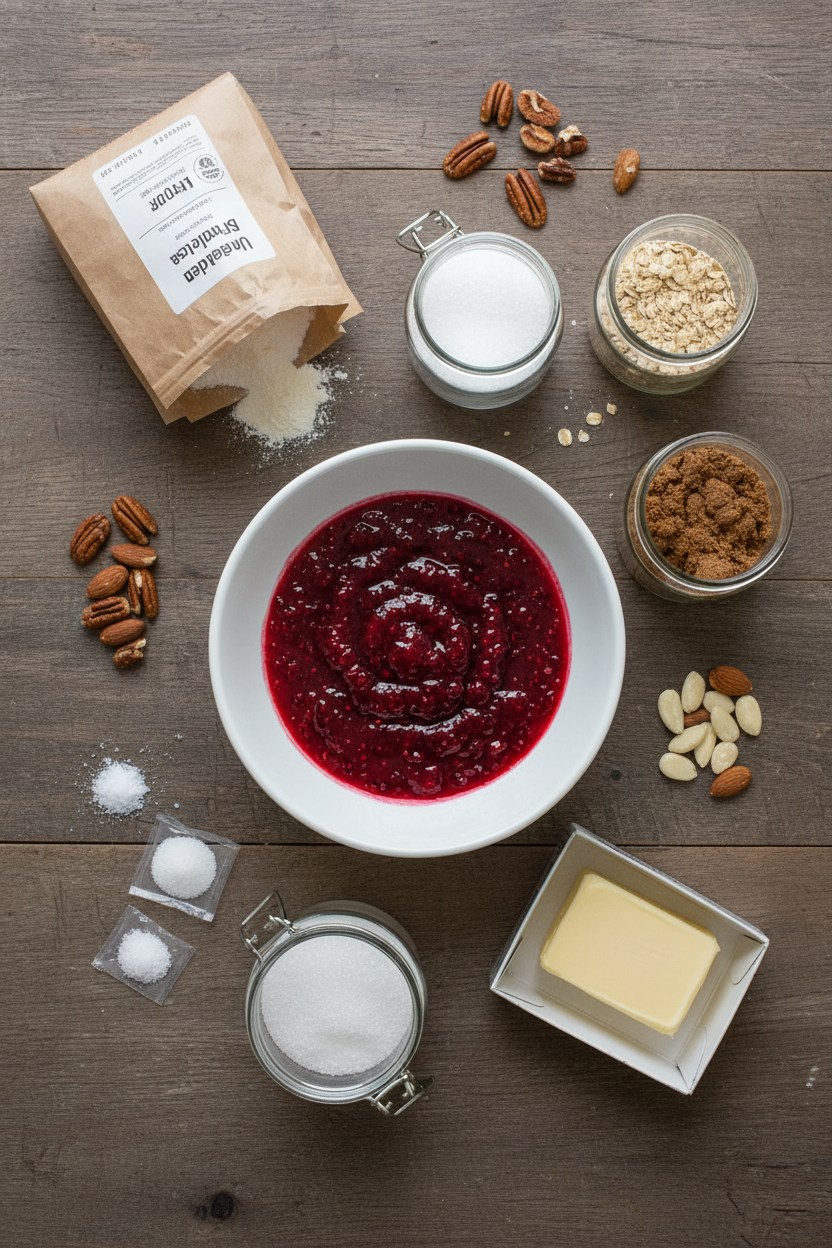
Ingredients:
| Ingredient | Amount | Notes |
|---|---|---|
| Unbleached all-purpose flour | 1 ½ cups (7.5 oz / 213g) | |
| Quick-cooking oats | 1 ¼ cups | |
| Granulated sugar | ⅓ cup (2.3 oz / 65g) | |
| Light brown sugar | ⅓ cup | Packed |
| Table salt | ¼ teaspoon | |
| Baking soda | ¼ teaspoon | |
| Pecans or almonds | ½ cup | Finely chopped; can use a combination |
| Unsalted butter | 12 tbsp (1 ½ sticks) | Cut into pieces, softened but still cool |
| Raspberry preserves | 1 cup |
Buttery Raspberry Crumb Bars: A Sweet Little Hug
Hello, my dear. Come sit at the counter. I want to tell you about these raspberry squares. They are my favorite thing to bake for a friend. The kitchen smells like warm berries and toasted nuts. Doesn’t that sound lovely? The recipe is simple, like a good hug. It has a buttery crust, sweet jam, and a crumbly top. I first made these for my book club years ago. They were gone before the first chapter was discussed! I still laugh at that.
Let’s gather our things. You’ll need a square pan and some foil. Lining the pan is our secret trick. It makes everything so easy to lift out later. (My hard-learned tip: spray the foil well so nothing sticks!). Now, let’s make some magic together.
Step 1: First, turn your oven to 350 degrees. Grab your baking pan. We will line it with foil strips. This makes a sling for our squares. Think of it like a little bed for the crust. Spray the foil lightly. This keeps everything from sticking. It’s a simple step that saves so much fuss later.
Step 2: Now, let’s make the crumb mix. Add flour, oats, both sugars, baking soda, salt, and nuts to a bowl. Mix them until they are friends. Then, add the cool butter pieces. Mix until it looks like wet sand. I love this part. It smells so good already. Can you guess which nut I always use? Pecans or almonds? Share below!
Step 3: Press two-thirds of the crumbs into the pan. Use your fingers to make it even. Bake this for about 20 minutes. It will start to smell toasty. When it comes out, spread the raspberry jam over the hot crust. The warmth makes it spread like a dream. Then, sprinkle the rest of the crumbs on top.
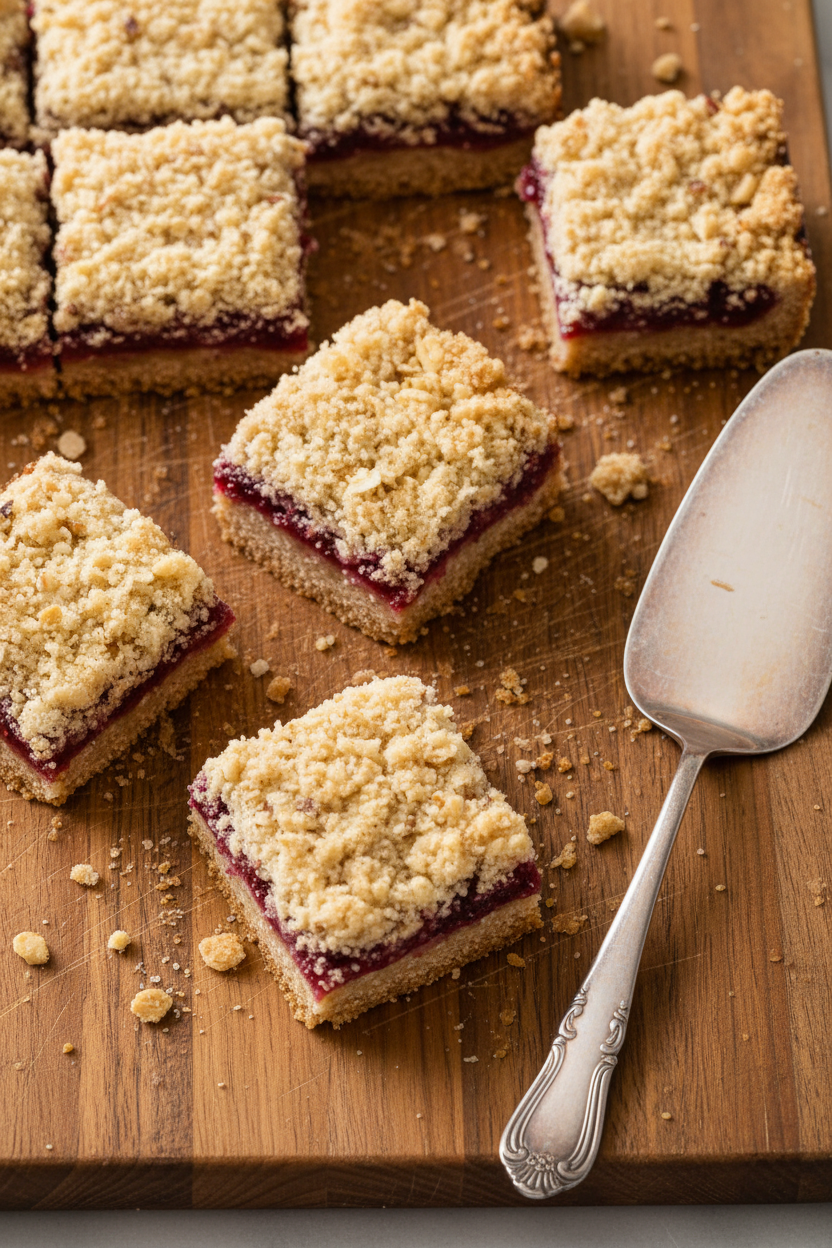
Step 4: Bake it again for about 30 minutes. The jam will bubble at the edges. The top will turn a perfect golden brown. Let it cool completely on a rack. This is the hardest part—waiting! But it helps the squares hold their shape. Then, just lift the whole block out with the foil. So neat and easy.
Step 5: Time to cut! I like to trim the very edges off first. It makes every square look so pretty. Then, cut into little bars. Each one is a perfect bite of buttery, fruity joy. I always sneak the first trimmed edge piece. It’s the baker’s treat.
Cook Time: About 50 minutes
Total Time: About 2 hours 20 minutes (with cooling)
Yield: Makes 25 squares
Category: Dessert, Baking
Three Sweet Twists to Try
This recipe is like a favorite sweater. You can dress it up in so many ways! Here are three fun ideas. Berry Swap: Use blackberry or apricot preserves instead of raspberry. Chocolate Chip Joy: Stir a handful of mini chocolate chips into the crumb topping. Lemon Zest Sparkle: Add a teaspoon of lemon zest to the crust mix for a bright, sunny flavor. Which one would you try first? Comment below!
Serving Them Up with Style
These bars are wonderful all on their own. But for a special touch, try this. Serve them on a pretty plate with a dusting of powdered sugar. A small scoop of vanilla ice cream turns them into a fancy dessert. For drinks, a cup of Earl Grey tea is my cozy choice. For a festive night, a glass of sparkling rosé is lovely. Which would you choose tonight?
Keeping Your Raspberry Squares Fresh
These bars keep well for three days. Just cover the pan tightly. They can also be frozen for a month. Wrap the whole block in foil first.
Then place it in a freezer bag. Thaw it on the counter when needed. I once sent a frozen batch to my grandson. He said they tasted fresh-baked weeks later.
You can double the recipe easily. Use a 9×13 inch pan instead. Batch cooking saves time for busy weeks. It also means you always have a sweet treat ready. Have you ever tried storing it this way? Share below!
Simple Fixes for Common Hiccups
Is your crumb topping too dry? Your butter might be too cold. Make sure it is softened but still cool. I remember when my first batch was just crumbs. It needed a bit more mixing.
Are the preserves bubbling over? You may have spread them too close to the edge. Leave a tiny border. This keeps the jam from burning on the pan.
Are the bars hard to cut? Let them cool completely first. A warm bar will squish. This matters for pretty squares. It also builds your kitchen confidence. Which of these problems have you run into before?
Your Quick Questions, Answered
Q: Can I make these gluten-free? A: Yes. Use a good gluten-free flour blend. Keep the oats the same.
Q: Can I make them ahead? A: Absolutely. Bake them a day before you need them. They taste even better.
Q: What other jam works? A: Any thick preserve is lovely. My neighbor uses apricot. It is delicious.
Q: Can I double the recipe? A: Yes. Use a bigger 9×13 inch pan. Bake it a few minutes longer.
Q: Any optional tips? A: A pinch of cinnamon in the crumb mix is nice. *Fun fact: Raspberries are not true berries!* Which tip will you try first?
From My Kitchen to Yours
I hope you love making these buttery bars. They always make my kitchen smell like happiness. I would love to hear about your baking adventure.
Tell me about your favorite jam or nut mix. Sharing stories is the best part of food. Have you tried this recipe? Give experience on Comment.
Happy cooking!
—Grace Ellington.
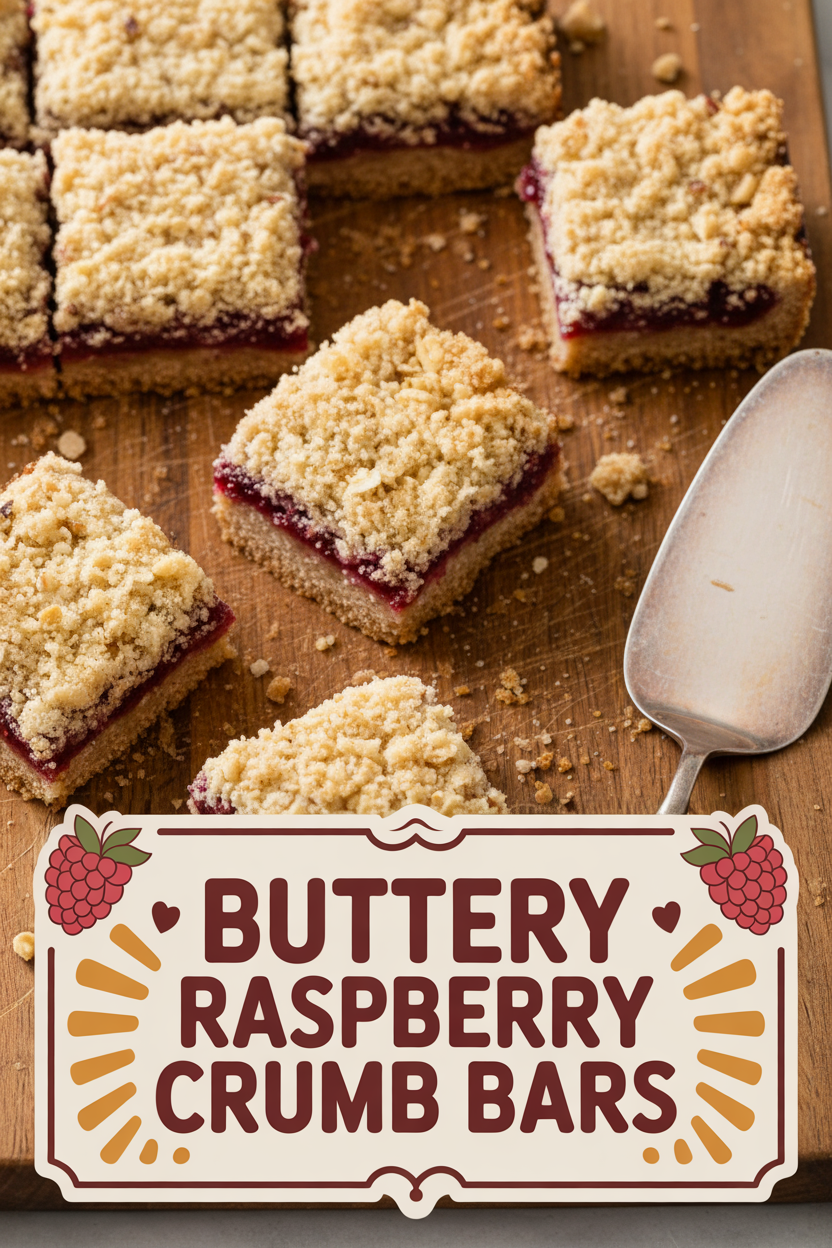
Buttery Raspberry Crumb Bars
Description
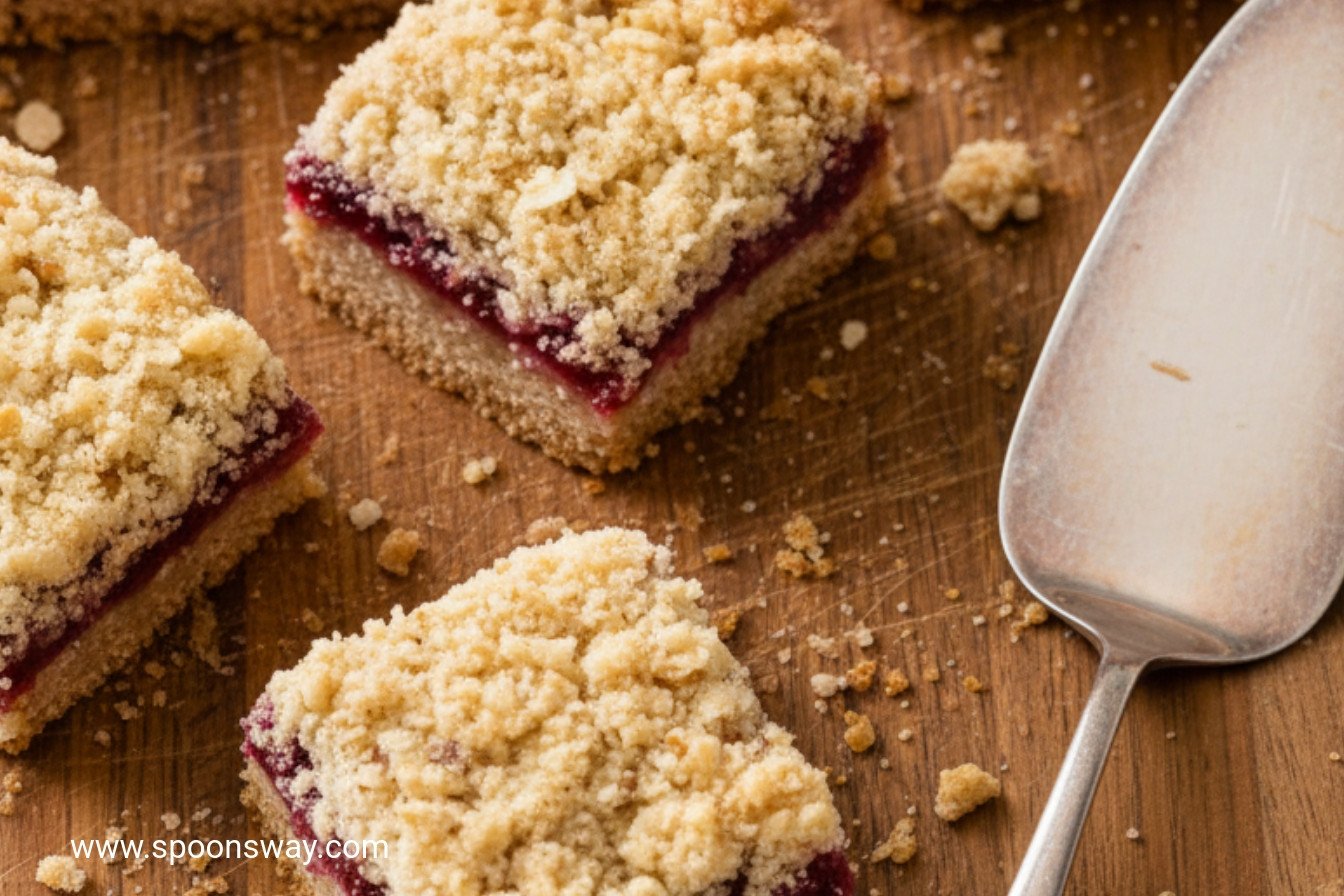
These delicious Buttery Raspberry Crumb Bars feature a buttery oat and nut crust, a layer of sweet raspberry preserves, and a crumbly topping.
Ingredients
Instructions
- Adjust oven rack to lower-middle position and heat oven to 350 degrees. Spray a 9-inch-square baking pan with nonstick cooking spray. Fold two 16-inch pieces of foil lengthwise to measure 8 inches wide. Fit one sheet in the bottom of the greased pan, pushing it into corners and up sides of pan (overhang will help in removal of baked squares). Fit the second sheet in the pan in the same manner, perpendicular to the first sheet. Spray foil with nonstick cooking spray.
- In the bowl of a standing mixer, mix flour, oats, sugars, baking soda, salt, and nuts at low speed until combined, about 30 seconds. With mixer running at low speed, add butter pieces; continue to beat until mixture is well-blended and resembles wet sand, about 2 minutes.
- Transfer 2/3 of the mixture to the prepared pan and use your hands to press crumbs evenly into the bottom. Bake until starting to brown, about 20 minutes. Using a rubber spatula, spread preserves evenly over the hot bottom crust; sprinkle the remaining oat/nut mixture evenly over preserves. Bake until preserves bubble around edges and top is golden brown, about 30 minutes, rotating pan from front to back halfway through baking time. Cool on a wire rack to room temperature, about 1½ hours, then remove from pan using foil handles. Cut into 1¼- to 1½-inch squares and serve.
Notes
- Lining the pan with foil makes removal of the squares for cutting very easy (just lift out the entire block and place it on a cutting board to cut). For a nice presentation, trim 1/4 inch off the outer rim of the uncut baked block. The outside edges of all cut squares will then be neat.

