The Secret is in the Salt
Let’s talk about the first step. You rub salt under the skin. This might seem strange. But it is the most important part. The salt seasons the meat deep down. It also helps the turkey stay juicy.
I learned this from my friend Marie years ago. Her turkey was always so good. She whispered her salt secret to me. I still laugh at that. Now I whisper it to you. This matters because flavor should be in every bite, not just on the skin.
A Very Cold Surprise
Next comes the ice. You rest the turkey on bags of ice for an hour. This chills the breast meat. The cold slows down its cooking. The legs and thighs cook a bit faster.
Why does this matter? Well, the white meat and dark meat finish at the same time. No more dry breast! The legs will be perfectly done too. *Fun fact: This ice trick is like giving the turkey a little spa treatment before the oven.
The Roasting Ritual
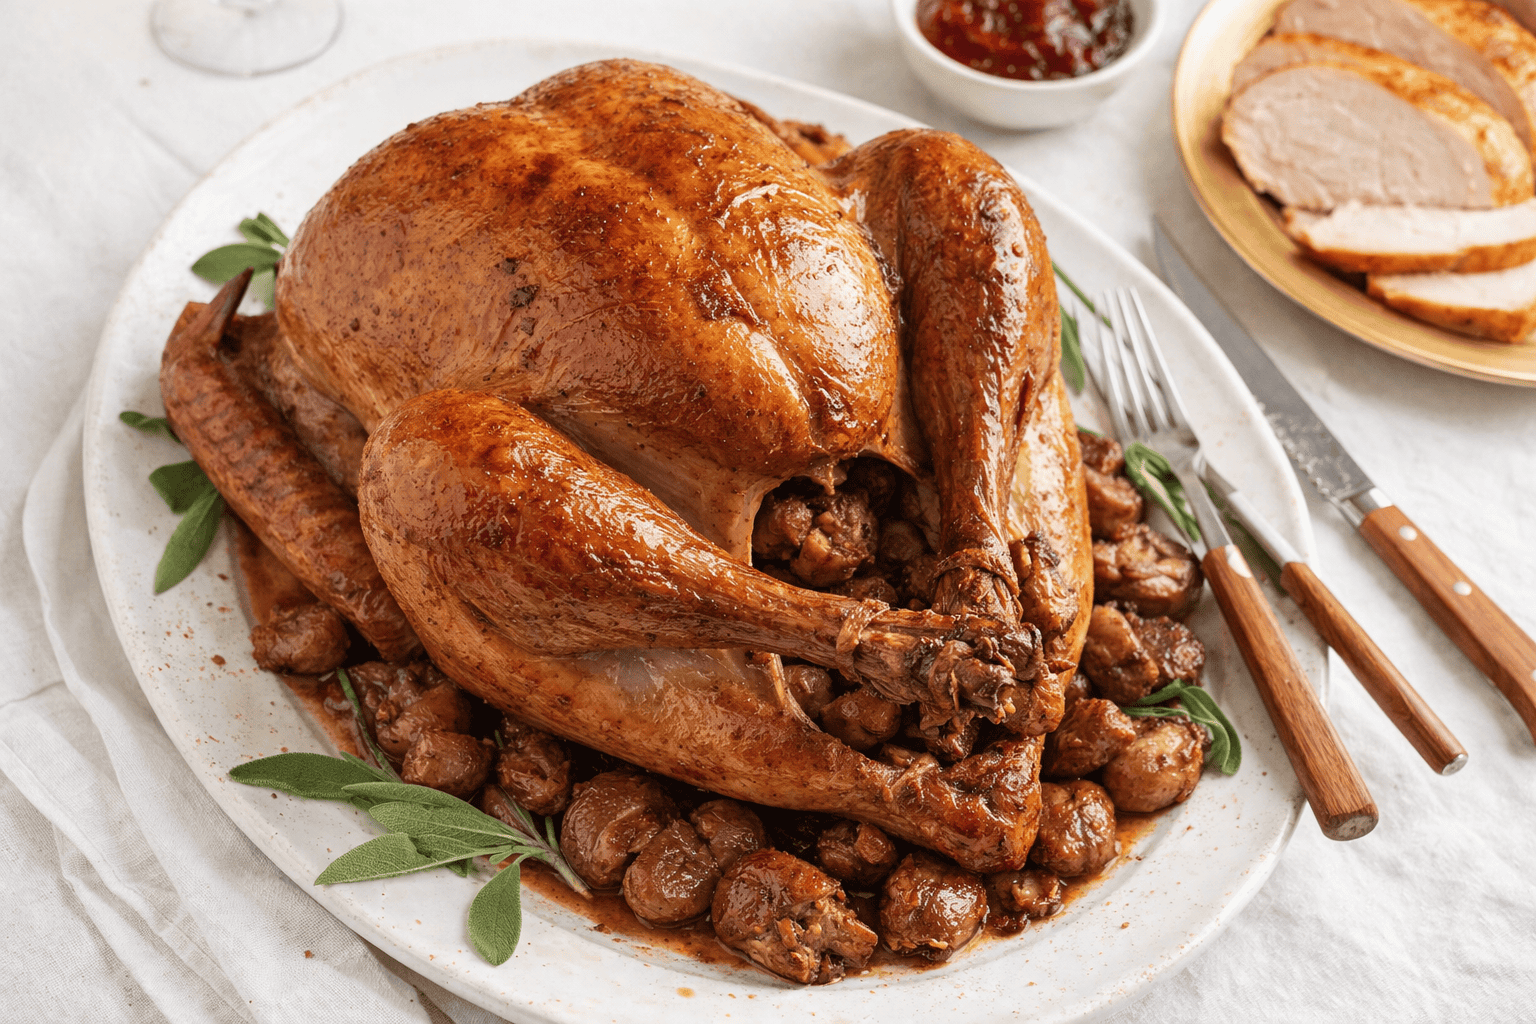
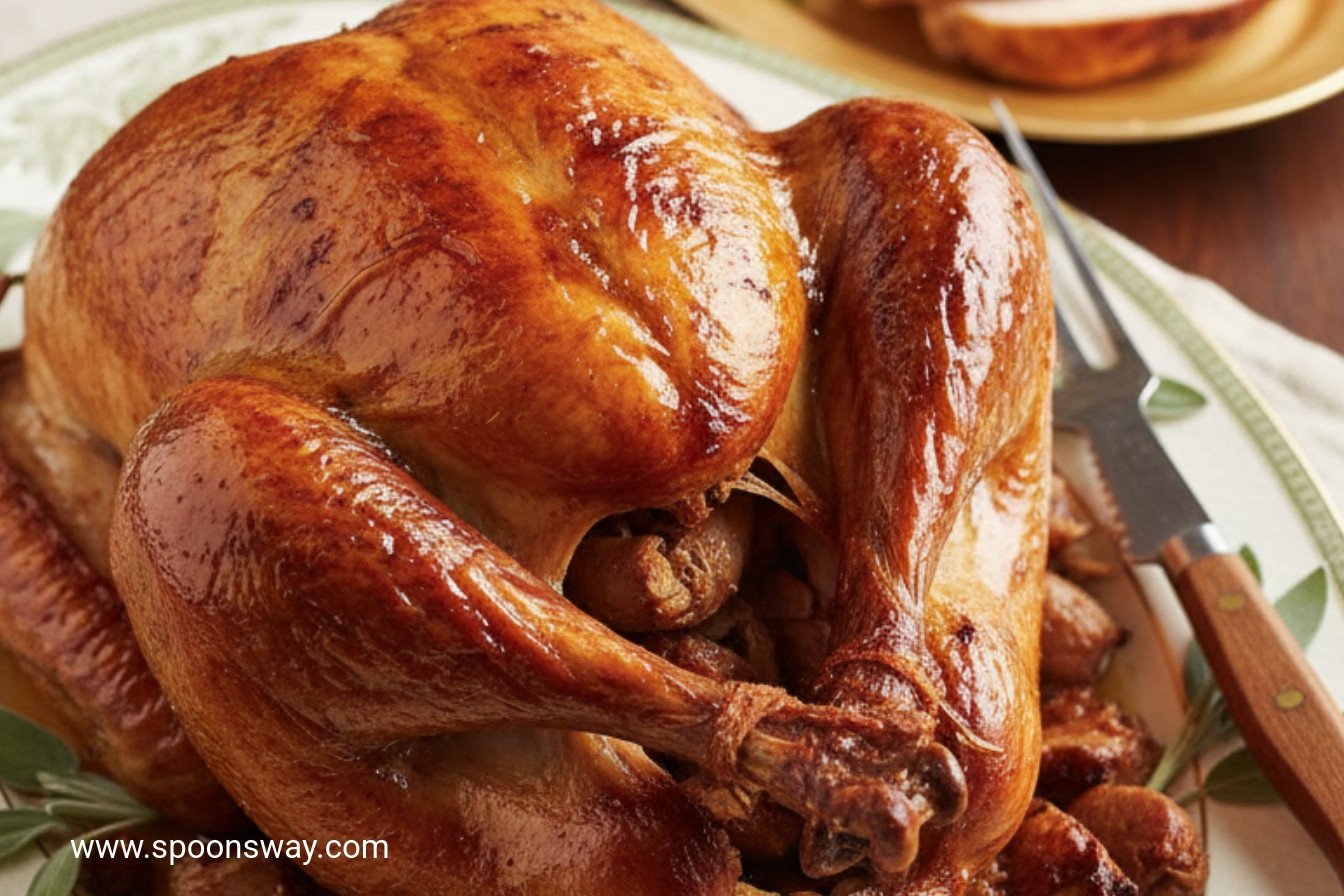
Now, into the hot oven it goes. Start it breast-side down. This lets the back and legs get a head start. Your kitchen will start to smell amazing. That smell is the best part of the day.
After an hour, you flip it. This takes two people and clean towels. My grandson helps me every year. We always giggle during the big flip. Then the breast gets its turn to turn golden and beautiful.
Patience Makes Perfect
When the turkey is done, you must wait. Let it rest for a full thirty minutes. I know, it’s hard to wait! But this is crucial. The juices settle back into the meat.
If you carve it too soon, all the good juice runs onto the board. Then the meat is dry. Trust me on this. Use this time to finish your gravy. What side dish are you most excited to make this year?
Your Turn at the Table
This recipe is about more than food. It is about caring for your guests. It shows you took the time. That feeling is what a holiday feast is all about.
Do you have a special family trick for your holiday bird? I would love to hear it. And tell me, what is the first piece you go for on the platter? The crispy skin or the tender breast? Now, go make some wonderful memories. Your table is waiting.
Ingredients:
| Ingredient | Amount | Notes |
|---|---|---|
| Turkey | 15 to 18 pounds | Giblets and neck reserved for gravy |
| Kosher salt | 7 tablespoons | Use Diamond Crystal. See full recipe for Morton’s adjustments. Do not use on kosher or self-basting turkeys. |
| Ice cubes | 5 pound bag | For chilling the turkey before roasting |
| Unsalted butter | 4 tablespoons, melted | For brushing the turkey |

My Secret for the Juiciest Holiday Turkey
Hello, my dear. Come sit at the table. Let’s talk turkey. A big, beautiful bird can feel scary. I used to worry it would be dry. Then I learned a little secret. Salt and time are your best friends. This method is my favorite. It makes every bite so tender and flavorful. Doesn’t that sound wonderful?
We start a day or two before the feast. The magic happens in the fridge. You gently lift the skin. You rub salt right on the meat. This seasons it deep down. (My hard-learned tip: go slow with the skin. It tears so easily, like tissue paper!) Then we let it rest. The salt works its magic quietly. I always think it’s like the turkey is taking a long, flavorful nap.
On the big day, we use a funny trick. Ice! We chill just the breast before roasting. This helps the dark and white meat finish cooking together. No more dry breast meat. It’s a clever little trick, isn’t it? What’s your biggest turkey-cooking worry? Share below!
- Step 1: Carefully separate the skin from the meat. Use your fingers. Rub salt inside the cavity and under the skin. Wrap the turkey tightly. Let it rest in your fridge for one to two days. I always do this on a Tuesday for Thursday.
- Step 2: Rinse the turkey and pat it very dry. Fill bags with ice. Place the turkey breast-down on the ice bags. Put small bags of ice inside it too. Let it sit for one hour on the counter. This part always makes me smile. It looks so silly.
- Step 3: Heat your oven to 425 degrees. Prepare your roasting rack with foil. Poke lots of little holes in the foil. This lets the fat drip away. I still laugh at the sound of poking foil.
- Step 4: Dry the turkey again. Tuck the legs and wings. Brush it all over with melted butter. Place it breast-side DOWN on your rack. Roast it like this for the first hour. The back gets so golden and crisp.
- Step 5: Take the turkey out. Turn your oven down to 325. Now, carefully flip the turkey breast-side UP. This is a two-person job. I always call for my grandson. Roast until your thermometer says it’s done. Let it rest for a full 30 minutes. This wait is the hardest part. Doesn’t that smell amazing?
Cook Time: 2.5–3.5 hours
Total Time: 24–48 hours (plus 4–5 hours active)
Yield: A feast for a crowd
Category: Holiday, Dinner
Three Fun Twists on a Classic
This recipe is a perfect base. But you can play with flavors too. Here are three ideas I love. They make the turkey feel new again.
- Herb Garden Butter: Mix your melted butter with chopped rosemary, sage, and thyme. Brush it on. Your kitchen will smell like a summer garden.
- Maple & Black Pepper Glaze: In the last 30 minutes, brush the turkey with real maple syrup. Add a big grind of black pepper. It gets sweet and sticky.
- Citrus & Garlic: Tuck lemon and orange slices under the skin with the salt. Add whole garlic cloves too. It makes the meat so bright and fragrant.
Which one would you try first? Comment below!
Setting Your Holiday Table
Now, what to serve with your masterpiece? I love classic sides. Creamy mashed potatoes are a must. They’re perfect for gravy. A tart cranberry sauce adds a bright pop. For something green, try roasted Brussels sprouts with bacon. So good.
For drinks, I like choices. For the grown-ups, a glass of chilled Chardonnay pairs nicely. It’s light and crisp. For everyone, sparkling apple cider is my go-to. It feels so festive in a fancy glass. Pour it just before you sit down.
When you carve, let everyone see the beautiful bird first. Then take it to the kitchen to slice. Use a very sharp knife. Pile the slices on a warm platter. Which would you choose tonight, the wine or the sparkling cider?

Keeping Your Turkey Tasty for Days
Let’s talk about leftovers. They are the best part. First, let the turkey cool completely. Then carve the meat off the bones. Store the meat in shallow containers. This helps it cool fast and stay safe.
It will keep in the fridge for three to four days. For longer storage, freeze it. I pack meat in meal-sized bags. This is a great batch-cook trick. You can pull out just what you need for soup or sandwiches.
My first big turkey taught me a lesson. I put the whole bird in the fridge. It took forever to cool. Now I carve it first. Storing food properly matters. It keeps your family safe and saves your wonderful work.
To reheat, add a splash of broth to the meat. Warm it gently in the oven. This keeps it moist and delicious. Have you ever tried storing it this way? Share below!
Turkey Troubles? Easy Fixes Right Here
Is your turkey skin not crispy? The bird might be too wet. Pat it very dry with paper towels before roasting. I remember my aunt’s turkey once steamed instead of roasted. We learned the importance of a dry bird.
Is the breast done before the legs? Try the ice trick in the recipe. It slows the breast’s cooking. This matters because every part gets perfectly done. No one gets dry white meat.
Is the gravy too pale? Use those reserved giblets and neck. Simmer them for a rich, golden broth. This builds deep flavor. Good gravy makes the whole meal sing. Which of these problems have you run into before?
Your Turkey Questions, Answered
Q: Is this recipe gluten-free? A: Yes, it is. Just check your butter label to be sure.
Q: Can I make any parts ahead? A: Absolutely. The salting step is done 1 to 2 days early. This saves you time on the big day.
Q: I don’t have kosher salt. What can I use? A: Please use kosher salt. Table salt is too fine. It will make the turkey too salty. *Fun fact: Kosher salt has bigger flakes. They spread seasoning evenly.*
Q: I’m feeding a smaller group. Can I scale it? A: Yes. Just get a smaller turkey. Use the same method but less salt and shorter time.
Q: Any optional tips for more flavor? A: Add herbs like thyme under the skin with the salt. It adds a lovely fragrance. Which tip will you try first?
From My Kitchen to Yours
I hope this guide helps you. A holiday turkey is a labor of love. Do not let it worry you. Each step is simple when taken slowly.
I would love to hear about your feast. Tell me about your family’s traditions. Sharing stories is how we all learn. Have you tried this recipe? Share your experience in the comments.
Happy cooking!
—Grace Ellington
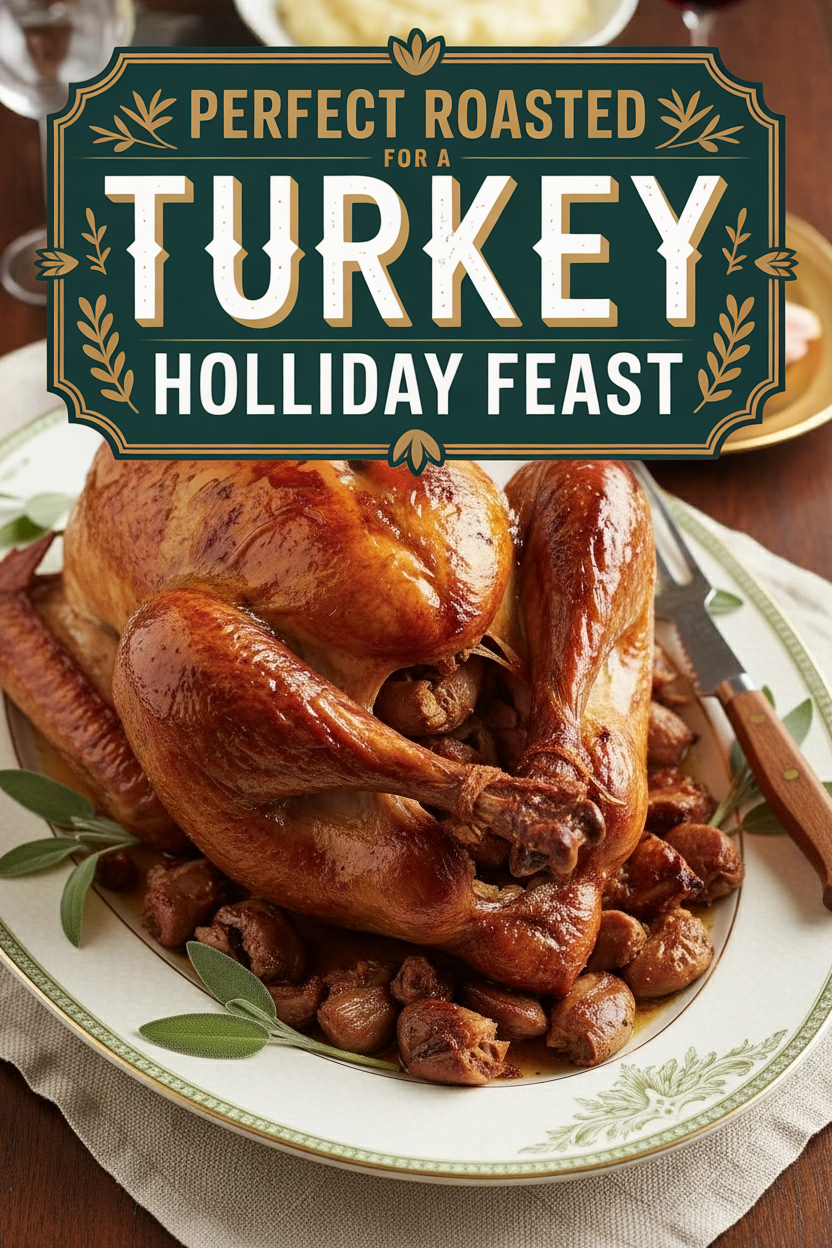
Perfect Roasted Turkey for a Holiday Feast
Description
A perfectly seasoned and roasted turkey, brined for juiciness and crisped to golden perfection, ideal for your holiday table.
Ingredients
Instructions
- Carefully separate turkey skin from meat on breast, legs, thighs, and back; avoid breaking skin. Rub 3 tablespoons salt evenly inside cavity of turkey, 1 1/2 tablespoons salt under skin of each breast half, and 1 1/2 teaspoons salt under skin of each leg. Wrap turkey tightly with plastic wrap; refrigerate 24 to 48 hours.
- Remove turkey from refrigerator. Rinse off excess salt between meat and skin and in cavity, then pat dry inside and out with paper towels. Add ice to two 1-gallon zipper-lock bags until each is half full. Place bags in large roasting pan and lay turkey breast side down on top of ice. Add ice to two 1-quart zipper-lock bags until each is one-third full; place one bag ice in cavity of turkey and other bag in neck cavity. (Make sure that ice touches breast only, not thighs or legs.) Keep turkey on ice for 1 hour (roasting pan should remain on counter).
- Meanwhile, adjust oven rack to lowest position and heat oven to 425 degrees. Line large V-rack with heavy-duty foil and use paring knife or skewer to poke 20 to 30 holes in foil.
- Remove turkey from ice and pat dry with paper towels (discard ice). Tuck tips of drumsticks into skin at tail to secure and tuck wingtips behind back. Brush turkey breast with 2 tablespoons butter. Set prepared V-rack in roasting pan; set turkey breast side down on V-rack; brush back and legs with remaining 2 tablespoons butter. Roast for 1 hour.
- Remove roasting pan with turkey from oven (close oven door to retain oven heat); reduce oven temperature to 325 degrees. Using clean potholders or kitchen towels, rotate turkey breast side up; continue to roast until thickest part of breast registers 160 degrees and thickest part of thigh registers 170 to 175 degrees on instant-read thermometer, 1 1/2 to 2 hours longer. Transfer turkey to carving board; let rest 30 minutes. Carve and serve.
Notes
- Nutritional information is referenced in the text with ‘View Nutritional Information,’ but specific nutrition details are not provided in the extracted text.

