The Magic of Waiting
These cookies teach patience. You mix the dough and roll it into logs. Then you must wait. The fridge makes the dough firm. This wait is important.
It lets the flavors get to know each other. I think waiting makes the cookie better. It also means you can bake just a few at a time. Fresh cookies any day of the week. What sweet treat do you like to have ready for later?
A Little Story About Sprinkles
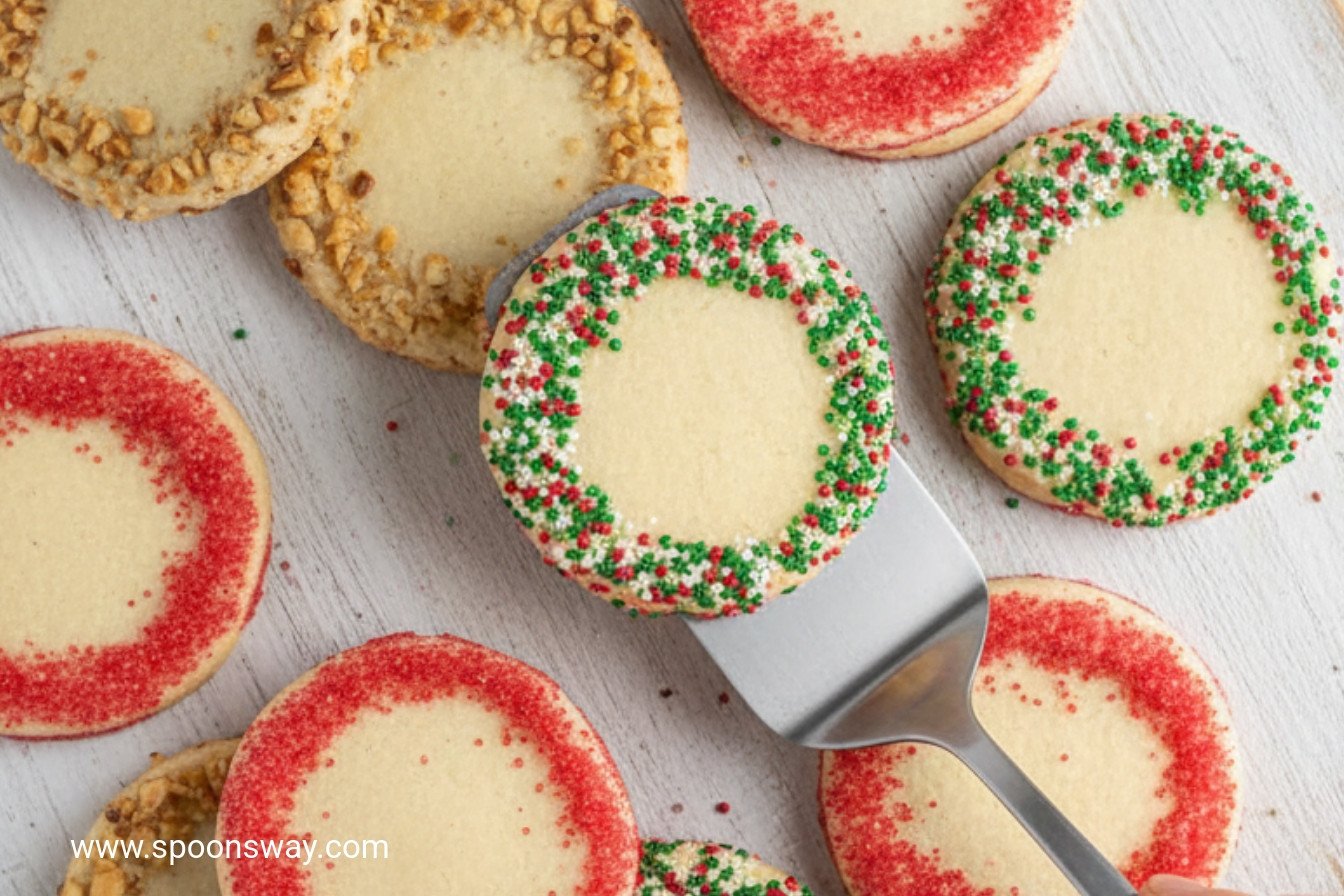
My grandson calls these “confetti cookies.” He loves the roll in sprinkles. One time, we used green and red for Christmas. He got more sprinkles on his shirt than on the log. I still laugh at that.
Rolling the log is fun. The sprinkles stick to the butter in the dough. It makes every slice so pretty. *Fun fact: These are called “icebox” cookies because old-fashioned refrigerators were called iceboxes.* Do you prefer colorful sprinkles or crunchy nuts on your cookies?
Why the Butter Matters
Use softened butter. It should give when you press it. But it should not be oily. This is my little secret. Proper butter makes the dough fluffy.
You beat it with the sugars for a few minutes. This puts tiny air bubbles in the mix. Those bubbles make the cookie tender. It matters because texture is just as important as taste. Doesn’t that smell amazing when it’s mixing?
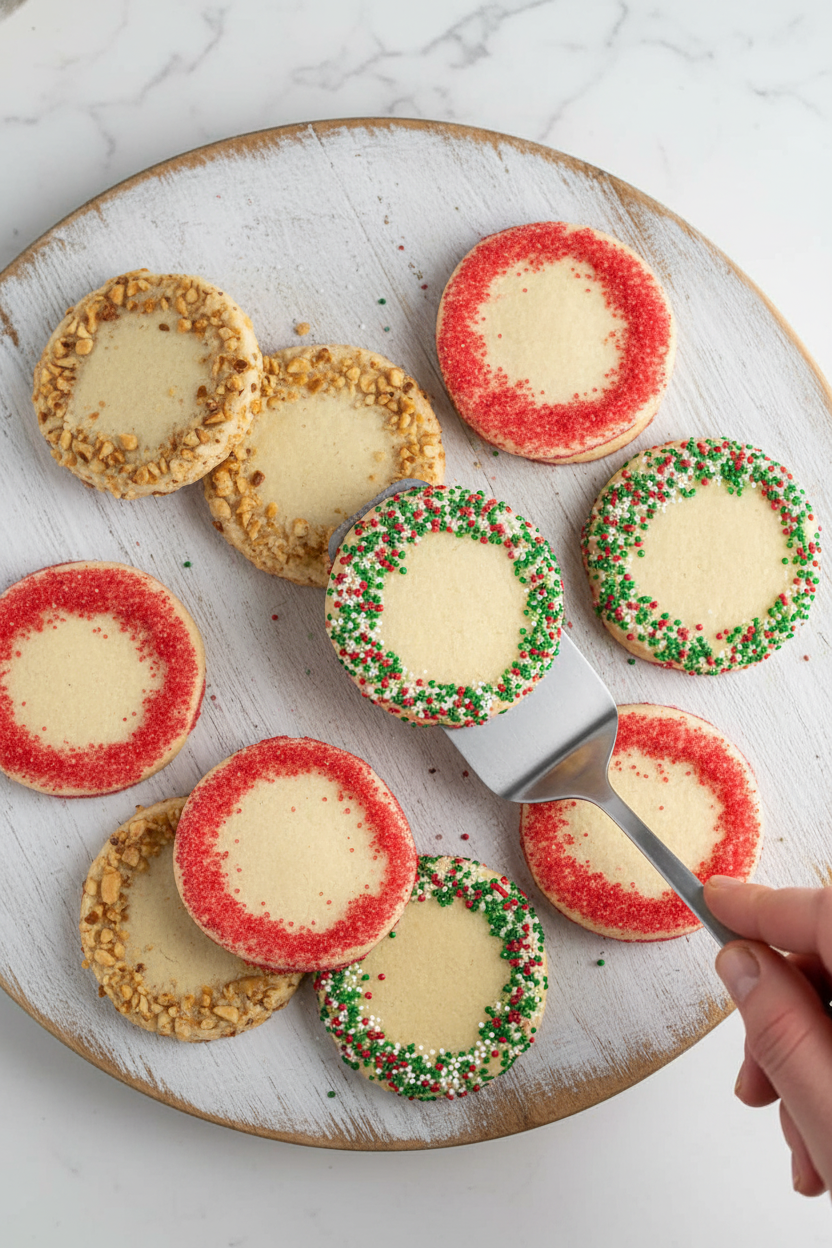
The Simple Joy of Slicing
After the wait, you simply slice. Use a gentle sawing motion. Each round is already perfect from the log. They bake up with pretty edges.
This method is so peaceful. No messy scooping. Every cookie is a twin to the next. It feels good to make something so neat. Have you ever tried slice-and-bake cookies before?
Warm From the Oven
Watch them carefully in the oven. They are done when the edges just blush gold. Let them rest on the sheet for three minutes. This helps them set.
Then move them to a rack. The wait to cool is the hardest part. But a cool cookie has the best crisp texture. This matters because patience rewards you. Share with someone you love. What is your favorite cookie to share?
Ingredients:
| Ingredient | Amount | Notes |
|---|---|---|
| All-purpose flour | 2 ¼ cups (11 ¼ ounces/319 grams) | |
| Salt | ½ teaspoon | |
| Unsalted butter, softened | 16 tablespoons | 2 sticks or 1 cup |
| Granulated sugar | ¾ cup (5 ¼ ounces/149 grams) | |
| Confectioners’ sugar | ½ cup (2 ounces/57 grams) | |
| Large egg yolks | 2 | |
| Vanilla extract | 2 teaspoons | |
| Sprinkles, sanding sugar, or chopped toasted nuts | ½ cup | For coating the logs |

My Favorite Icebox Cookies: A Little Slice of Sunshine
Hello, my dear. Come sit at the counter. Let’s make my vanilla icebox cookies. They are my happy-place recipe. I love how the dough waits patiently in the fridge. It’s like a little secret, ready for a sweet surprise. My grandkids call them “sprinkle coins.” Doesn’t that sound joyful? We’ll slice and bake them today. Your kitchen will smell like a birthday party. I still smile thinking of that.
These cookies are perfect for first-time bakers. The steps are simple and gentle. You just mix, roll, and chill. Then you get to cover them in colorful sprinkles! It’s like painting with sugar. I’ll walk you through it, step-by-step. We’ll share a few kitchen stories along the way. Are you ready? Let’s begin.
Step 1: First, whisk your flour and salt in a bowl. Now, let’s make the dough creamy. Beat the soft butter and both sugars together. Do this for a few minutes until it’s fluffy. It should look like pale sunshine. Then add the egg yolks and vanilla. Beat it all until it’s one happy family. Now, slowly mix in the flour. The dough will be soft and lovely. Divide it in half and shape each into a log. Wrap them tightly in plastic. Into the fridge they go! (A hard-learned tip: Really soften your butter first. Cold butter just won’t cream right. Trust me on this.)
Step 2: Time to heat the oven to 325 degrees. Now for the fun part! Pour your sprinkles onto some parchment paper. Unwrap one of your dough logs. Gently roll it in the sprinkles. Press them in so they stick. You’re giving your log a glittery coat! Line your baking sheets. I always use parchment. It saves so much cleaning later. What color sprinkles did you pick? Share below!
Step 3: Take your coated log. Use a sharp knife to slice it. Make each slice about a quarter-inch thick. Place the rounds on your sheets. They don’t spread much. Bake them for 12 to 15 minutes. Watch for golden edges. Switch the pans halfway through. This helps them bake evenly. Let them cool for a few minutes. Then move them to a rack. Repeat with your second log. Let them cool completely. The wait is the hardest part!
Cook Time: 15 minutes per batch
Total Time: 2 hours 30 minutes (includes chilling)
Yield: About 4 dozen cookies
Category: Dessert, Cookies
Three Sweet Twists to Try
This dough is a wonderful blank canvas. Once you master the classic, try a little twist. It makes baking feel like an adventure. Here are three of my favorite ideas.
Lemon Sunshine: Swap the vanilla for lemon extract. Roll the logs in yellow sanding sugar. So bright and cheerful!
Chocolate Dip: Bake the plain vanilla cookies. Let them cool. Then dip one half in melted chocolate. Let it set. Pure elegance.
Nutty Buddy: Replace the sprinkles with finely chopped toasted pecans. The flavor is warm and cozy. Perfect with tea.
Which one would you try first? Comment below!
Serving Them Up with Style
These cookies are stars on their own. But I love making a moment special. For a pretty plate, stack them in a little tower. Add a few fresh berries on the side. You could also crumble one over a bowl of vanilla ice cream. Doesn’t that sound amazing? It’s a simple sundae.
What to drink? For a cozy afternoon, a glass of cold milk is perfect. It’s the classic partner. For a grown-up treat, I like a little glass of sherry. Its nutty taste dances with the vanilla. Which would you choose tonight?
Keeping Your Cookie Dough Happy
These slice-and-bake cookies are a freezer’s best friend. Wrap the logs tightly in plastic. They keep for three days in the fridge. They last for two months in the freezer. I always make a double batch. It means fresh cookies anytime a friend visits.
I remember my first time. I didn’t wrap the dough well. It picked up funny fridge smells. Now I use two layers of wrap. This keeps the vanilla flavor pure and bright.
Batch cooking like this saves time. It turns a big job into small, easy moments. You can bake just a few cookies at a time. Have you ever tried storing cookie dough this way? Share below!
Simple Fixes for Common Cookie Troubles
Is your dough too crumbly? The butter was probably too cold. Let it soften on the counter first. Your dough will come together smoothly. This matters because it makes rolling the logs easy.
Do your cookies spread too much? Your dough logs were likely too warm. Chill them until they are firm. I once baked warm logs. I got flat, buttery puddles instead of cookies.
Are the sprinkles not sticking? Roll the log in sprinkles right after chilling. The cold, slightly tacky dough holds them best. A good coating makes every bite festive and fun. Which of these problems have you run into before?
Your Cookie Questions, Answered
Q: Can I make these gluten-free? A: Yes. Use a good gluten-free flour blend. Add 1/4 teaspoon xanthan gum if your blend lacks it.
Q: How far ahead can I make the dough? A: You can make it up to 3 days ahead. Or freeze the logs for 2 months.
Q: What can I use instead of sprinkles? A: Try sanding sugar or finely chopped nuts. A little cinnamon sugar is lovely too.
Q: Can I double the recipe? A: Absolutely. Just mix in two separate batches for best results.
Q: Any secret for extra flavor? A: Add a pinch of almond extract with the vanilla. *Fun fact: Vanilla comes from orchids!* Which tip will you try first?
From My Kitchen to Yours
I hope you love making these cookies. They remind me of my own grandma. She always had a log in her icebox. Sharing food is sharing love.
I would love to hear your stories. Tell me about your baking adventures. Have you tried this recipe? Give your experience in the comments. Your notes help all of us learn.
Happy cooking!
—Grace Ellington.
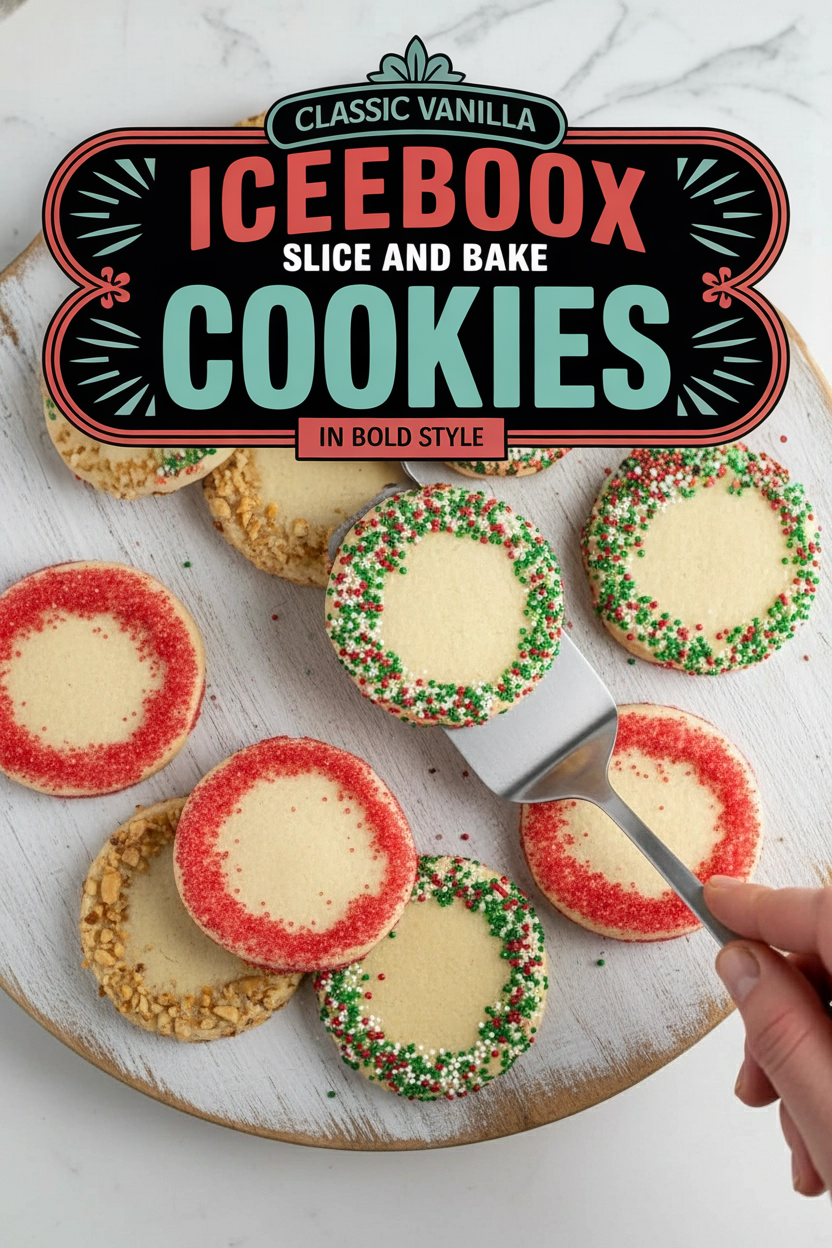
Classic Vanilla Icebox Slice and Bake Cookies
Description
Classic, buttery vanilla cookies rolled in colorful sprinkles, perfect for slicing and baking anytime.
Ingredients
Instructions
- Whisk flour and salt together in medium bowl. Using stand mixer fitted with paddle, beat butter, granulated sugar, and confectioners’ sugar on medium-high speed until fluffy, 3 to 6 minutes. Add egg yolks and vanilla and beat until combined. Reduce speed to low, slowly add flour mixture, and mix until combined.
- Divide dough in half, roll each half into 6-inch log, wrap logs tightly in plastic wrap, and refrigerate for at least 2 hours or up to 3 days.
- Adjust oven racks to upper-middle and lower-middle positions and heat oven to 325 degrees. Spread sprinkles on parchment paper–lined rimmed baking sheet. Roll logs in sprinkles to evenly coat exterior. Line 2 baking sheets with parchment.
- Slice 1 log into ¼-inch-thick rounds; space rounds evenly on prepared sheets. Bake until edges begin to brown, 12 to 15 minutes, switching and rotating sheets halfway through baking. Let cookies cool on sheets for 3 minutes, then transfer to wire rack. Repeat with remaining log. Let cool completely before serving.
Notes
- Dough can be frozen for up to 1 month; thaw in refrigerator before slicing and baking.

