
The Heart of the Kitchen
My kitchen is my favorite room. It is full of good smells and warm memories. I learned to bake at my own grandma’s table. She taught me that food is about sharing love.
These garlic herb butter rolls are pure sharing food. They fill your home with a cozy smell. That smell says someone cares. Doesn’t that smell amazing? That is why this matters. Food connects us.
A Little Story About Butter
Let me tell you a funny story. I once made these rolls for a neighbor. I used salted butter by mistake. The rolls were a bit too salty. My neighbor still ate three! I still laugh at that.
The recipe uses unsalted butter. This lets you control the salt. It makes the garlic and parsley flavors shine. Trust me on this one. It makes all the difference.
Let’s Talk About the Dough
Dough can feel tricky. But do not worry. The mixer does most of the work. Letting the dough rest for 15 minutes is key. This is called autolyse.
*Fun fact: Autolyse is a fancy word for letting flour and water become friends.* It makes the dough smoother. Your rolls will be soft and pull apart easily. Have you ever tried baking with yeast before?
The Magic Swirl Inside
The best part is the garlic-herb butter. You make it while the rolls bake. Cook the garlic just until you smell it. Do not let it turn brown.
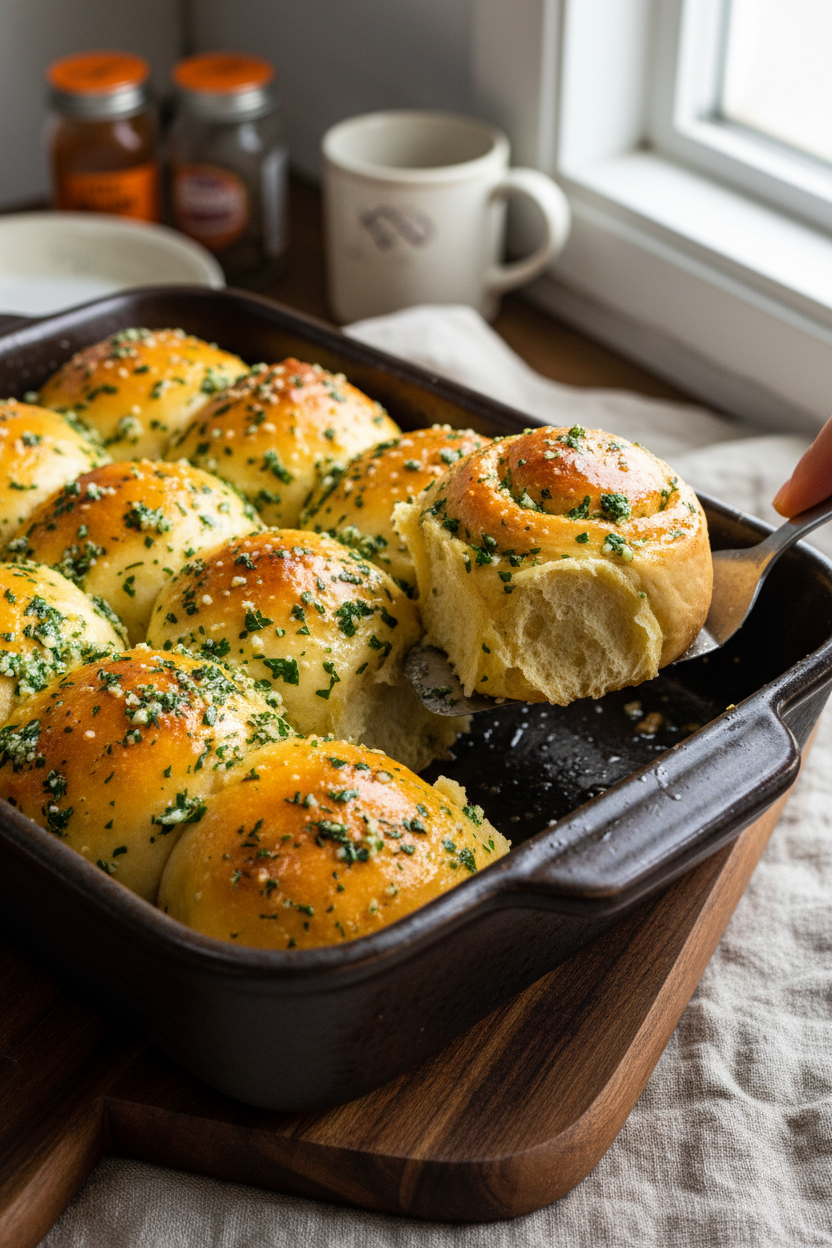
Brushing it on the warm rolls is magic. The rolls drink it right up. This is why they are so flavorful and moist. This step matters. It turns good rolls into great ones.
Make It Your Own
You can make these rolls ahead. Shape the dough balls the night before. Just pop them in the fridge. The next day, let them warm up a bit. Then bake them fresh.
This is perfect for a holiday morning. What is your favorite meal to share with family? You can also change the herbs. Try chives or a little rosemary. What herb would you try?
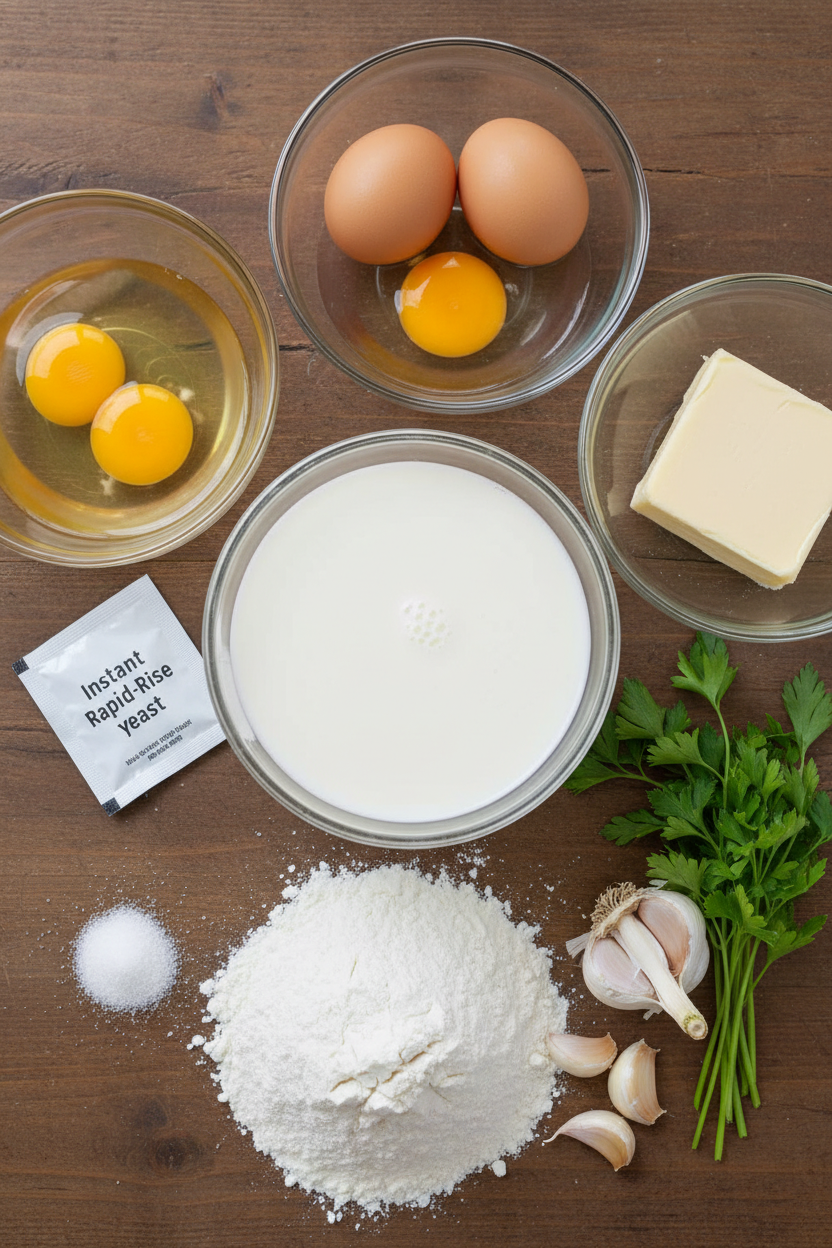
Ingredients:
| Ingredient | Amount | Notes |
|---|---|---|
| Whole milk | ¾ cup | For the dough |
| Unsalted butter, melted | 4 tablespoons | For the dough |
| Unsalted butter, softened | 1 tablespoon | For greasing the baking dish |
| Large eggs | 2 | Divided use in dough and egg wash |
| All-purpose flour | 2 ¼ cups (11¼ oz / 319g) | For the dough |
| Instant or rapid-rise yeast | 2¼ teaspoons | For the dough |
| Sugar | 2 tablespoons | For the dough |
| Table salt | 1 teaspoon + 1 pinch | Divided use in dough and egg wash |
| Unsalted butter | 4 tablespoons | For the garlic-herb butter |
| Garlic cloves, minced | 3 | For the garlic-herb butter |
| Table salt | ¼ teaspoon | For the garlic-herb butter |
| Fresh parsley, minced | 1 tablespoon | For the garlic-herb butter |
My Garlic Butter Swirls: A Little Cloud of Heaven
Hello, my dear. Come sit. Let’s talk about my favorite rolls. They are soft, buttery clouds. Each one is swirled with garlic and herbs. I make them every Sunday. The smell fills my whole house. It reminds me of my own grandma’s kitchen. Doesn’t that smell amazing? Making bread is like a little magic show. You mix simple things. Then you wait. It grows! It’s so satisfying. I still laugh at the first time I tried. My rolls were like little rocks. But we learn. Today, I’ll share my easy way. You can do this.
First, we make the dough. It’s a cozy process. You’ll need your mixer. Step 1: Whisk the milk, melted butter, and one egg together. Add your flour and yeast. Mix it until it just comes together. Then, walk away. Let the dough rest for 15 minutes. This is its little nap. I use this time to wash a dish or two. Step 2: Now, add the sugar and salt. Knead with the mixer for 8 to 12 minutes. The dough will get smooth and sticky. (A hard-learned tip: Don’t add more flour! Sticky dough makes the softest rolls.) Put it in a greased bowl. Cover it and let it rise for an hour. It will get big and puffy.
Now, the fun part—shaping! Step 3: Butter your baking dish well. Turn the dough onto your counter. Divide it into 12 pieces. Roll each piece into a smooth ball with your hand. It’s like playing with edible clay. Place them in the dish in rows. Cover them again. Let them rise until they’re all touching. They look like little pillows. Step 4: Heat your oven. Beat your last egg with a pinch of salt. Brush this gently over your rolls. This gives them a gorgeous, shiny top. Ready for the oven? What do you think the egg wash does? Share below!
Step 5: Bake them for about 20 minutes. They will turn a deep, golden brown. Your kitchen will smell incredible. While they bake, make the garlic butter. Step 6: Melt butter in a pan. Add minced garlic and salt. Cook just until you smell it. Too long, and the garlic gets bitter. Stir in fresh parsley. Step 7: When the rolls come out, let them cool for 15 minutes. Then, brush every bit of that garlic-herb butter all over them. Let it soak in for 5 minutes. Then, pull them apart. Serve them warm. The butter will drip. That’s the best part.
Cook Time: About 2 hours (mostly waiting!)
Total Time: 2 hours 30 minutes
Yield: 12 dreamy rolls
Category: Bread, Side Dish
Three Fun Twists to Try
Once you master the basic recipe, play a little! Here are my favorite twists. Cheesy Pull-Apart: Sprinkle a handful of shredded cheddar between the dough balls before the second rise. Everything Bagel Style: Brush with the egg wash, then sprinkle with everything bagel seasoning before baking. Sun-Dried Tomato & Basil: Swap the parsley for fresh basil and add chopped sun-dried tomatoes to the butter. So simple, but so special. Which one would you try first? Comment below!
Serving Them Up Right
These rolls are the star of any table. Tear them apart for a big family soup night. I love them with a creamy tomato soup. For a fancy dinner, serve one on each plate next to roasted chicken. The buttery juices from the chicken are perfect for dipping. For drinks, a cold glass of lemonade is lovely. For the grown-ups, a crisp chardonnay pairs beautifully. It cuts through the rich butter. Which would you choose tonight?
Keeping Your Rolls Fresh and Warm
Let’s talk about keeping these rolls lovely. First, let them cool completely. Then store them in an airtight container. They will stay soft for two days at room temperature.
You can freeze them for later, too. Wrap each roll tightly in plastic wrap. Then pop them all into a freezer bag. They will keep for one month. I once froze a whole batch for my grandson’s surprise visit. He was so happy!
To reheat, wrap rolls in foil. Warm them in a 300-degree oven for 10 minutes. This brings back that just-baked feel. Batch cooking matters because it saves time. A warm homemade roll is always a gift, even on busy days.
Have you ever tried storing rolls this way? Share below!
Simple Fixes for Common Roll Troubles
Sometimes our baking needs a little help. If your dough won’t rise, check your yeast. Make sure your milk isn’t too hot. Warm milk should feel cozy on your wrist.
Sticky dough is very common. I remember when my dough stuck to everything! Just add a little more flour, one spoon at a time. Your hands need to be lightly floured, too.
If rolls brown too fast, tent them with foil. This stops the tops from burning. Fixing small issues builds your cooking confidence. It also makes sure every bite tastes perfect.
Which of these problems have you run into before?
Your Quick Questions, Answered
Q: Can I make these gluten-free? A: Try a 1-to-1 gluten-free flour blend. The texture will be a bit different but still tasty.
Q: Can I really make them ahead? A: Yes! Follow the “to make ahead” note. Your future self will thank you.
Q: What if I don’t have fresh parsley? A: Use 1 teaspoon dried parsley. Or try another soft herb like chives.
Q: Can I double the recipe? A: You can. Just use two baking dishes. Do not crowd them into one.
Q: Any optional tips? A: Add a pinch of grated parmesan to the herb butter. Fun fact: Garlic is actually a member of the lily family!
Which tip will you try first?
From My Kitchen to Yours
I hope you love making these swirl rolls. The smell of garlic and herbs baking is pure joy. It reminds me of Sunday dinners with my whole family.
I would love to hear about your baking adventure. Tell me what your family thought of them. Your stories are my favorite thing to read.
Have you tried this recipe? Share your experience in the comments.
Happy cooking!
—Grace Ellington
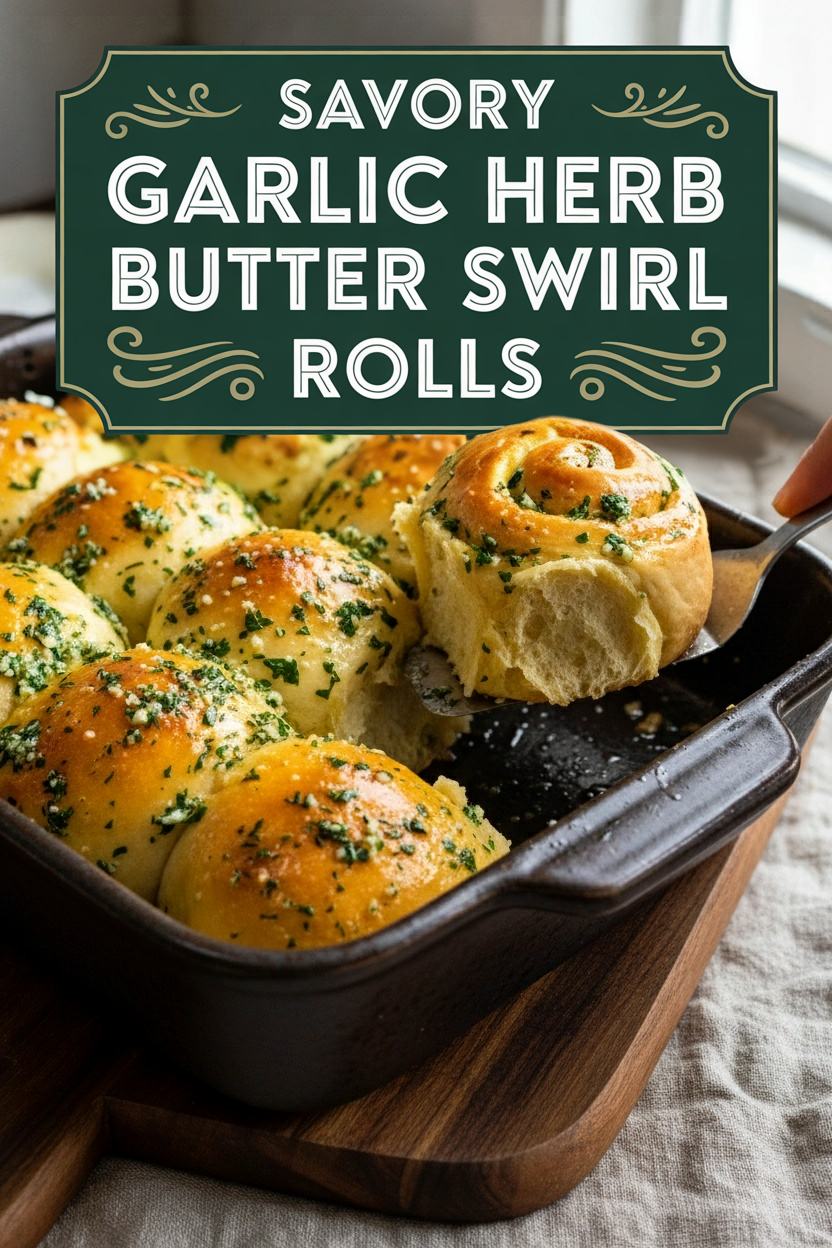
Savory Garlic Herb Butter Swirl Rolls
Description
Soft, fluffy rolls swirled with a rich and aromatic garlic-herb butter, perfect for any meal.
Ingredients
Dough:
Garlic–Herb Butter:
Instructions
- Whisk milk, melted butter, and 1 egg together in bowl of stand mixer. Add flour and yeast. Fit mixer with dough hook and mix on medium speed until dough comes together and no dry flour remains, about 2 minutes, scraping down dough hook and bowl as needed. Turn off mixer, cover bowl with dish towel or plastic wrap, and let dough stand for 15 minutes.
- Add sugar and 1 teaspoon salt and knead dough on medium speed until incorporated, about 30 seconds. Increase speed to medium-high and continue to knead until dough begins to pull away from sides and bottom of bowl (dough will be sticky), 8 to 12 minutes longer. Transfer dough to greased large bowl. Cover tightly with plastic and let rise at room temperature until doubled in size, about 1 hour.
- Grease 13 by 9-inch baking dish with softened butter. Turn out dough onto clean counter and divide into 12 equal portions (about 1¾ ounces or 50 grams each). Working with 1 dough portion at a time, cup dough with your palm and roll against counter into smooth, tight ball.
- Place dough balls in prepared dish in 3 rows of four. Cover tightly with plastic and let rise at room temperature until doubled in size, about 30 minutes.
- Adjust oven rack to middle position and heat oven to 350 degrees. Beat remaining egg with remaining pinch salt. Brush tops of rolls evenly with egg mixture (you may have some left over). Bake until rolls are deep golden brown and register 200 to 205 degrees in center, about 20 minutes.
- Meanwhile, melt butter in small saucepan over medium heat. Add garlic and salt and cook until just fragrant, about 1 minute. Off heat, stir in parsley.
- Remove dish from oven and let rolls cool in dish for 15 minutes. Brush tops and sides of warm rolls with garlic-herb butter (use all of it). Let rolls sit for 5 minutes. Serve warm.
Notes
- TO MAKE AHEAD: Before second rise in step 4, cover dough balls with plastic wrap and refrigerate for up to 24 hours. Let dough balls sit at room temperature for 30 minutes before proceeding with step 5.

