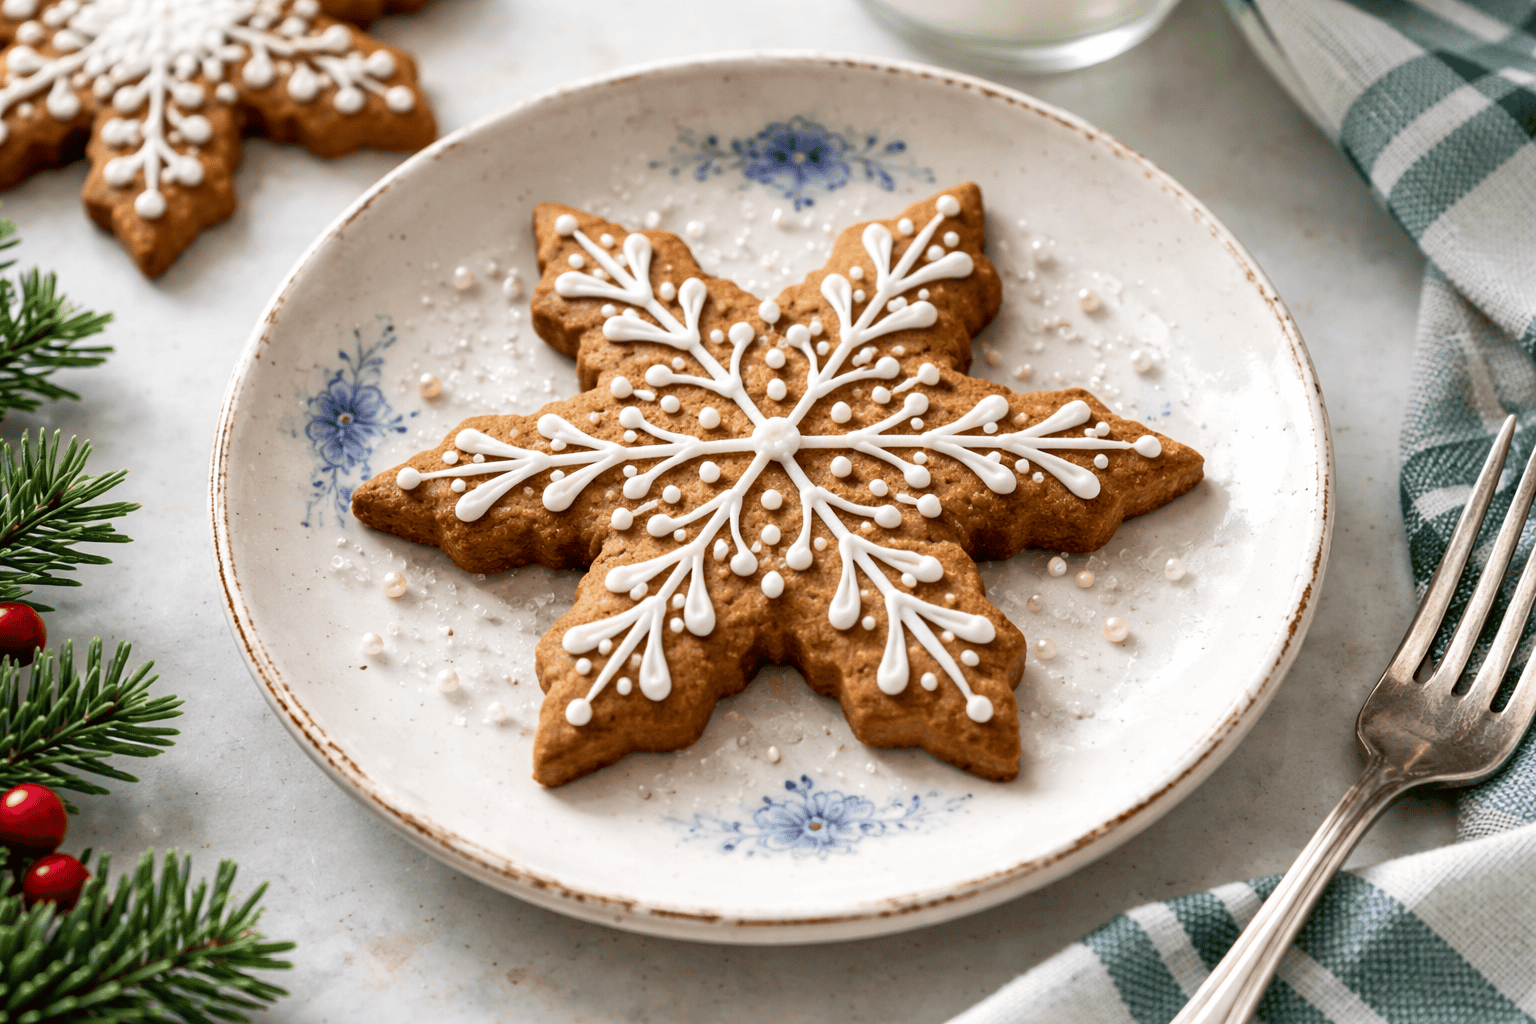
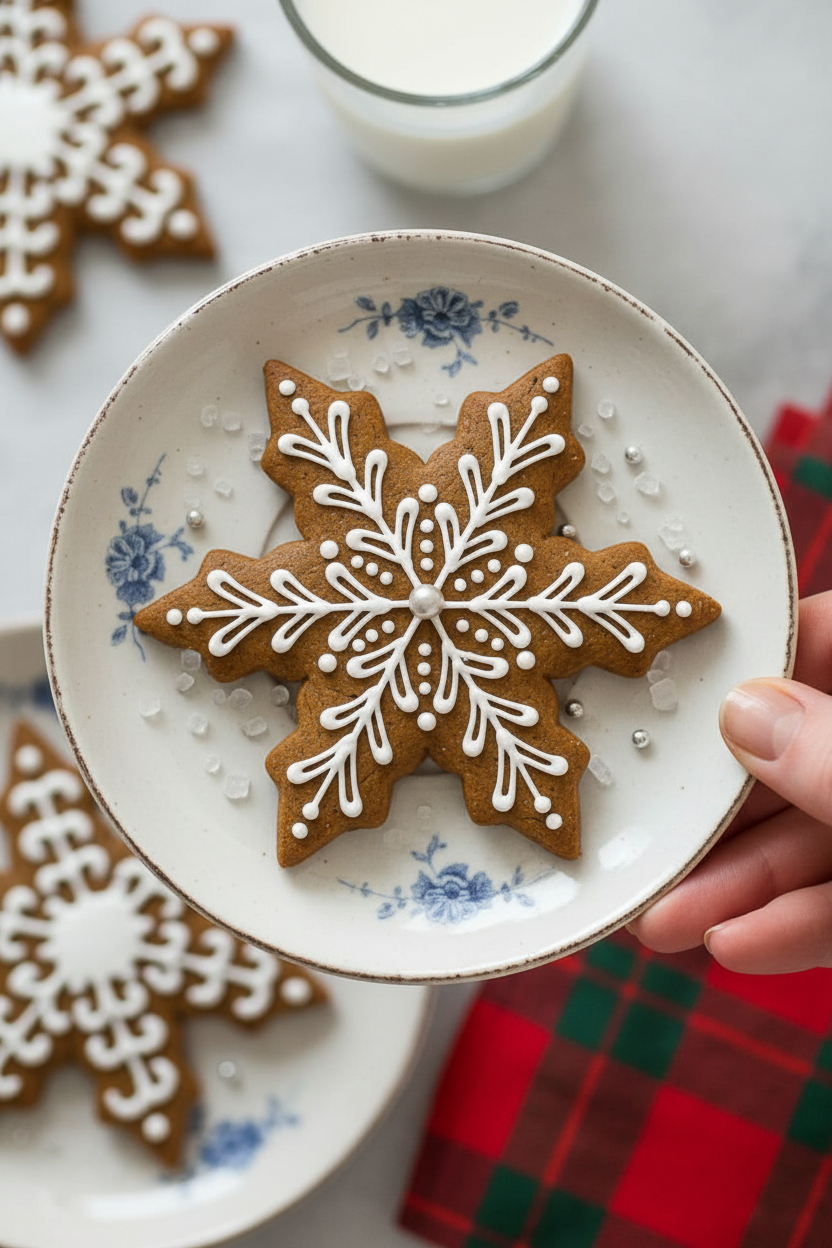
My First Icing Disaster
Let me tell you about my first try at icing. I was so excited. I mixed the sugar and milk. But I added too much milk. My icing was a runny, drippy mess. It looked like soup! I still laugh at that.
I learned a big lesson that day. Start with just a little bit of milk. You can always add more. But you can’t take it out. This matters because good icing should be smooth and soft. It should hold its shape on your cookie.
Why Simple Icing is the Best
This recipe is just sugar and milk. That’s it. It is a blank page for your art. You can make it any color. You can make it taste like anything. Doesn’t that sound fun?
This simple start matters. It lets the cookie taste shine. The icing is just a sweet, pretty hug on top. *Fun fact: This kind of icing is sometimes called “glace icing.” It dries to a soft, matte finish.
Getting the Feel Just Right
The trick is in your spoon. Stir your icing with a fork or whisk. Lift it up. The icing should drizzle off slowly. It should make a thick ribbon. If it’s too thick, add a tiny drop of milk.
If it’s too thin, add a pinch more sugar. Think of it like pancake batter. You want it just pourable, not runny. What’s your biggest kitchen mess? I love hearing your stories.
Playing with Flavors and Colors
This is my favorite part. Add two drops of vanilla for a classic taste. Or try a drop of almond. It tastes like sweet cherries. Peppermint is wonderful for winter.
A tiny bit of food coloring makes it special. Just a drop will do. Stir it in well. What flavor would you try first? Would you make it pink, blue, or sunny yellow?
The Joy of Making it Pretty
You don’t need fancy tools. A spoon works fine. Drizzle icing back and forth. Or dip the whole cookie top in. Use a knife to smooth it. The shine fades as it dries. That’s okay.
It leaves a soft, beautiful coat. Let them dry on the counter. The waiting is the hardest part. The smell is amazing. What will you decorate first? Cookies, cupcakes, or maybe a small cake?
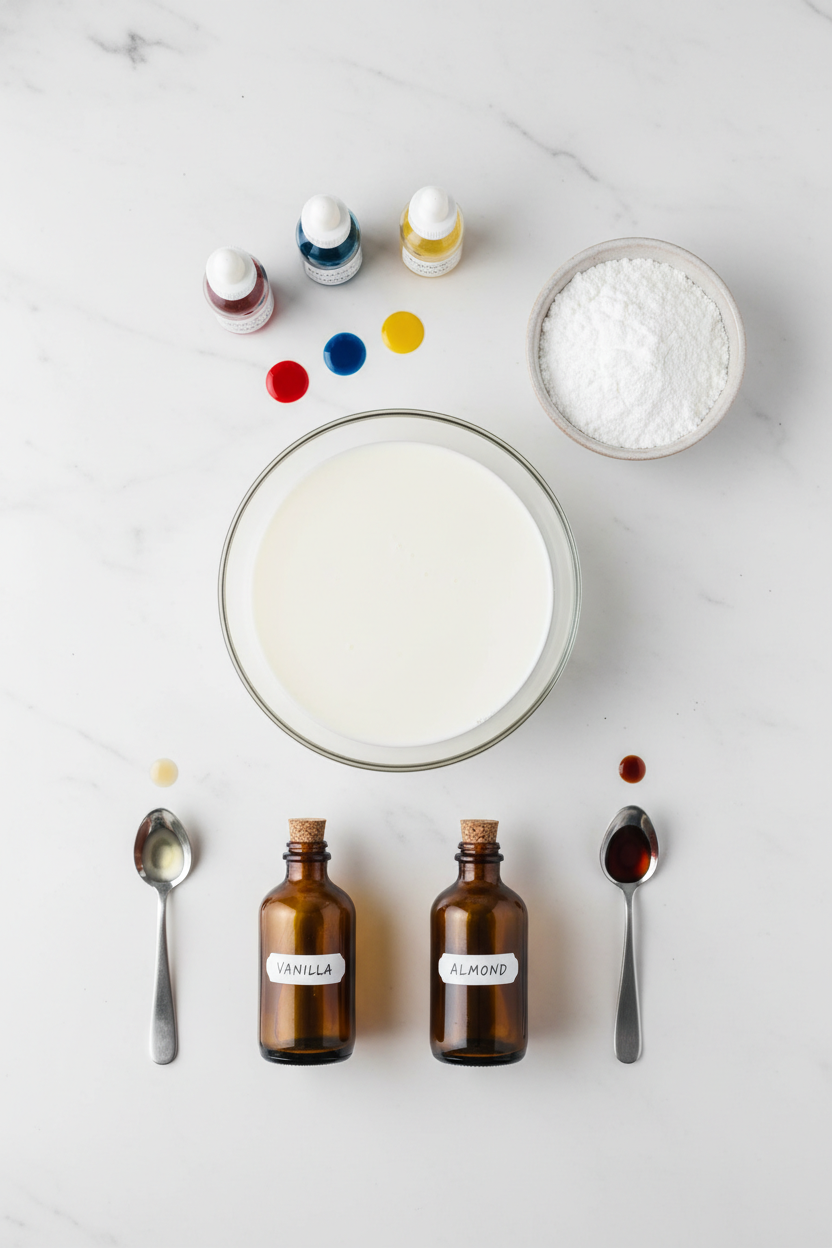
Ingredients:
| Ingredient | Amount | Notes |
|---|---|---|
| Milk | 1 – 2 tablespoons | Start with minimum amount, add in tiny increments if needed |
| Confectioners’ sugar | 1 cup | |
| Food coloring | Optional | |
| Flavored extracts (vanilla, peppermint, etc.) | 2 – 3 drops to taste | Optional |
My Secret for Pretty Cookie Icing
Hello, my dear. Come sit at the table. Let’s talk about icing cookies. This is my go-to recipe. It’s simple as can be. You just need sugar, milk, and a happy heart. I’ve used it for fifty years. It dries with a lovely, soft shine. Doesn’t that sound nice?
I remember teaching my granddaughter this. Her first lines were wobbly. We laughed so much. But those cookies were the most beautiful I’d ever seen. The secret is in the consistency. You want it like thick honey. Let me walk you through it.
Step 1: Grab a small bowl and a fork. Pour in one cup of confectioners’ sugar. Now, add just one tablespoon of milk. Start stirring gently. It will look too dry at first. Keep mixing. It will come together into a thick paste.
Step 2: This is where the magic happens. Is your icing too stiff? It should drizzle slowly off the fork. If it doesn’t, add more milk. But listen to your grandma. Add just a few drops at a time. (My hard-learned tip: It’s easy to add liquid, but you can’t take it out!).
Step 3: Now for the fun part. Want color or flavor? Add a drop or two now. I love a tiny bit of almond extract. It smells like Christmas. Stir it in completely. Your icing should be smooth and glossy. What color would make you smile? Share below!
Step 4: Time to decorate. You can dip the cookie top right in. Or use a spoon to drizzle. My favorite is a small plastic bag. Just snip a tiny corner off. Then you can pipe lines and dots. Let your cookies dry on the counter. They will lose their shine as they set. That’s how you know they’re ready.
Cook Time: 0 minutes
Total Time: 10 minutes
Yield: Coats about 2 dozen cookies
Category: Dessert, Baking
Three Sweet Twists to Try
This icing is a perfect blank canvas. You can play with it. Here are my favorite little twists. They make every batch special.
Sunshine Lemon: Use lemon juice instead of milk. Add a pinch of yellow coloring. It’s tart, sweet, and so sunny.
Peppermint Sparkle: Use peppermint extract. Color it a soft pink. Then sprinkle crushed candy canes on top before it dries.
Maple Brown Sugar: Use real maple syrup for half the milk. It makes a lovely tan icing. Perfect for autumn leaf cookies.
Which one would you try first? Comment below!
Serving Your Sweet Creations
These iced cookies are a joy to share. Pile them on a pretty plate. Use a doily underneath for a old-fashioned touch. You could also tie a ribbon around a few. Give them as a gift from your kitchen. That always makes someone’s day.
What to drink? For a cozy afternoon, I love a glass of cold milk. It’s the classic pairing. For a special evening, a small glass of dessert wine is nice. A sweet Riesling sips beautifully with a sugary cookie. Doesn’t that sound lovely?
Which would you choose tonight?
Keeping Your Icing Just Right
This icing is best used right away. But sometimes you make too much. I simply cover the bowl with plastic wrap. I press it right onto the icing’s surface. This keeps a skin from forming. It will be good in the fridge for a day or two.
Just give it a good stir before using it again. You might need a tiny drop of milk. My first time, I left it uncovered. It turned into a hard, sugary rock! I had to start all over. Batch cooking this icing is easy. Just double or triple the sugar and milk.
Why does this matter? Good storage saves your ingredients. It also saves your time and your peace of mind. You can focus on decorating. Have you ever tried storing it this way? Share below!
Fixing Common Icing Troubles
Is your icing too runny? Add more confectioners’ sugar, a spoonful at a time. Is it too thick? Add milk one drop at a time. I remember making icing as thick as paste. A few drops of milk fixed it right up.
Does it dry with bumps? Your sugar might be lumpy. Sift it first for a super smooth finish. Getting the consistency right matters so much. It makes decorating fun, not frustrating. Your cookies will look neat and taste perfect.
*Fun fact: Confectioners’ sugar has a little cornstarch in it. This helps the icing set nicely.* Does your color fade? Use gel food coloring for brighter shades. Which of these problems have you run into before?
Your Icing Questions, Answered
Q: Can I make this gluten-free?
A: Yes! Confectioners’ sugar is usually gluten-free. Just check the label to be sure.
Q: How far ahead can I make it?
A: Make it the same day for the best texture. Store it covered in the fridge.
Q: What if I don’t have milk?
A: You can use water, lemon juice, or even cream. Each gives a different little flavor.
Q: Can I make a bigger batch?
A: Absolutely. Just keep the ratio the same. One cup sugar to one tablespoon milk is your guide.
Q: Are the extracts necessary?
A: Not at all. But a drop of vanilla or almond is a lovely secret. Which tip will you try first?
A Little Note From My Kitchen
I hope you have fun with this simple icing. It turns plain cookies into little works of art. The best part is sharing them. I love seeing the creations you all make.
My kitchen table is always open for a chat. Tell me about your baking adventures. Have you tried this recipe? Give your experience in the comments. I read every single one.
Happy cooking!
—Grace Ellington.
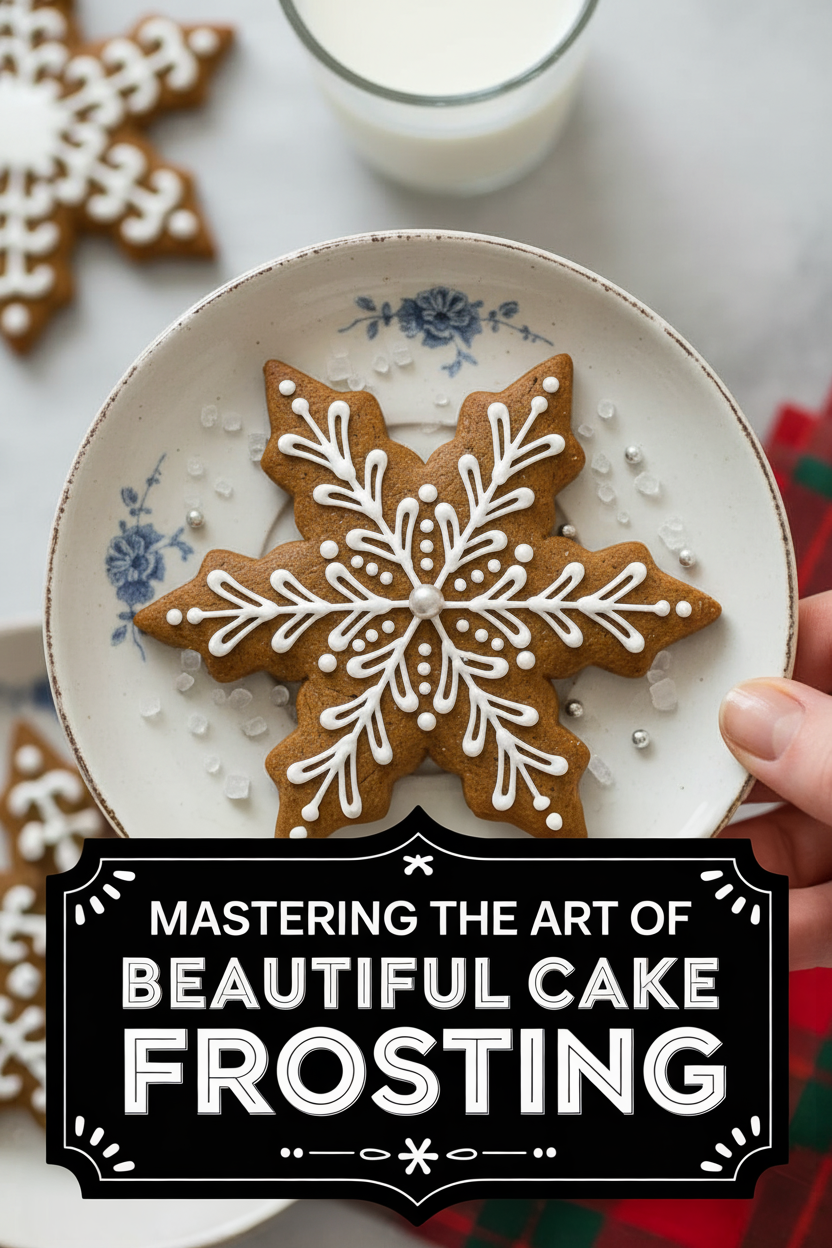

Mastering the Art of Beautiful Cake Frosting
Description
A simple and versatile decorative icing perfect for outlining, drizzling, or coating cookies and cakes.
Ingredients
Instructions
- Stir minimum amount of milk into confectioners’ sugar with a small wire whisk or a fork to make a soft smooth icing. (Stir in optional food coloring and flavor extracts.) If mixture is too stiff, add milk in very tiny increments until correct consistency is reached.
- Pipe icing from a pastry bag to outline cookies or make simple motifs, or simply drizzle on designs. If coating the cookie, use a small metal spatula to spread icing over entire top surface, or dip cookie into icing, using the metal spatula to trim away excess. (If mixture hardens, remix with a bit of water, whisking well to make icing smooth.) Allow cookies to dry to a dull shine before storing.
Notes
- Yield coats about 2 dozen 2-inch cookies. For a vegan version, use a non-dairy milk like almond or soy milk.

