
My First Tenderloin Fiasco
I tried to roast a big tenderloin for a party once. I was so nervous. I forgot to let it sit out of the fridge first.
The outside cooked too fast. The inside was too cold. I learned a big lesson that day. Always let your meat get to room temperature. It matters because it cooks so much more evenly. You won’t have a burnt outside and a cold center.
Getting Your Roast Ready
First, take your roast out early. Let it sit for two to three hours. This is the most important step. Pat it very dry with paper towels.
See that shiny skin on one side? That’s the silver skin. Just make little shallow cuts in it. This stops it from curling. Tuck the skinny tail end under and tie it with string. It looks fancy, but it’s easy. It just makes sure every slice is the same thickness.
The Simple Secret to Flavor
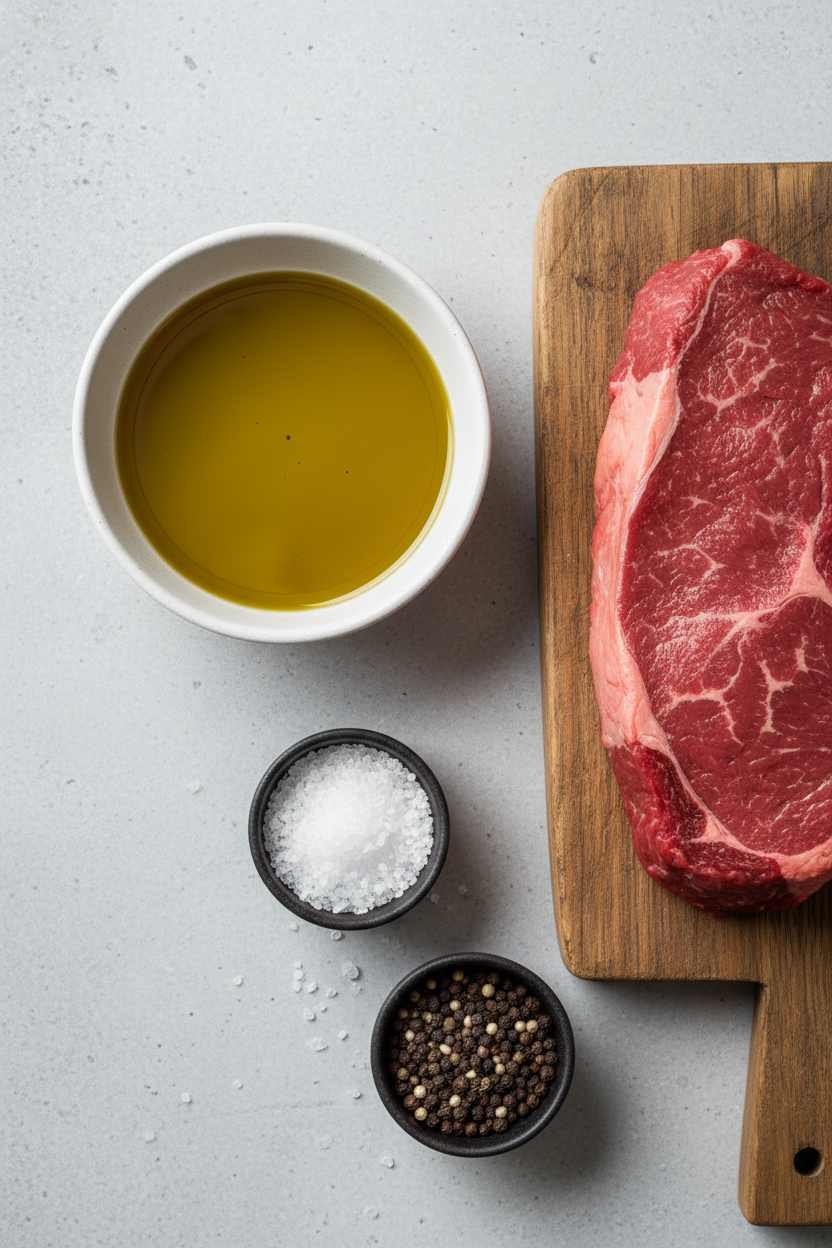
Now, rub it all over with olive oil. Then, cover it in salt and pepper. Use your hands. Feel the meat. I still love this part. Doesn’t that smell amazing already?
Here’s a little trick. Lay it on plastic wrap. Rub the oil and seasonings on. Then use the plastic to press everything in. This matters because it makes the flavor stick. The salt can start to work its way in. What’s your favorite simple seasoning for meat? Is it just salt and pepper, or do you add something else?
Roasting and Resting
Put your oven rack up high. Heat the oven to 425 degrees. Place the meat on a rack in a pan. This lets hot air cook all sides. Roast it until a thermometer says 125 degrees inside.
Then, you must let it rest. Take it out and leave it alone for 30 minutes. I know it’s hard to wait! But this matters most. The juices settle back into the meat. If you cut it right away, all the good juice runs out onto the plate. Fun fact: A resting roast can rise 5 to 10 degrees more in temperature!
Serving Your Masterpiece
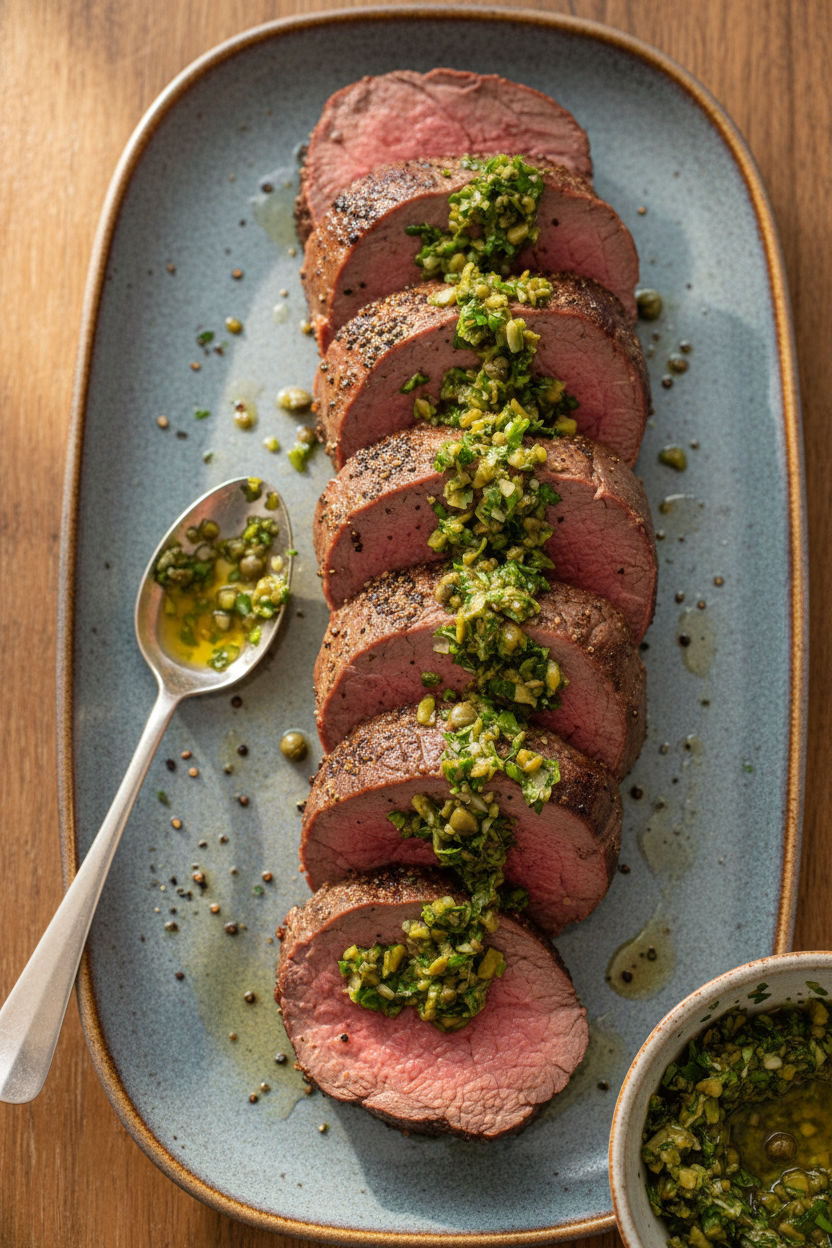
After it rests, slice it. Use a very sharp knife. Cut half-inch slices. Arrange them on a platter. See the beautiful color? It should be pink from edge to edge.
You can serve it warm or even cold. I love it chilled the next day on bread. It feels so fancy. What sauce would you serve with it? A creamy horseradish or a simple gravy? Tell me your pick!
Why This Feels Special
This roast seems fancy. But it’s really one of the simplest big meals. There are only four ingredients. The oven does most of the work.
It teaches you to trust the process. Trust the resting time. Trust the thermometer. It turns a regular Tuesday into a celebration. Do you have a “fancy” meal that makes you feel proud to serve? I’d love to hear about it.
Ingredients:
| Ingredient | Amount | Notes |
|---|---|---|
| beef tenderloin | 5 – 6 pound | thoroughly patted dry |
| olive oil | 2 tablespoons | |
| kosher salt | 1 tablespoon | |
| coarsely ground black pepper | 2 tablespoons |
My Favorite Sunday Roast
Hello, my dear. Come sit at the table. Let’s talk about a special dinner. A beef tenderloin is a real treat. It feels fancy but is so simple. I love making it for family Sundays. The whole house smells wonderful. It brings everyone to the kitchen. Doesn’t that sound nice?
This recipe is my go-to for celebrations. I learned it from my mother. She taught me patience is the secret ingredient. You cannot rush good food. Let me walk you through it. We’ll make a roast that is tender and juicy. Everyone will ask for seconds, I promise.
- Step 1: First, take your meat from the fridge early. Let it sit out for two to three hours. This helps it cook evenly. Use your knife to make tiny cuts in the silvery skin. Then, tuck the skinny end underneath. Tie it up with kitchen string every inch or so. It looks like a little package. (My hard-learned tip: If you skip the tying, the thin end cooks too fast. We don’t want that!)
- Step 2: Now, move your oven rack up high. Heat your oven to 425 degrees. Lay out a big piece of plastic wrap. Place your tied roast on it. Rub it all over with olive oil. Then, cover it generously with salt and pepper. Use the plastic wrap to press the seasoning on. It’s a neat little trick. I still laugh at how messy I used to be.
- Step 3: Put a wire rack in a roasting pan. Move your roast onto the rack. This lets hot air cook it all around. Roast it for about 45 minutes. You must use a meat thermometer. It should read 125 degrees in the thickest part. Why do we use a thermometer? Share below! Then, the most important step: let it rest. Leave it alone for 30 full minutes. This keeps all the delicious juices inside.
- Step 4: Finally, it’s time to carve. Use a very sharp knife. Slice the meat into half-inch pieces. Doesn’t that look beautiful? Arrange the slices on your best platter. Serve it with your favorite sauce. I like a simple horseradish cream. The meat will be perfect from edge to edge. You did it!
Cook Time: 45 minutes
Total Time: About 4 hours (includes resting)
Yield: 8-10 servings
Category: Dinner, Holiday
Three Fun Twists to Try
This recipe is like a blank canvas. You can paint it with different flavors. Here are three ideas I love. They make the meal feel new again.
- Herb Garden Crust: Mix chopped rosemary and thyme into the pepper. Press it on the meat. It smells like a summer garden.
- Sweet & Smoky: Rub the roast with brown sugar and smoked paprika. It gives a sweet, cozy crust. My grandson loves this one.
- Garlic Lover’s Dream: Cut little slits all over the roast. Tuck thin slices of garlic inside. Every bite has a surprise of flavor.
Which one would you try first? Comment below!
Setting Your Beautiful Table
Now, let’s think about what to serve with it. A great roast deserves great company on the plate. I always make creamy mashed potatoes. They are perfect for catching the juices. Roasted asparagus or green beans add a lovely color. A simple salad with a bright vinaigrette is nice, too. It cuts through the richness.
For drinks, I have two favorites. A glass of smooth red wine, like a Merlot, pairs beautifully. For a non-alcoholic option, try sparkling cider. Its sweet fizz is so festive. Light a few candles on the table. Doesn’t that smell amazing? It makes the whole meal feel like an event. Which would you choose tonight?
Keeping Your Tenderloin Tasty Later
Let’s talk about leftovers. This roast is wonderful the next day. First, let it cool completely. Then wrap it tightly in plastic wrap. You can keep it in the fridge for two days. I love it cold on sandwiches with a little mustard.
You can also freeze it. Slice the meat first. Place the slices in a single layer on a tray. Freeze them solid, then pack into a bag. This stops them from sticking together. You can pull out just a few slices for a quick meal.
To reheat, be gentle. Use a low oven or a skillet. Add a splash of broth to keep it moist. I once reheated it too fast and it got tough. Slow and steady wins the race here. Storing food well means no waste and easy, delicious meals later.
Have you ever tried storing it this way? Share below!
Simple Fixes for Common Roast Problems
Even grandmas have kitchen troubles sometimes. First, if your meat is cold inside, it won’t cook evenly. Always take it out of the fridge hours early. Let it sit on the counter. This helps it roast perfectly from edge to center.
Second, the seasoning might not stick. Pat your roast very dry first. Then rub the oil on, then the salt and pepper. I remember when I forgot to dry the meat. The seasoning just slid right off! A dry start makes a flavorful crust.
Finally, don’t skip the resting time. Let the roast sit after cooking. This lets the juices settle back into the meat. If you cut it too soon, all the good juice runs onto the plate. Resting makes every slice tender and juicy. Understanding these steps builds your cooking confidence.
Which of these problems have you run into before?
Your Tenderloin Questions, Answered
Q: Is this recipe gluten-free?
A: Yes, it is! The ingredients are naturally gluten-free. Just check your sauce choice if you use one.
Q: Can I make it ahead?
A: Absolutely. Roast it, let it cool, and refrigerate whole. Slice it just before serving. It’s great for parties.
Q: What if I don’t have olive oil?
A: Any neutral oil works fine. Try avocado or canola oil. The goal is just a light coating.
Q: Can I make a smaller roast?
A: You can. For a smaller piece, just reduce the cooking time. Always use your thermometer to check.
Q: Any extra tips?
A: A fun fact: letting meat rest after cooking makes it juicier. Try adding fresh herbs under the strings for more flavor.
Which tip will you try first?
From My Kitchen to Yours
I hope you feel ready to try this special roast. It seems fancy, but it’s really quite simple. The most important ingredient is your own joy in cooking. I love hearing your stories and tips.
Please tell me about your cooking adventures. Your notes make my day. Sharing food and stories is how we connect.
Have you tried this recipe? Give experience on Comment.
Happy cooking!
—Grace Ellington.
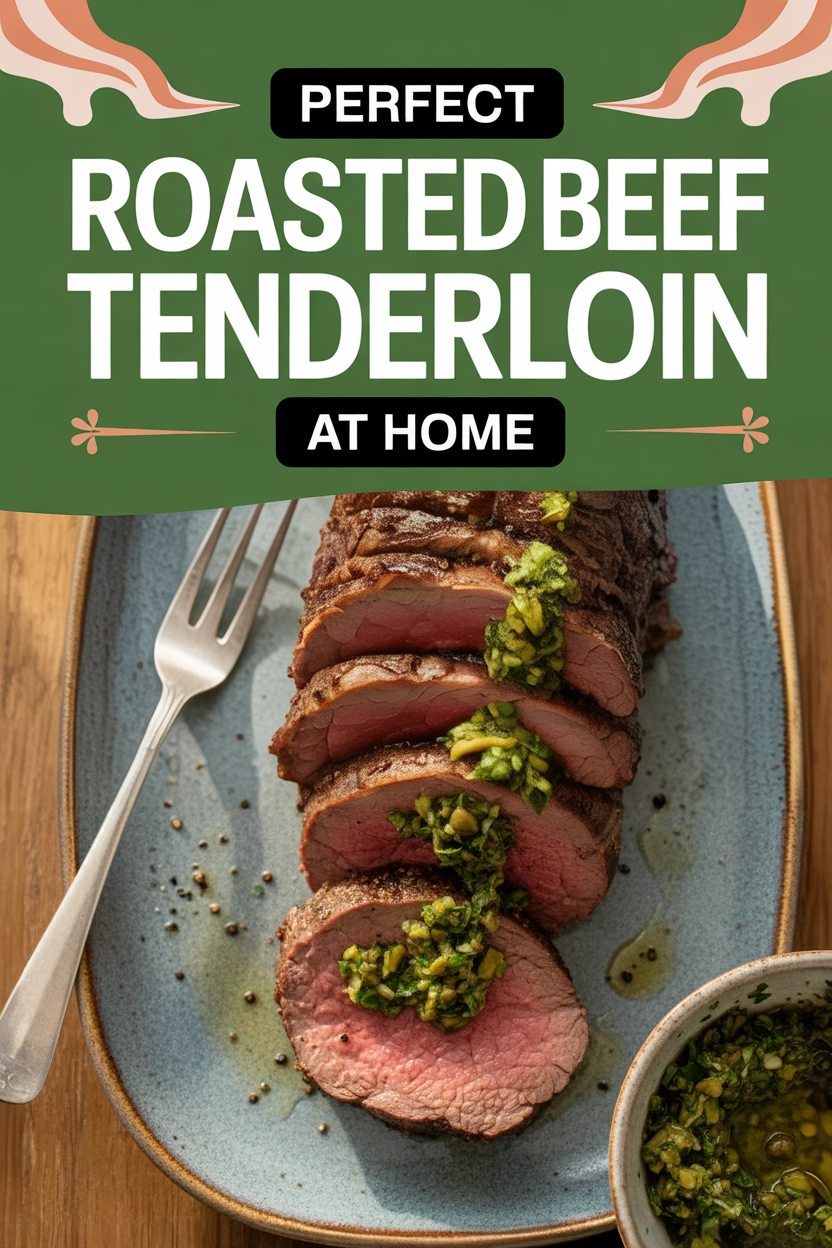
Perfect Roasted Beef Tenderloin at Home
Description
A classic and impressive centerpiece for any special occasion, this perfectly roasted beef tenderloin is tender, juicy, and full of flavor.
Ingredients
Instructions
- Remove tenderloin from refrigerator 2 to 3 hours before roasting. Use a sharp knife to carefully nick the silver skin on the side opposite the tail with shallow slashes at 1 1/2-inch intervals. Tuck tail end under about 6 inches to ensure that the tenderloin roasts evenly and tie roast crosswise, knotting at 1 1/2-inch intervals.
- Adjust oven rack to upper middle position and heat oven to 425 degrees. Set meat on a sheet of plastic wrap and rub all over with oil. Sprinkle with salt and pepper; then lift plastic wrap up and around meat to press on excess.
- Transfer prepared tenderloin from wrap to wire rack set on shallow roasting pan. Roast until instant-read thermometer inserted into the thickest part of the roast registers about 125 degrees (meat will range from medium-rare to medium in different areas of the roast), about 45 minutes. Let stand for about 30 minutes before carving. (Can be wrapped in plastic, refrigerated up to 2 days, sliced, and served chilled.)
- Cut meat into 1/2-inch thick slices. Arrange on a serving platter and serve with sauce of your choice.
Notes
- Nutrition calculated for a 5.5lb tenderloin, serving 10 people. Calories are an estimate based on the beef and oil, as seasoning contributes negligible calories. For a more accurate count, consult specific product labels.

