The Secret to a Perfectly Crisp Cookie
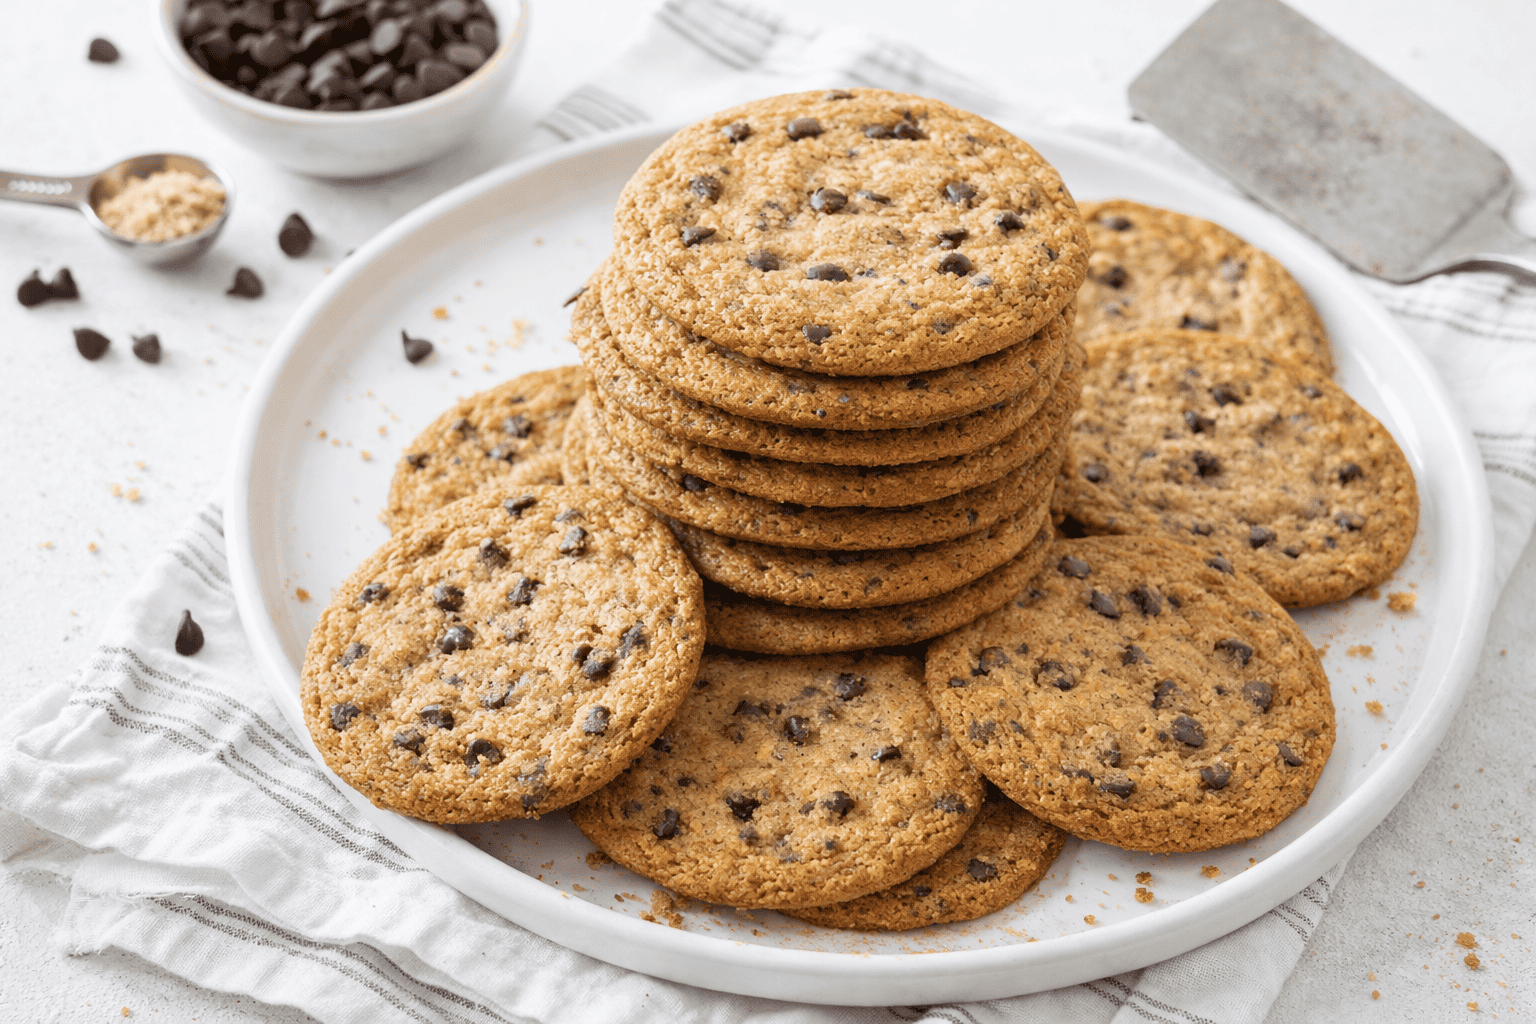
Some folks like a soft cookie. I like one with a snap. This recipe gives you just that. It is thin, crisp, and full of flavor.
The secret is in the flour. We use cake flour here. It has less protein than regular flour. That means less chew. More delicate crunch. I learned this from a baker friend years ago. I still laugh at how simple it was.
A Little Story About Melting Butter
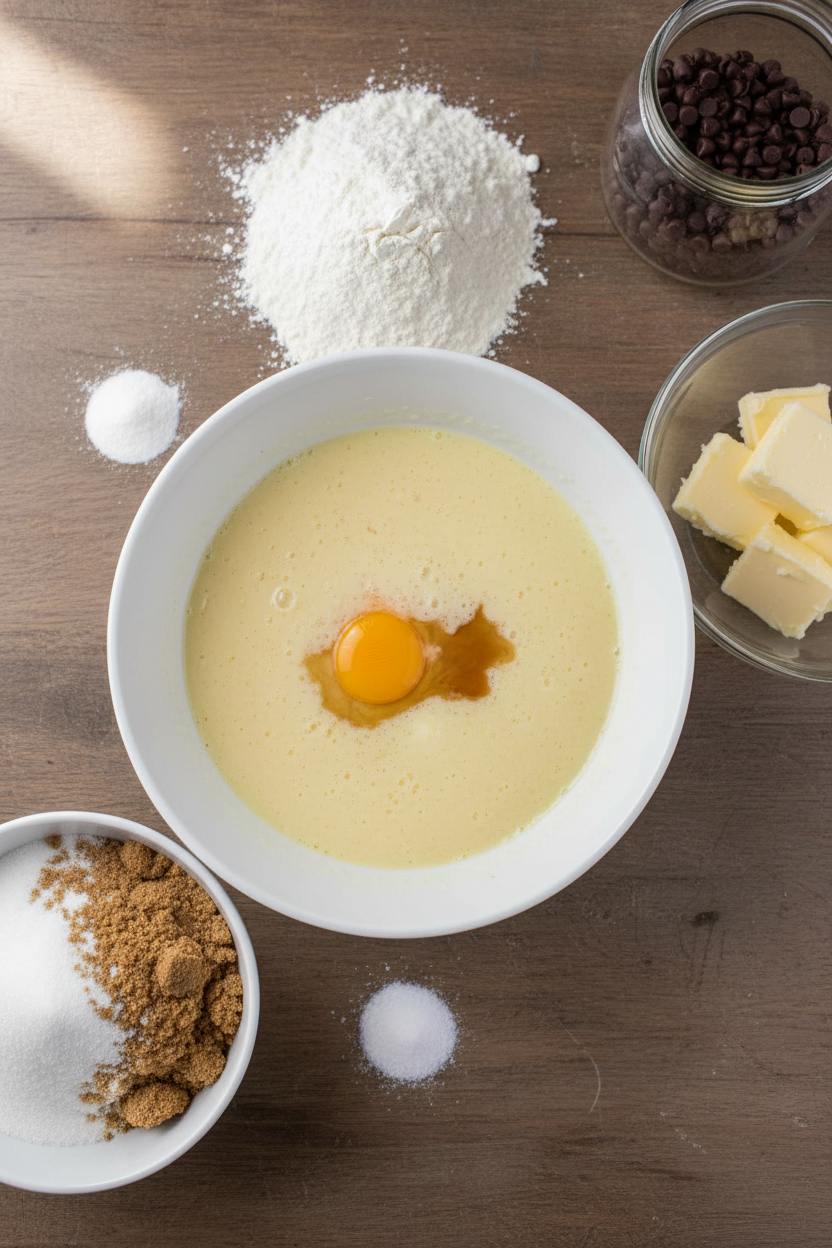
Let me tell you about the butter. You melt it first. This is key. Melted butter makes the cookie spread thin in the oven. It creates those lovely, lacy edges.
I once forgot to let it cool. I added it hot to the sugar. What a sticky mess! So let it sit a bit. This matters because hot butter can cook the eggs. We want a dough, not scrambled eggs!
Why We Use Just the Yolks
See the recipe calls for two egg yolks. Not the whole egg. This is a neat trick. The white of an egg has lots of water. Water can make a cookie cakey.
The yolk is all rich fat. It gives tenderness without puffiness. It helps our cookie stay flat and crisp. Fun fact: The yolk also gives the cookie its beautiful golden color. Doesn’t that make sense?
Do you have a favorite kitchen trick like this? I love hearing them.
The Magic of Pressing Them Down
After you scoop the dough, you must press it. Use your fingers. Get them a little wet first. Press each mound to about half an inch thick.
This matters so much. If you don’t press, they might not spread right. You help the oven do its job. You are telling the cookie, “Be thin and glorious!”
That Deep Golden Brown Color
Baking time is important. Wait for a deep golden brown. Not light blonde. The edges should look almost toasted. Doesn’t that smell amazing?
That color means the sugars have caramelized. It means flavor. A light cookie won’t have that toasty, buttery taste. Trust the color. Let them cool on the sheet. They crisp up as they sit.
What’s your favorite cookie texture? Thin and crisp, or soft and chewy?
Make Them Your Own
These cookies are perfect with mini chips. The little bits spread chocolate in every bite. But you can try other things too. A sprinkle of sea salt on top is lovely.
You could use chopped nuts. Or even toffee bits. Baking is about joy. It is about making something with your hands. That always matters.
If you bake these, tell me what you think. Did your family gobble them up?
Ingredients:
| Ingredient | Amount | Notes |
|---|---|---|
| Cake flour | 1 ¼ cups (5 ounces/142 grams) | |
| Table salt | ¾ teaspoon | |
| Baking soda | ¼ teaspoon | |
| Unsalted butter | 8 tablespoons | melted and cooled |
| Granulated sugar | ⅓ cup (2⅓ ounces/66 grams) | |
| Dark brown sugar | ⅓ cup packed (2⅓ ounces/66 grams) | |
| Egg yolks | 2 large | |
| Whole milk | 1 ½ tablespoons | |
| Vanilla extract | 2 teaspoons | |
| Mini semisweet chocolate chips | ¾ cup (4 ½ ounces/128 grams) |
My Secret for the Crispiest, Thinnest Chocolate Chip Cookies
Hello, dear. Pull up a chair. Let’s talk cookies. Some folks like them soft and puffy. I adore a cookie that snaps. This recipe makes them wonderfully thin and crisp. It reminds me of my grandpa’s favorite bakery. Their cookies were like delicate, buttery lace. I spent years trying to copy them. This is the happy result.
The secret starts with cake flour. It makes the cookie tender. Melting the butter is key, too. It gives that lovely, flat crunch. We use only the egg yolks for richness. The whole milk helps everything come together. Doesn’t that smell amazing already? Let’s begin.
Step 1: First, move your oven rack to the middle. Heat the oven to 350 degrees. Line your baking sheets with parchment paper. Now, whisk the dry ingredients in a bowl. Just the cake flour, salt, and baking soda. This mixes them without overworking the flour. A simple start for a magical cookie.
Step 2: Use your mixer with the paddle attachment. Mix the melted butter and both sugars on low. Then turn it up to medium-high. Beat it for a full minute. It will become pale and creamy. This step adds air. Now add the yolks, milk, and vanilla. Mix on low until it’s all one color.
Step 3: Slowly add your flour mixture. Mix just until you see no more dry spots. Scrape the bowl’s sides with a spatula. Now, gently stir in those mini chocolate chips. I love minis because you get chocolate in every single bite. (A hard-learned tip: Don’t overmix once the flour is in. Tough cookies are sad cookies!).
Step 4: Scoop the dough with a greased tablespoon. Make 16 heaping mounds on your sheets. Use wet fingers to press each mound flat. Make them about a half-inch thick. This gives them their perfect shape. Why do we press them down? Share below!
Step 5: Bake only one sheet at a time. This ensures even heat. Bake for 16 to 18 minutes. Rotate the sheet halfway through. They are done when deep golden brown. Let them cool right on the sheet for 20 minutes. This is when they get their final crisp texture. I still laugh at how I used to rush this part. Patience, my dear.
Cook Time: 16–18 minutes per batch
Total Time: About 1 hour
Yield: 16 perfect cookies
Category: Dessert, Cookies
Three Fun Twists to Make Them Your Own
Once you master the classic, try a little twist. It’s like playing dress-up with your cookies. My grandson loves to experiment. Here are our favorite ideas.
- Salty-Sweet: Sprinkle a tiny pinch of flaky sea salt on each cookie right after baking.
- Nutty Crisp: Replace half the chocolate chips with very finely chopped toasted pecans.
- Citrus Zing: Add the grated zest of one orange to the butter and sugar mixture. It’s so bright and cheerful.
Which one would you try first? Comment below!
The Perfect Plate & Pairing
These cookies are stars all on their own. But I love making a moment feel special. For serving, try a simple wooden board. Stack a few cookies in a little tower. It looks so inviting. You could also crumble one over a scoop of vanilla ice cream. Pure happiness in a bowl.
For a drink, a cold glass of whole milk is the classic choice. It always will be. For the grown-ups, a small glass of tawny port is lovely. Its nutty sweetness dances with the chocolate. Which would you choose tonight?

Keeping Your Cookies Crispy and Happy
These cookies stay crisp for days at room temperature. Just tuck them in a tin. I keep mine in the old blue tin with the dancing bears.
You can freeze the dough balls for later. Place them on a tray until frozen solid. Then pop them into a bag. This matters because fresh cookies are just a bake away. It saves time for surprise guests.
I once baked a whole batch just for me. I froze most of the dough. It was a lovely gift to my future self. Have you ever tried storing cookie dough this way? Share below!
Cookie Troubles? Let’s Fix Them Together
Problem one: cookies spread too much. Your butter was likely too warm. Make sure it’s cooled after melting. I remember when my first batch ran into each other. They became one giant cookie!
Problem two: cookies are cakey, not crispy. You may have used all-purpose flour. Cake flour is the secret here. This matters because the right flour gives that perfect, delicate crunch.
Problem three: cookies taste bland. Do not skip the salt. Salt makes the chocolate flavor sing. This simple step improves every bite. Which of these problems have you run into before?
Your Quick Cookie Questions, Answered
Q: Can I make these gluten-free? A: Try a 1-to-1 gluten-free flour blend. Results may vary slightly.
Q: Can I make the dough ahead? A: Yes! Chill it for up to 3 days. The flavor gets even better.
Q: No mini chocolate chips? A: Chop regular chips. Smaller pieces spread flavor in every bite. *Fun fact: using mini chips means chocolate in every single crumb.*
Q: Can I double the recipe? A: Absolutely. Just mix in a bigger bowl.
Q: Any optional tip? A: Sprinkle a tiny salt flake on top before baking. Which tip will you try first?
From My Kitchen to Yours
I hope you love these thin, crispy cookies. Baking should be simple and joyful. It is about sharing and making memories.
I would love to hear from you. Tell me about your baking adventures in your own kitchen. Have you tried this recipe? Share your experience in the comments.
Happy cooking!
—Grace Ellington.
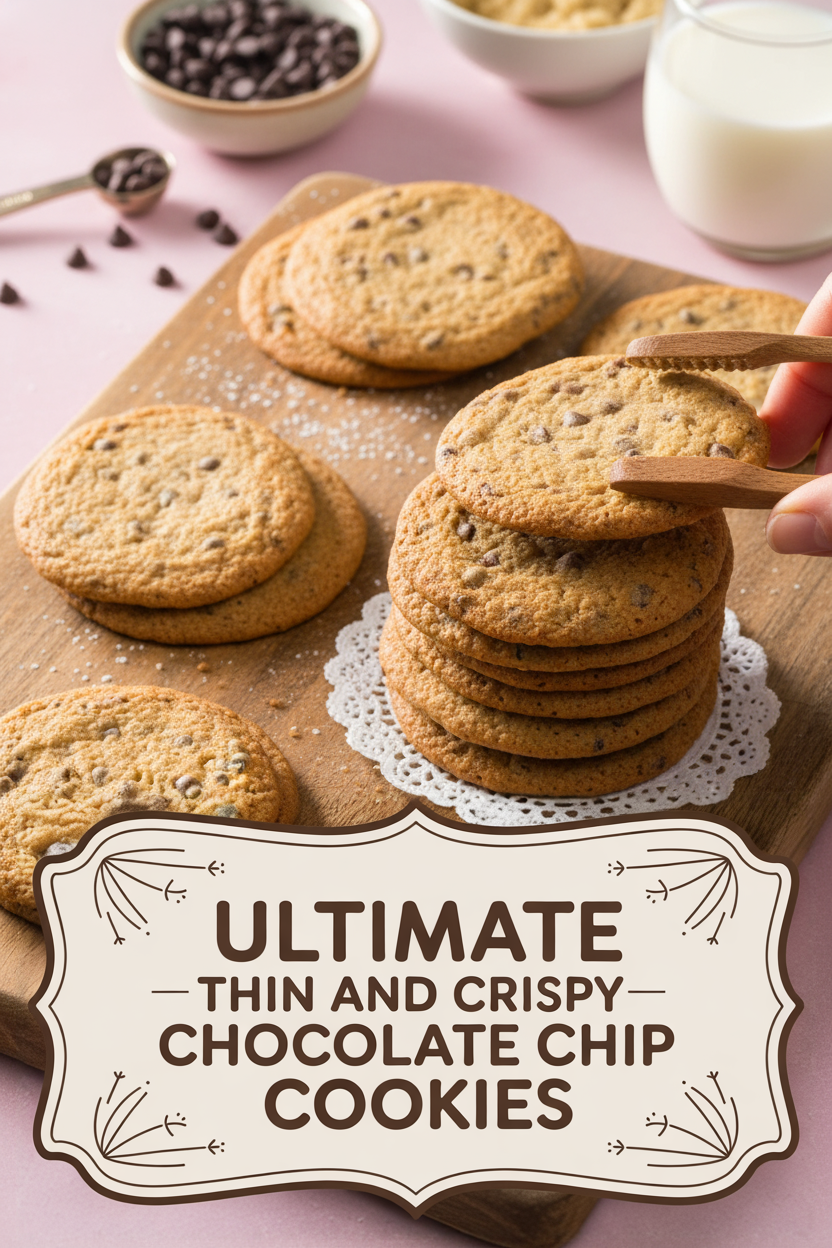

Ultimate Thin and Crispy Chocolate Chip Cookies
Description
These Ultimate Thin and Crispy Chocolate Chip Cookies are perfectly crisp, buttery, and loaded with mini chocolate chips.
Ingredients
Instructions
- Adjust oven rack to middle position and heat oven to 350 degrees. Line 2 baking sheets with parchment paper. Whisk flour, salt, and baking soda together in bowl.
- Using stand mixer fitted with paddle, mix melted butter, granulated sugar, and brown sugar on low speed until fully combined. Increase speed to medium-high and beat until mixture is lightened in color, about 1 minute. Reduce speed to low; add egg yolks, milk, and vanilla; and mix until combined. Slowly add flour mixture and mix until just combined, scraping down bowl as needed. Using rubber spatula, stir in chocolate chips.
- Using greased 1-tablespoon measure, divide dough into 16 heaping-tablespoon portions on prepared sheets, 8 portions per sheet. Divide any remaining dough evenly among portions. Using your moistened fingers, press dough portions to ½-inch thickness. Bake cookies, 1 sheet at a time, until deep golden brown, 16 to 18 minutes, rotating sheet halfway through baking. Let cookies cool on sheet for 20 minutes. Serve.
Notes
- (Cookies can be stored at room temperature for up to 3 days.)

