The Turkey That Ties Itself
Let’s talk turkey. A big bone-in breast can be tricky. It cooks unevenly. I found a funny trick years ago. You tie two halves together. It makes a neat little bundle. This way, it cooks just right all the way through.
It reminds me of my grandson’s first try. He made a lopsided bundle. We called it the “turkey football.” It still tasted wonderful. The tying part matters. It gives you juicy meat in every single slice. Have you ever tried a kitchen trick that seemed silly but worked?
Why We Make Our Own Stock
That roasted bone is the secret. Do not throw it away! We brown it in the oven first. Doesn’t that smell amazing? Then we simmer it with veggies and herbs. This makes a rich, golden turkey stock.
Here is why this matters. Good gravy needs a good foundation. The store-bought stuff can taste flat. Your own stock is full of flavor. It turns the gravy into something special. *Fun fact: Simmering the bone pulls out gelatin. This gives your gravy a lovely, silky feel.*
The Magic of a Slow Oven
We brown the turkey in a pan first. This gives it a beautiful color. Then the oven does the gentle work. We cook it low and slow at 275 degrees. This keeps all the juices inside.
Patience is your friend here. No peeking! Let the heat work its magic. I still laugh at how I used to rush this. My turkey was always dry. The slow roast changed everything. Do you prefer fast and hot or slow and steady cooking?
Gravy From the Heart
Now for the best part. That gravy. You start with butter and flour. Cook it until it looks like peanut butter. This is the base. Then you whisk in your homemade stock. The smell is pure comfort.
A little wine adds a bright note. Simmer it until it coats a spoon. Here is why this matters. This gravy is made with care. It connects the whole meal. It is a taste of your own effort. What is your favorite food to pour gravy over?
Resting and Slicing
When the turkey comes out, let it rest. I know, it’s hard to wait! But those 15 minutes are important. The juices settle back into the meat. This means every slice will be moist.
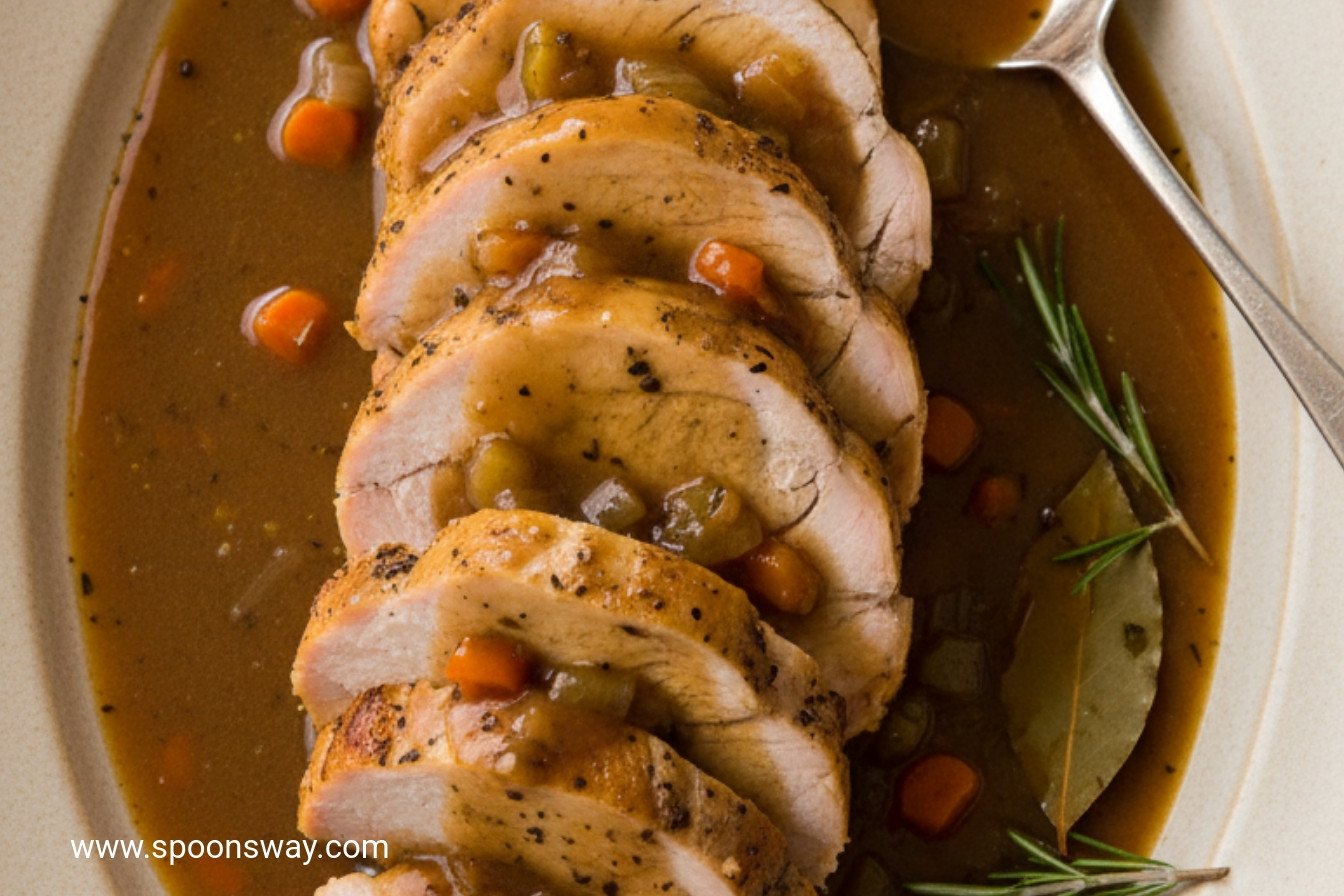
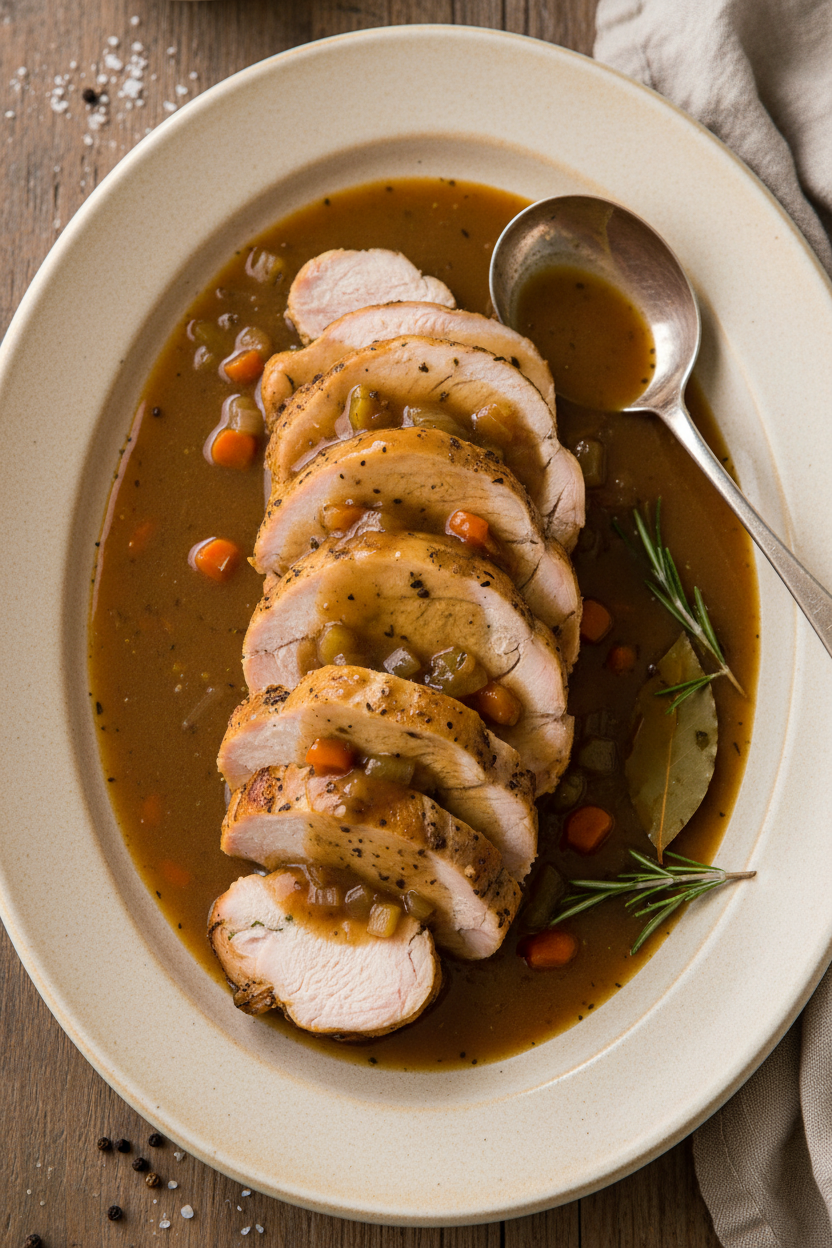
Then, snip the twine and slice. You will see your beautiful layers. Serve it with that glorious gravy. The table will be so quiet. Everyone will be eating. That is the best compliment a cook can get.
Ingredients:
| Ingredient | Amount | Notes |
|---|---|---|
| Bone-in turkey breast | 1 (5- to 7-pound) | Trimmed, breast halves removed and bone reserved for stock |
| Kosher salt | 1 tablespoon | For seasoning the turkey |
| Minced fresh rosemary | 2 teaspoons | For seasoning the turkey |
| Pepper | ½ teaspoon | For seasoning the turkey |
| Vegetable oil | 1 tablespoon | For browning |
| Onion | 1, chopped | For the turkey stock |
| Carrot | 1, peeled and chopped | For the turkey stock |
| Celery rib | 1, chopped | For the turkey stock |
| Fresh rosemary sprigs | 6 | For the turkey stock |
| Bay leaf | 1 | For the turkey stock |
| Unsalted butter | 4 tablespoons | For the gravy roux |
| All-purpose flour | ¼ cup | For the gravy roux |
| Dry white wine | ⅓ cup | For the gravy |
| Kosher salt and pepper | To taste | For seasoning the gravy |

My Cozy Kitchen Turkey & Gravy
Hello, my dear. Come sit at the table. Let’s talk about Sunday dinner. I love a big, juicy turkey breast. It feels like a hug on a plate. The secret is in the gravy, rich and homemade. Doesn’t that smell amazing? I learned this from my own grandma. She said good food takes patience and love. I still laugh at that. But she was right. Let me walk you through it, step-by-step.
Step 1: First, we prepare our turkey. Carefully cut the meat away from the bone. Save that bone! It is gold for flavor. Mix the salt, rosemary, and pepper in a little bowl. Rub this all over the turkey breasts. It’s like giving them a cozy spice blanket.
Step 2: Now, we tuck them into a loaf pan. Lay the pieces skin-to-skin. Tie them up snugly with kitchen twine. It looks like a little turkey package. Wrap it up and let it rest in the fridge. This helps the flavors get to know each other. (A hard-learned tip: Tie it tight! A loose turkey won’t cook evenly.)
Step 3: Time for stock! Roast that saved bone until it’s nice and brown. Then let it simmer with onion, carrot, and celery. Your kitchen will smell like a dream. This makes the magic liquid for our gravy. What vegetable gives stock a sweet flavor? Share below!
Step 4: Hours later, we cook the turkey. Brown it in a hot pan first. This gives it a beautiful, tasty skin. Then roast it low and slow. This keeps it so tender and juicy. Just wait until you slice into it.
Step 5: Finally, the gravy. Melt butter, whisk in flour. Cook until it looks like peanut butter. Then slowly whisk in your homemade stock. Add a splash of white wine for brightness. Let it bubble and thicken. Taste it. Your spoon will be happy.
Cook Time: 4–5 hours
Total Time: 5 hours 30 minutes (plus chilling)
Yield: 6-8 servings
Category: Dinner, Holiday
Three Fun Twists to Try
This recipe is like a favorite sweater. It’s cozy as is. But sometimes, you want to add a new brooch! Here are three simple ideas. They make it feel brand new.
Herb Garden Swap: Use fresh sage and thyme instead of rosemary. It smells like a sunny garden.
Apple Cider Glaze: Brush the turkey with apple cider in the last hour. Sweet and savory, just like fall.
Mushroom Gravy: Sauté sliced mushrooms before making the gravy. Earthy and deep, perfect for a rainy night.
Which one would you try first? Comment below!
Serving It Up Right
Now, what to serve with our masterpiece? My heart says creamy mashed potatoes. They are the gravy’s best friend. Buttery green beans are lovely too. For color, add roasted carrots or cranberry sauce. It makes the plate so cheerful.
To drink? A crisp apple cider is wonderful. It’s non-alcoholic and so refreshing. For the grown-ups, a glass of Chardonnay pairs beautifully. It sips nicely with the rich gravy. Which would you choose tonight?
Keeping Your Turkey Cozy for Later
Let’s talk about leftovers. They are a happy bonus. First, let the turkey cool completely. Then slice what you need for meals. Store slices in gravy in a sealed container. It keeps in the fridge for three days.
For the freezer, pack slices and gravy separately. Use airtight bags or containers. They will be good for two months. Thaw in the fridge overnight. Reheat gently in a saucepan with some gravy.
I once reheated turkey in the microwave. It got dry and tough. Now I always use the stovetop with gravy. It stays juicy. Batch cooking matters for busy weeks. A ready-made meal is a gift to your future self.
Have you ever tried storing it this way? Share below!
Turkey Troubles? Easy Fixes Right Here
Problem one: dry turkey. The key is not overcooking. Use a thermometer. Pull it at 160 degrees. It will keep cooking as it rests.
Problem two: pale, soft skin. Browning in the skillet first is crucial. Get that skin golden and crisp. I remember skipping this step once. The turkey looked sad. Good browning means better flavor.
Problem three: lumpy gravy. Whisk the flour into the butter slowly. Add your stock a little at a time. This builds your confidence. Smooth gravy feels like a real win.
Which of these problems have you run into before?
Your Turkey Questions, Answered
Q: Can I make this gluten-free? A: Yes! Use cornstarch or a gluten-free flour blend for the gravy.
Q: Can I make parts ahead? A: Absolutely. Make the stock a day or two early. It saves time.
Q: No fresh rosemary? A: Use one teaspoon of dried rosemary instead. It will still taste lovely.
Q: Can I make a smaller portion? A: You can use a smaller breast. Just reduce the roasting time.
Q: Any optional tips? A: Let the turkey rest a full 15 minutes. This keeps all the juices inside. *Fun fact: letting meat rest is called “carryover cooking.”
Which tip will you try first?
From My Kitchen to Yours
I hope you enjoy this recipe. It feels like a Sunday dinner at my house. The smell fills the whole home. It is a hug on a plate.
I would love to hear from you. Tell me about your kitchen adventures. Your stories make my day brighter.
Have you tried this recipe? Share your experience in the comments. Happy cooking!
—Grace Ellington.

Juicy Turkey Breast with Rich Homemade Gravy
Description
A succulent, boneless turkey breast, roasted to perfection and served with a rich, flavorful homemade gravy made from scratch.
Ingredients
Turkey:
Turkey Stock:
Gravy:
Instructions
- For the turkey: Position turkey breast skin side up on cutting board. Using sharp knife, remove each breast half from bone by cutting through skin on top of breast on either side of center bone. Continue to work knife along bone until each breast half is removed. Reserve breastbone for stock. Combine salt, rosemary, and pepper in bowl. Sprinkle breasts all over with salt mixture.
- Lay two 24-inch pieces of kitchen twine crosswise in middle of 8½ by 4½-inch loaf pan, about 1 inch apart. Arrange 1 breast half skin side down in pan on top of twine. Position remaining breast half over first, skin side up, with thick end over tapered end. Tuck turkey into edges of pan to fit if necessary. Tie twine tightly to secure. Remove turkey from pan and continue to tie at 1-inch intervals. Wrap in plastic wrap and refrigerate for at least 2 hours or up to 24 hours.
- For the turkey stock: Meanwhile, adjust oven rack to middle position and heat oven to 450 degrees. Line rimmed baking sheet with aluminum foil. Place reserved breastbone on prepared sheet and roast until well browned, about 1 hour. Let sit until cool enough to handle, about 15 minutes.
- Place breastbone in large saucepan (if necessary, use kitchen shears to break down bone to fit). Add onion, carrot, celery, rosemary sprigs, and bay leaf. Add water to cover by 1 inch and bring to boil over high heat. Reduce heat to medium-low and simmer for 1 hour. (Bone should remain covered with water throughout simmer.)
- Discard breastbone. Strain turkey stock through fine-mesh strainer set over large bowl. Using spoon, press on solids to extract liquid; discard solids. Reserve turkey stock to make gravy when ready.
- Three hours before serving, adjust oven rack to middle position and heat oven to 275 degrees. Set wire rack in rimmed baking sheet. Heat oil in 12-inch nonstick skillet over medium-high heat until just smoking. Add turkey and cook until well browned on all sides, about 10 minutes. Transfer turkey to prepared wire rack. Roast until turkey registers 160 degrees, 2¼ to 2¾ hours. Transfer turkey to carving board and let rest for 15 minutes.
- For the gravy: Meanwhile, melt butter in large saucepan over medium heat. Whisk in flour until smooth. Cook, whisking frequently, until peanut butter–colored, about 5 minutes. Slowly whisk in 3 cups turkey stock until no lumps remain. (Remaining stock can be refrigerated for up to 2 days or frozen for up to 2 months.) Whisk in wine, 1½ teaspoons salt, and ½ teaspoon pepper and bring to boil. Reduce heat to medium-low and simmer until slightly thickened and reduced to about 2½ cups, 8 to 10 minutes. Off heat, season with salt and pepper to taste. Cover and keep warm.
- Slice turkey ½ inch thick, removing twine as you slice. Serve, passing gravy separately.
Notes
- For a deeper gravy flavor, you can brown the turkey bones for the stock for an extra 15-20 minutes. Let the turkey rest fully before carving to keep it juicy.

