The Little Jar of Nuts
I keep a jar of pine nuts on my counter. They look like tiny, pale teardrops. I bought them for a salad but changed my mind.
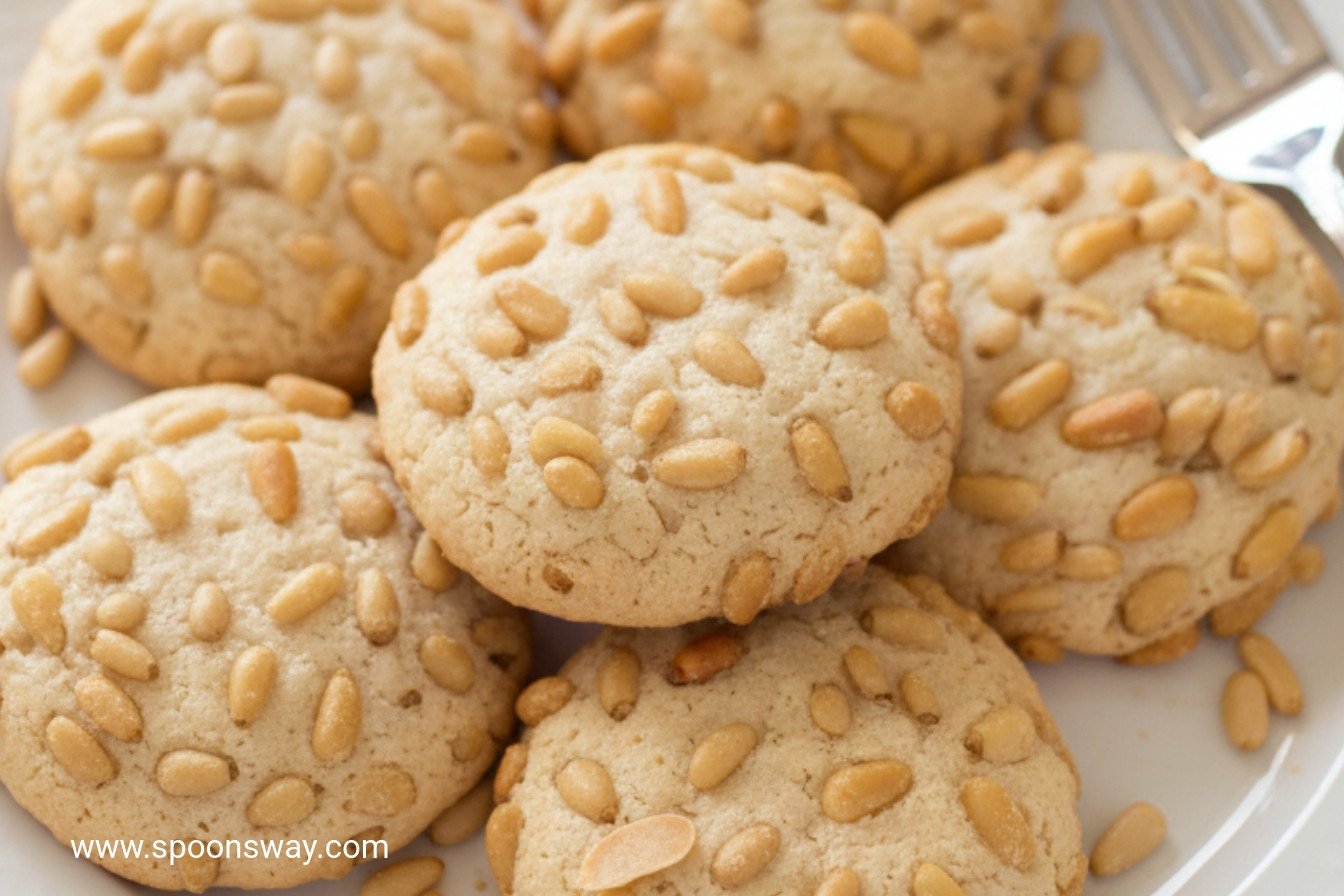
I thought, “These deserve to be the star.” So, we make cookies. Their gentle, buttery taste is perfect for it. Doesn’t that sound nice?
Why Two Nuts Are Better Than One
This recipe uses almonds and pine nuts. The almonds make the cookie tender inside. The pine nuts give a lovely crunch outside.
This matters because texture is a secret joy. A cookie should be fun to eat. A little crunch, then a soft melt. It makes you smile.
A Sticky Situation
The dough is very sticky. My first time, I got it all over my fingers. I still laugh at that.
Here’s my tip. Use a light hand. Roll the dough ball quickly. Then roll it in the pine nuts. The nuts will stick just right. What kitchen mess makes you laugh?
The Magic of the Oven
You must switch the baking sheets halfway. This is important. It gives every cookie a fair chance to turn golden.
Watch them carefully. They go from pale to perfect in a minute. Your kitchen will smell amazing. Like toasty, sweet nuts. *Fun fact: Pine nuts are actually seeds from pine cones!*
The Hardest Part
You must let them cool. I know, it’s hard! But if you bite too soon, they crumble.
Waiting matters. It lets the cookie set. It makes the flavor richer. Have you ever ruined a treat by not waiting?
More Than a Cookie
These aren’t everyday cookies. They are for a quiet afternoon. Or for sharing with a friend over tea.
Making them teaches patience. And it shows how small, simple things can be special. What is your favorite “special occasion” treat?
Your Turn in the Kitchen
Now, you try. The steps are simple. Grind, mix, roll, and bake.
Listen for the quiet crunch. Taste the soft heart. I think you will love them. Will you use a food processor or try something else?
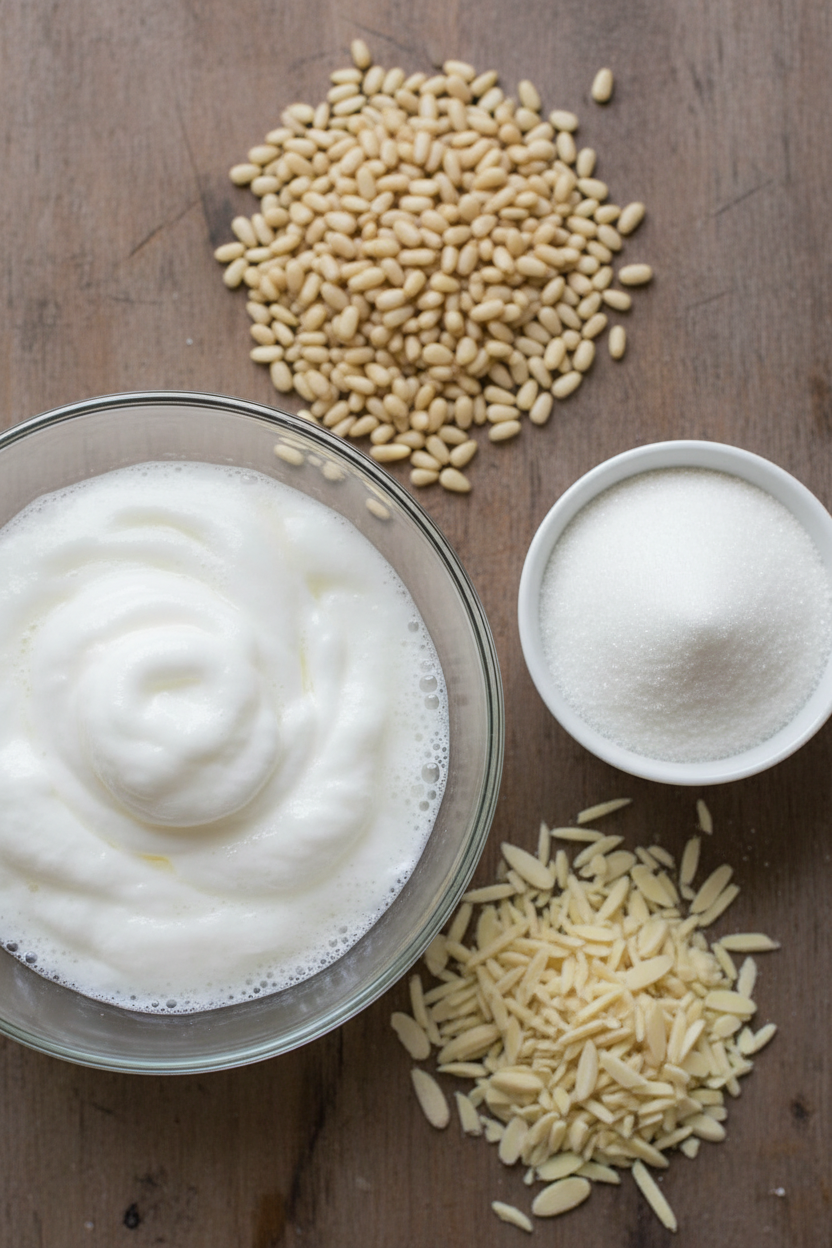
Ingredients:
| Ingredient | Amount | Notes |
|---|---|---|
| Slivered almonds | 1⅔ cups | |
| Sugar | 9⅓ ounces (265 grams/1⅓ cups) | |
| Large egg whites | 2 | |
| Pine nuts | 1 cup | For rolling the cookies |
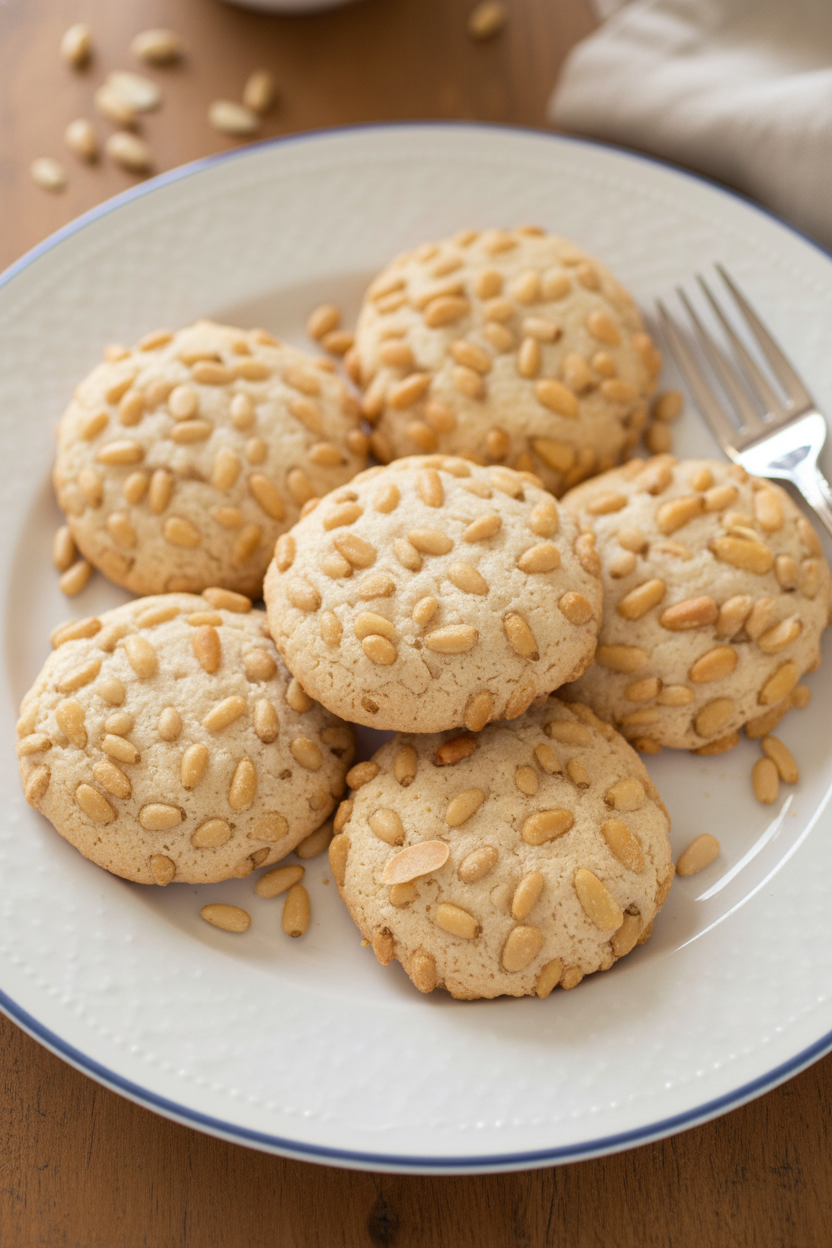
My Perfect Pine Nut Cookies
Hello, my dear. Come sit. Let’s make my favorite little cookies. They are crisp and sweet, with a crown of golden pine nuts. I first tasted them at my Aunt Marion’s house. I was just about your age. The flavor stuck with me for fifty years. Isn’t that funny how food can do that?
These cookies are simpler than they look. We just blend a few good things together. The magic is in the pine nuts. They toast up so nice in the oven. Doesn’t that smell amazing? It reminds me of a sunny Italian hillside. I still smile thinking about it. Let’s get our bowls ready.
Step 1: First, get your oven ready. Move your racks to the upper and lower middle spots. Heat the oven to 375 degrees. Then, line two baking sheets with parchment paper. This little paper is a lifesaver. It keeps the cookies from sticking. I learned that the hard way once. (My hard-learned tip: Always line your sheets. Trust me on this.)
Step 2: Now, for the dough. Put your slivered almonds and sugar in the food processor. Let it whir until it looks like fine sand. This takes about half a minute. Scrape the sides down. Then add the two egg whites. Process it again until it’s smooth. The dough will be quite sticky. That’s just right. Pour your pine nuts into a shallow bowl.
Step 3: Here’s the fun part. Scoop up a scant tablespoon of dough. Roll it into a little ball between your palms. Then, roll it gently in the bowl of pine nuts. Press lightly so they stick. Place each ball on your baking sheet. Give them room to breathe, about two inches apart. Why do we space them out? Share below!
Step 4: Time to bake. Put both sheets in the oven. After about 7 minutes, switch their positions. Also, turn the sheets around. This makes sure they bake evenly. Bake until they are a light golden brown, about 13-15 minutes total. Let them cool on the sheet for 5 minutes. Then move them to a rack. They must cool completely. This is when they get perfectly crisp.
Cook Time: 13–15 minutes
Total Time: About 45 minutes
Yield: About 2 dozen cookies
Category: Dessert, Cookies
Three Tasty Twists to Try
Once you master the classic, you can play. I love adding little changes. It keeps baking exciting. Here are three ideas from my kitchen notebook.
The Citrus Zing: Add the zest of one lemon or orange to the dough. It makes the cookies taste so fresh and bright.
The Chocolate Dip: Let the baked cookies cool. Then, dip half of each cookie into melted dark chocolate. Let it set on wax paper. A real treat.
The Herb Surprise: Add one teaspoon of finely chopped rosemary to the pine nuts. It sounds funny, but it’s wonderfully fragrant.
Which one would you try first? Comment below!
Serving Them Up with Style
These cookies are lovely all on their own. But I like to make a moment of it. For a fancy tea, stack them on a vintage plate. Add a few fresh raspberries on the side. The colors are beautiful together. You could also crumble one over a bowl of vanilla ice cream. So good.
What to drink? For a grown-up evening, a small glass of sweet sherry is perfect. It matches the nuts. For everyone, a pot of peppermint tea or a glass of cold milk is just right. The cool milk with the crisp cookie is childhood joy. Which would you choose tonight?
Keeping Your Pine Nut Cookies Perfect
These cookies keep beautifully. Just let them cool completely first. Then tuck them into an airtight container. They will stay crisp and happy for four days.
You can also freeze them for a month. I layer them between wax paper in a sturdy box. This stops them from getting crushed. I once forgot a batch in my freezer for weeks. They were still a lovely treat with afternoon tea.
Batch cooking saves so much time. Make a double batch of the dough. Roll the extra balls and freeze them on a tray. Once frozen, pop them into a bag. You can bake a few fresh cookies anytime! This matters because a little planning brings sweet joy on busy days. Have you ever tried storing cookies this way? Share below!
Cookie Troubles? Here Are Simple Fixes
Is your dough too sticky? Wet your hands lightly with water. This stops the dough from sticking to your palms. The balls will roll much easier.
Are the pine nuts not sticking well? Gently press them into the dough ball. I remember my first batch had bald spots. A little press fixes everything. This matters because that nutty coating gives a wonderful crunch.
Are the cookies browning unevenly? Swapping the trays halfway is key. Move the top tray to the bottom rack. Rotate each tray front to back, too. This matters for even baking and perfect color. Which of these problems have you run into before?
Your Quick Cookie Questions, Answered
Q: Are these cookies gluten-free? A: Yes! They use almonds instead of flour.
Q: Can I make the dough ahead? A: Absolutely. Keep it covered in the fridge for one day.
Q: No pine nuts? What can I use? A: Try finely chopped pistachios or hazelnuts. They are just as good.
Q: Can I double the recipe? A: You can. Just mix it in two batches for best results.
Q: Any optional tip? A: A tiny pinch of salt in the dough makes the flavor sing. Which tip will you try first?
From My Kitchen to Yours
I hope you love making these little bites. They always remind me of quiet winter afternoons. My kitchen window would steam up from the oven’s warmth. Fun fact: pine nuts are actually seeds from pine cones!
It is a simple joy to share food and stories. I would love to hear about your baking adventure. Have you tried this recipe? Tell me about your experience in the comments. Thank you for spending this time with me.
Happy cooking!
—Grace Ellington
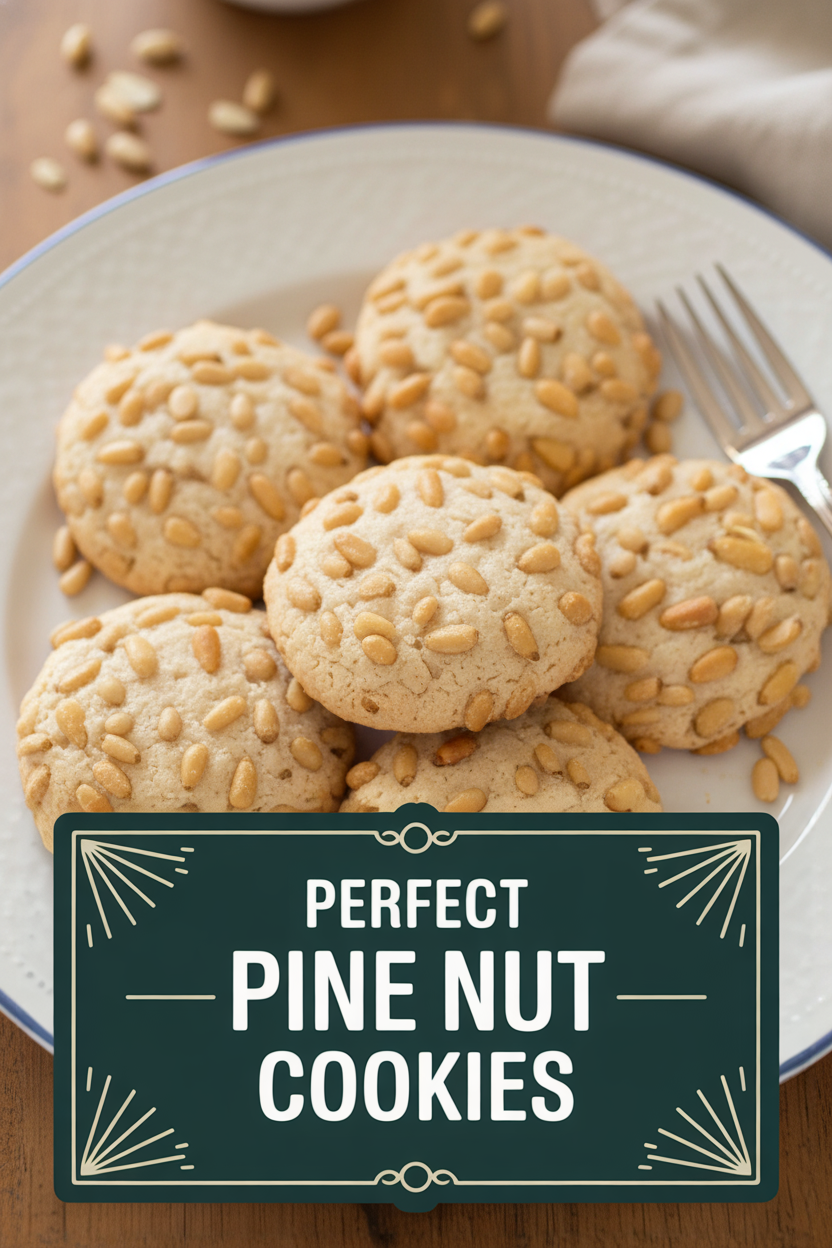
Perfect Pine Nut Cookies
Description
Delicate, chewy almond cookies coated in crunchy pine nuts. A sophisticated and gluten-free treat perfect for any occasion.
Ingredients
Instructions
- Adjust oven racks to upper-middle and lower-middle positions and heat oven to 375 degrees. Line 2 baking sheets with parchment paper.
- Process almonds and sugar in food processor until finely ground, about 30 seconds. Scrape down sides of bowl and add egg whites. Continue to process until smooth (dough will be wet), about 30 seconds; transfer mixture to bowl. Place pine nuts in shallow dish.
- Working with 1 scant tablespoon dough at a time, roll into balls, roll in pine nuts to coat, and space 2 inches apart on prepared sheets.
- Bake cookies until light golden brown, 13 to 15 minutes, switching and rotating sheets halfway through baking. Let cookies cool on sheets for 5 minutes, then transfer to wire rack. Let cookies cool to room temperature before serving.
Notes
- (Cookies can be stored in airtight container at room temperature for up to 4 days.)

