The Story of a Striped Dough
Let me tell you about my first candy cane cookies. I tried to paint stripes on them. It was a mess. My kitchen looked like a peppermint crime scene.
Then I learned this trick. You make two doughs, one red and one plain. You layer them and cut strips. Then you just twist. It feels like magic. I still laugh at that first messy try.
Why We Cream the Butter
This step matters more than you think. You beat the butter and sugars for a few minutes. It gets pale and fluffy. This puts tiny air pockets in the dough.
Those pockets make the cookie tender. They keep it from being dense. So don’t rush this part. Your patience makes a better cookie. Doesn’t that smell amazing already?
The Chilling Secret
You must chill the dough. I know, waiting is hard. But warm dough is too soft to twist. It will just sag and lose its shape.
Chilling firms the butter back up. This helps your candy canes hold their curve in the oven. This step matters for pretty cookies. What’s your least favorite part of waiting when you bake?
A Sweet Little Twist
The fun part is twisting the strips. Roll each strip on the counter first. It smooths the edges. Then just twist the red and white together.
It’s like playing with edible playdough. Roll it in sugar next. This gives a little sparkle and crunch. Fun fact: The first candy canes were all white. The red stripes came much later!
Baking with Two Sheets
We use two oven racks. We put a sheet on each. Halfway through baking, we switch them. We also turn the sheets around.
This makes every cookie bake evenly. No burnt edges on one side. It’s a simple trick for perfect results. Do you have a favorite cookie to make during the holidays?
The Real Flavor Magic
Use both extracts. The vanilla is important. It rounds out the sharp peppermint. It makes the flavor warm and cozy, not just minty.
It reminds me of a candy shop. That balance is the taste of Christmas to me. It turns a simple cookie into a memory. What smell makes you think of the holidays?
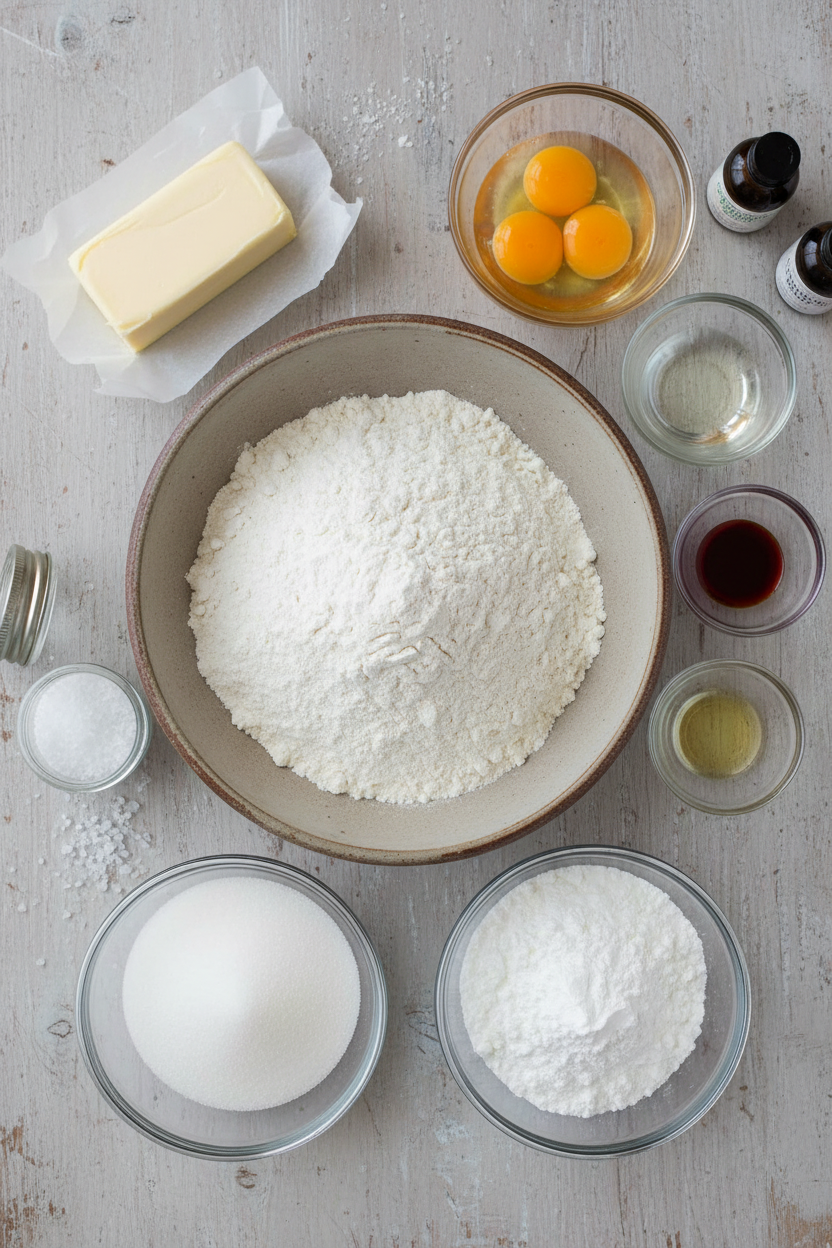
Ingredients:
| Ingredient | Amount | Notes |
|---|---|---|
| All-purpose flour | 2 ¼ cups (11 ¼ ounces/319 grams) | |
| Salt | ½ teaspoon | |
| Unsalted butter, softened | 16 tablespoons | 2 sticks / 1 cup / 8 ounces / 227 grams |
| Granulated sugar | ¾ cup (5 ¼ ounces/149 grams) | For dough |
| Granulated sugar | ½ cup | For rolling |
| Confectioners’ sugar | ½ cup (2 ounces/57 grams) | |
| Large egg yolks | 2 | |
| Peppermint extract | 2 teaspoons | |
| Vanilla extract | 1 teaspoon | |
| Red food coloring | 12 drops | For half the dough |
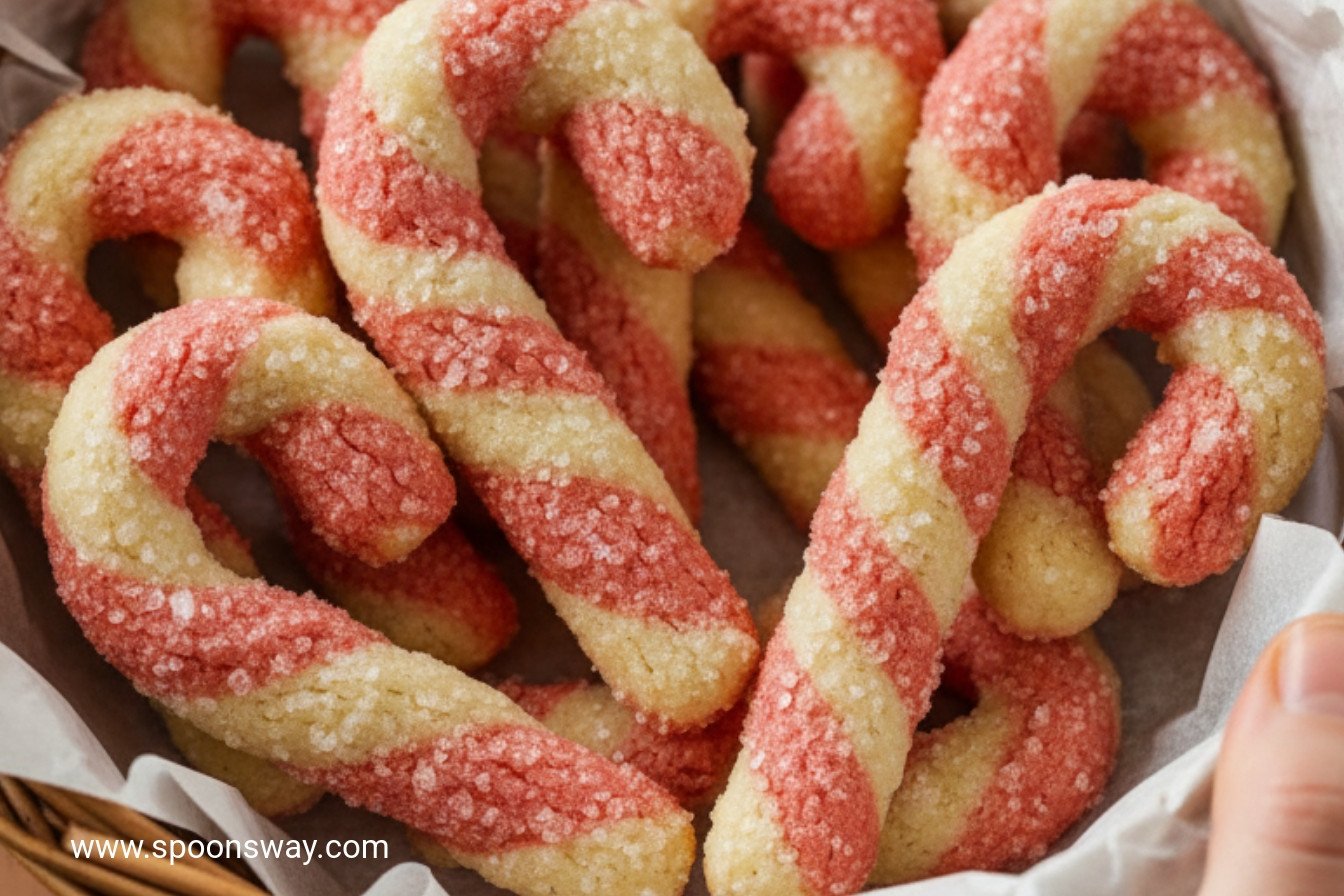
Peppermint Candy Cane Secrets Revealed
Hello, my dear. Come sit at the counter. I want to share a secret with you. These aren’t just any cookies. They are little stories from my childhood kitchen. My grandma and I made them every December. The smell of peppermint would fill the whole house. It still makes me smile. Today, we’ll make them together. It’s like a sweet, swirly craft project. Are you ready? Let’s begin.
Step 1: First, we mix our dough. Whisk your flour and salt in a bowl. Now, let your butter get nice and soft. Cream it with the sugars until it’s fluffy and pale. This takes a few minutes. Add the egg yolks and those wonderful extracts. Peppermint and vanilla are best friends. Doesn’t that smell amazing? Mix in the flour until it just comes together. (A hard-learned tip: Don’t over-mix! It makes tough cookies.)
Step 2: Now for the magic. Split the dough in half. Add red food coloring to one half. Mix it until it’s a beautiful, bright red. Shape each half into a neat square. Wrap them up tight in plastic. They need a long nap in the fridge. This chills the butter and makes the dough easy to roll. I use this time to clean up. Or to have a cup of tea!
Step 3: Time to create stripes! Roll each square into a bigger, thinner square. Carefully flip one on top of the other. Gently roll them together so they stick. You now have a pretty red-and-white layered dough. Cut this in half and chill it again briefly. This keeps the stripes sharp. Why do we chill the dough twice? Share below!
Step 4: Here’s the fun part. Cut your dough into thin strips. Gently twist each strip into a spiral. Roll it on the counter to smooth it. Then, roll it in sugar for a little sparkle. Bend the top to form the candy cane hook. Place them on your baking sheets. They need space to breathe. I still laugh at my first batch. They all baked into one big cookie blob!
Step 5: Bake them until the edges are just light brown. Switch the trays halfway for even baking. Let them cool on the sheet for five minutes. Then move them to a rack. The smell is pure holiday joy. Let them cool completely before you sneak a taste. They will be crisp and perfect. Now you know the secret. It’s all in the twist and the chill.
Cook Time: 13–15 minutes
Total Time: About 3 hours (includes chilling)
Yield: About 3 dozen cookies
Category: Dessert, Cookies
Three Sweet Twists to Try
Once you master the classic, try a new flavor. It’s so much fun. Here are three of my favorite twists. They make the kitchen smell even better.
Chocolate Swirl: Swap the peppermint for one teaspoon of almond extract. Add two tablespoons of cocoa powder to the red half. It tastes like a chocolate cherry candy cane.
Fruity Stripes: Use raspberry or strawberry extract instead of peppermint. Keep the red coloring. It’s a berry-bright surprise. My grandkids love this one.
Sparkle & Shine: After the sugar roll, press in crushed candy canes or sprinkles. They look like they fell from a Christmas tree. So pretty on a plate.
Which one would you try first? Comment below!
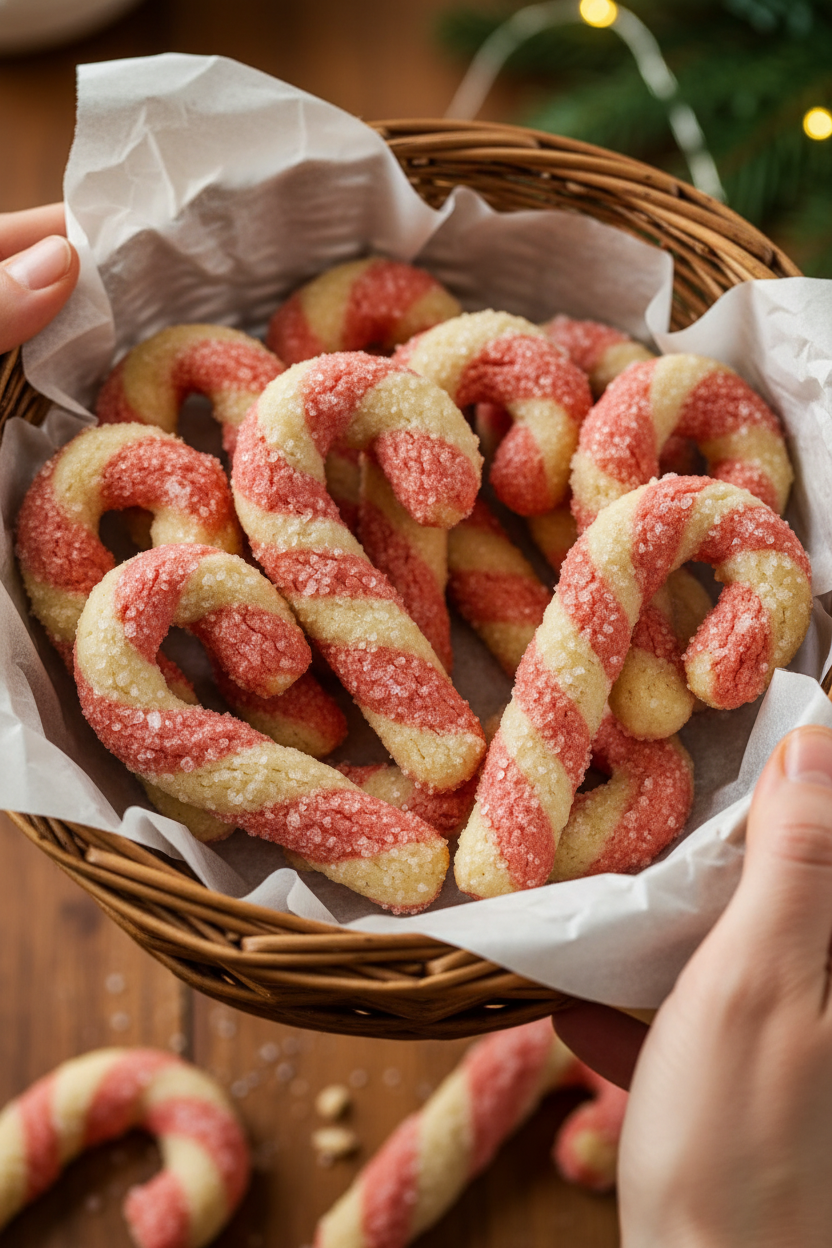
Serving Your Sweet Creations
These cookies are stars all on their own. But I love to make them extra special. For a party, tie a few with a ribbon. They make a lovely gift. Or, crumble them over a bowl of vanilla ice cream. The mix of cold and crunchy is wonderful.
What to drink? With milk, of course. A cold glass is the perfect partner. For the grown-ups, a cup of hot cocoa with a peppermint schnuggle is cozy. Or a hot peppermint tea. It just feels right.
Which would you choose tonight? A glass of milk or a warm, minty drink? I think I can guess.
Keeping Your Candy Canes Crisp
These cookies stay fresh in a tin for a week. Layer them with parchment paper. For longer storage, freeze the baked cookies.
You can also freeze the dough squares. Just thaw them in the fridge overnight. Then you can roll and bake them fresh.
I once left a batch out overnight. They got soft and sad. Now I always tuck them away right after cooling.
Batch cooking matters for busy days. Having dough ready is a gift to your future self. It makes holiday baking feel easy.
Have you ever tried storing cookie dough in the freezer? Share your method below!
Cookie Troubles and Simple Fixes
First, dough too crumbly? It might be too cold. Let it sit on the counter for ten minutes. It will soften just enough.
Second, colors bleeding together? Chill the layered dough well. I remember rushing this step once. My candy canes looked pink, not striped!
Third, cookies spreading too much? Your butter was likely too soft. Properly softened butter should hold a thumbprint. This matters for the right shape.
Fixing small issues builds your kitchen confidence. It also makes your treats look as good as they taste. Every baker has these moments.
Which of these problems have you run into before? The crumbly dough is my old foe!
Your Candy Cane Questions
Q: Can I make these gluten-free? A: Yes! Use a good gluten-free flour blend. The results are often just as good.
Q: How far ahead can I make them? A: The dough keeps for three days in the fridge. Baked cookies freeze beautifully for a month.
Q: What can I use instead of peppermint extract? A: Try almond or vanilla extract. You will get a lovely, simple butter cookie.
Q: Can I double the recipe? A: Absolutely. Just mix in two separate batches. It ensures everything blends evenly.
Q: Any optional tips? A: A tiny sprinkle of coarse sugar adds sparkle. Fun fact: The candy cane shape is meant to look like a shepherd’s crook.
Which tip will you try first? The gluten-free swap or the make-ahead dough?
From My Kitchen to Yours
I hope you enjoy making these festive cookies. The twist and shape is such a fun kitchen project. It always makes me smile.
Please tell me all about your baking adventure. I love hearing your stories and seeing your creations. Your kitchen stories are my favorite thing to read.
Have you tried this recipe? Give your experience on Comment. I will be right here, reading every one.
Happy cooking!
—Grace Ellington.
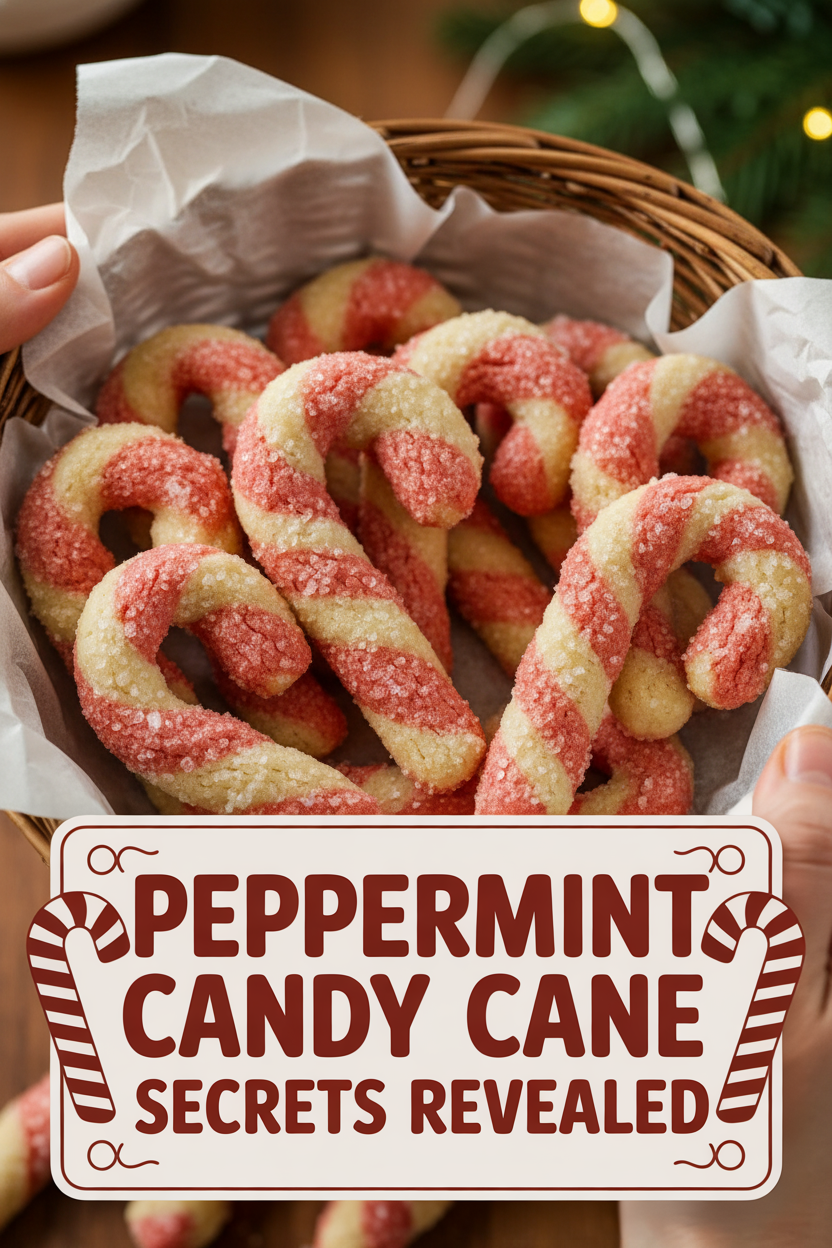
Peppermint Candy Cane Secrets Revealed
Description
Discover the secrets to making beautiful, classic peppermint candy cane cookies at home with this detailed recipe.
Ingredients
Instructions
- Whisk flour and salt together in bowl. Using stand mixer fitted with paddle, beat butter, ¾ cup granulated sugar, and confectioners’ sugar on medium-high speed until pale and fluffy, 3 to 6 minutes. Add egg yolks, peppermint extract, and vanilla and beat until well incorporated. Reduce speed to low, slowly add flour mixture, and mix until combined. Set aside half of dough; add food coloring to remaining dough and mix until fully incorporated. Shape each half into 5-inch square, wrap tightly in plastic wrap, and refrigerate until firm, about 2 hours.
- Adjust oven racks to upper-middle and lower-middle positions and heat oven to 325 degrees. Line 2 baking sheets with parchment paper. Spread remaining ½ cup granulated sugar in shallow dish.
- Roll each dough square into 9-inch square on piece of parchment. Flip 1 dough square on top of other dough square and gently roll to adhere. Cut square in half and refrigerate until firm, about 15 minutes. Cut 1 half into 4½ by ¼-inch strips. Gently twist each strip into spiral, rolling to smooth out edges. Roll in granulated sugar, shape into candy canes, and space 1 inch apart on prepared sheets. Bake until edges are light brown, 13 to 15 minutes, switching and rotating sheets halfway through baking. Let cookies cool on sheets for 5 minutes, then transfer to wire rack. Repeat with remaining dough. Let cookies cool completely before serving.
Notes
- For best results, ensure the dough is well chilled before rolling and shaping. Store cookies in an airtight container at room temperature for up to 5 days.

