My First Turkey Adventure
I once made a turkey so dry, we joked about using it as a doorstop. I still laugh at that. It taught me a big lesson. Good food is about love, not stress.
That’s why I love this method. It’s like a warm bath for the turkey. The gentle heat keeps every bit juicy. You just can’t mess it up. Have you ever had a cooking disaster that made you smile later?
Why This Way Matters
This matters because everyone deserves a perfect turkey. No more dry, sad slices on the plate. The sous vide does the hard work for you. It cooks the meat evenly from edge to edge.
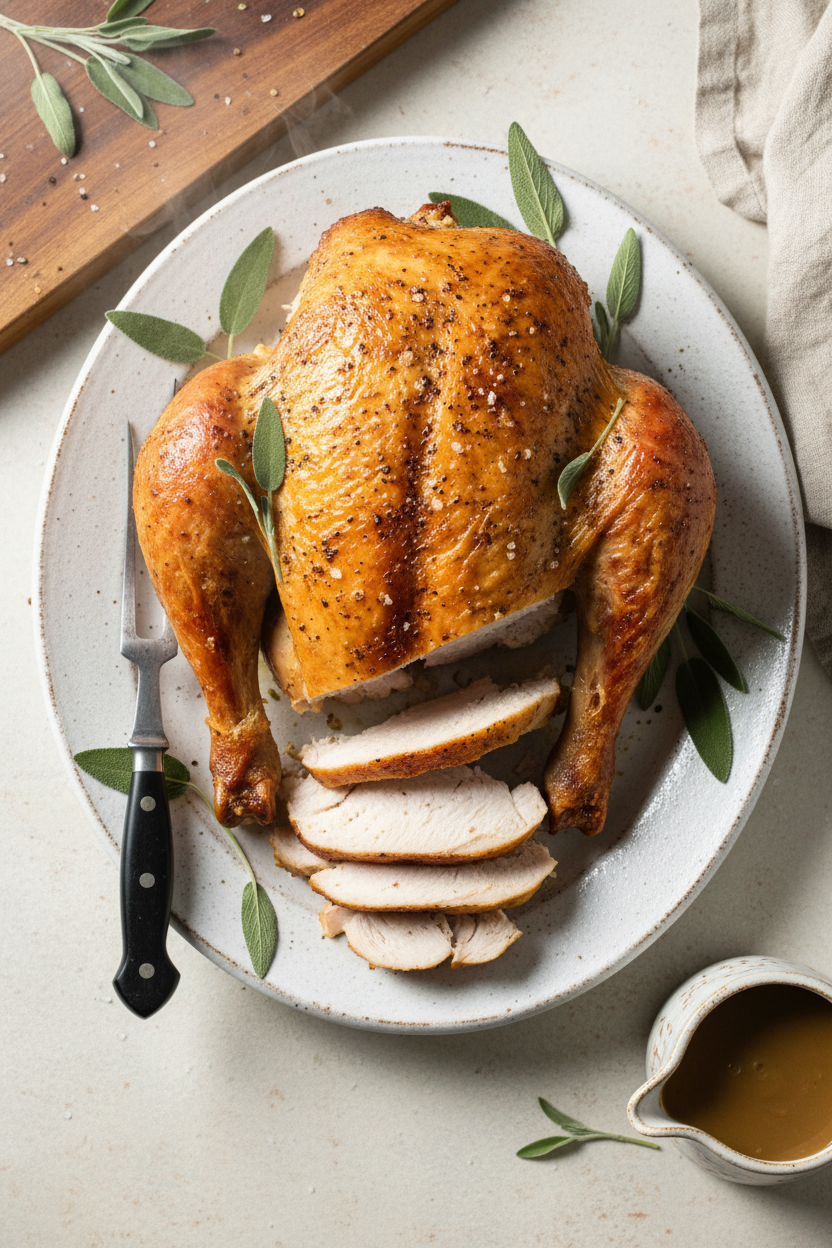
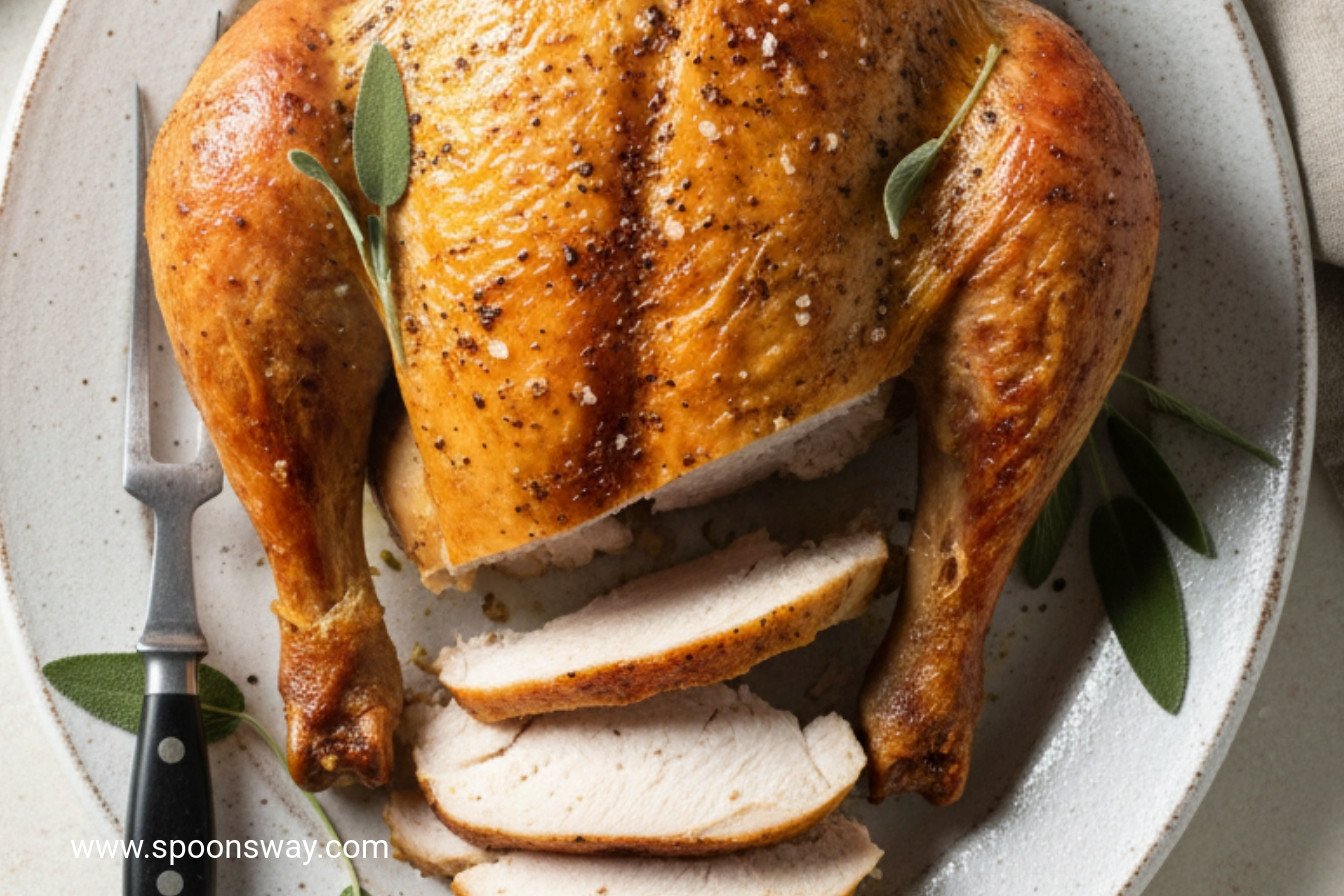
The final sear in the pan is the magic touch. It gives you that crispy, golden skin everyone fights over. Doesn’t that smell amazing? It’s the best of both worlds: tender inside, crunchy outside.
A Simple Plan for Perfect Meat
First, you take the bone out. It’s easier than it sounds. Just follow that rib cage with your knife. Season the breast well with salt and pepper.
Then, into the bag it goes with a little oil. The oil helps the heat move around the meat. You let it swim in that warm bath for hours. This long, slow cook is what makes it so tender. What’s your favorite “set it and forget it” kitchen trick?
The Crispy Finish
After its bath, dry the turkey well. This is key for crisp skin. Get your skillet nice and hot. You’ll hear a glorious sizzle when the skin hits the pan.
Let it get golden and perfect. That sound and smell mean happiness is almost ready. Fun fact: That sizzle is moisture instantly turning to steam, searing the surface. Let it rest, then slice. See those juicy lines? That’s success.
Make It Ahead, No Fuss
This matters for busy days. You can cook the turkey days before. Just cool it fast in ice water and keep it in the fridge.
When you need it, drop the bag back in warm water. In thirty minutes, it’s like it just finished. Then sear and serve. It turns a big meal into easy work. Do you like to cook ahead, or do everything the day of?
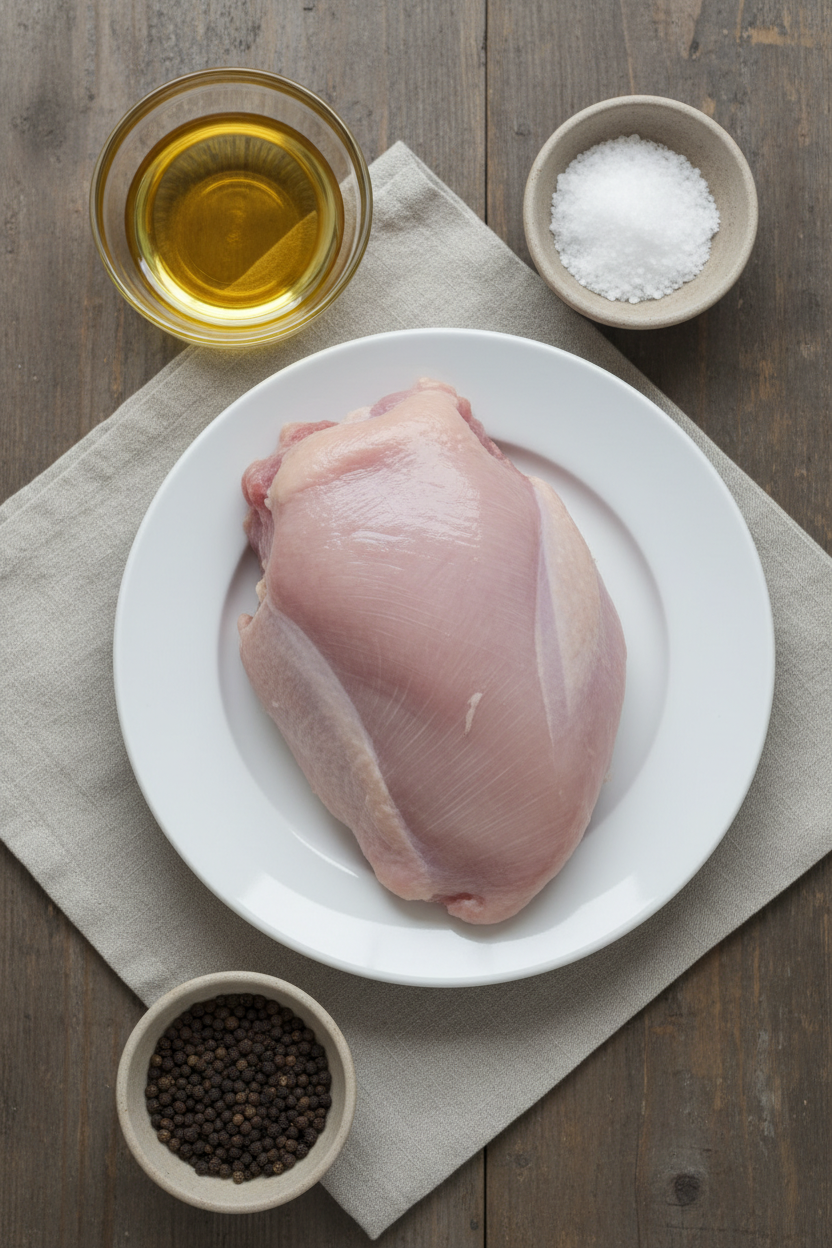
Ingredients:
| Ingredient | Amount | Notes |
|---|---|---|
| Bone-in turkey breast | 1 (7-pound) | Breast halves will be removed from the bone. |
| Vegetable oil | ½ cup plus 2 tablespoons | Divided use: ¼ cup per bag for cooking, 2 tbsp for searing. |
| Salt and pepper | To taste | For seasoning the turkey breast halves. |
My Secret for the Juiciest Turkey Breast Ever
Hello, my dear. Come sit. Let’s talk turkey. I used to worry about cooking it. It would get so dry. Then my grandson showed me this “sous vide” method. It sounds fancy, but it’s just a warm water bath. It cooks the turkey gently, perfectly. The result is magic. Every single bite is juicy and tender. I still smile when I take it out of the bag. Doesn’t that sound wonderful?
You will need a few things. A big pot, a sous vide machine, and some bags. The turkey gets a simple rub of salt and pepper. That’s all. The flavor comes from the turkey itself. (My hard-learned tip: Use freezer bags, not storage bags. They are stronger for the hot water.) Ready? Let’s begin.
Step 1: Fill your pot with water. Turn on your sous vide machine. Set it for 145 degrees. We want it nice and warm, not boiling. This is the secret to keeping all the juices inside. It’s like a cozy spa for the turkey. I always check the temperature twice. Patience is key here.
Step 2: Now, prepare the turkey. Carefully cut the meat off the bone. It’s easier than it looks. Season it well all over. Place each piece in its own bag with a little oil. Seal it up, pushing out the air. I still laugh at how I chase the last bubbles out. Gently lower the bags into the warm water. Clip them to the side. Let them cook for about four hours. You can go read a book!
Step 3: Time for the magic finish. Take the turkey out and dry it. Heat a skillet until it’s very hot. This is for the crispy skin. Place the turkey in, skin-side down. Listen to that wonderful sizzle! Let it get golden and crisp. It only takes a few minutes. Then, let it rest before you slice. See how juicy it is inside? What’s your favorite part of Thanksgiving dinner? Share below!
Cook Time: 4–5 hours
Total Time: 4 hours 20 minutes
Yield: 6 servings
Category: Dinner, Holiday
Three Fun Twists to Make It Your Own
This recipe is a perfect canvas. Once you master the basic method, try playing. Here are three of my favorite ideas. They are simple but change everything.
Herb Garden Dream: Add fresh rosemary and thyme to the bag with the turkey. The whole kitchen will smell like a summer garden.
Maple Smokehouse: Brush the turkey with a little maple syrup before searing. It gives a sweet, smoky crust that is just divine.
Zesty Lemon Pepper: Mix lemon zest and extra black pepper into your salt rub. It’s bright and lively, perfect for a spring meal.
Which one would you try first? Comment below!
The Perfect Plate for Your Masterpiece
Such beautiful turkey deserves a beautiful plate. I love to slice it thick and fan it out. For sides, keep it simple. Buttery mashed potatoes are a must. They love that turkey juice. Some roasted carrots or green beans add a lovely color. A little cranberry sauce on the side is perfect.
What to drink? For a special dinner, a glass of chilled apple cider is lovely. The sweetness is so nice with the savory turkey. For the grown-ups, a glass of Pinot Noir wine pairs beautifully. It feels very festive. Which would you choose tonight?
Smart Storing for Your Perfect Turkey
Let’s talk about keeping your turkey juicy for days. You can cook it ahead of time. Just chill it fast in an ice bath after the sous vide step.
Then pop the sealed bag in the fridge. It will stay good for five days. I remember my first time doing this. I was so nervous it would dry out.
But it reheated perfectly in the warm water bath. This matters because it takes the stress out of a big meal. You can enjoy your company instead.
You can even freeze the sealed bag for a future dinner. Have you ever tried storing it this way? Share below!
Fixing Common Turkey Troubles
Sometimes the skin won’t get crispy in the pan. Make sure you pat the turkey very dry first. A wet turkey steams instead of browns.
I once forgot this step. The skin was soft and I was so disappointed. Getting a good sear matters. It adds wonderful flavor and texture.
Another issue is the bag floating in the water. Clip it securely to the side of the container. Also, press out all the air you can.
Finally, don’t rush the resting time. Let the turkey sit after searing. This lets the juices settle back into the meat. Which of these problems have you run into before?
Your Turkey Questions, Answered
Q: Is this recipe gluten-free? A: Yes, it is. Just check your seasonings to be sure.
Q: Can I really make it ahead? A: Absolutely. Follow the “To Make Ahead” steps. It works beautifully.
Q: What oil can I swap for vegetable oil? A: Use any neutral, high-heat oil. Avocado or canola oil are great.
Q: Can I cook a smaller breast? A: Yes. Just reduce the oil slightly. The cooking time stays the same.
Q: Any optional tips? A: Try adding herbs to the bag. Thyme or rosemary are lovely. *Fun fact: Turkey breast cooked sous vide is incredibly forgiving on timing.* Which tip will you try first?
From My Kitchen to Yours
I hope you love this method as much as I do. It makes a special meal feel simple. My kitchen is always open for more chat.
Tell me about your cooking adventures. I read every comment with my morning tea. Have you tried this recipe? Give your experience in the comments.
Happy cooking!
—Grace Ellington.
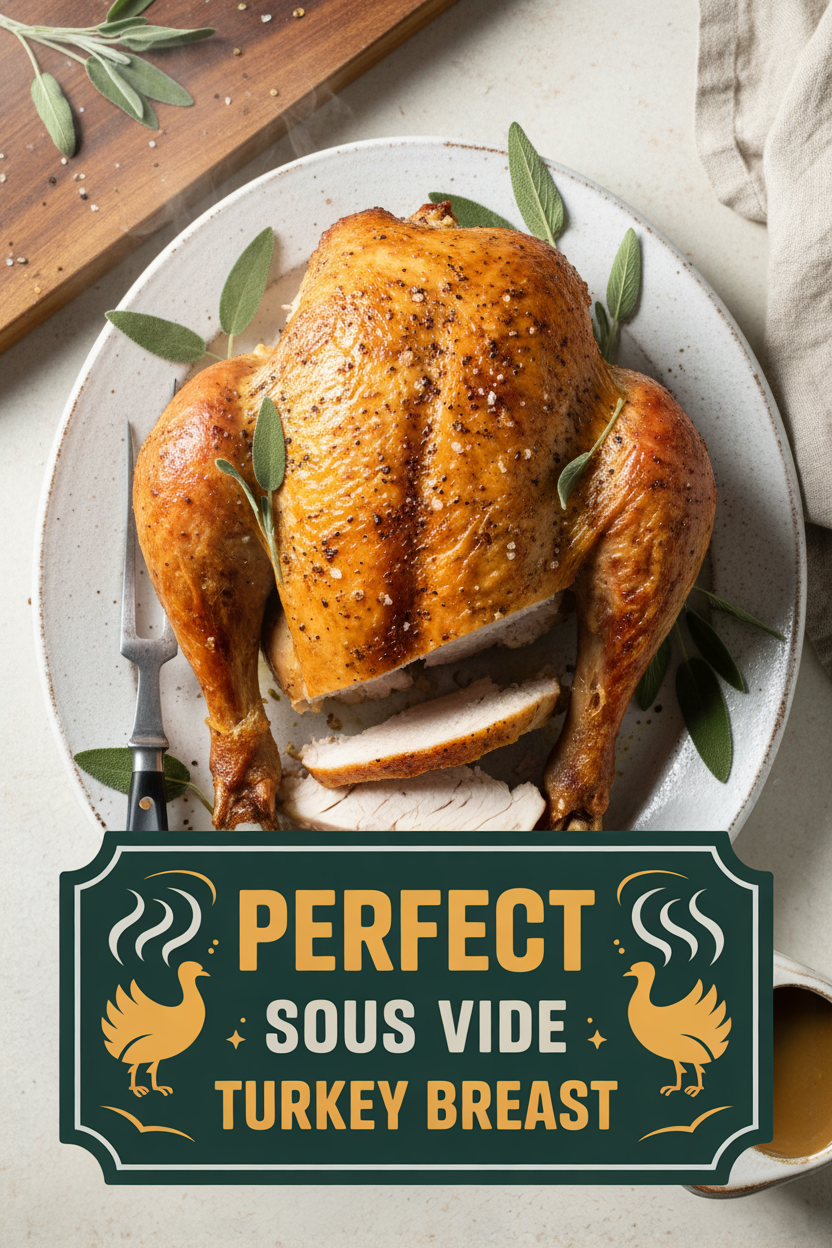
Perfect Sous Vide Turkey Breast
Description
Sous Vide Boneless Turkey Breast
Ingredients
Instructions
- Using sous vide circulator, bring water to 145°F/63°C in 7-quart container.
- Using sharp knife, cut along rib cage of breast to remove breast halves; discard bones. Trim excess skin from turkey and season with salt and pepper. Place one breast half and ¼ cup oil in 1-gallon zipper-lock freezer bag. Repeat with second breast half. Seal bags, pressing out as much air as possible. Gently lower bags into prepared water bath until turkey is fully submerged, and then clip top corner of each bag to side of water bath container, allowing remaining air bubbles to rise to top of bags. Reopen 1 corner of each zipper, release remaining air bubbles, and reseal bags. Cover and cook for at least 3½ hours or up to 5 hours.
- Transfer turkey to paper towel–lined plate and let rest for 5 to 10 minutes. Pat turkey dry with paper towels. Heat remaining 2 tablespoons oil in 12-inch skillet over medium-high heat until just smoking. Place turkey skin side down in skillet and cook, adjusting position with tongs as needed, until well-browned and crisp, 4 to 6 minutes. Transfer turkey to carving board and slice into ½-inch-thick slices. Serve.
Notes
- To Make Ahead: Turkey can be rapidly chilled in ice bath and then refrigerated in zipper-lock bag after step 2 for up to 5 days. To reheat, return sealed bag to water bath set to 145°F/63°C for 30 minutes. Proceed with step 3.